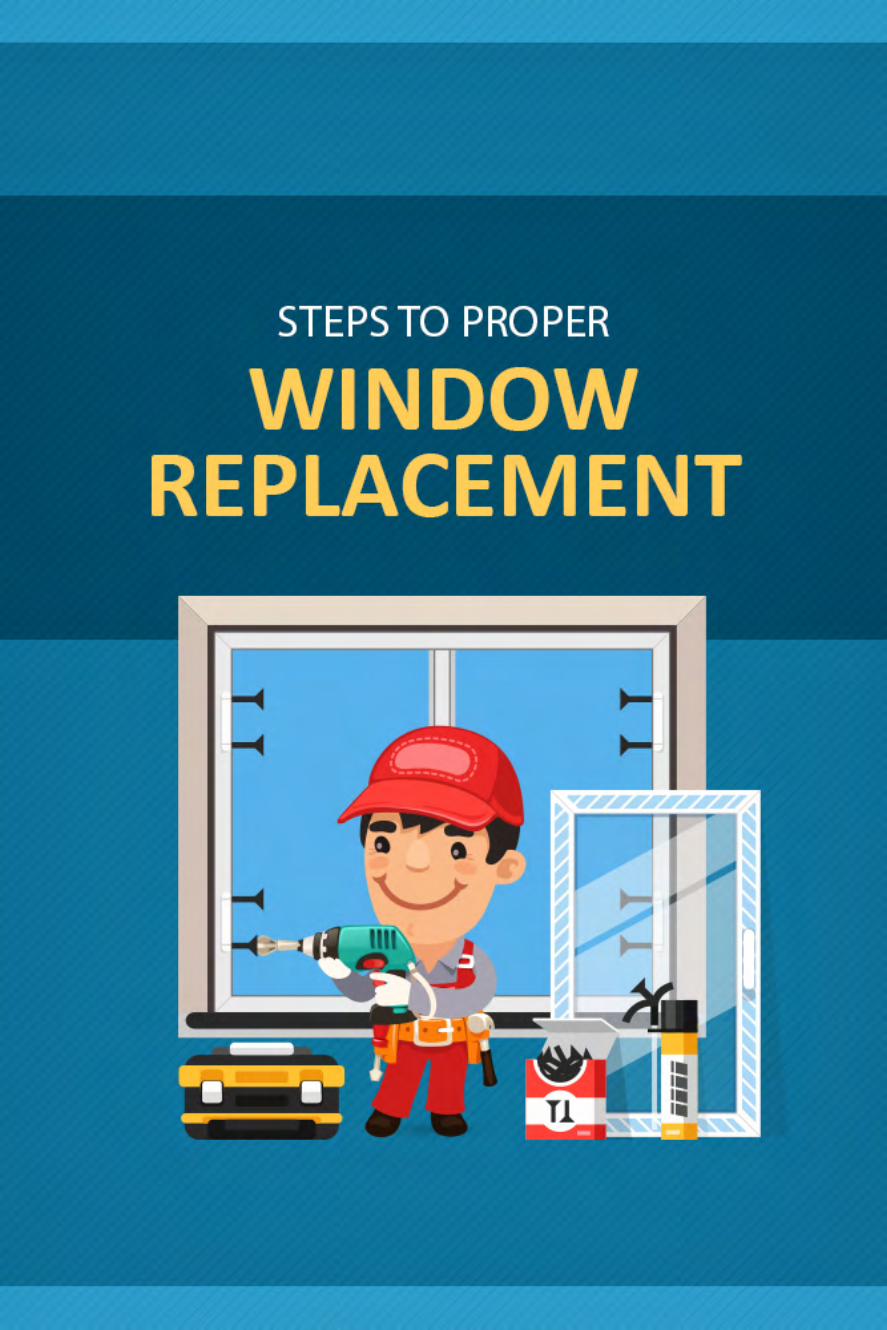
steps to a proper window replacement
TRANSCRIPT


Let us be outright with you: how well your replacement window performs will only be as good as its installation. Proper installation can prevent problems such as air leakage and condensation buildup, and protect the windows from water and moisture damage that’s why it is important that you entrust your window replacement project to someone who knows what they are doing, someone who understands what proper window replacement entails.
In this blog series, we will take a closer look at the ideal steps to a proper and successful window replacement. Let’s start with the pre-installation and preparation procedures.
PRE-INSTALLATION: TAKING CUSTOM MEASUREMENTS
A replacement window must snugly fit into the opening or frame for it to perform as expected. While you can purchase stock window replacements from your local hardware store, it is still best to opt for custom windows as these will be created according to the exact measurements of your window openings and based on any particular specifications you might have.
PART ONE: PRE-INSTALLATION AND PREPARATION

STEP ONE: THE WINDOW CREW’S ARRIVAL
Once your replacement windows are ready, they will be taken by your contractor to your property. When they arrive, your contractor’s team will also have with them all the tools and equipment necessary for your window installation project. Your contractor should’ve arranged with you where these tools and equipment, as well as your replacement windows will be stored before installation work starts.
STEP TWO: GETTING YOUR HOME READY
Window replacement can be stressful because of the kind of work that needs to be done on your home but there are ways to prepare to ensure that you and your family are not overwhelmed. One of these involves getting the work area ready by removing furniture around the window for easier access and stowing away valuables. Items that cannot be moved will have to be covered to protect them from debris while your contractor wears proper footwear to prevent dirt is not tracked around your home.
o o o o o
Once your home is prepped, you are now ready for a window installation. For the steps involving actual installation, head on over to Part 2 of this blog series.
PART ONE: PRE-INSTALLATION AND PREPARATION


Home improvement projects have to be carried out right to achieve best results and the same is true with replacing windows. Getting new windows is nothing to scoff at, after all, so you’re going to want to make sure that you make the most out of your investment. Fortunately, it’s not difficult to achieve that. All you have to do is to make sure that you’re working with the right window contractor. In the last post, we discussed the pre-installation and preparation steps that manufacturer-certified contractors generally follow. Today, we will continue the discussion and take a look at the crucial steps to be taken during the actual installation of replacement windows.
STEP THREE: REMOVAL OF OLD WINDOWS
After securing your belongings and valuables and setting up in your home, your contractor will now proceed to carefully remove your old windows. This is a step that must not be done with haste, as mishandling old windows can cause damage to the window opening as well as objects in your home, which can delay the installation project.
PART TWO: THE ACTUAL INSTALLATION
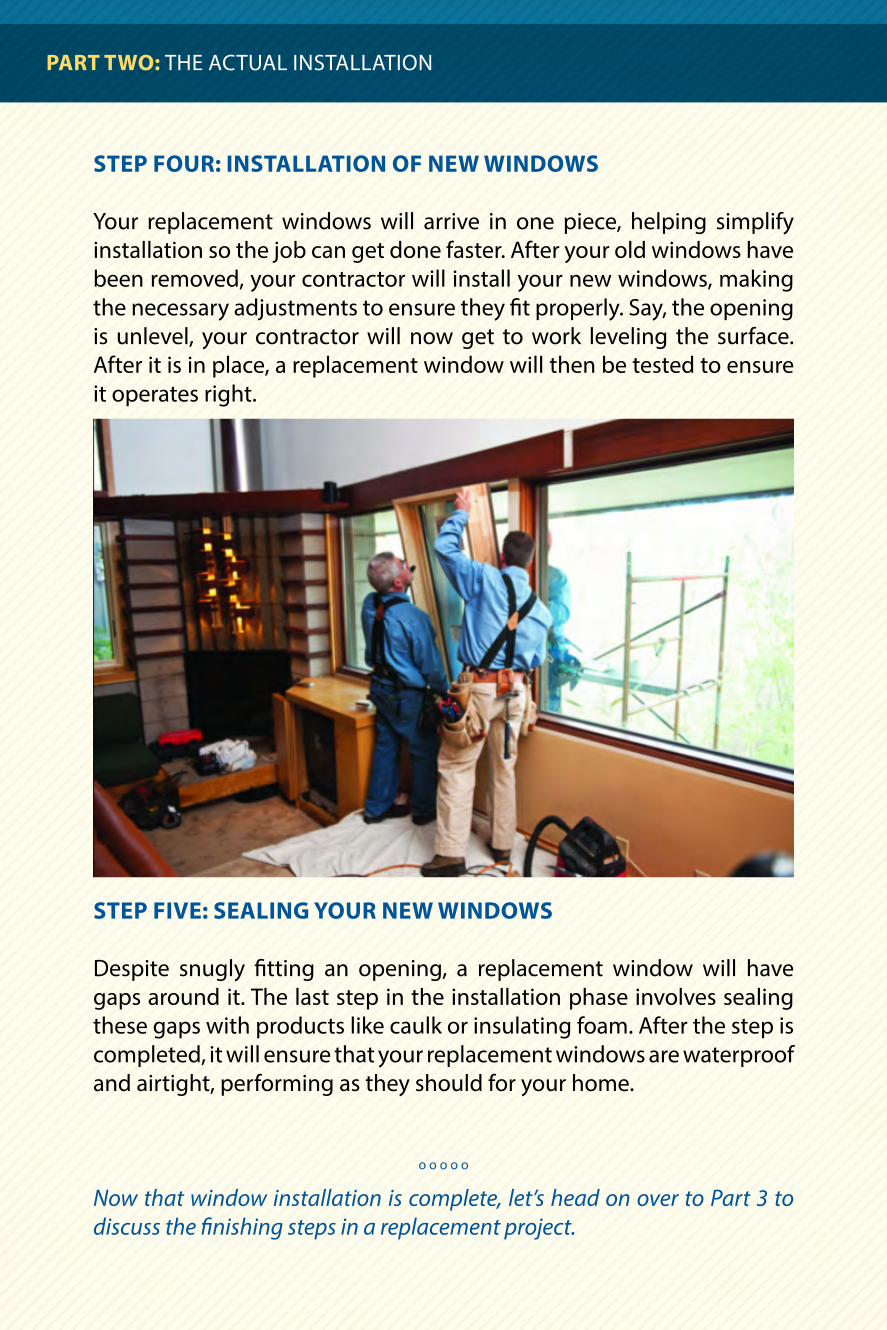
STEP FOUR: INSTALLATION OF NEW WINDOWS
Your replacement windows will arrive in one piece, helping simplify installation so the job can get done faster. After your old windows have been removed, your contractor will install your new windows, making the necessary adjustments to ensure they fit properly. Say, the opening is unlevel, your contractor will now get to work leveling the surface. After it is in place, a replacement window will then be tested to ensure it operates right.
STEP FIVE: SEALING YOUR NEW WINDOWS
Despite snugly fitting an opening, a replacement window will have gaps around it. The last step in the installation phase involves sealing these gaps with products like caulk or insulating foam. After the step is completed, it will ensure that your replacement windows are waterproof and airtight, performing as they should for your home.
o o o o o
Now that window installation is complete, let’s head on over to Part 3 to discuss the finishing steps in a replacement project.
PART TWO: THE ACTUAL INSTALLATION


Previously, we’ve discussed the series of steps that contractors typically follow when installing replacement windows. Here, we will be taking the opportunity to have a closer look at the last important steps of the process, which will help guarantee the success of a replacement project.
STEP SIX: FINISHING TOUCHES
The last step involved sealing gaps to keep windows waterproof and airtight. But though important to the process, sealing products are unfortunately not visually appealing. There’s no need to worry, however, because trims can be used to cover seals. Window trims come in a range of color and style options so there’s sure to be one that will match your windows perfectly.
STEP SEVEN: CLEAN UP AND PROJECT WRAP-UP
Once everything is in order, your contractor will wrap up your replacement project by cleaning up the work area, including removing the protective film covering your windows when they were delivered. Aside from clearing debris, they will also put back all things that have been moved to make way for the window replacement. You can also take this opportunity to voice out any concerns you might have so you can have them clarified before your contractor leaves.
PART THREE: THE FINISHING TOUCHES

AFTER THE INSTALLATION: MAINTAINING YOUR WINDOWS
Choosing the best windows for your home is a crucial step in ensuring the success of a replacement project. However, even the best will benefit from receiving some TLC. Keep in mind that low-maintenance is not the same as no-maintenance. Even just ensuring your replacements windows are clean will go a long way towards making sure they perform as they should. Don’t forget as well that sticking to a maintenance routine is usually a requirement for keeping manufacturer warranties in effect. Aside from regular cleaning, your windows will also call for periodic checks to keep problems at bay, which your local window contractor can take care of for you.
PART THREE: THE FINISHING TOUCHES

Renewal by Andersen of Milwaukee
1510 Paramount Drive,Waukesha, WI 53186
11412 N. Port Washington Rd,Mequon, WI 53092
(262) 955-8400(877) 977-3639
RBAMilwaukee.com