stepper motors intro to stepper motorscs5789/2012/slides/steppersx2.pdf · stepper motors intro to...
TRANSCRIPT
2/14/12
1
STEPPER MOTORS
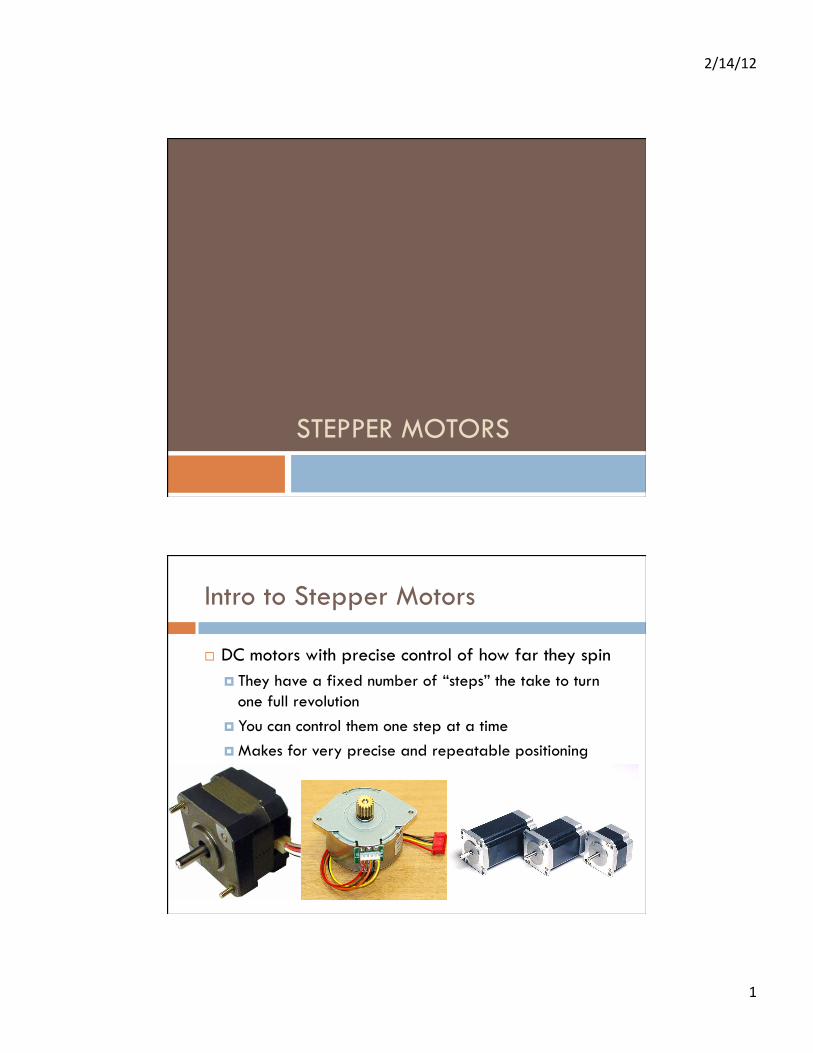
Intro to Stepper Motors
DC motors with precise control of how far they spin They have a fixed number of “steps” the take to turn
one full revolution You can control them one step at a time Makes for very precise and repeatable positioning
2/14/12
2
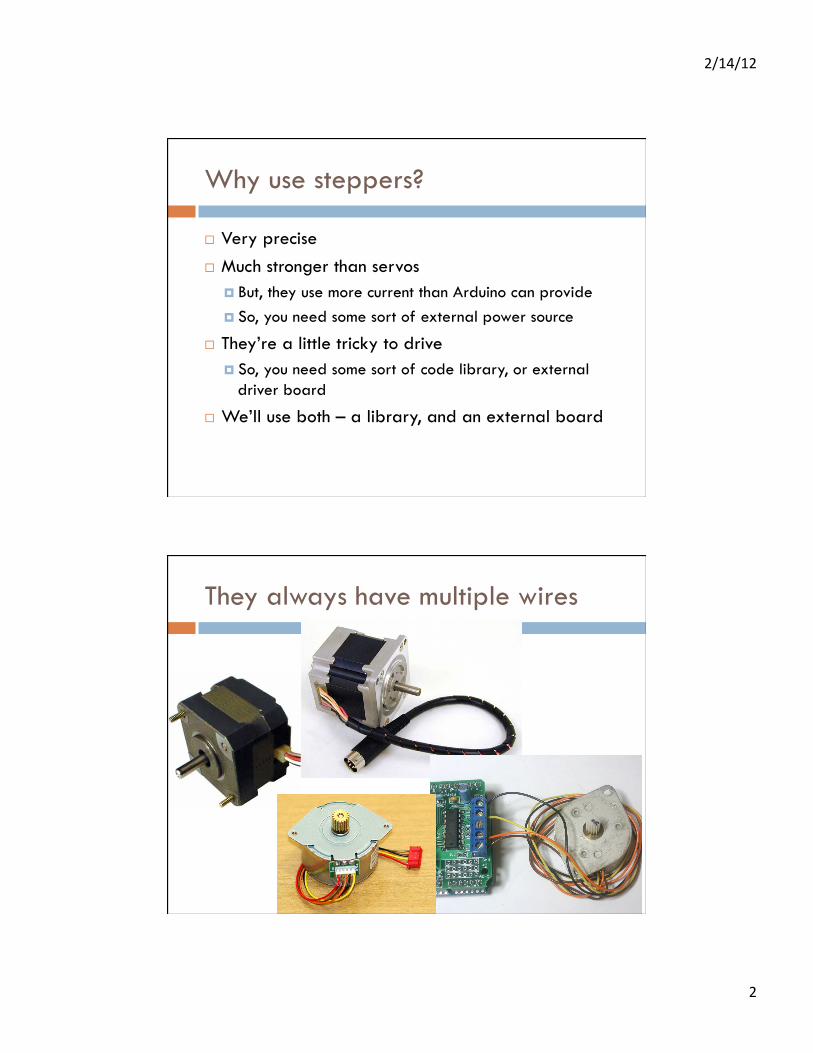
Why use steppers?
Very precise Much stronger than servos
But, they use more current than Arduino can provide So, you need some sort of external power source
They’re a little tricky to drive So, you need some sort of code library, or external
driver board
We’ll use both – a library, and an external board
They always have multiple wires
2/14/12
3
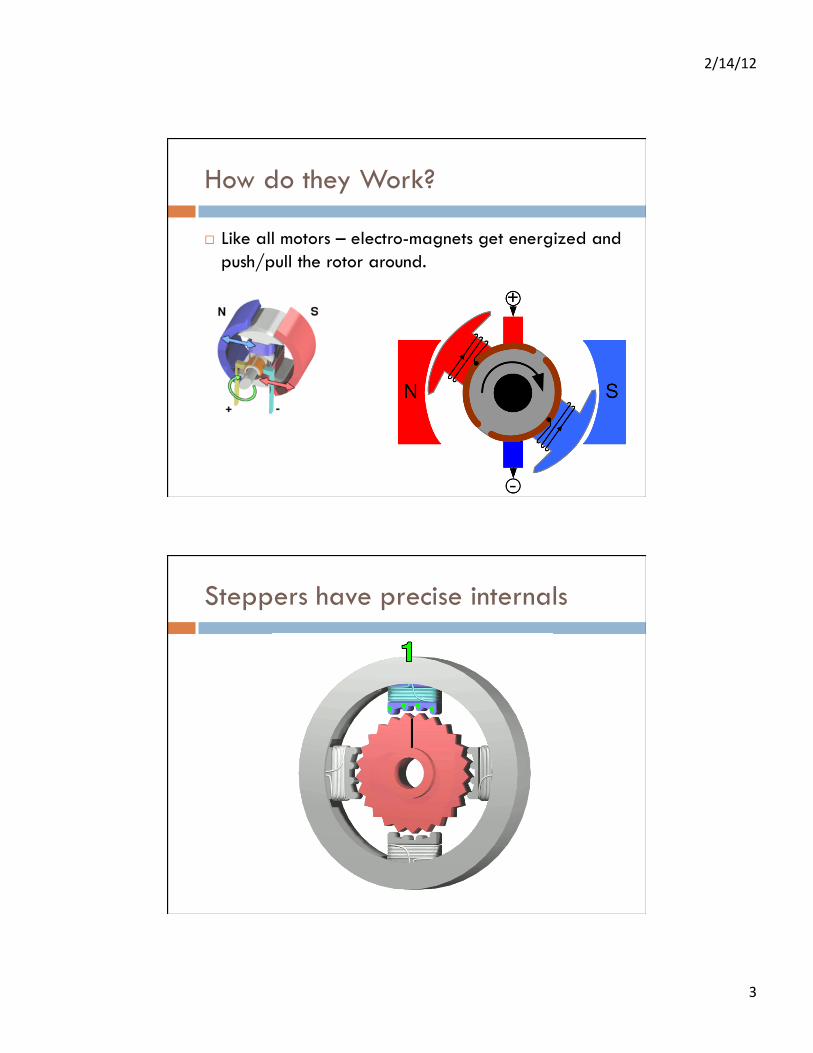
How do they Work?
Like all motors – electro-magnets get energized and push/pull the rotor around.
Steppers have precise internals

2/14/12
4
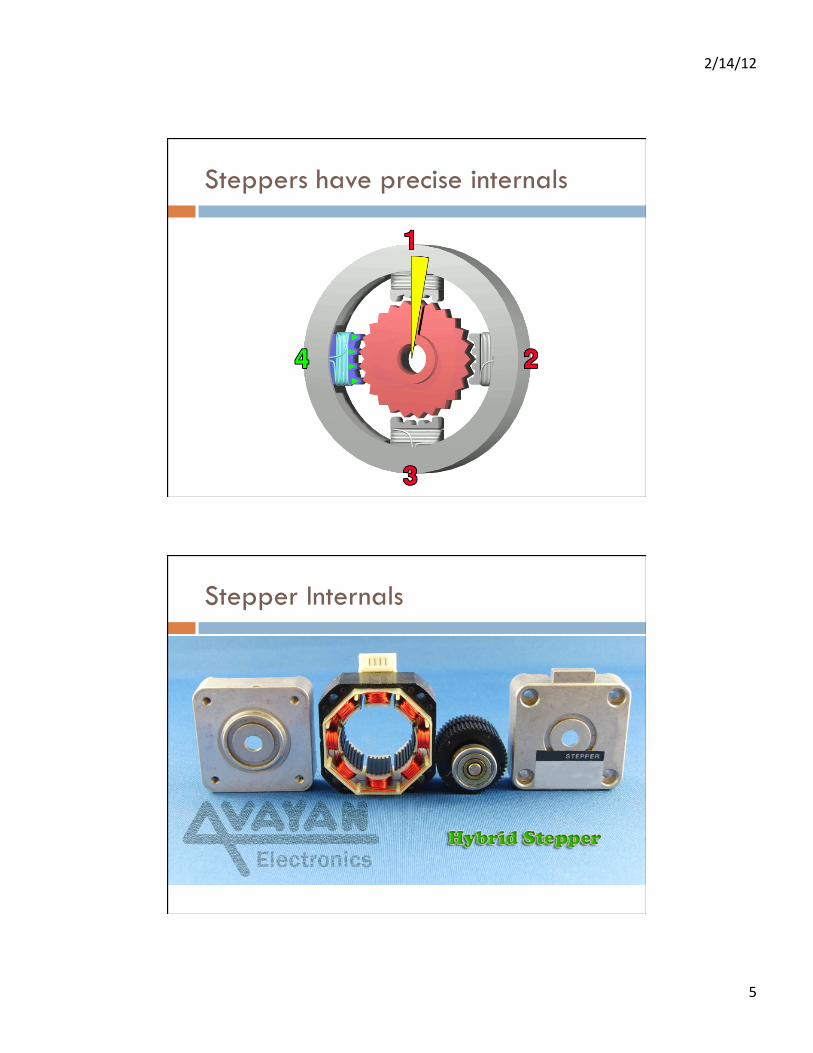
Steppers have precise internals
Steppers have precise internals
2/14/12
5
Steppers have precise internals
Stepper Internals
2/14/12
6
Different Flavors of Steppers
8-wire unipolar 6-wire unipolar 4-wire bipolar
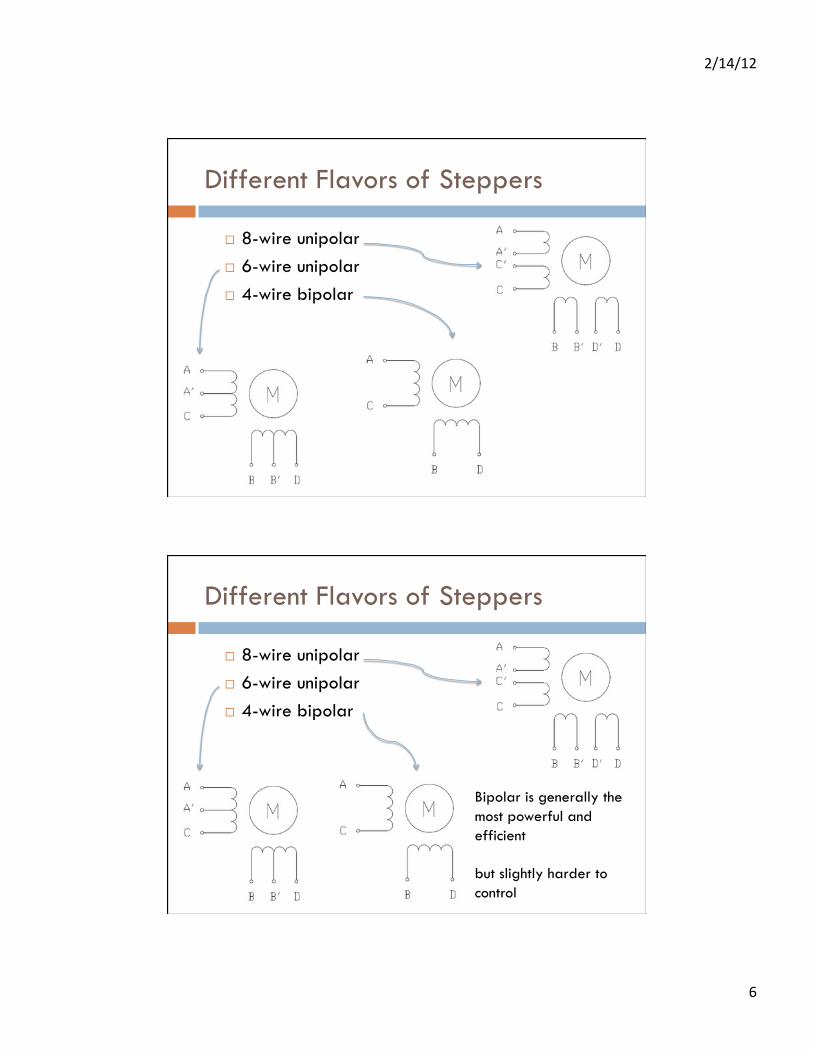
Different Flavors of Steppers
8-wire unipolar 6-wire unipolar 4-wire bipolar
Bipolar is generally the most powerful and efficient
but slightly harder to control

2/14/12
7
Make it Turn
Energize the coils in a very specific sequence
Make it Turn
Energize the coils in a very specific sequence

2/14/12
8
Make it Turn
Energize the coils in a very specific sequence
Use a Library
2/14/12
9
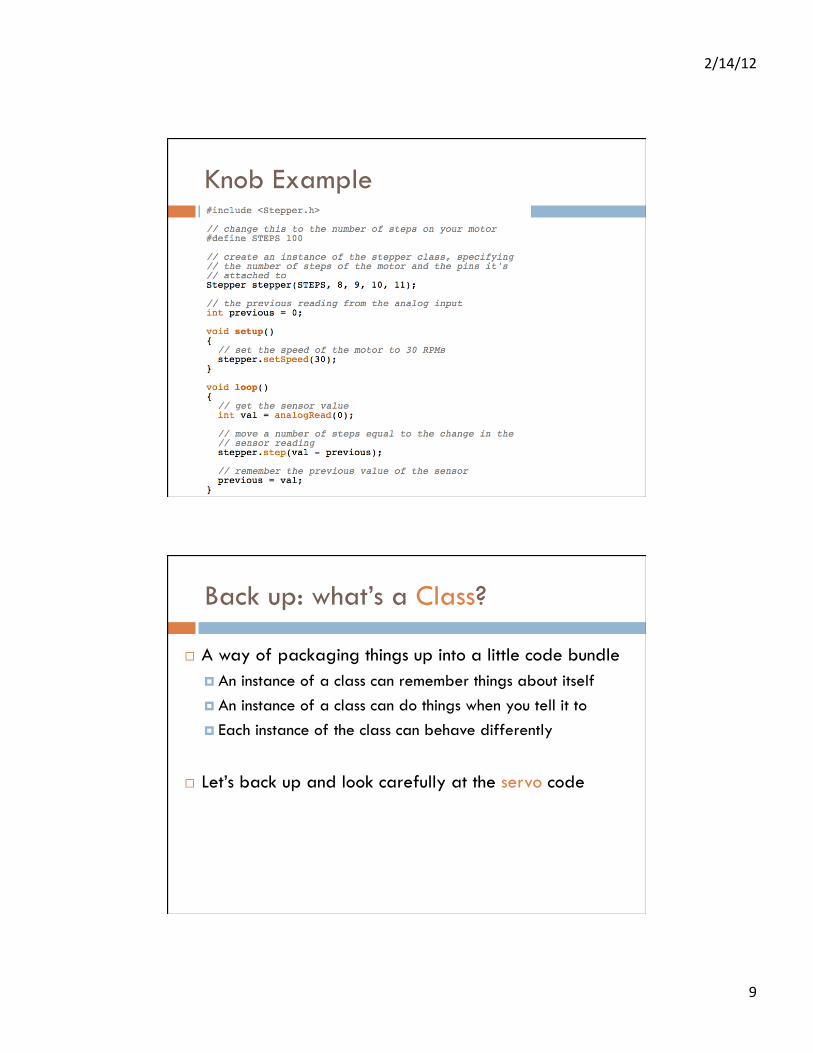
Knob Example
Back up: what’s a Class?
A way of packaging things up into a little code bundle An instance of a class can remember things about itself An instance of a class can do things when you tell it to Each instance of the class can behave differently
Let’s back up and look carefully at the servo code
2/14/12
10
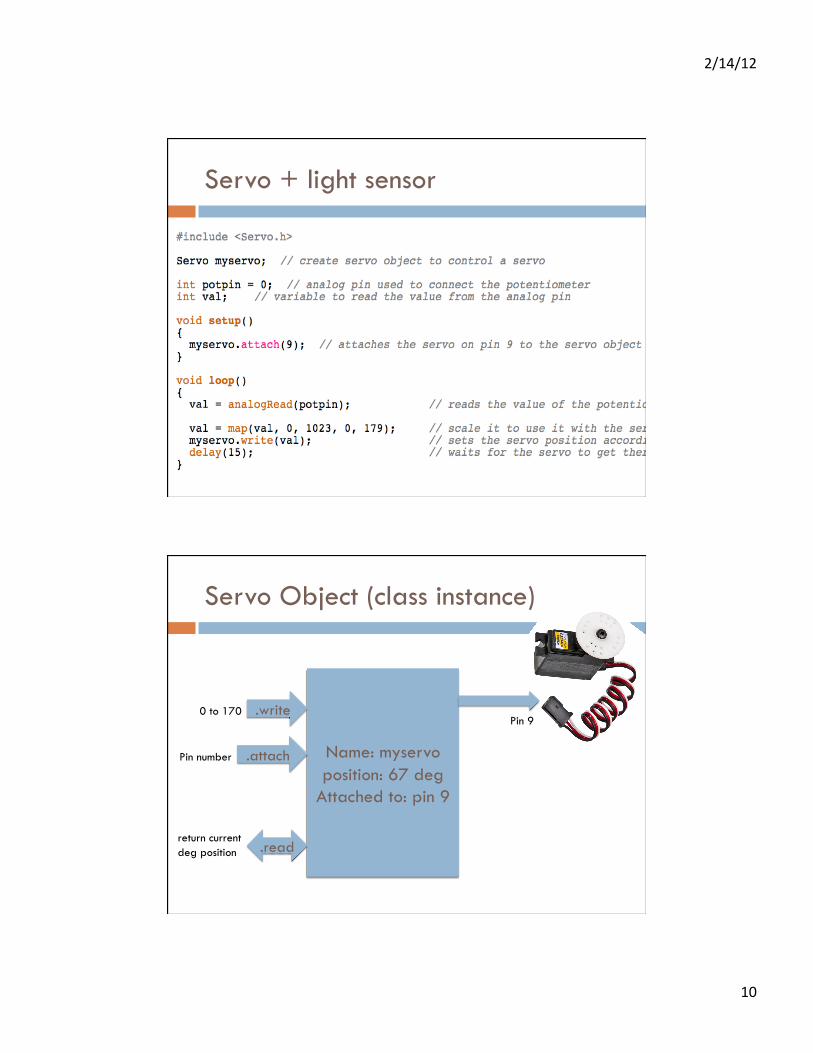
Servo + light sensor
Servo Object (class instance)
Name: myservo position: 67 deg
Attached to: pin 9
.attach
.read
.write 0 to 170
Pin number
return current deg position
Pin 9
2/14/12
11
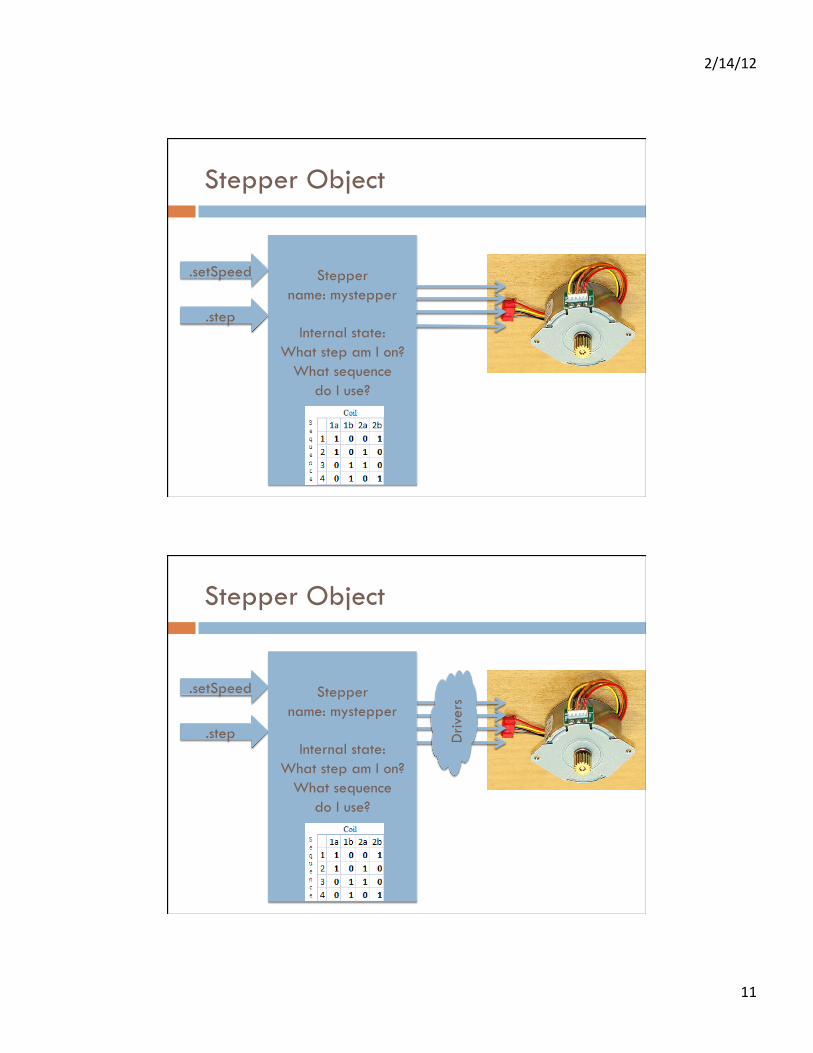
Stepper Object
Stepper name: mystepper
Internal state: What step am I on?
What sequence do I use?
.setSpeed
.step
Stepper Object
.setSpeed
.step Driv
ers Stepper
name: mystepper
Internal state: What step am I on?
What sequence do I use?

2/14/12
12
Driver Circuits… (unipolar)
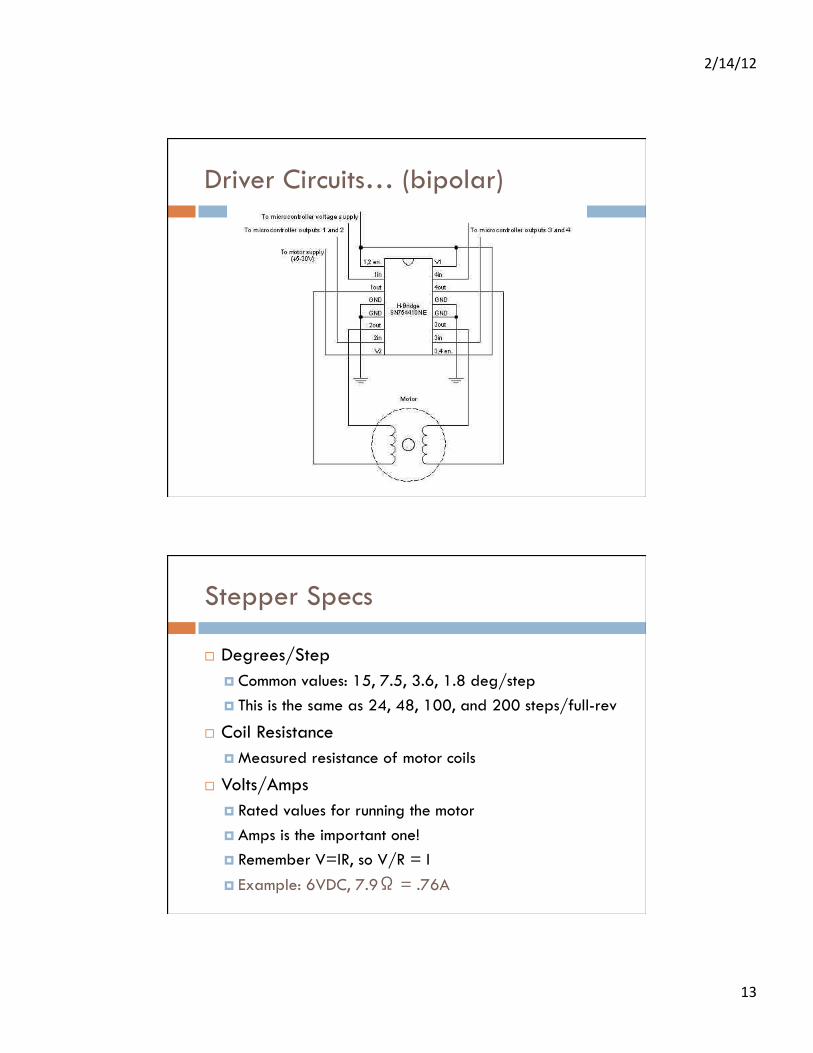
Driver Circuits… (bipolar)
2/14/12
13
Driver Circuits… (bipolar)
Stepper Specs
Degrees/Step Common values: 15, 7.5, 3.6, 1.8 deg/step This is the same as 24, 48, 100, and 200 steps/full-rev
Coil Resistance Measured resistance of motor coils
Volts/Amps Rated values for running the motor Amps is the important one! Remember V=IR, so V/R = I Example: 6VDC, 7.9Ω = .76A
2/14/12
14
So far…
Steppers move very precisely and are relatively powerful
But are a bit of a pain to drive Four wires from the Arduino External driver circuits Extra power supply to worry about Use stepper library to make stepper “objects” for each
one that you use Your program needs to keep track of how far you’ve
turned
Easier Motor Driving…
There are chips specifically designed for driving steppers They manage the sequence of signals They manage the higher voltages of the motors They have “chopper drives” to limit current They can even do “microstepping”
This lets you do ½, ¼, 1/8, or 1/16 step Increases resolution and smoothness, but might reduce power

2/14/12
15
Pololu A4988 driver
Up to 2A per coil (with heat sink)
8 – 35V on motor Provides 5v to Arduino
Limits current to a set level
Uses only 2 wires for control: Dir, Step
Pololu A4988 driver

2/14/12
16
Pololu A4988 driver Minimal Connection
Pololu A4988 driver Minimal Connection
Need one driver for each motor
Need to set this pot to set current limit
Check REF to see what the current limit will be

2/14/12
17
Current Limit
Turn pot (use a tiny screwdriver) and check REF
Rs = 0.05Ω V REF Current Limit
.1v .250A
.15v .375A
.2v .500A
.25v .625A
.3v .750A
.35v .875A
.4v 1.000A
.45v 1.125A
Using a Dir/Step driver
Set the Dir pin – 0 is one dir, 1 is the other Toggle the Step pin up and down
You get one step per rising edge
for (int i=0; i < steps; i++) { digitalWrite(STEP_PIN, HIGH); delayMicroseconds(usDelay); digitalWrite(STEP_PIN, LOW); delayMicroseconds(usDelay); }
2/14/12
18
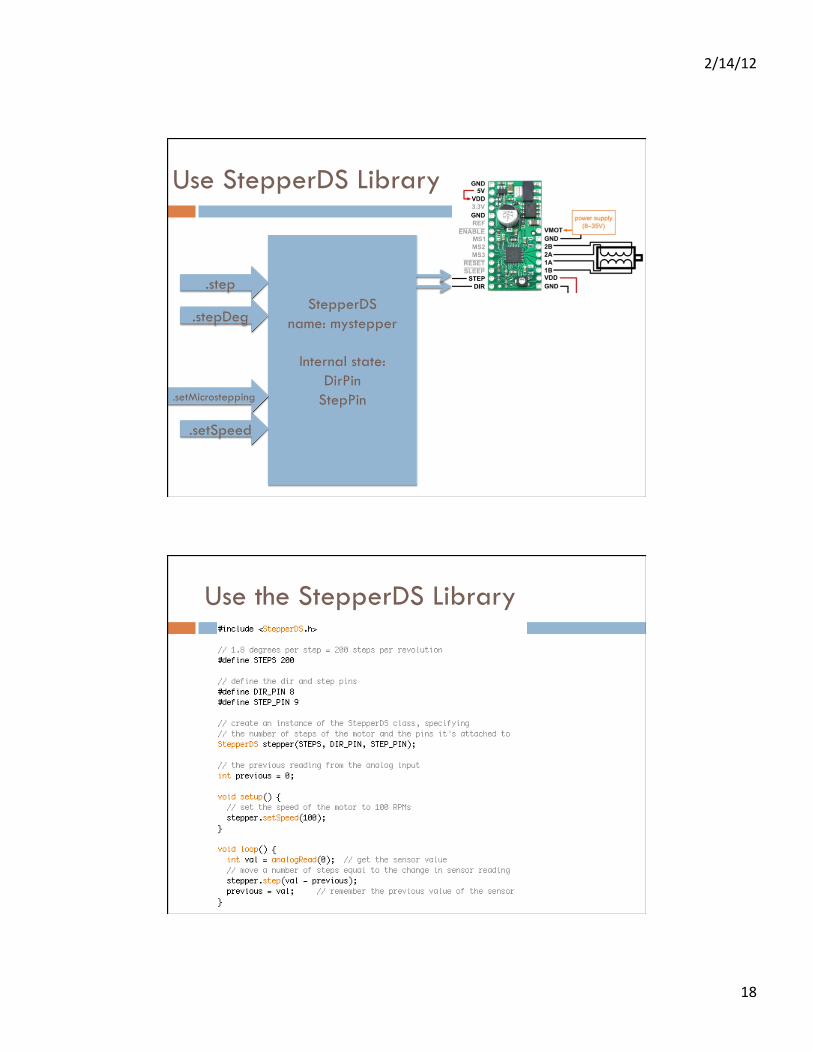
Use StepperDS Library
StepperDS name: mystepper
Internal state: DirPin
StepPin
.setSpeed
.step
.setMicrostepping
.stepDeg
Use the StepperDS Library
2/14/12
19
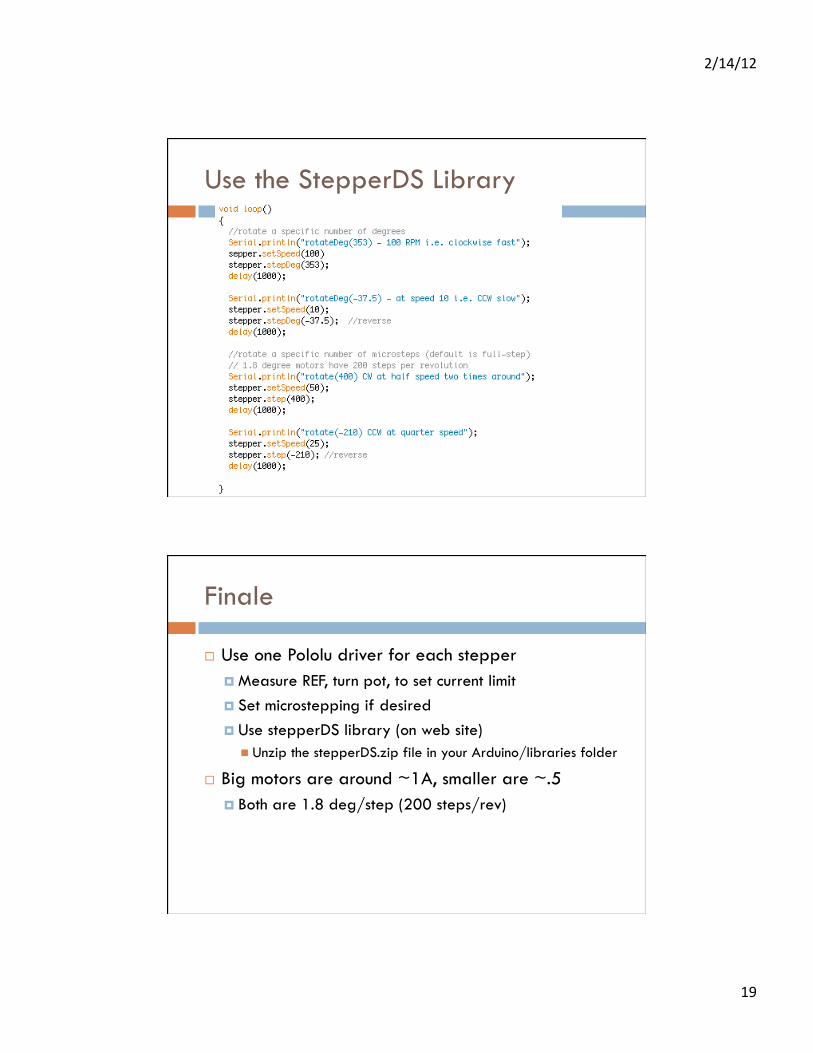
Use the StepperDS Library
Finale
Use one Pololu driver for each stepper Measure REF, turn pot, to set current limit Set microstepping if desired Use stepperDS library (on web site)
Unzip the stepperDS.zip file in your Arduino/libraries folder
Big motors are around ~1A, smaller are ~.5 Both are 1.8 deg/step (200 steps/rev)
2/14/12
20
Next Assignment
Use a pair of steppers to make a suspended-style drawing machine Use same pairs as for museum assignment Due 2/28 – 3/1
Grab a couple motors, and a couple drivers Use timing belt if you like, or design your own
mechanism… Make a simple suspended drawing machine, or
interpret this in your own way… Draw randomly, or with intent…