steamy romance wedding cake
TRANSCRIPT
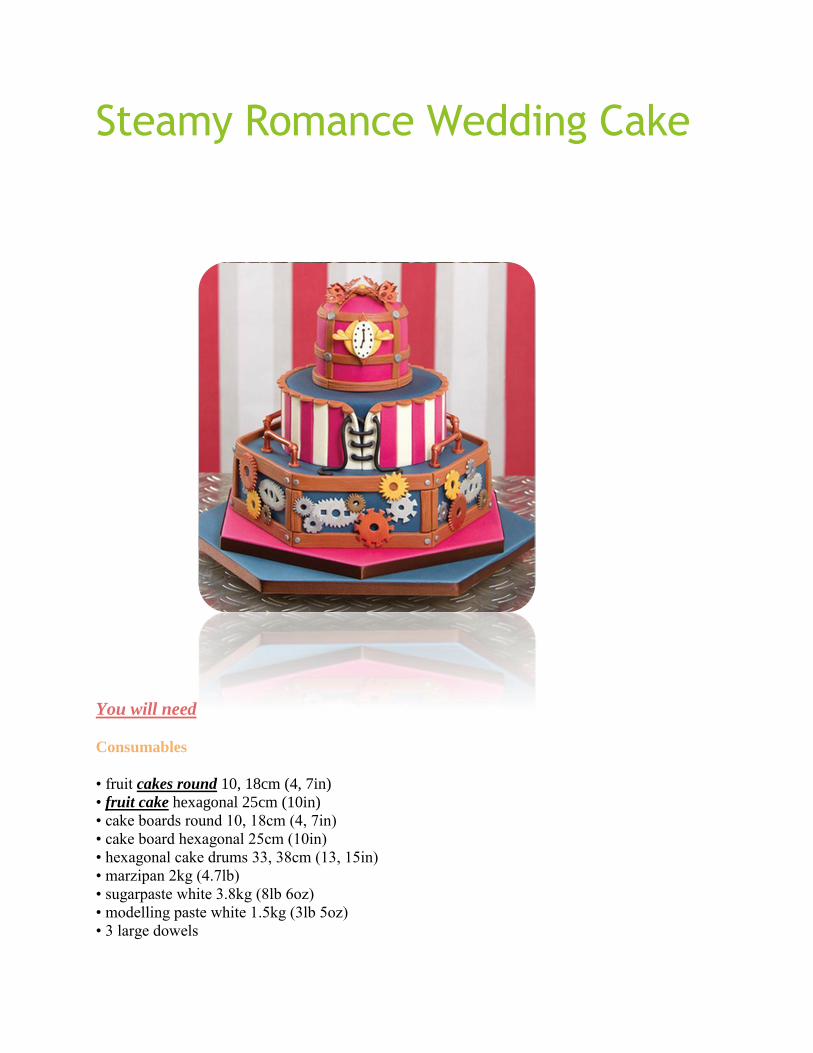
Steamy Romance Wedding Cake
You will need
Consumables
• fruit cakes round 10, 18cm (4, 7in)
• fruit cake hexagonal 25cm (10in)
• cake boards round 10, 18cm (4, 7in)
• cake board hexagonal 25cm (10in)
• hexagonal cake drums 33, 38cm (13, 15in)
• marzipan 2kg (4.7lb)
• sugarpaste white 3.8kg (8lb 6oz)
• modelling paste white 1.5kg (3lb 5oz)
• 3 large dowels
• small amount of royal icing
• paste colours navy, claret, caramel/ivory,
chestnut, liquorice (Sugarflair)
• powder colours copper, dark bronze, gold
(Squires Kitchen)
• powder colours dark silver, light silver
(Rainbow Dust)
• dipping solution (Culpitt)
• glaze spray (PME)
• food colour pen jet black (Rainbow Dust)
• sugar glue (Sugarflair)
• brown ribbon 2.5m x 16mm (100 x 3/4in)
• waxed paper
Tools
• circle cutters (Caketime & FMM)
• triangle cutters (Caketime)
• square cutters (Caketime)
• oval cutters (FMM)
• teardrop cutters (Lindy Smith)
• butterfly cutter (PME)
• ribbon cutter (FMM)
• A4 card folded length-ways into 4
• bone/ball tool (PME)
• cutting wheel (PME)
• cake smoother (PME)
• paintbrushes
• sharp knife
• tape measure
Preparation
Colour approximately 1k g of sugar paste with claret paste colour and 2.8k g with navy. You will
also need approximately 700 g ivory, 500 g chestnut and 300 g claret coloured modelling paste.
Cover all cakes with the marzipan then cover the hexagonal and 18 cm round cakes with the
navy sugar paste. Cover the 15 in drum with the remaining navy sugar paste and the 13 in drum
with claret.
Add the ribbon to both and secure with sugar glue and a pin Stick the boards together using a dab
of royal icing with corners opposing each other. Using royal icing and dowels stack the two
cakes on to the iced boards.
Step 1 :
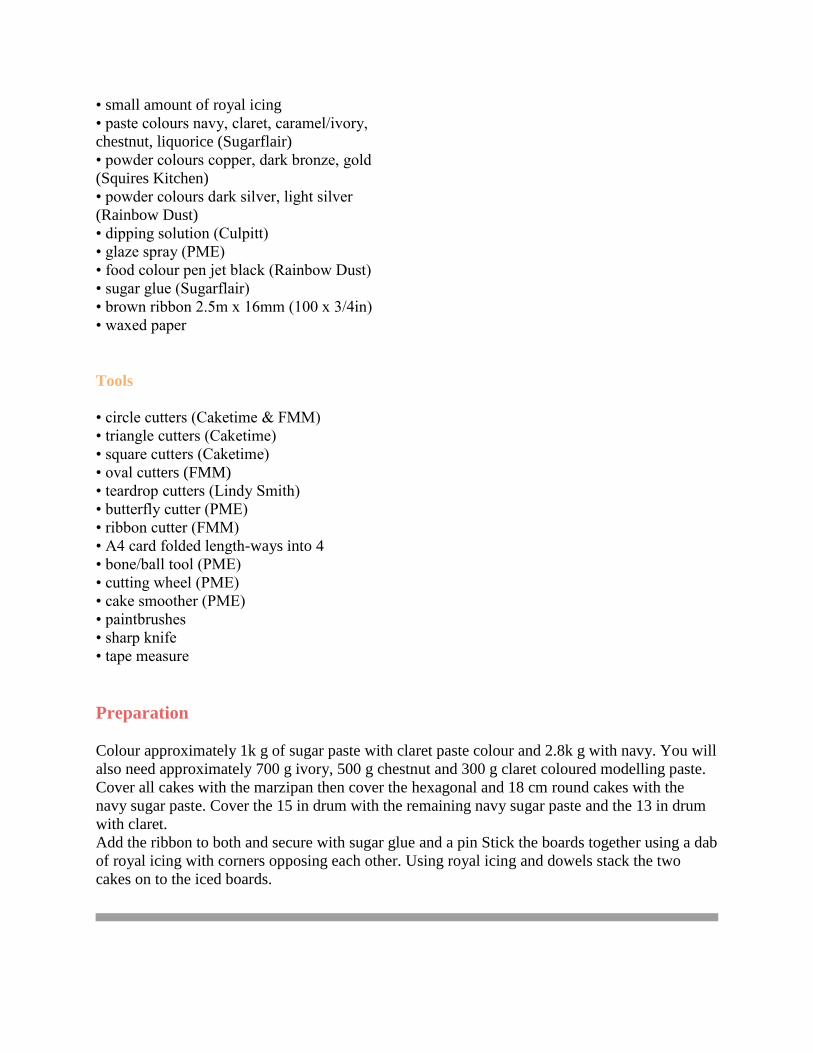
Using 100g of claret sugarpaste make a dome to add a rounded shape to the top of the 10cm
cake. Stick using sugar glue and leave to dry. Cover both dome and cake with the remaining
claret sugarpaste and secure on top of the 18cm cake.
Step 2 :
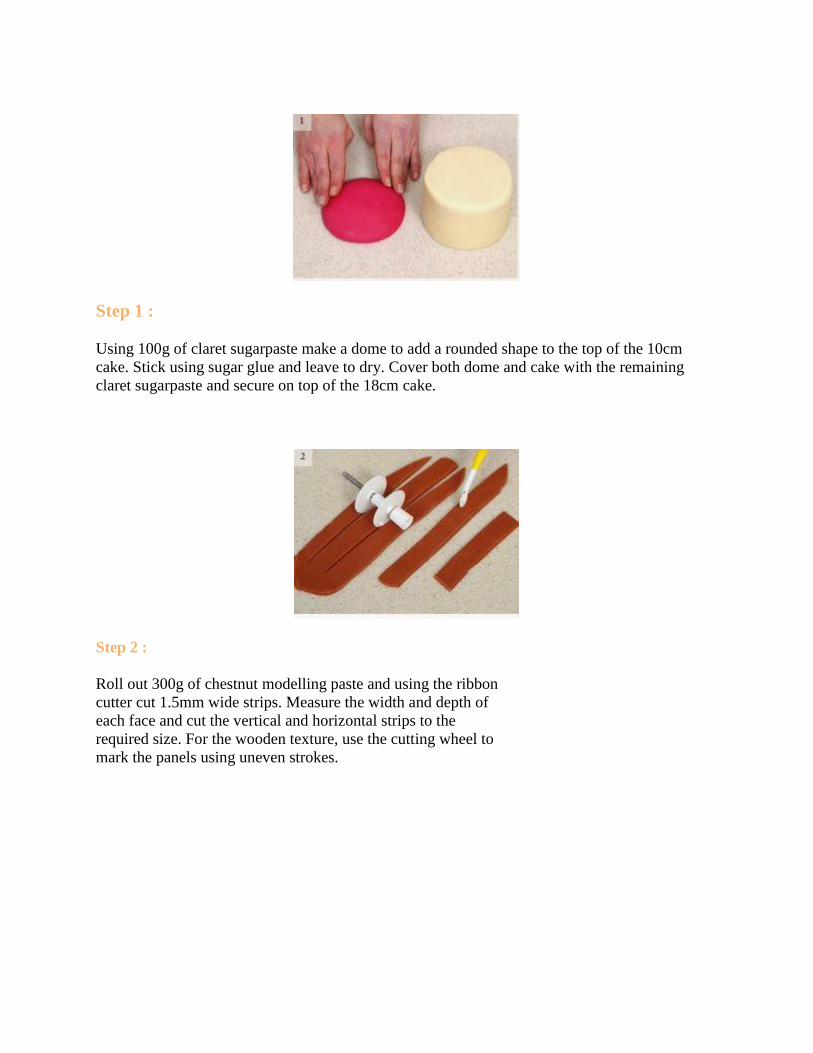
Roll out 300g of chestnut modelling paste and using the ribbon
cutter cut 1.5mm wide strips. Measure the width and depth of
each face and cut the vertical and horizontal strips to the
required size. For the wooden texture, use the cutting wheel to
mark the panels using uneven strokes.
Step 3 :
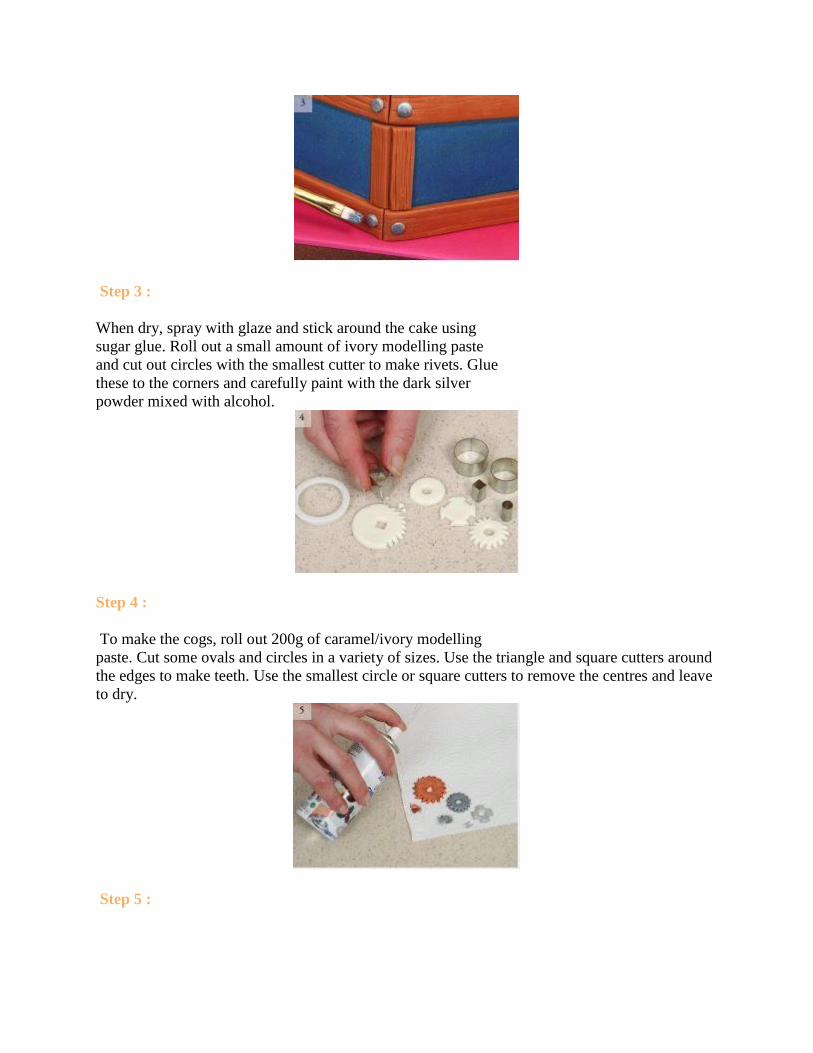
When dry, spray with glaze and stick around the cake using
sugar glue. Roll out a small amount of ivory modelling paste
and cut out circles with the smallest cutter to make rivets. Glue
these to the corners and carefully paint with the dark silver
powder mixed with alcohol.
Step 4 :
To make the cogs, roll out 200g of caramel/ivory modelling
paste. Cut some ovals and circles in a variety of sizes. Use the triangle and square cutters around
the edges to make teeth. Use the smallest circle or square cutters to remove the centres and leave
to dry.
Step 5 :

When the cogs are dry they can be painted with a variety of
metallic paints made up from the powders mixed with dipping
solution. Give them a few coats and ensure the edges are covered.
Step 6 :
Once the paint is dry place the cogs apart on waxed paper and
spray lightly and evenly with the glaze.
Cake Tip
Colour the modelling paste and sugarpaste at the same time the day before. This gives the colour
time to settle.
Step 7 :
When the glaze is dry attach the cogs to the cake with sugar
glue. Have some overlap and stick a few to the frame to give the
cake depth.

Step 8 :
For pipes, roll five tubes of ivory paste approximately 5mm x 12cm. Bend each end and dry. Cut
out small circles and using the ball tool make a dent in each centre. When the tubes are hard glue
the circles to each end and support with sponges until set .
Step 9 :
For the stripey fabric measure the height of the 7in round cake.
Roll out 200g of claret and ivory modelling paste and cut into
2cm wide strips using the ribbon cutter. Cut these to the height
of the cake.
Step 10 :
The first two stripes of ivory must be glued at the base and up
the outside edges, leaving the middle edge unglued. Leave for a
minute then gently ease the split open making it wider at the
top. Finish covering the rest of the cake with stripes.
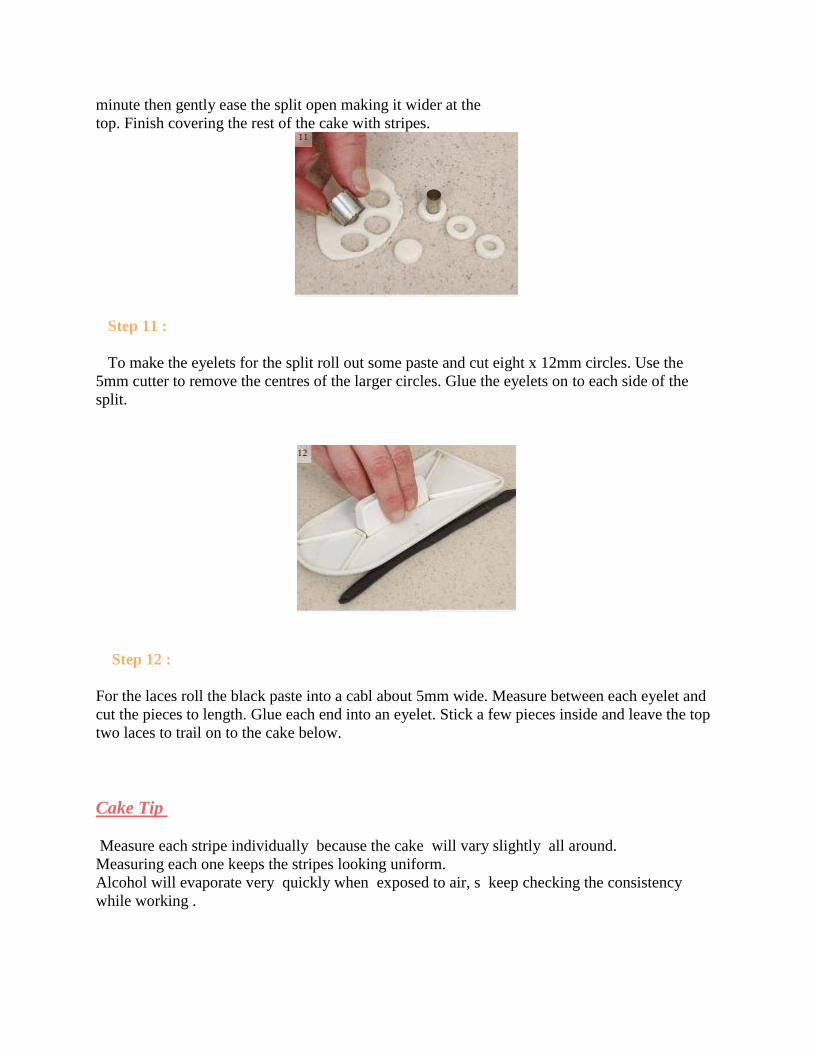
Step 11 :
To make the eyelets for the split roll out some paste and cut eight x 12mm circles. Use the
5mm cutter to remove the centres of the larger circles. Glue the eyelets on to each side of the
split.
Step 12 :
For the laces roll the black paste into a cabl about 5mm wide. Measure between each eyelet and
cut the pieces to length. Glue each end into an eyelet. Stick a few pieces inside and leave the top
two laces to trail on to the cake below.
Cake Tip
Measure each stripe individually because the cake will vary slightly all around.
Measuring each one keeps the stripes looking uniform.
Alcohol will evaporate very quickly when exposed to air, s keep checking the consistency
while working .

Step 13 :
Roll out chestnut paste and cut circles the same width as each stripe. Cut the circles in half with a
sharp knife and glue along the top of each stripe to make the trimming
Step 14 :
Using light silver powder mixed with alcohol and a fine paintbrush, carefully paint the eyelets.
Ensure the glue has dried before painting and that the paint mix is not too runny
Step 15 :
Paint the pipes with copper, leave to dry and lightly glaze. When dry they can be carefully
glued around the top of the octagonal cake.

Step 16 :
For the woodwork around the top cake, roll out chestnut paste and cut 5mm wide strips then
texture these. Cut a strip for around the base and four that reach from the base to the top of the
dome. Also cut out a square and texture it to cover the joins.
Step 17 :
Cut the base strip into four and glue around the bottom. Then attach the 4 vertical strips to the
cake. Once attached, measur and cut horizontal pieces to go between the vertical strips.
Step 18 :
Glue the square over the join on top. Make some larger rivets and glue one to the wooden square
and the rest around the cage. When these are dry paint them light silver.

Cake Tip :
Keep a piece of kitchen paper below the area you are painting in case powde floats on to the
lower tiers and board.
Step 19 :
Roll out white paste and cut out four butterflies but do not
make the impression pattern on these. Use the smallest circle
cutter to cut holes in the wings.
Step 20 :
Leave the butterflies to dry on a shape former or
folded card. When they are dry paint them with
copper and carefully spray glaze on both sides.
Step 21 :
Very carefully attach the butterflies to the top planks on the
dome of the cake. Use sugar glue and press down very carefully
with a piece of clean sponge until secure.
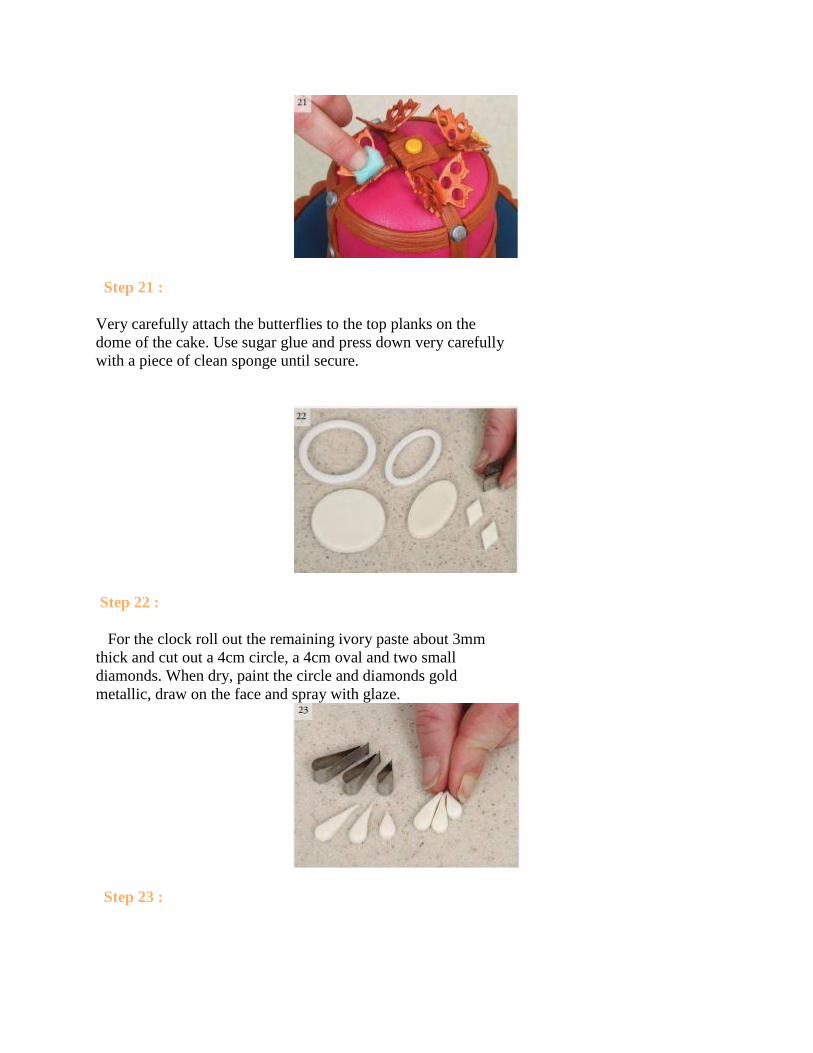
Step 22 :
For the clock roll out the remaining ivory paste about 3mm
thick and cut out a 4cm circle, a 4cm oval and two small
diamonds. When dry, paint the circle and diamonds gold
metallic, draw on the face and spray with glaze.
Step 23 :
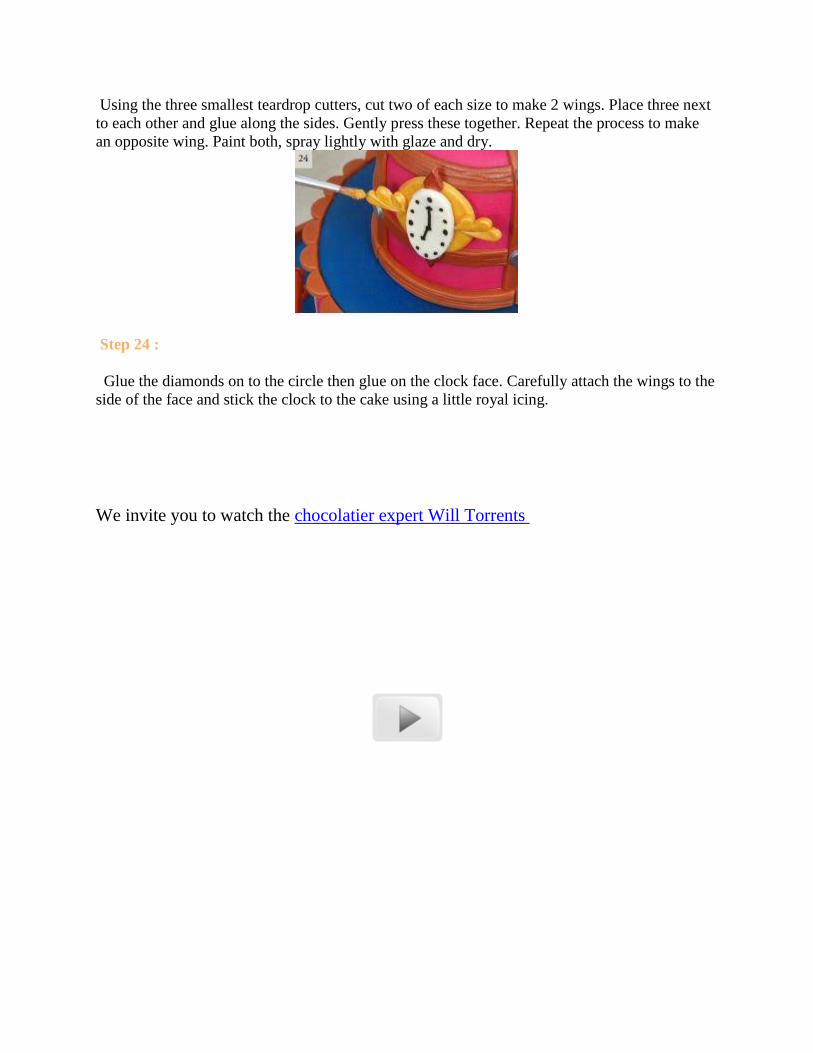
Using the three smallest teardrop cutters, cut two of each size to make 2 wings. Place three next
to each other and glue along the sides. Gently press these together. Repeat the process to make
an opposite wing. Paint both, spray lightly with glaze and dry.
Step 24 :
Glue the diamonds on to the circle then glue on the clock face. Carefully attach the wings to the
side of the face and stick the clock to the cake using a little royal icing.
We invite you to watch the chocolatier expert Will Torrents

A Steamy Romance Wedding Cake
You will need
Consumables
• fruit cakes round 10, 18cm (4, 7in)
• fruit cake hexagonal 25cm (10in)
• cake boards round 10, 18cm (4, 7in)
• cake board hexagonal 25cm (10in)
• hexagonal cake drums 33, 38cm (13, 15in)
• marzipan 2kg (4.7lb)
• sugarpaste white 3.8kg (8lb 6oz)
• modelling paste white 1.5kg (3lb 5oz)
• 3 large dowels
• small amount of royal icing
• paste colours navy, claret, caramel/ivory,
chestnut, liquorice (Sugarflair)
• powder colours copper, dark bronze, gold
(Squires Kitchen)
• powder colours dark silver, light silver
(Rainbow Dust)
• dipping solution (Culpitt)
• glaze spray (PME)
• food colour pen jet black (Rainbow Dust)
• sugar glue (Sugarflair)
• brown ribbon 2.5m x 16mm (100 x 3/4in)
• waxed paper
Tools
• circle cutters (Caketime & FMM)
• triangle cutters (Caketime)
• square cutters (Caketime)
• oval cutters (FMM)
• teardrop cutters (Lindy Smith)
• butterfly cutter (PME)
• ribbon cutter (FMM)
• A4 card folded length-ways into 4
• bone/ball tool (PME)
• cutting wheel (PME)
• cake smoother (PME)

• paintbrushes
• sharp knife
• tape measure
Source : crafting 24 make a wedding cake .