setting up nis and http. network information service reading: 1. linux nis howto: howto/howto
TRANSCRIPT
Setting up NIS and HTTP
Network Information Service
Reading:
1. Linux NIS HOWTO: http://www.linux-nis.org/nis-howto/HOWTO

NIS Overview
NIS enables you to create user accounts that can be shared across all systems on your network.The user account is created only on the NIS server.NIS clients download the necessary login and password data from the NIS server to verify each user login.
Configuring a Master NIS Server
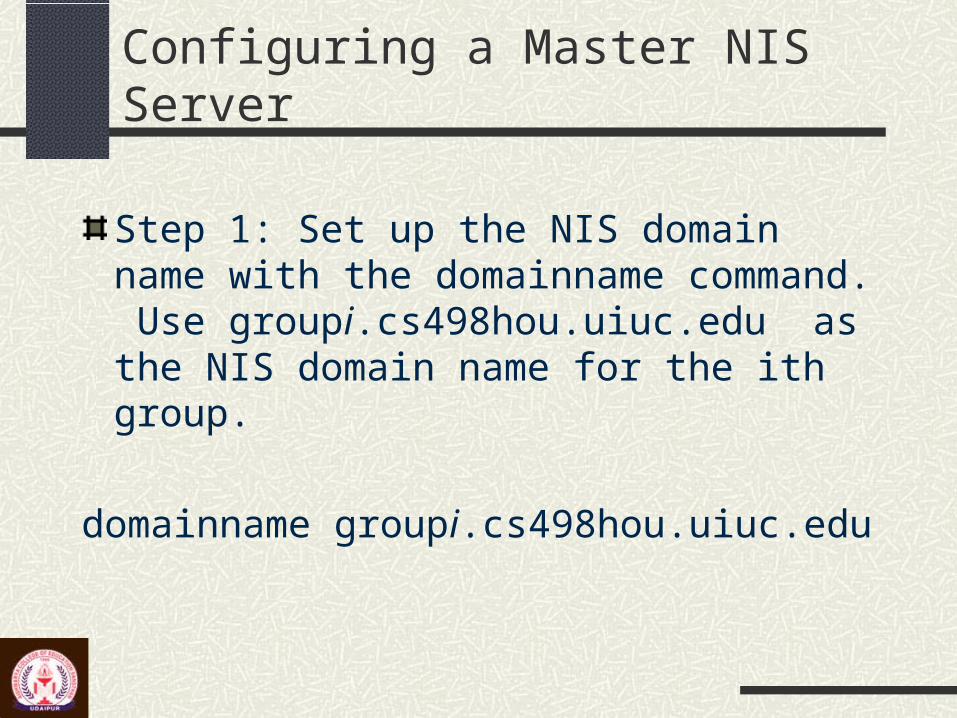
Step 1: Set up the NIS domain name with the domainname command. Use groupi.cs498hou.uiuc.edu as the NIS domain name for the ith group.
domainname groupi.cs498hou.uiuc.edu
Configuring a Master NIS Server
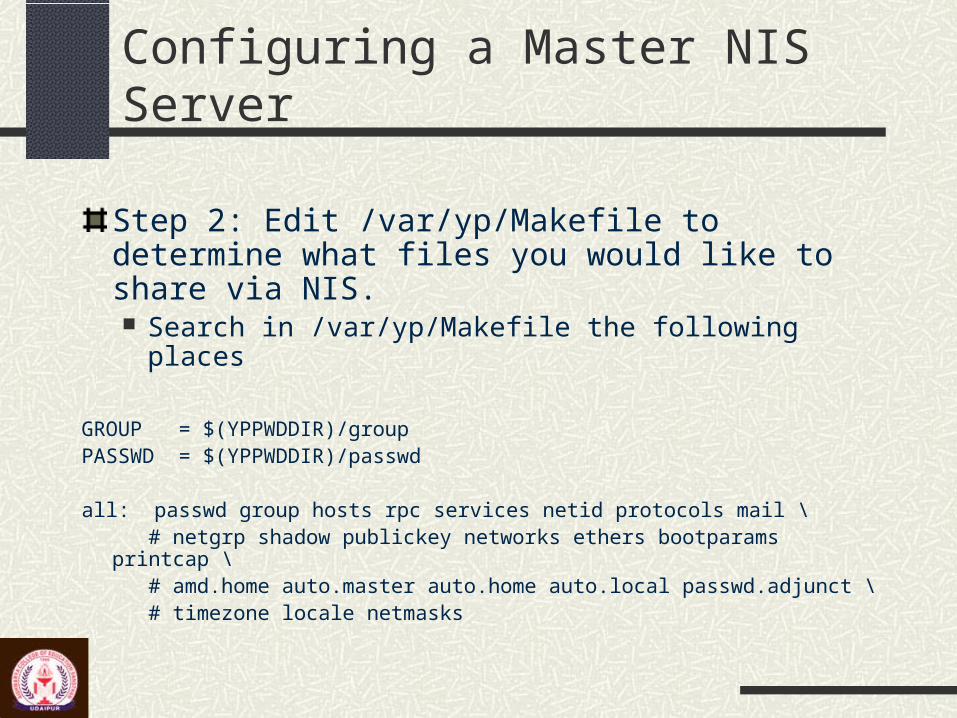
Step 2: Edit /var/yp/Makefile to determine what files you would like to share via NIS. Search in /var/yp/Makefile the following places
GROUP = $(YPPWDDIR)/groupPASSWD = $(YPPWDDIR)/passwd
all: passwd group hosts rpc services netid protocols mail \ # netgrp shadow publickey networks ethers bootparams printcap \ # amd.home auto.master auto.home auto.local passwd.adjunct \ # timezone locale netmasks
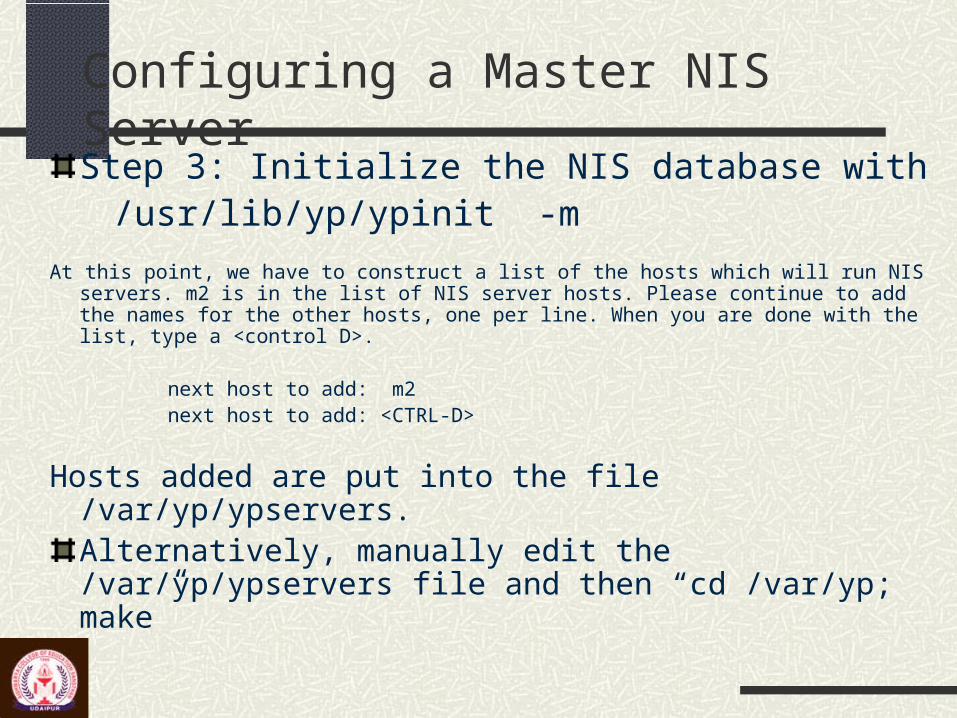
Configuring a Master NIS ServerStep 3: Initialize the NIS database with
/usr/lib/yp/ypinit -m
At this point, we have to construct a list of the hosts which will run NIS servers. m2 is in the list of NIS server hosts. Please continue to add the names for the other hosts, one per line. When you are done with the list, type a <control D>.
next host to add: m2 next host to add: <CTRL-D>
Hosts added are put into the file /var/yp/ypservers.Alternatively, manually edit the /var/yp/ypservers file and then “cd /var/yp; make”
Configuring a Master NIS Server
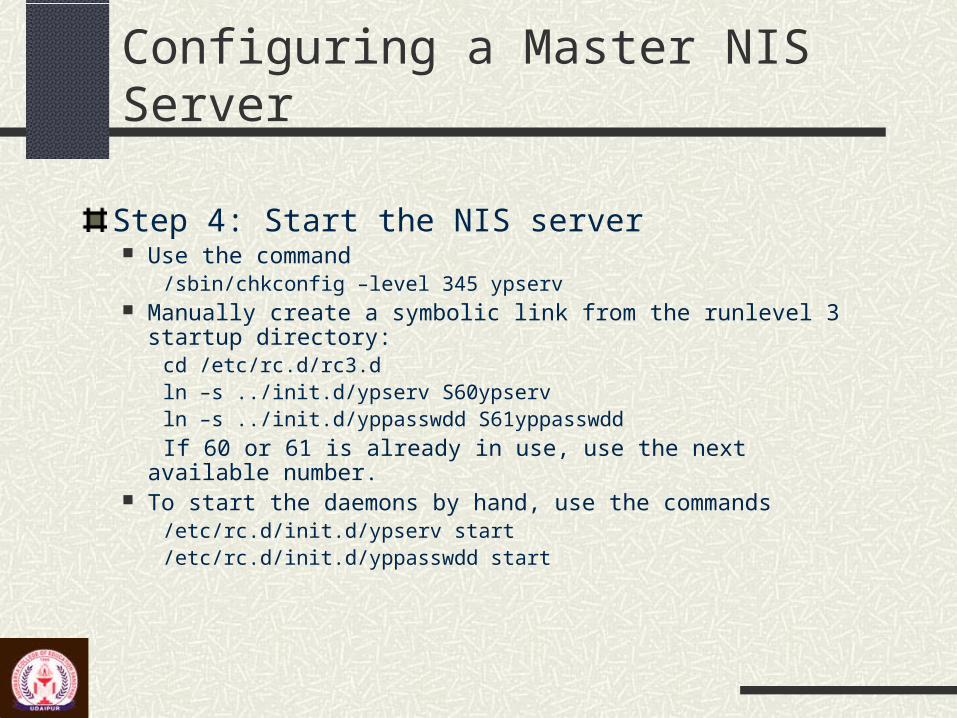
Step 4: Start the NIS server Use the command
/sbin/chkconfig –level 345 ypserv Manually create a symbolic link from the runlevel 3 startup directory:
cd /etc/rc.d/rc3.dln –s ../init.d/ypserv S60ypservln –s ../init.d/yppasswdd S61yppasswdd
If 60 or 61 is already in use, use the next available number. To start the daemons by hand, use the commands
/etc/rc.d/init.d/ypserv start/etc/rc.d/init.d/yppasswdd start
Configuring an NIS Client
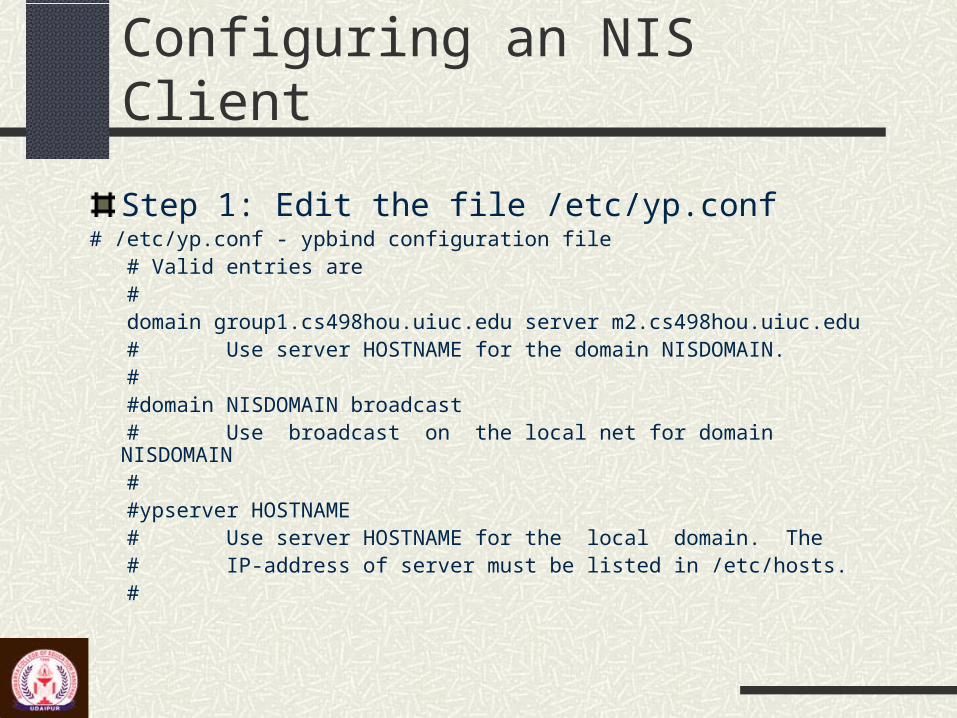
Step 1: Edit the file /etc/yp.conf# /etc/yp.conf - ypbind configuration file # Valid entries are # domain group1.cs498hou.uiuc.edu server m2.cs498hou.uiuc.edu # Use server HOSTNAME for the domain NISDOMAIN. # #domain NISDOMAIN broadcast # Use broadcast on the local net for domain NISDOMAIN # #ypserver HOSTNAME # Use server HOSTNAME for the local domain. The # IP-address of server must be listed in /etc/hosts. #
Configuring an NIS Client
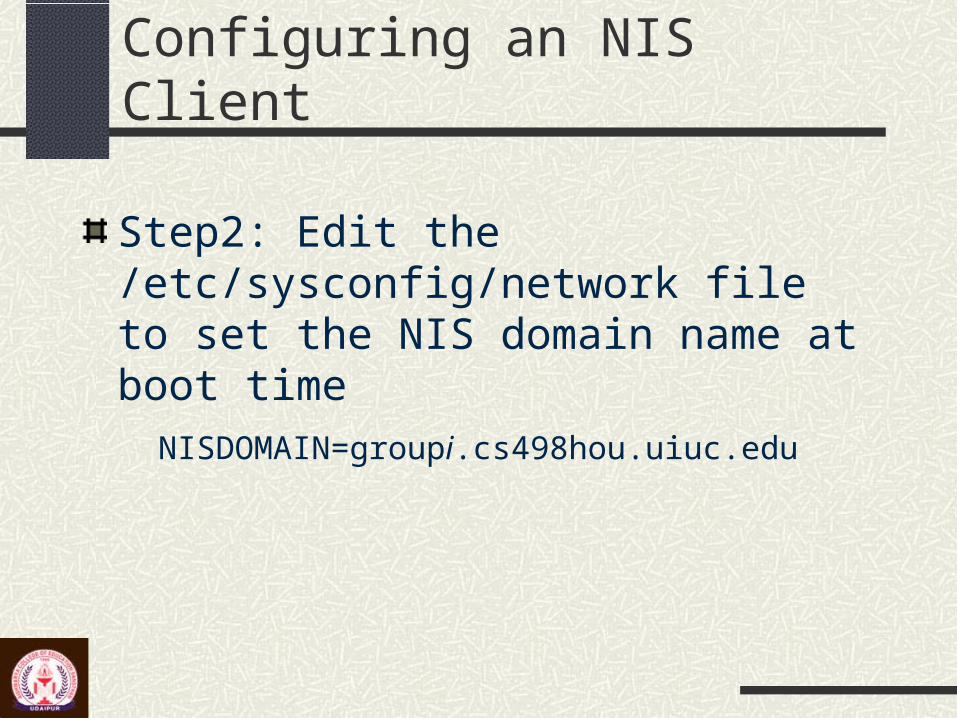
Step2: Edit the /etc/sysconfig/network file to set the NIS domain name at boot time
NISDOMAIN=groupi.cs498hou.uiuc.edu
Configuring a NIS Client
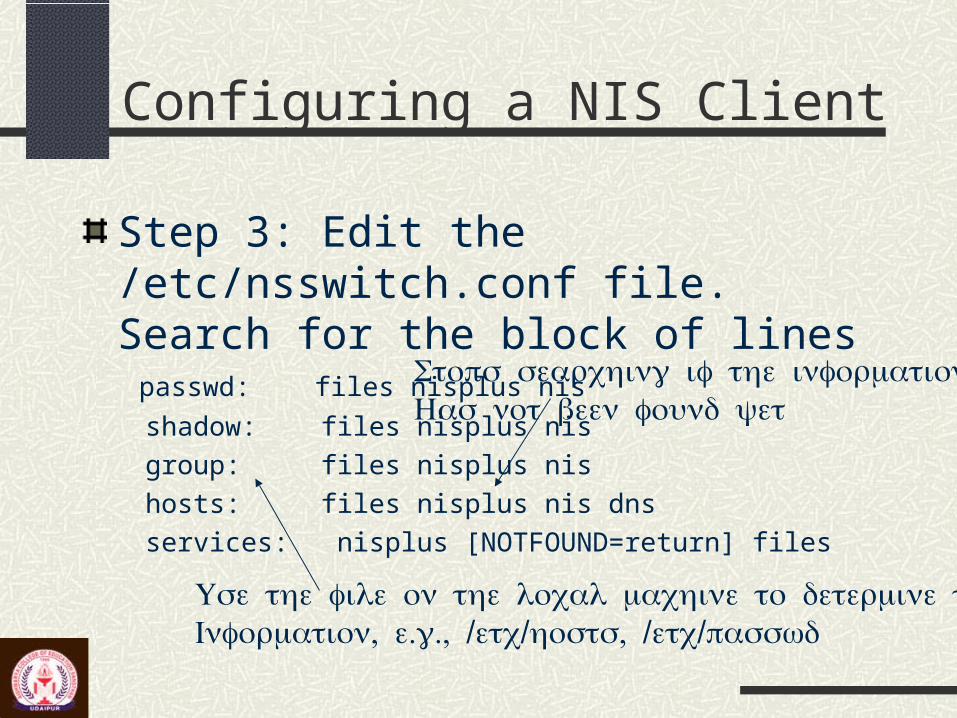
Step 3: Edit the /etc/nsswitch.conf file. Search for the block of lines
passwd: files nisplus nis
shadow: files nisplus nis
group: files nisplus nis
hosts: files nisplus nis dns
services: nisplus [NOTFOUND=return] files
Configuring an NIS Client
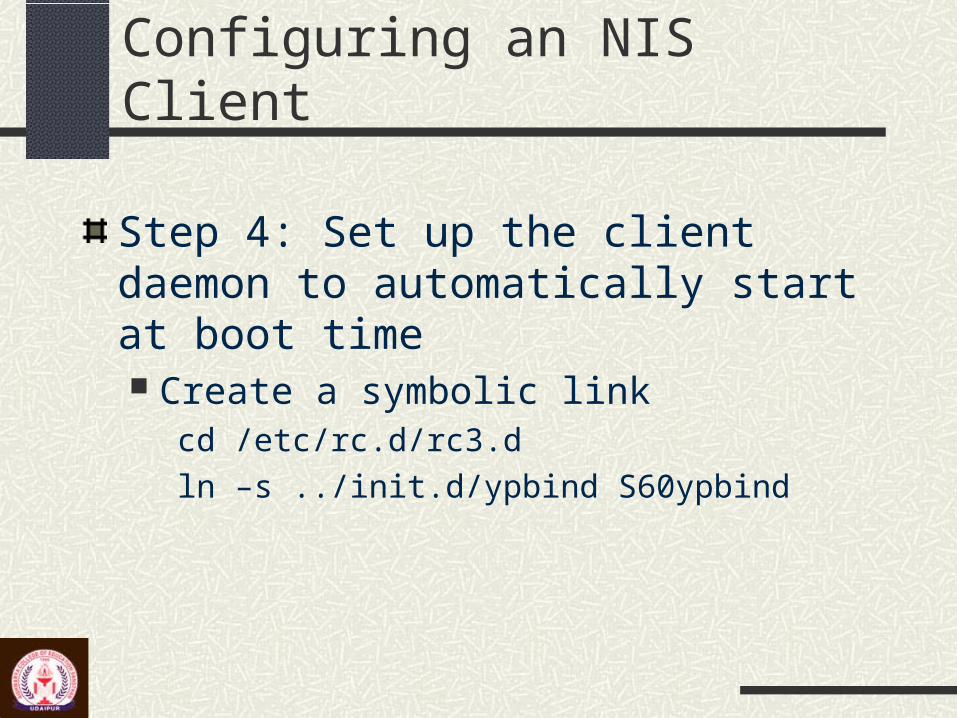
Step 4: Set up the client daemon to automatically start at boot time Create a symbolic link
cd /etc/rc.d/rc3.d
ln –s ../init.d/ypbind S60ypbind
Testing the Client
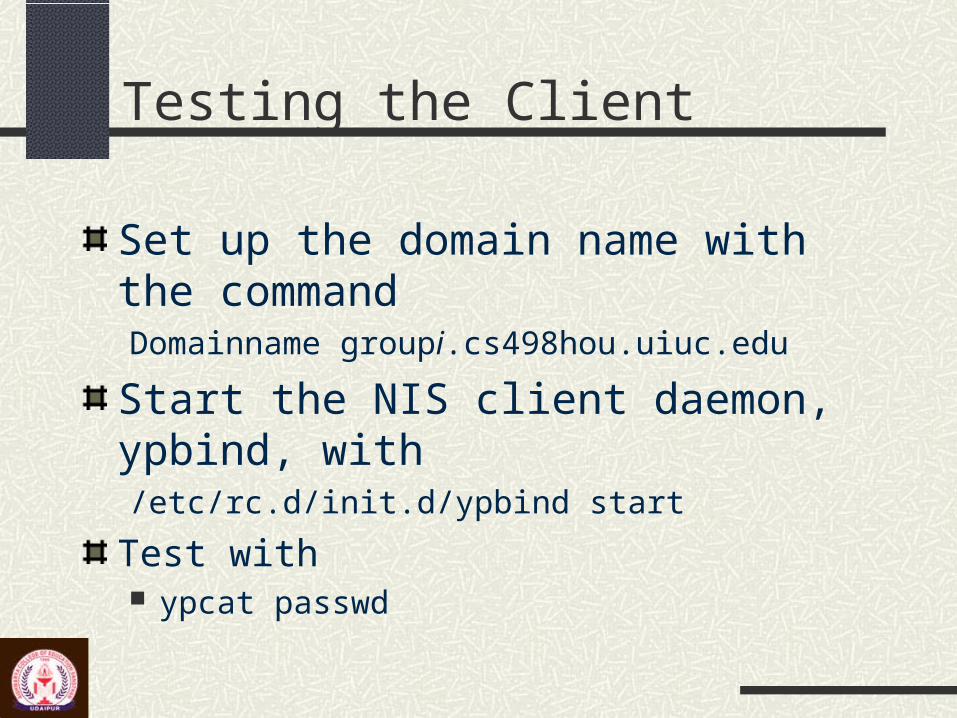
Set up the domain name with the commandDomainname groupi.cs498hou.uiuc.edu
Start the NIS client daemon, ypbind, with/etc/rc.d/init.d/ypbind start
Test with ypcat passwd
Configuring an NIS Secondary Server
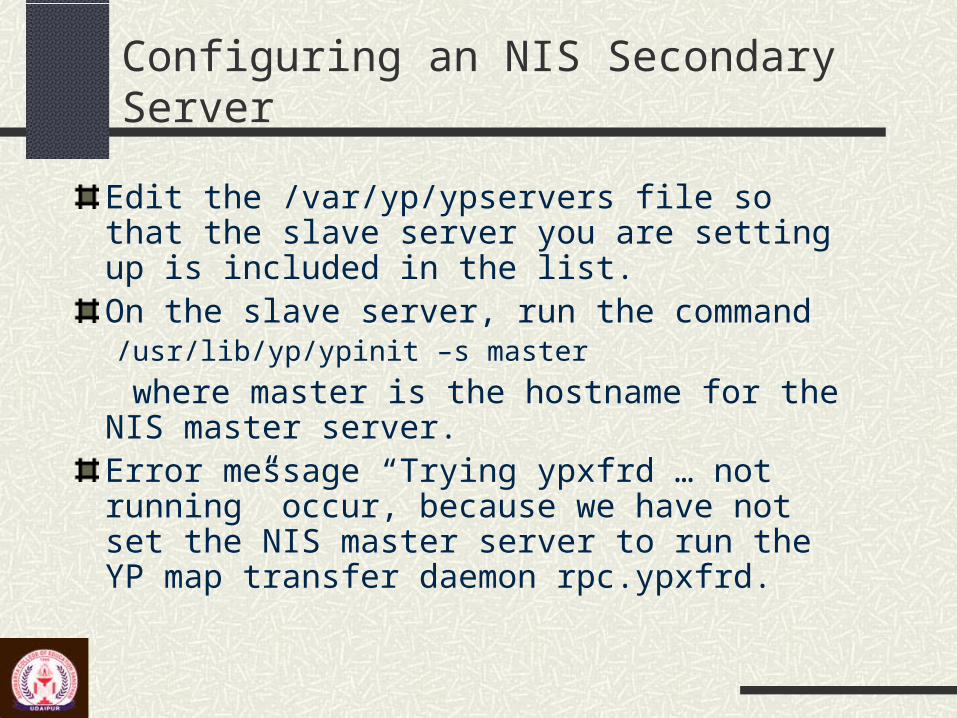
Edit the /var/yp/ypservers file so that the slave server you are setting up is included in the list.On the slave server, run the command/usr/lib/yp/ypinit –s master
where master is the hostname for the NIS master server.Error message “Trying ypxfrd … not running” occur, because we have not set the NIS master server to run the YP map transfer daemon rpc.ypxfrd.
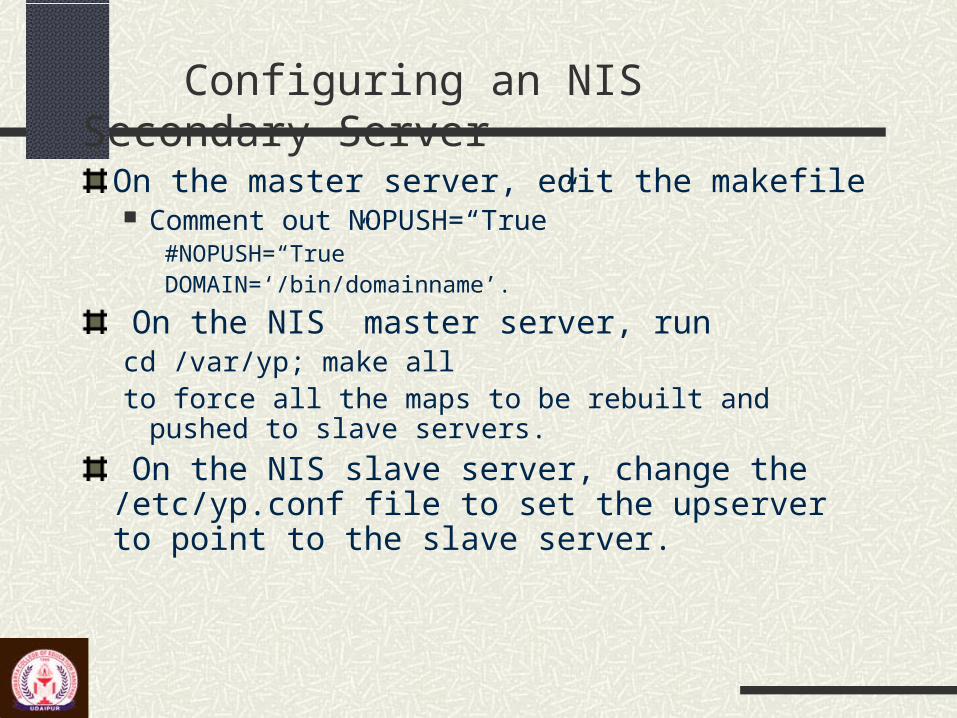
Configuring an NIS Secondary ServerOn the master server, edit the makefile Comment out NOPUSH=“True”
#NOPUSH=“True”DOMAIN=‘/bin/domainname’.
On the NIS master server, runcd /var/yp; make allto force all the maps to be rebuilt and pushed to slave
servers.
On the NIS slave server, change the /etc/yp.conf file to set the upserver to point to the slave server.
HTTP
Reading:
1. Red hat Linux 9: Red Hat Linux Reference Chapter 10 Apache HTTP Server
2. Red Hat Linux 9: Red Hat Linux Customization Guide Chapter 19 Apache HTTP Server Configuration
Directives in Apache Configuration File/etc/httpd/conf/httpd.confDirectives Listen: identifies the ports on which the Web server will
accept incoming requests. By default, the Apache HTTP Server is set to listen to port 80 for non-secure Web communications and (in the /etc/httpd/conf.d/ssl.conf which defines any secure servers) to port 443 for secure Web communications.
ServerRoot: sets the top-level directory which contains the server's files. Both the secure server and the non-secure server set the ServerRoot directive is set to "/etc/httpd".
Directives in Apache Configuration FileDirectives User: sets the user name of the server process and determines
what files the server is allowed to access. By default User is set to apache.
Group: specifies the group name of the Apache HTTP Server processes. By default Group is set to apache.
ServerAdmin: sets the email address of the Web server administrator. This email address will show up in error messages on server-generated Web pages.
A common way to set up ServerAdmin is to set it to [email protected]. Then alias webmaster to the person responsible for the Web server in /etc/aliases and run /usr/bin/newaliases.
Directives in Apache Configuration FileDirectives ServerName: sets a hostname and port number
(matching the Listen directive) for the server. The ServerName does not need to match the machine's actual hostname. However, the value specified in ServerName must be a valid Domain Name Service (DNS) name that can be resolved by the system.
DocumentRoot: sets the directory which contains most of the HTML files which is served in response to requests. The default is the /var/www/html directory.

Directives in Apache Configuration File
Directives Directory <Directory /path/to/directory> and
</Directory> tags create what is referred to as a container and are used to enclose a group of configuration directives meant to apply only to a particular directory and its subdirectories.
<Directory /> Options FollowSymLinks Indexes
AllowOverride None
</Directory>

AIM&IT
Question & Answers
Question & Answer for the session
AIM&IT
Summary/ Conclusion
Detailed Summary or Conclusion about Data Communication