repair and remedial waterproofing of buildingswidth less than 5 mm width 0 to 10 mm . repair...
TRANSCRIPT
Repair and Remedial Waterproofing of Buildings
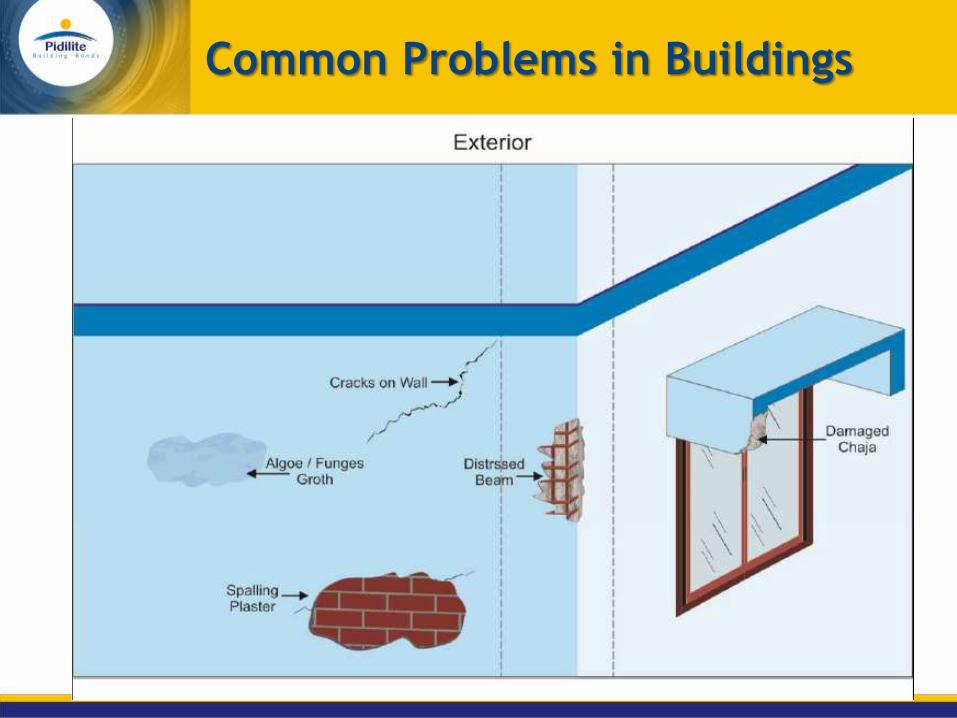
Common Problems in Buildings
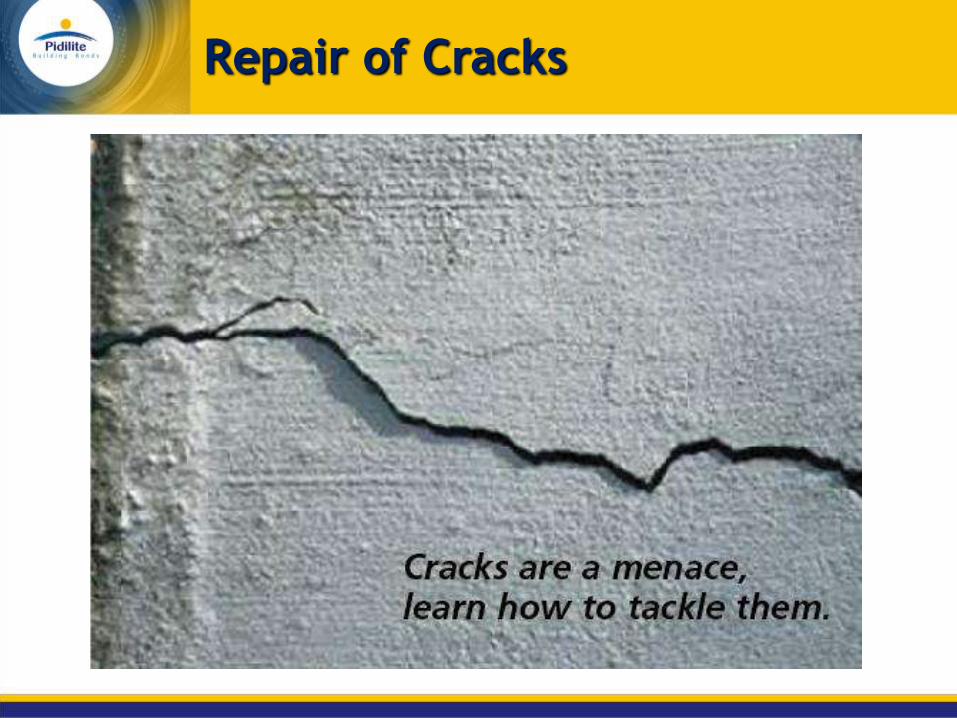
Repair of Cracks
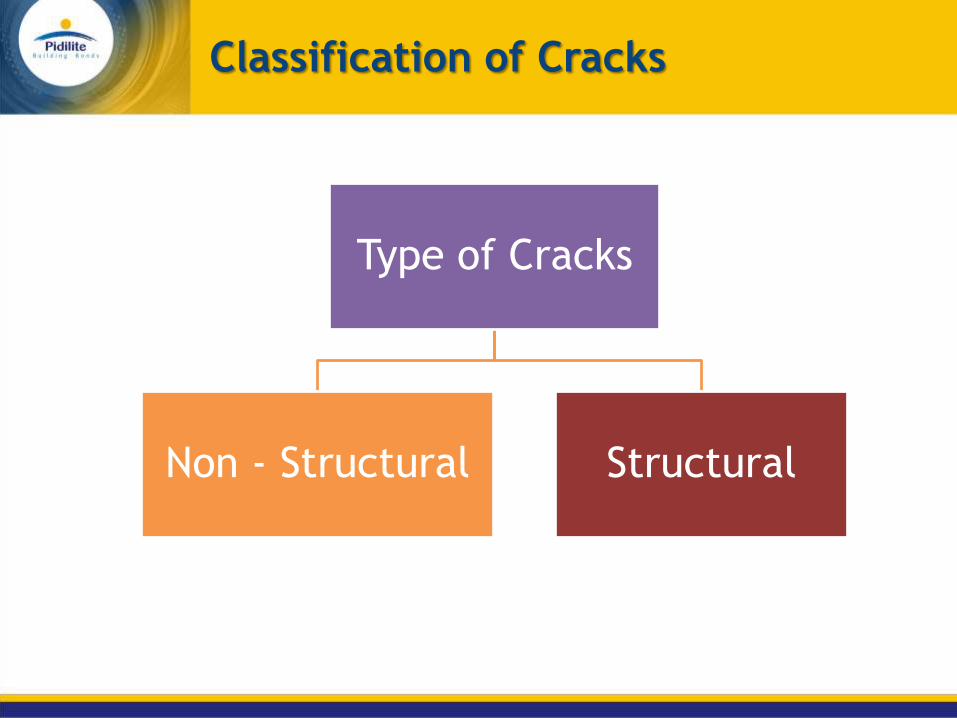
Classification of Cracks
Type of Cracks
Non - Structural Structural
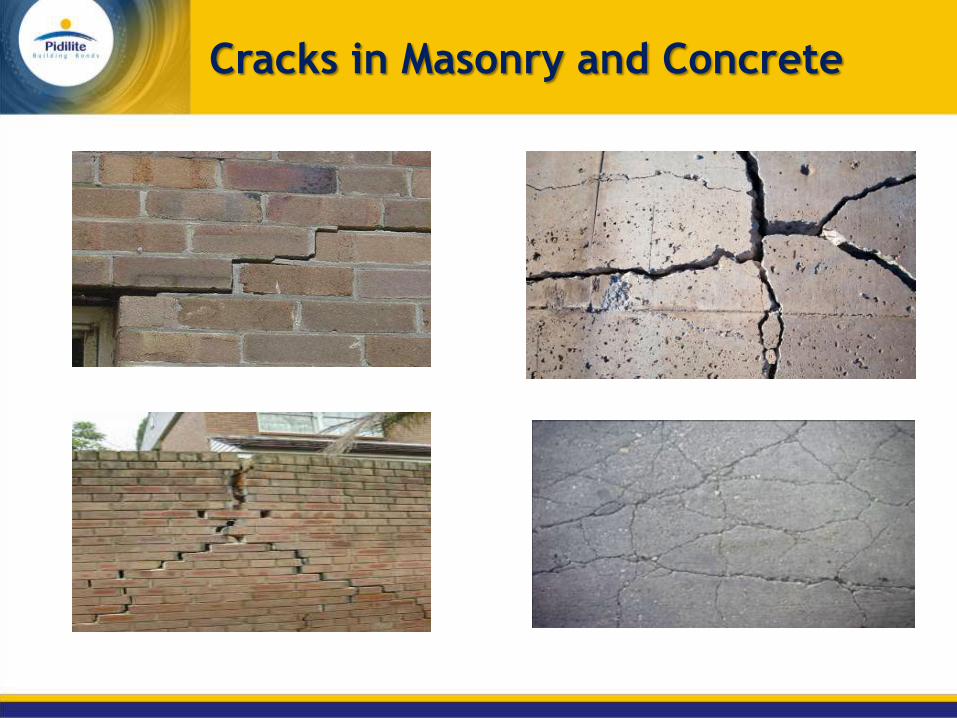
Cracks in Masonry and Concrete
Repair of Cracks in Masonry Wall
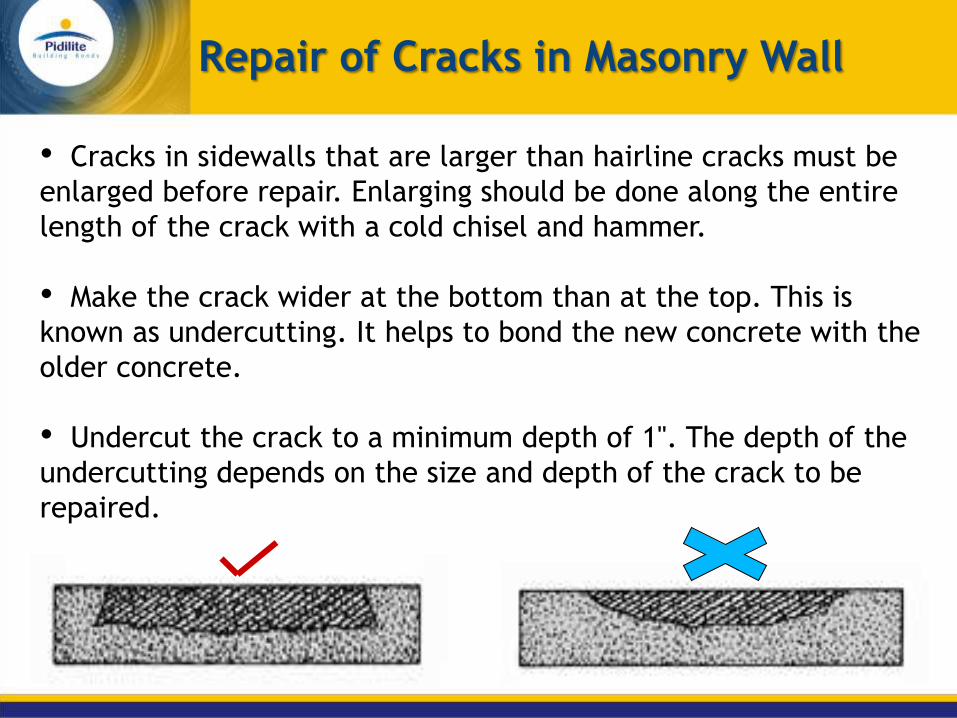
• Cracks in sidewalls that are larger than hairline cracks must be
enlarged before repair. Enlarging should be done along the entire
length of the crack with a cold chisel and hammer.
• Make the crack wider at the bottom than at the top. This is
known as undercutting. It helps to bond the new concrete with the
older concrete.
• Undercut the crack to a minimum depth of 1". The depth of the
undercutting depends on the size and depth of the crack to be
repaired.
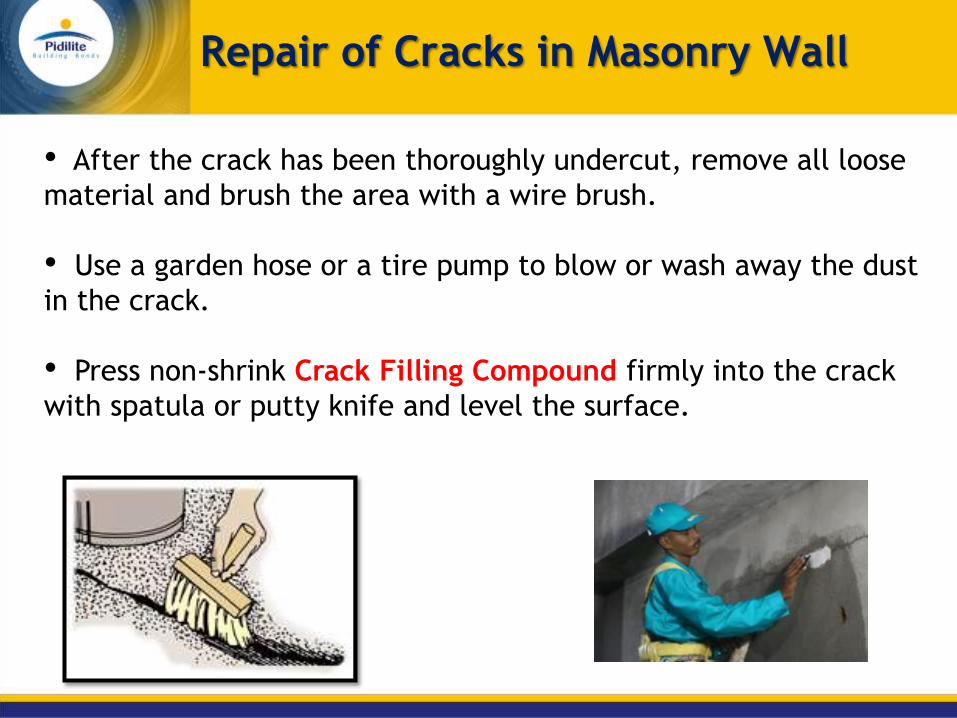
• After the crack has been thoroughly undercut, remove all loose
material and brush the area with a wire brush.
• Use a garden hose or a tire pump to blow or wash away the dust
in the crack.
• Press non-shrink Crack Filling Compound firmly into the crack
with spatula or putty knife and level the surface.
Repair of Cracks in Masonry Wall
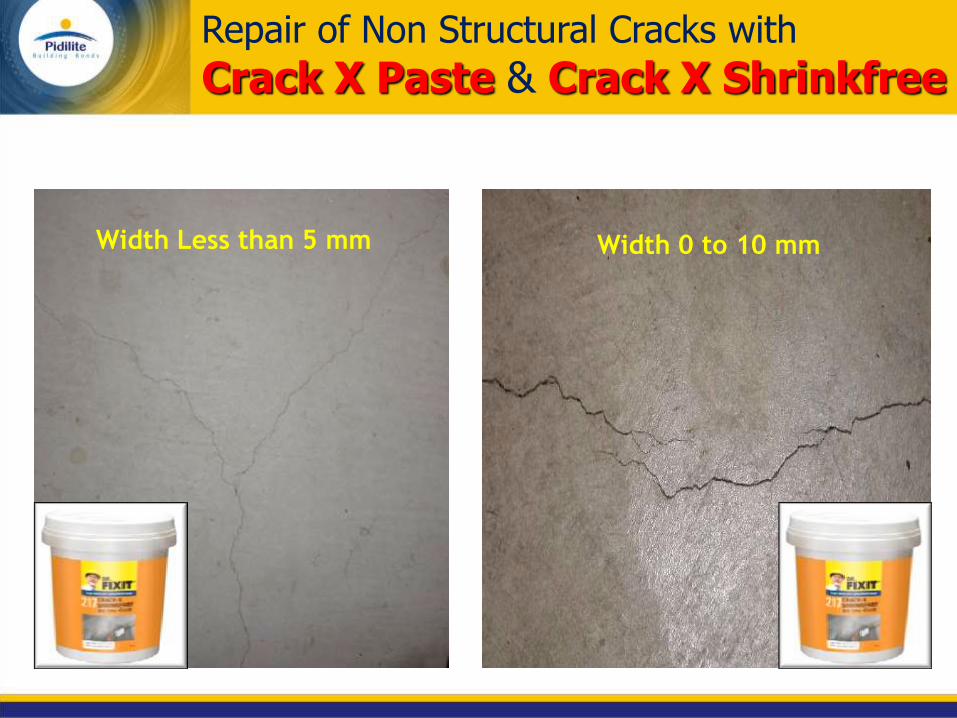
Repair of Non Structural Cracks with
Crack X Paste & Crack X Shrinkfree
Width Less than 5 mm Width 0 to 10 mm
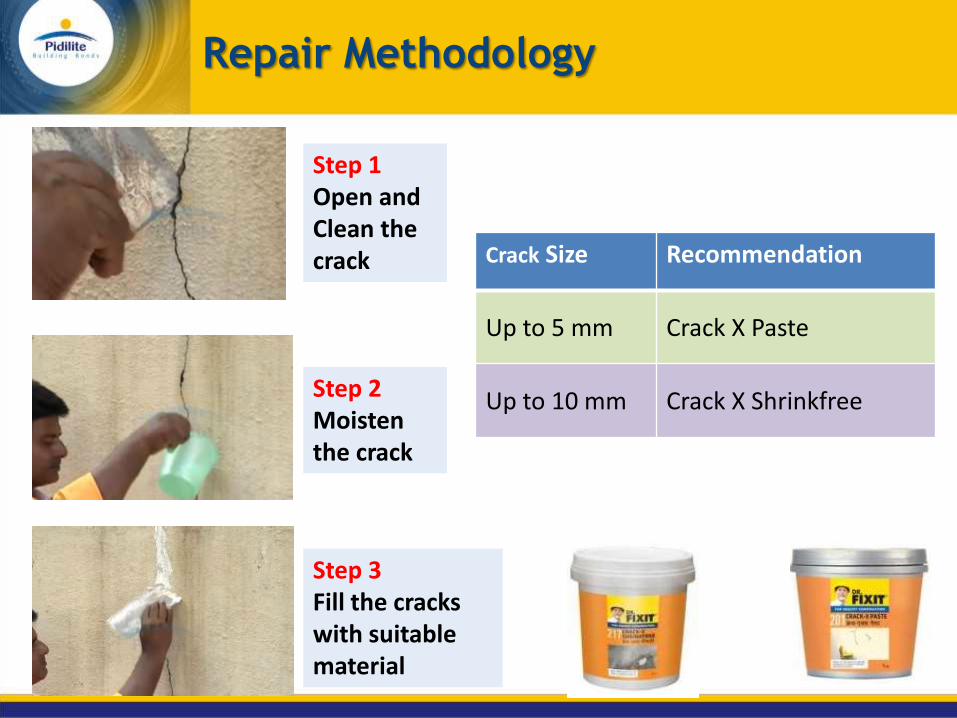
Repair Methodology
Step 1 Open and Clean the crack
Step 2 Moisten the crack
Step 3 Fill the cracks with suitable material
Crack Size Recommendation
Up to 5 mm Crack X Paste
Up to 10 mm Crack X Shrinkfree
Repair of Cracks on Concrete Wall
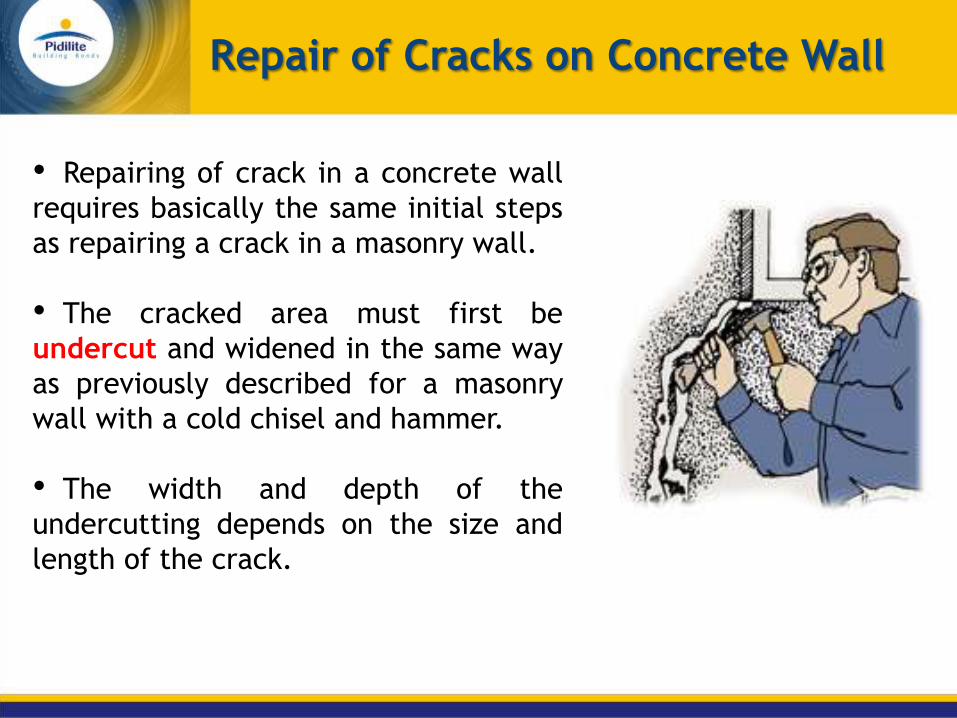
• Repairing of crack in a concrete wall
requires basically the same initial steps
as repairing a crack in a masonry wall.
• The cracked area must first be
undercut and widened in the same way
as previously described for a masonry
wall with a cold chisel and hammer.
• The width and depth of the
undercutting depends on the size and
length of the crack.
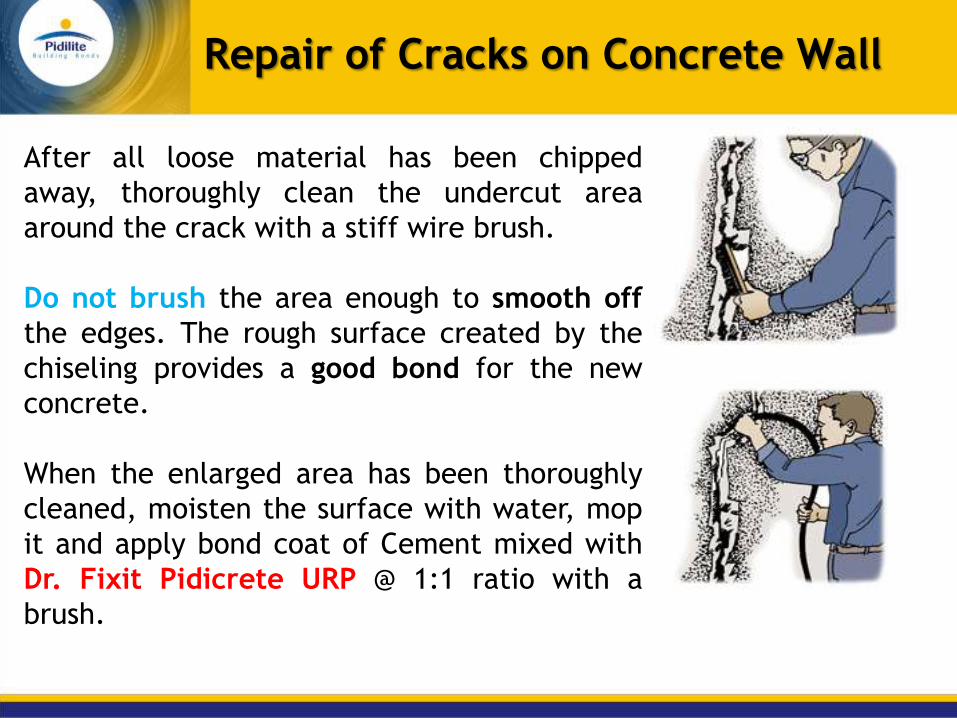
After all loose material has been chipped
away, thoroughly clean the undercut area
around the crack with a stiff wire brush.
Do not brush the area enough to smooth off
the edges. The rough surface created by the
chiseling provides a good bond for the new
concrete.
When the enlarged area has been thoroughly
cleaned, moisten the surface with water, mop
it and apply bond coat of Cement mixed with
Dr. Fixit Pidicrete URP @ 1:1 ratio with a
brush.
Repair of Cracks on Concrete Wall
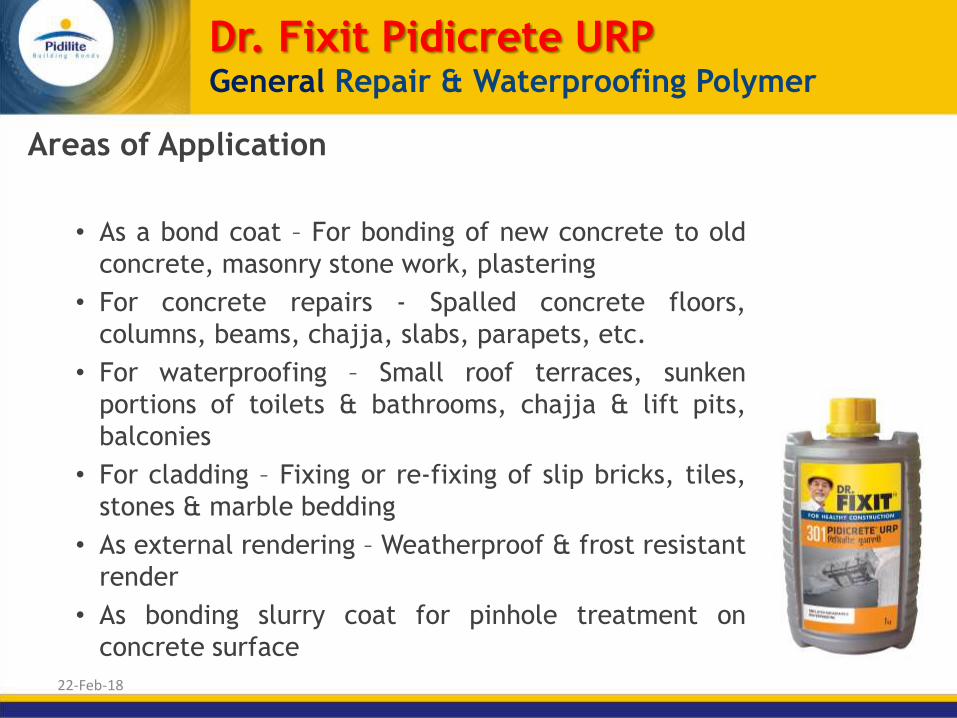
Dr. Fixit Pidicrete URP General Repair & Waterproofing Polymer
Areas of Application
• As a bond coat – For bonding of new concrete to old
concrete, masonry stone work, plastering
• For concrete repairs - Spalled concrete floors,
columns, beams, chajja, slabs, parapets, etc.
• For waterproofing – Small roof terraces, sunken
portions of toilets & bathrooms, chajja & lift pits,
balconies
• For cladding – Fixing or re-fixing of slip bricks, tiles,
stones & marble bedding
• As external rendering – Weatherproof & frost resistant
render
• As bonding slurry coat for pinhole treatment on
concrete surface
22-Feb-18
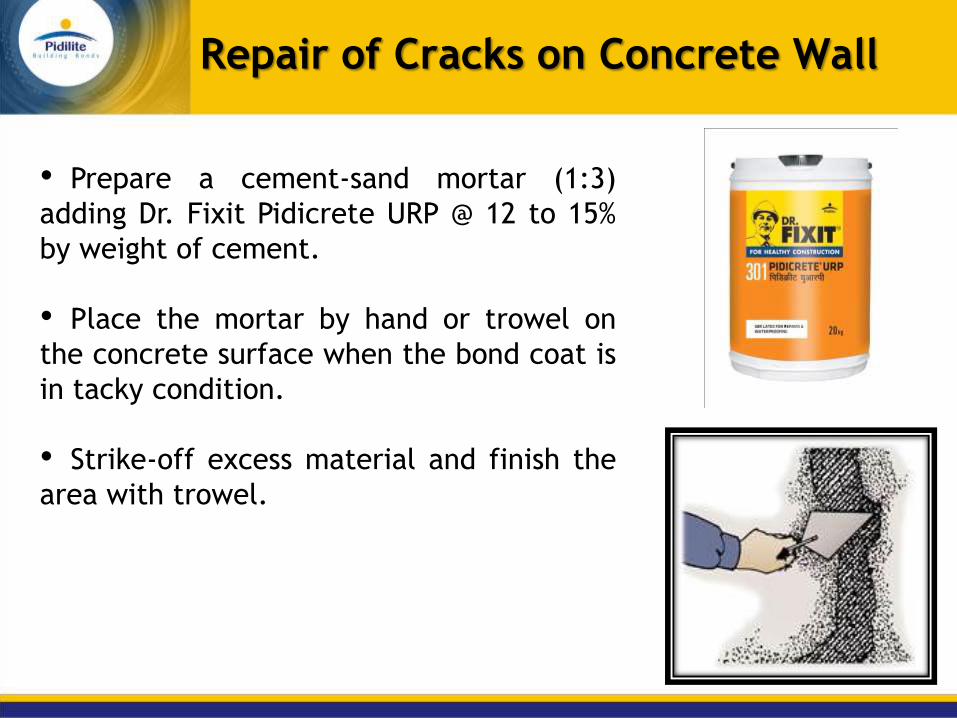
• Prepare a cement-sand mortar (1:3)
adding Dr. Fixit Pidicrete URP @ 12 to 15%
by weight of cement.
• Place the mortar by hand or trowel on
the concrete surface when the bond coat is
in tacky condition.
• Strike-off excess material and finish the
area with trowel.
Repair of Cracks on Concrete Wall
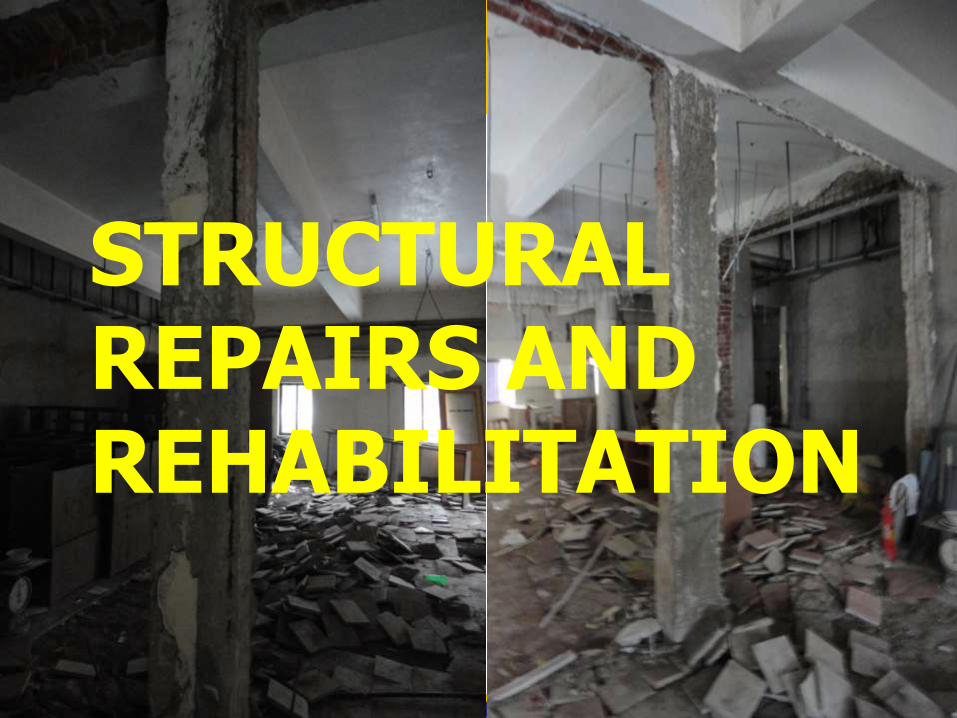
STRUCTURAL REPAIRS AND REHABILITATION
Introducing
REPAIRPRO
Solution Approach towards
Building Repairs
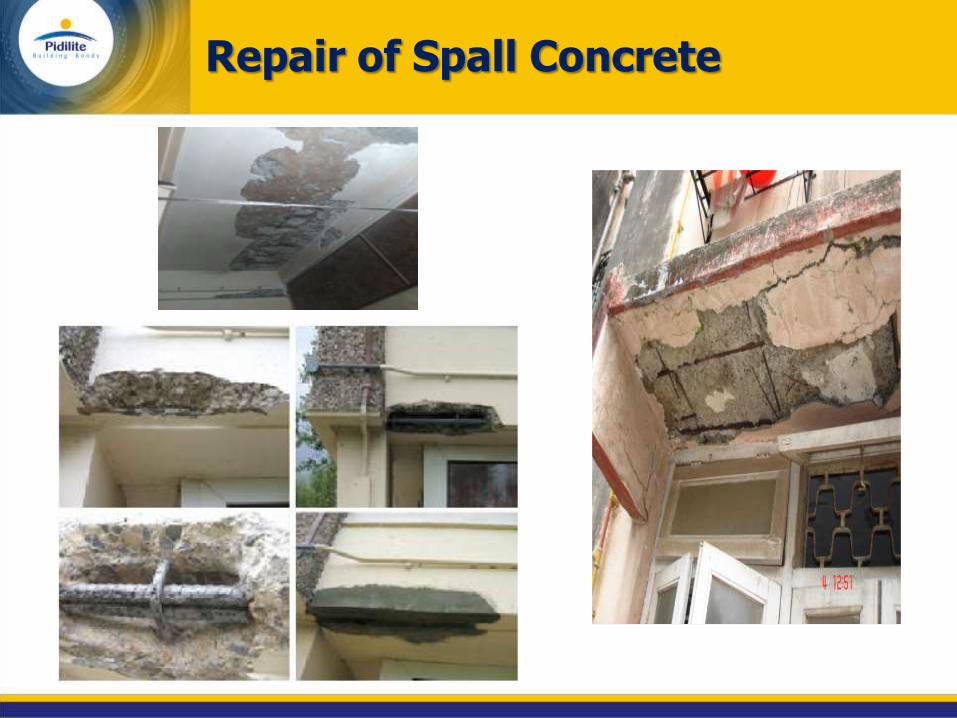
Repair of Spall Concrete
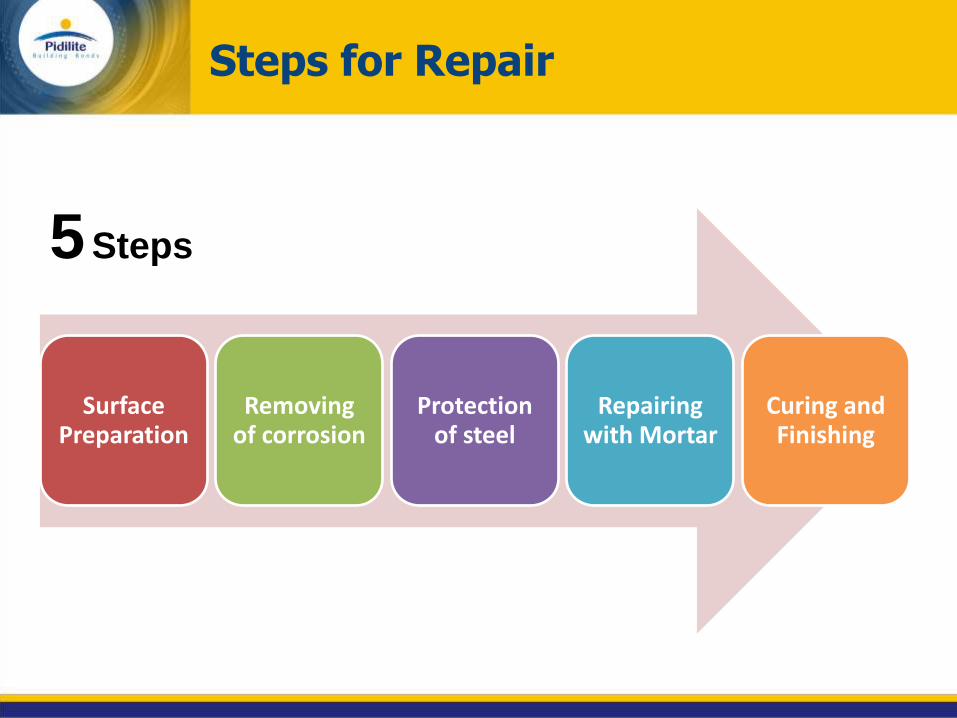
Steps for Repair
Surface Preparation
Removing of corrosion
Protection of steel
Repairing with Mortar
Curing and Finishing
5 Steps
Step 1 – Surface Preparation
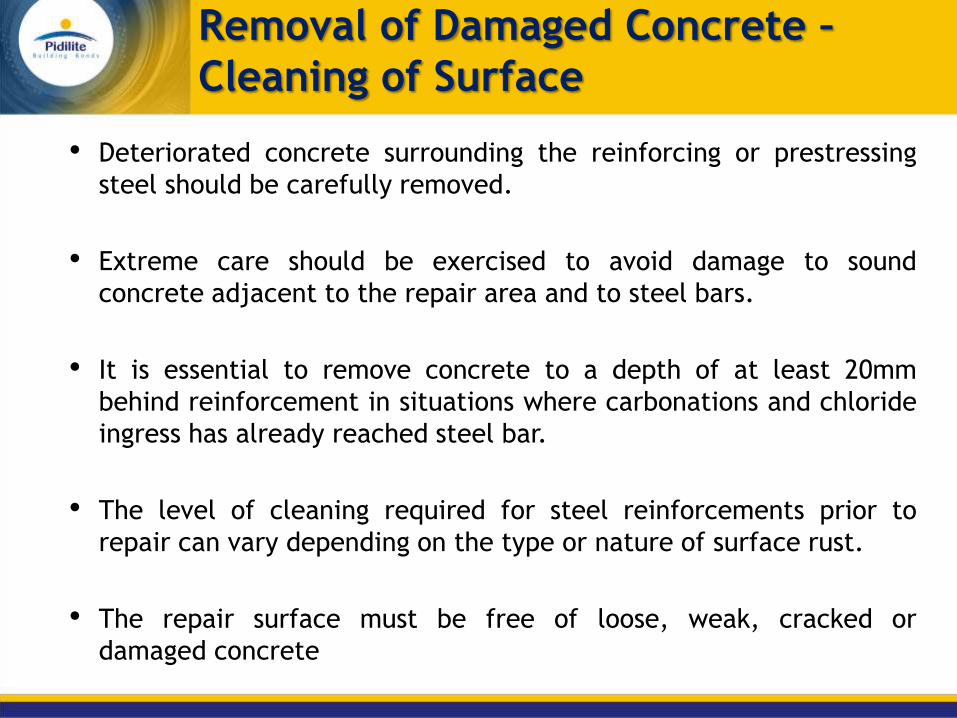
Removal of Damaged Concrete –
Cleaning of Surface
• Deteriorated concrete surrounding the reinforcing or prestressing
steel should be carefully removed.
• Extreme care should be exercised to avoid damage to sound
concrete adjacent to the repair area and to steel bars.
• It is essential to remove concrete to a depth of at least 20mm
behind reinforcement in situations where carbonations and chloride
ingress has already reached steel bar.
• The level of cleaning required for steel reinforcements prior to
repair can vary depending on the type or nature of surface rust.
• The repair surface must be free of loose, weak, cracked or
damaged concrete

Concrete removal behind
reinforcement Water – blasting of concrete surface
Removal of Damaged Concrete –
Cleaning of Surface
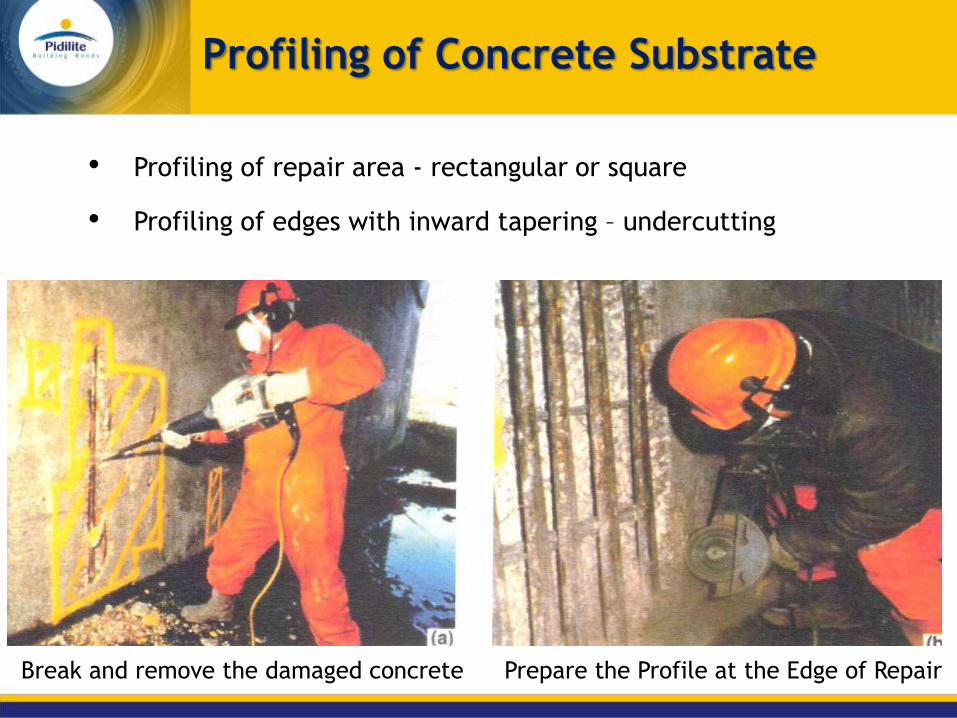
• Profiling of repair area - rectangular or square
• Profiling of edges with inward tapering – undercutting
•
Break and remove the damaged concrete Prepare the Profile at the Edge of Repair
Profiling of Concrete Substrate
Step 2 – Removing of Rust / Corrosion
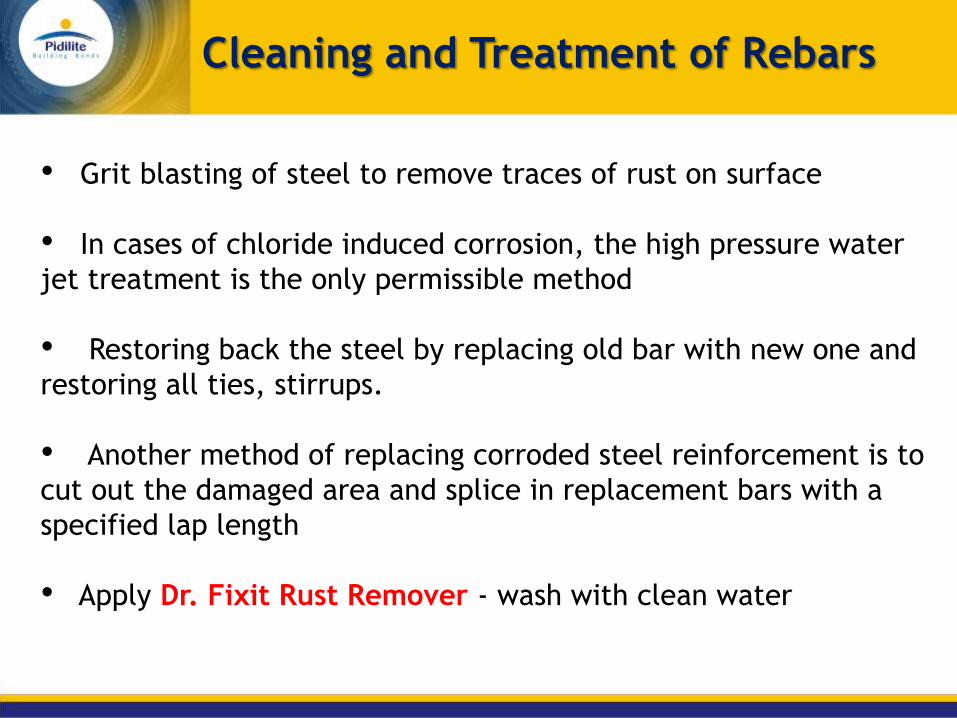
• Grit blasting of steel to remove traces of rust on surface
• In cases of chloride induced corrosion, the high pressure water
jet treatment is the only permissible method
• Restoring back the steel by replacing old bar with new one and
restoring all ties, stirrups.
• Another method of replacing corroded steel reinforcement is to
cut out the damaged area and splice in replacement bars with a
specified lap length
• Apply Dr. Fixit Rust Remover - wash with clean water
Cleaning and Treatment of Rebars
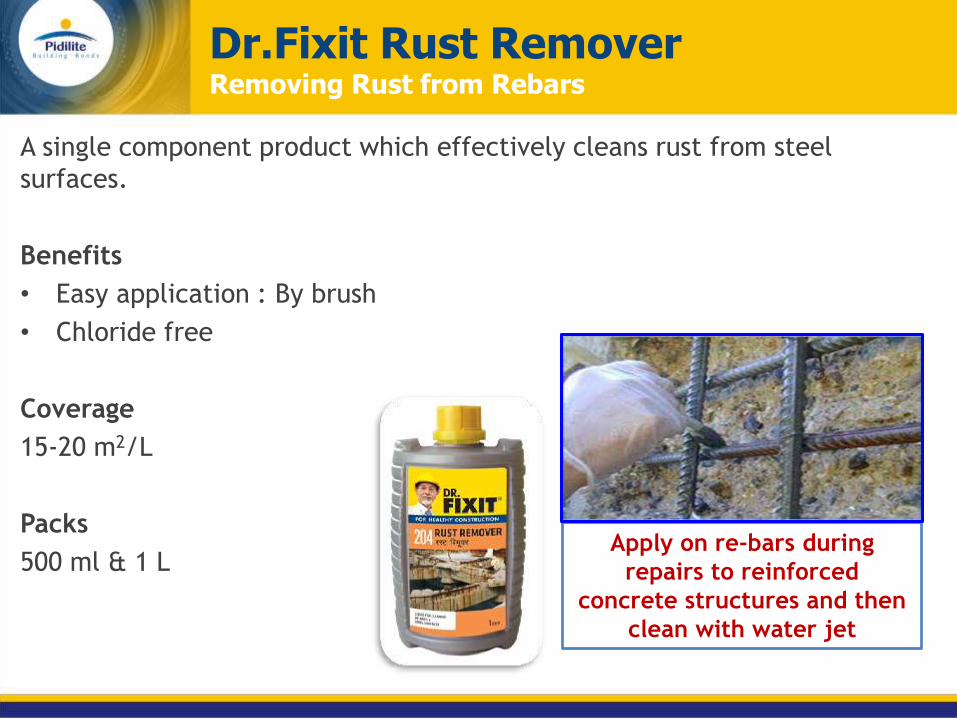
Dr.Fixit Rust Remover Removing Rust from Rebars
A single component product which effectively cleans rust from steel
surfaces.
Benefits
• Easy application : By brush
• Chloride free
Coverage
15-20 m2/L
Packs
500 ml & 1 L
Apply on re-bars during
repairs to reinforced
concrete structures and then
clean with water jet
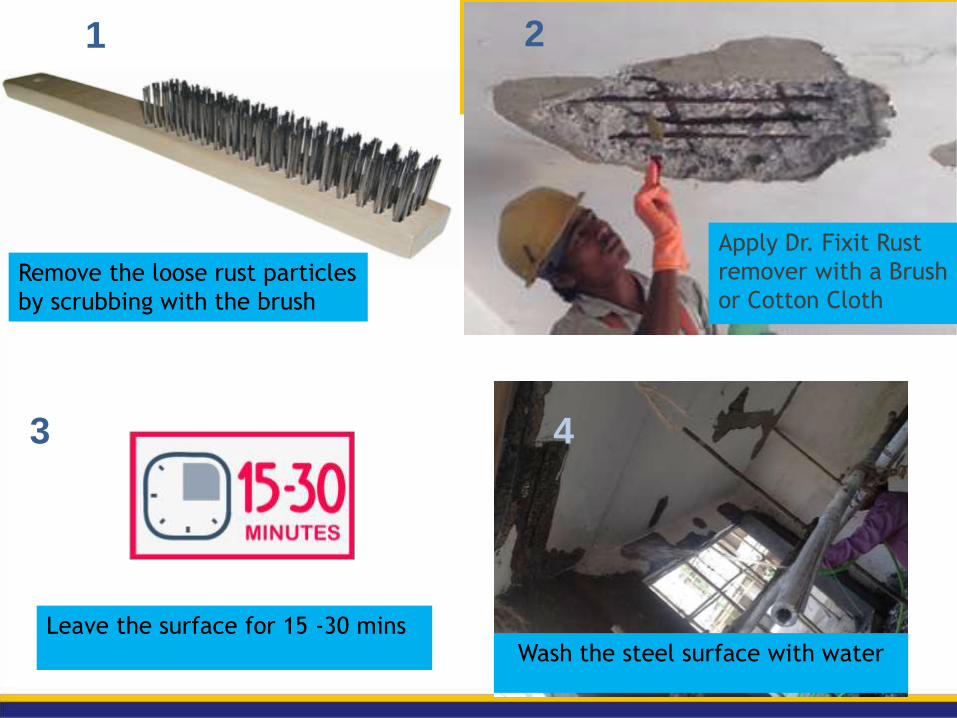
Apply Dr. Fixit Rust
remover with a Brush
or Cotton Cloth
Wash the steel surface with water
Remove the loose rust particles
by scrubbing with the brush
2
3
1
4
Leave the surface for 15 -30 mins
Step 3 – Protection to Reinforcement
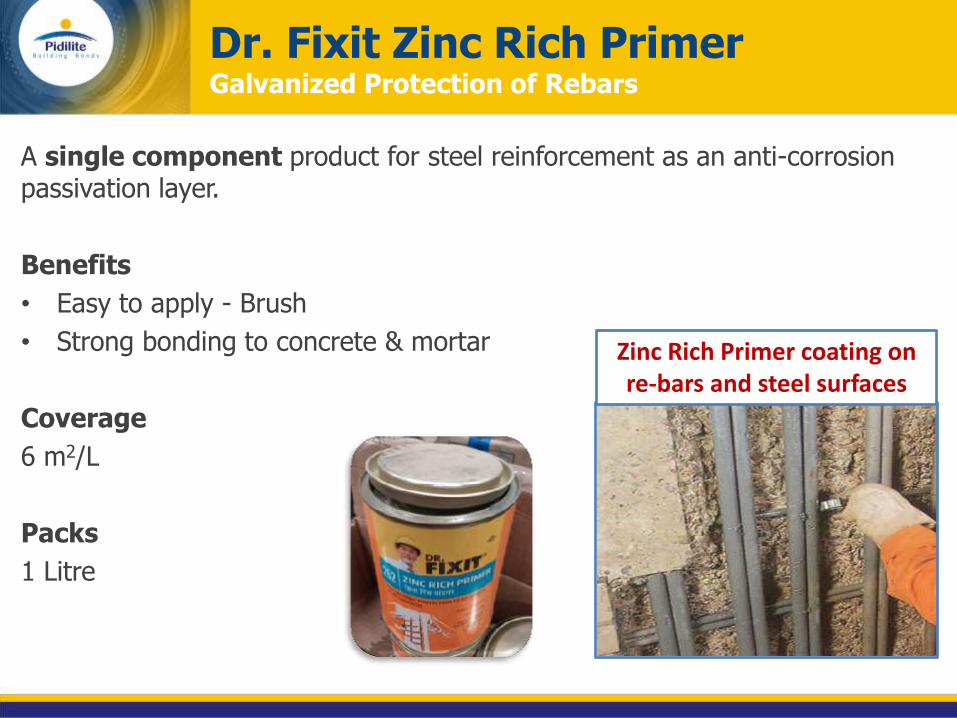
Dr. Fixit Zinc Rich Primer Galvanized Protection of Rebars
A single component product for steel reinforcement as an anti-corrosion passivation layer.
Benefits
• Easy to apply - Brush
• Strong bonding to concrete & mortar
Coverage
6 m2/L
Packs
1 Litre
Zinc Rich Primer coating on re-bars and steel surfaces
Step 4 – Repairing with Surface Patch
Repair Material
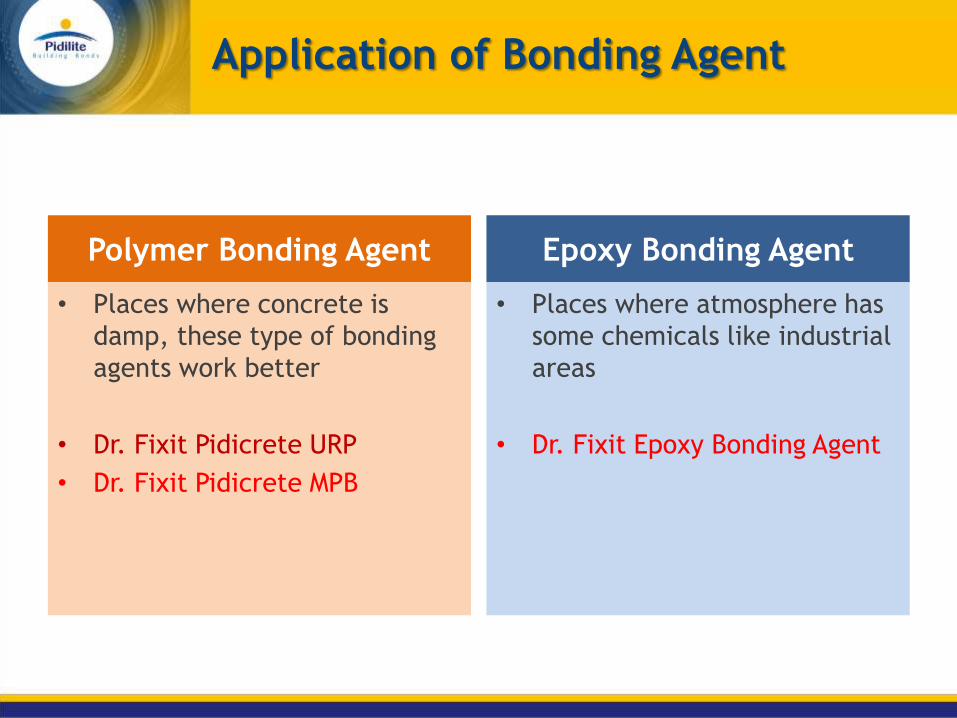
Application of Bonding Agent
Polymer Bonding Agent
• Places where concrete is
damp, these type of bonding
agents work better
• Dr. Fixit Pidicrete URP
• Dr. Fixit Pidicrete MPB
Epoxy Bonding Agent
• Places where atmosphere has
some chemicals like industrial
areas
• Dr. Fixit Epoxy Bonding Agent
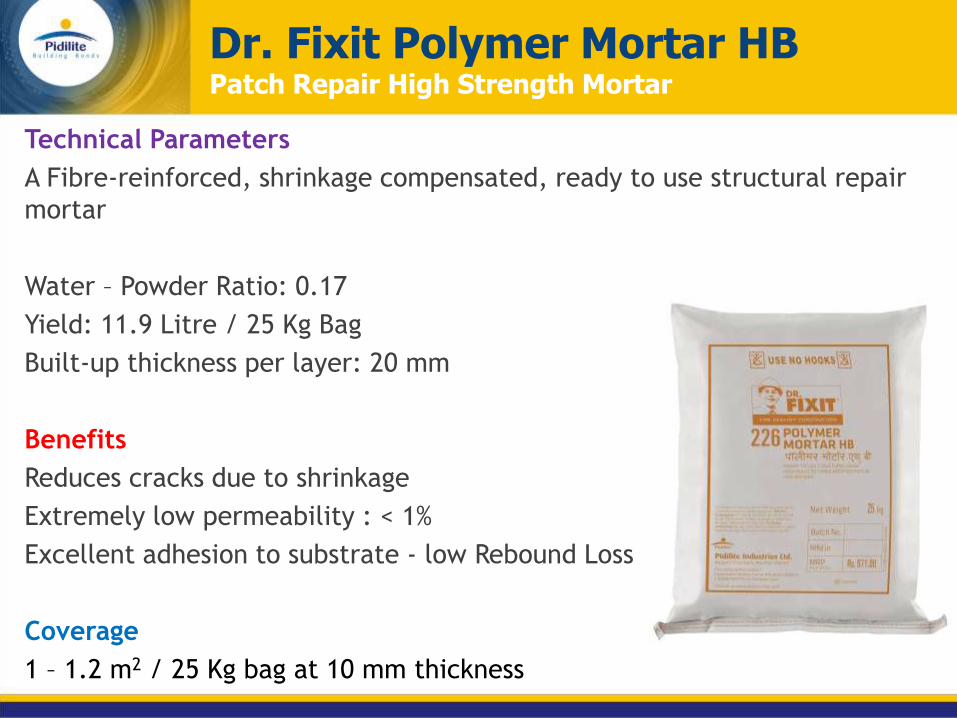
Dr. Fixit Polymer Mortar HB Patch Repair High Strength Mortar
Technical Parameters
A Fibre-reinforced, shrinkage compensated, ready to use structural repair
mortar
Water – Powder Ratio: 0.17
Yield: 11.9 Litre / 25 Kg Bag
Built-up thickness per layer: 20 mm
Benefits
Reduces cracks due to shrinkage
Extremely low permeability : < 1%
Excellent adhesion to substrate - low Rebound Loss
Coverage
1 – 1.2 m2 / 25 Kg bag at 10 mm thickness
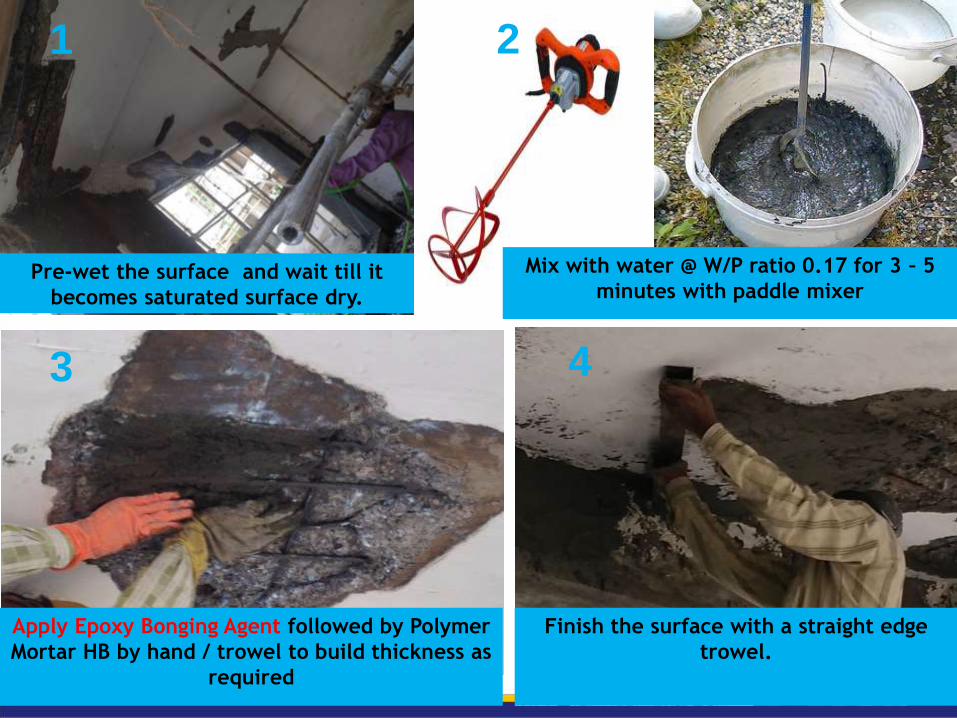
Pre-wet the surface and wait till it
becomes saturated surface dry.
Mix with water @ W/P ratio 0.17 for 3 – 5
minutes with paddle mixer
1 2
Apply Epoxy Bonging Agent followed by Polymer
Mortar HB by hand / trowel to build thickness as
required
3
Finish the surface with a straight edge
trowel.
4
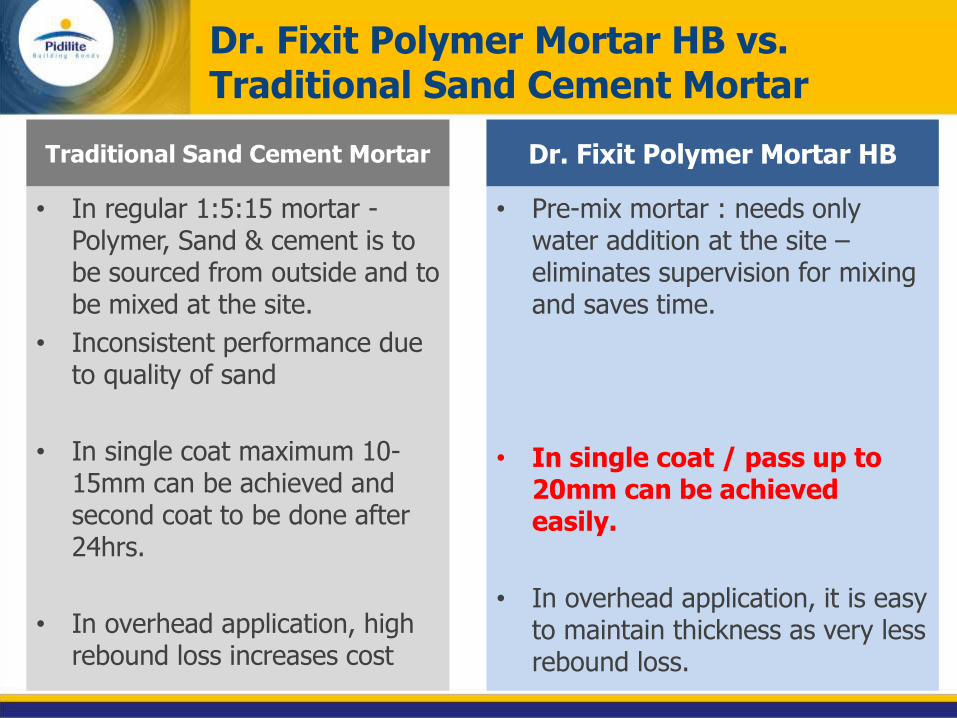
Dr. Fixit Polymer Mortar HB vs. Traditional Sand Cement Mortar
Traditional Sand Cement Mortar
• In regular 1:5:15 mortar - Polymer, Sand & cement is to be sourced from outside and to be mixed at the site.
• Inconsistent performance due to quality of sand
• In single coat maximum 10-15mm can be achieved and second coat to be done after 24hrs.
• In overhead application, high rebound loss increases cost
Dr. Fixit Polymer Mortar HB
• Pre-mix mortar : needs only water addition at the site – eliminates supervision for mixing and saves time.
• In single coat / pass up to 20mm can be achieved easily.
• In overhead application, it is easy to maintain thickness as very less rebound loss.
Step 5 – Finish & Curing
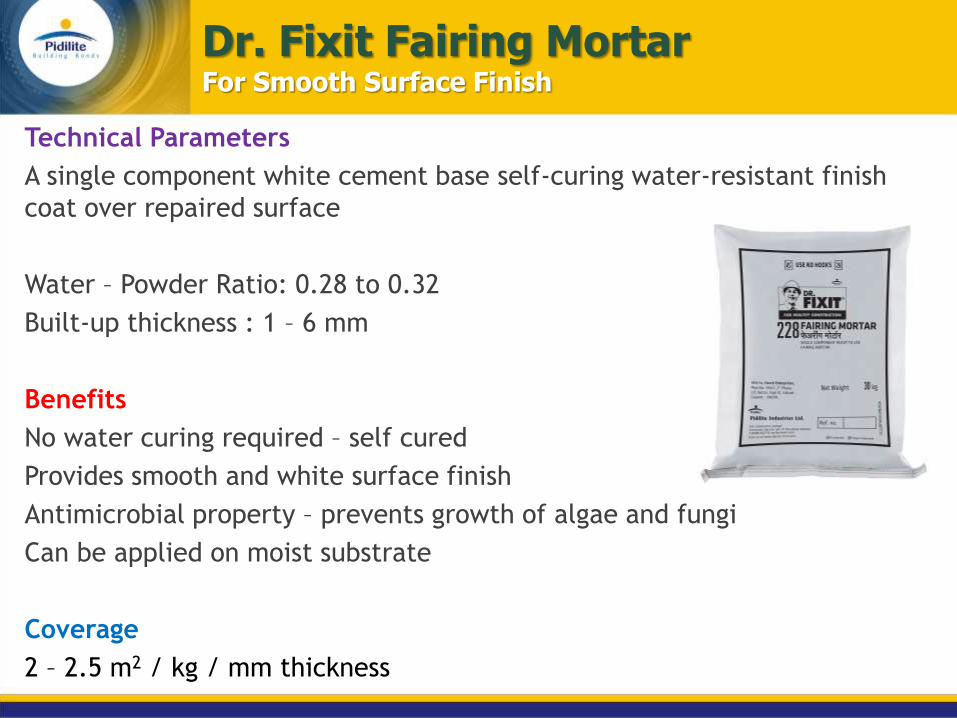
Technical Parameters
A single component white cement base self-curing water-resistant finish
coat over repaired surface
Water – Powder Ratio: 0.28 to 0.32
Built-up thickness : 1 – 6 mm
Benefits
No water curing required – self cured
Provides smooth and white surface finish
Antimicrobial property – prevents growth of algae and fungi
Can be applied on moist substrate
Coverage
2 – 2.5 m2 / kg / mm thickness
Dr. Fixit Fairing Mortar For Smooth Surface Finish
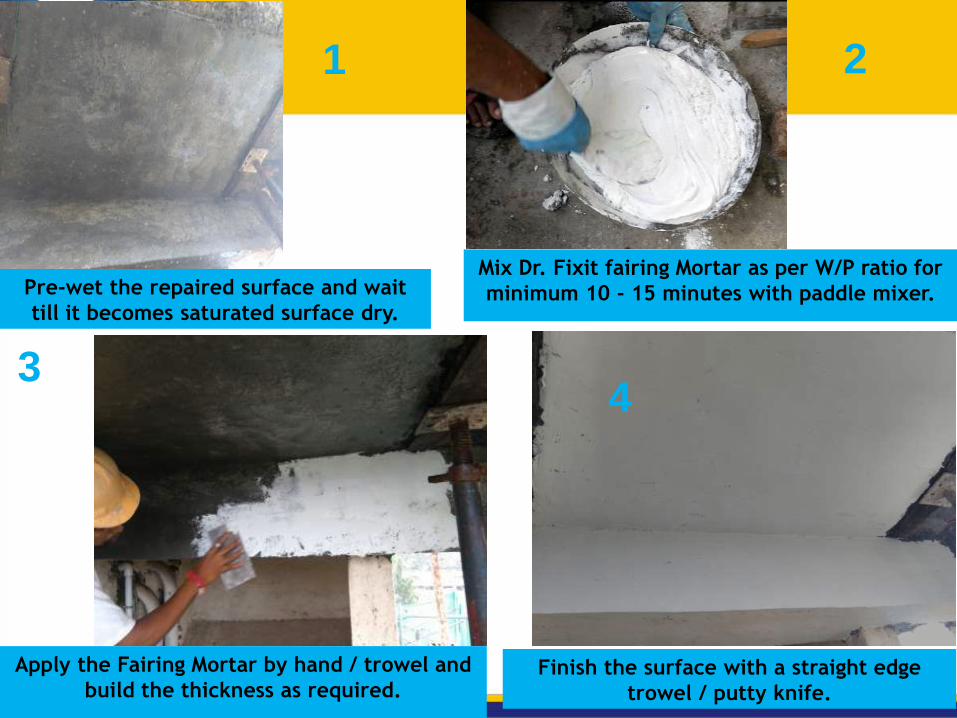
Pre-wet the repaired surface and wait
till it becomes saturated surface dry.
Mix Dr. Fixit fairing Mortar as per W/P ratio for
minimum 10 - 15 minutes with paddle mixer.
2
Apply the Fairing Mortar by hand / trowel and
build the thickness as required. Finish the surface with a straight edge
trowel / putty knife.
3
1
4
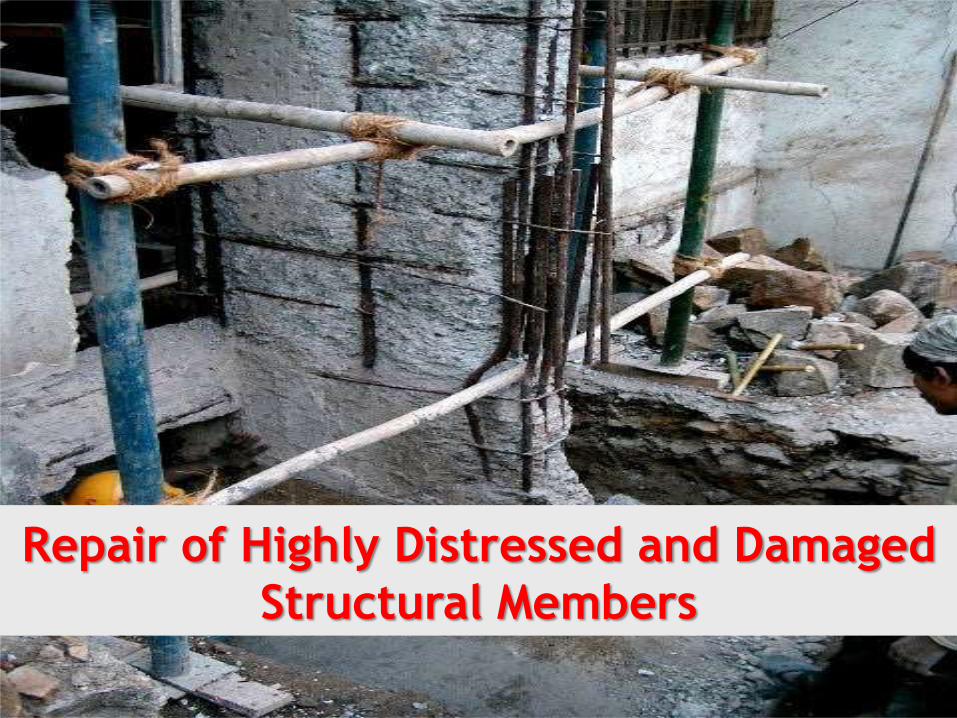
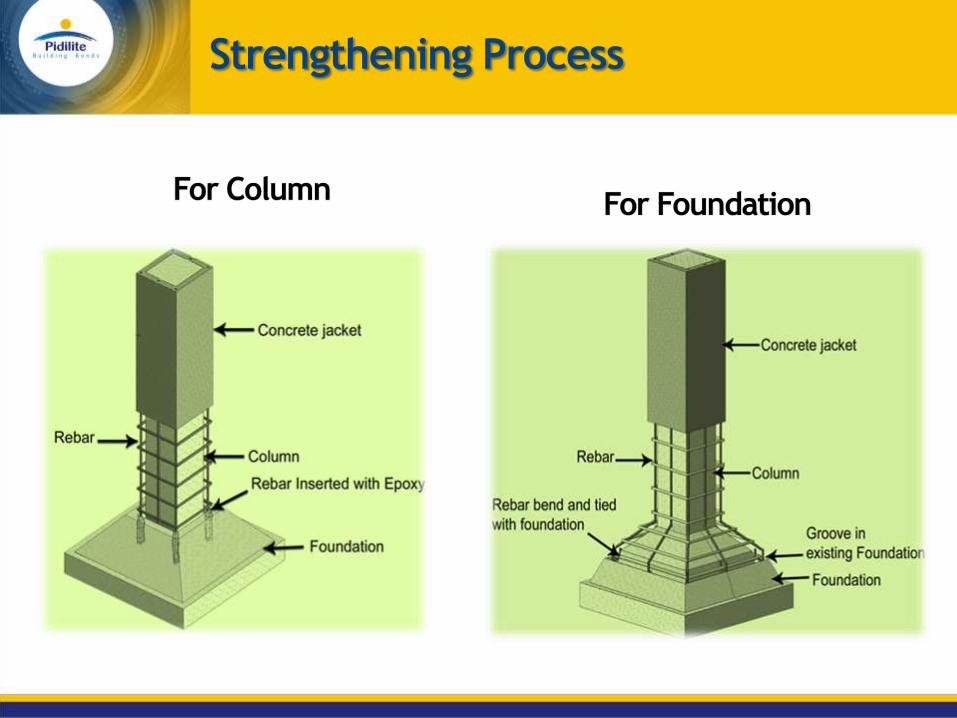
CORROSION
Repair of Highly Distressed and Damaged
Structural Members
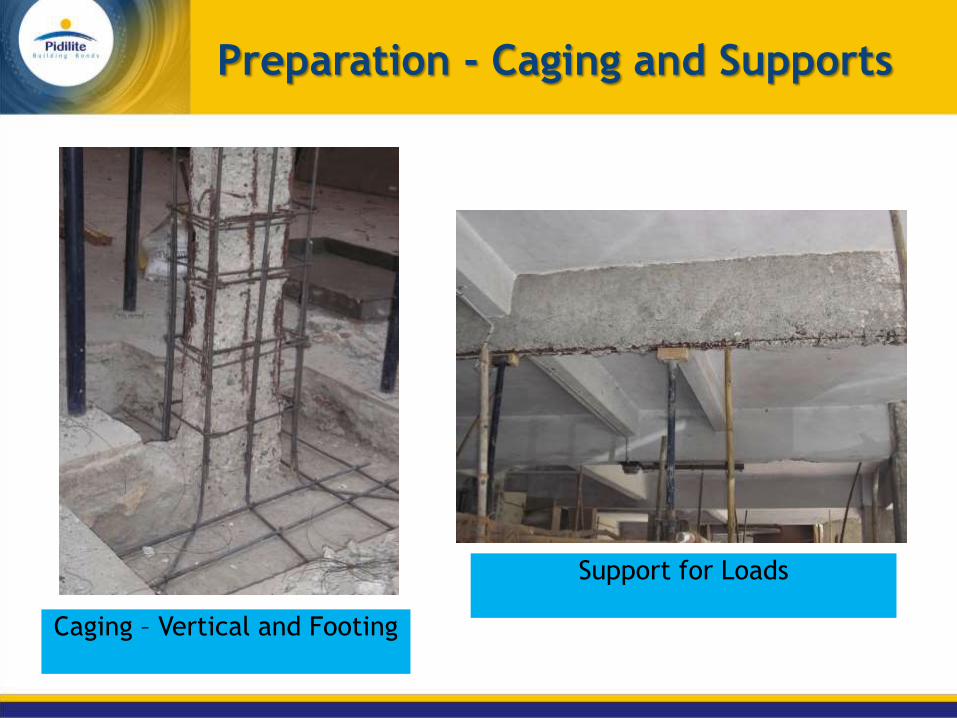
Preparation - Caging and Supports
Caging – Vertical and Footing
Support for Loads
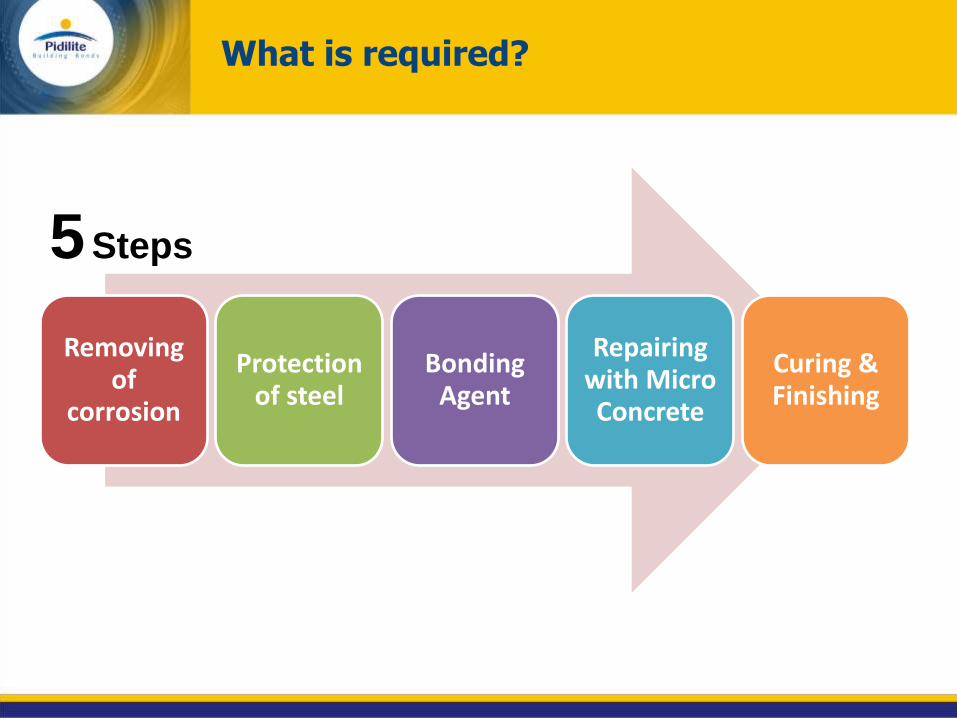
What is required?
Removing of
corrosion
Protection of steel
Bonding Agent
Repairing with Micro Concrete
Curing & Finishing
5 Steps
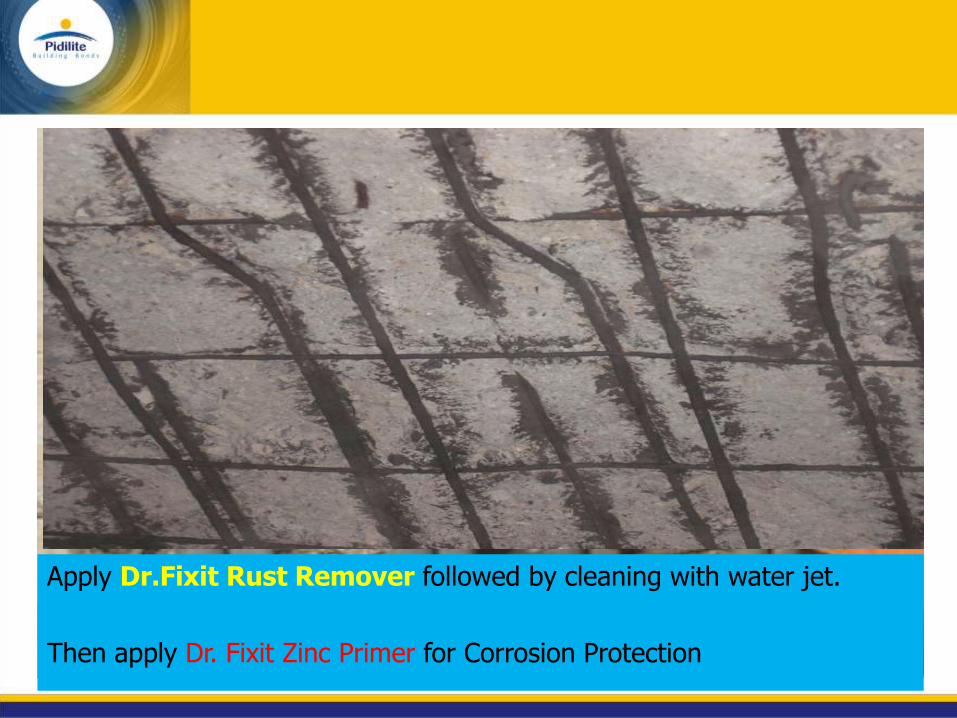
Apply Dr.Fixit Rust Remover followed by cleaning with water jet.
Then apply Dr. Fixit Zinc Primer for Corrosion Protection
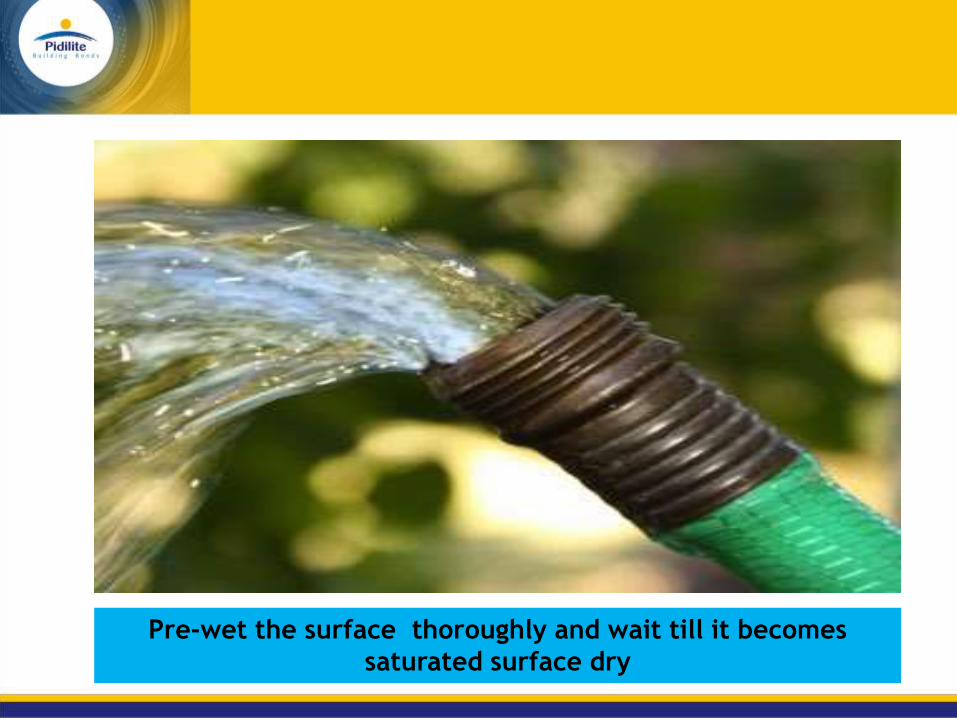
Pre-wet the surface thoroughly and wait till it becomes
saturated surface dry
Step 4 – Repairing with Micro Concrete
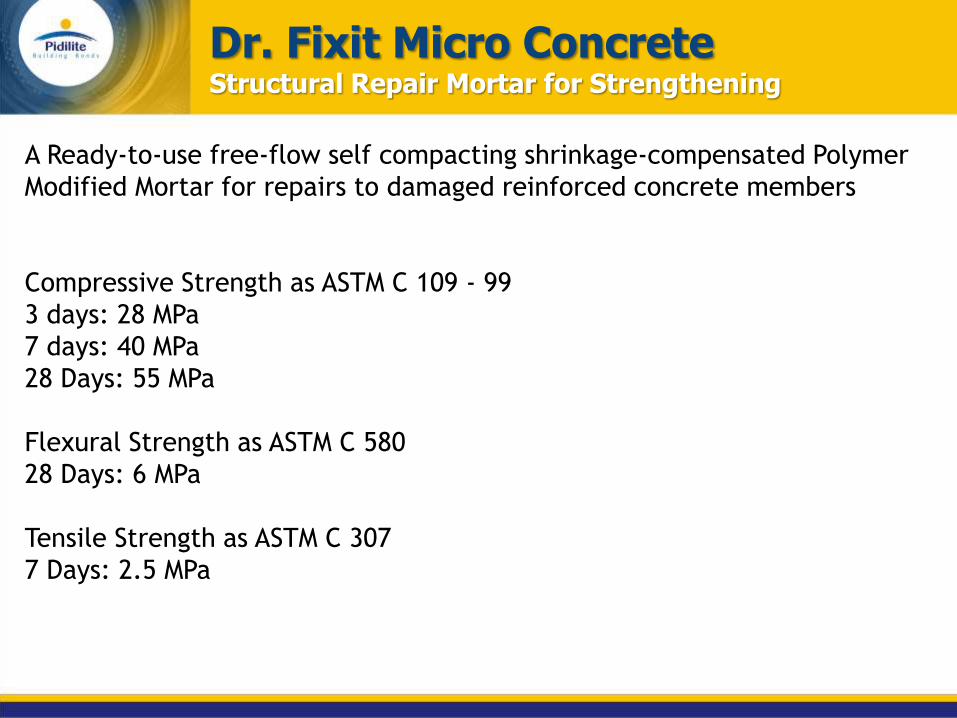
Dr. Fixit Micro Concrete Structural Repair Mortar for Strengthening
A Ready-to-use free-flow self compacting shrinkage-compensated Polymer
Modified Mortar for repairs to damaged reinforced concrete members
Compressive Strength as ASTM C 109 - 99
3 days: 28 MPa
7 days: 40 MPa
28 Days: 55 MPa
Flexural Strength as ASTM C 580
28 Days: 6 MPa
Tensile Strength as ASTM C 307
7 Days: 2.5 MPa
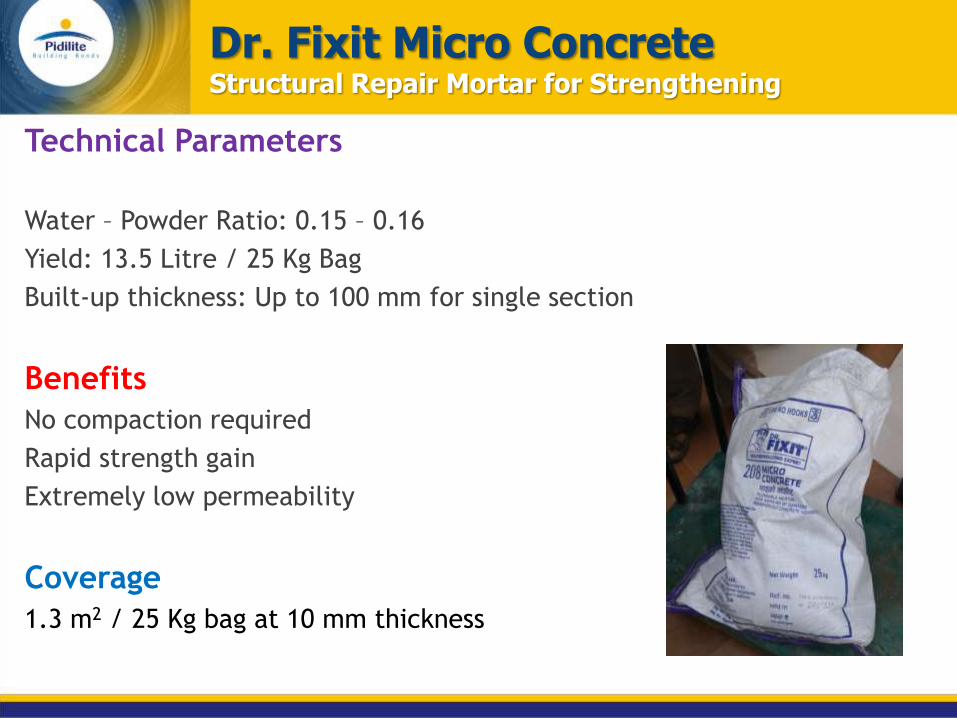
Technical Parameters
Water – Powder Ratio: 0.15 – 0.16
Yield: 13.5 Litre / 25 Kg Bag
Built-up thickness: Up to 100 mm for single section
Benefits
No compaction required
Rapid strength gain
Extremely low permeability
Coverage
1.3 m2 / 25 Kg bag at 10 mm thickness
Dr. Fixit Micro Concrete Structural Repair Mortar for Strengthening
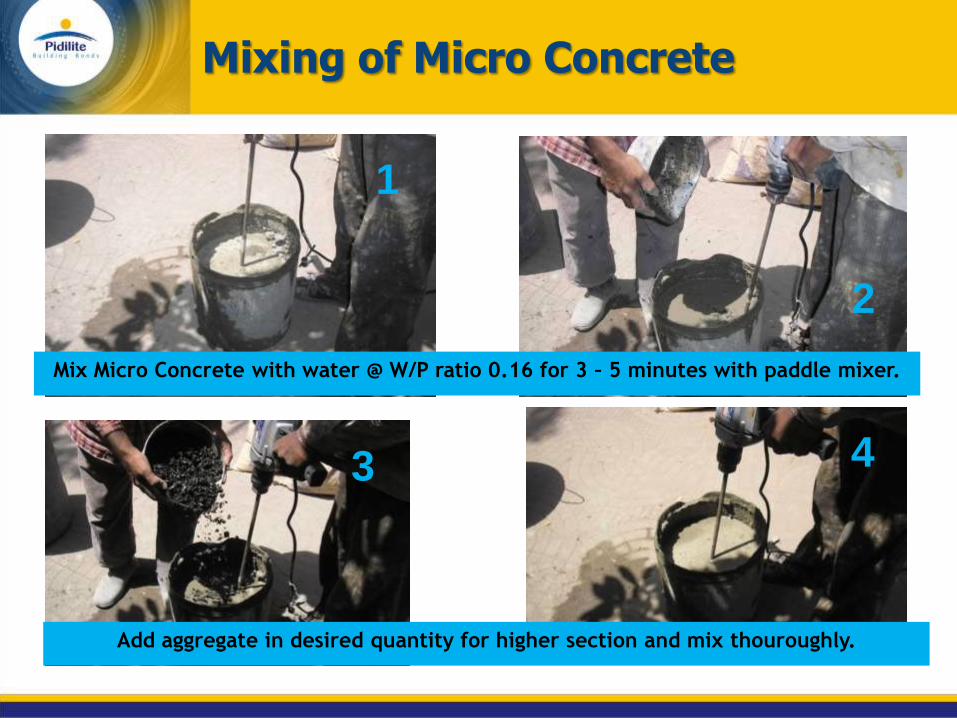
Mixing of Micro Concrete
Mix Micro Concrete with water @ W/P ratio 0.16 for 3 – 5 minutes with paddle mixer.
Add aggregate in desired quantity for higher section and mix thouroughly.
1
2
3 4
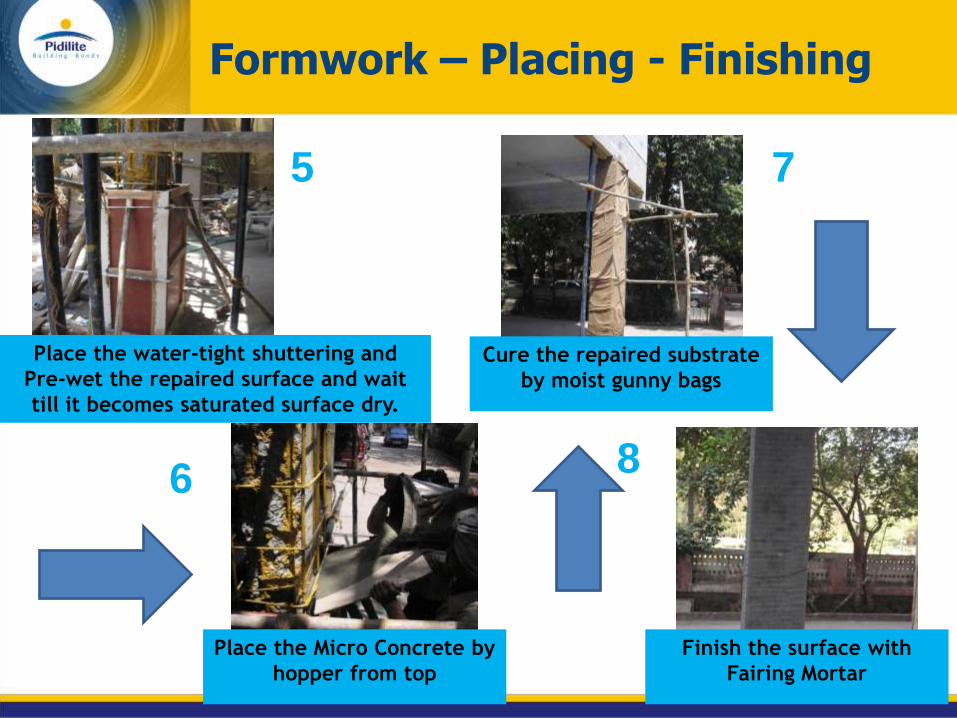
Formwork – Placing - Finishing
Place the water-tight shuttering and
Pre-wet the repaired surface and wait
till it becomes saturated surface dry.
Place the Micro Concrete by
hopper from top
Cure the repaired substrate
by moist gunny bags
Finish the surface with
Fairing Mortar
5 7
6 8
Remedial Waterproofing of
Building Sections
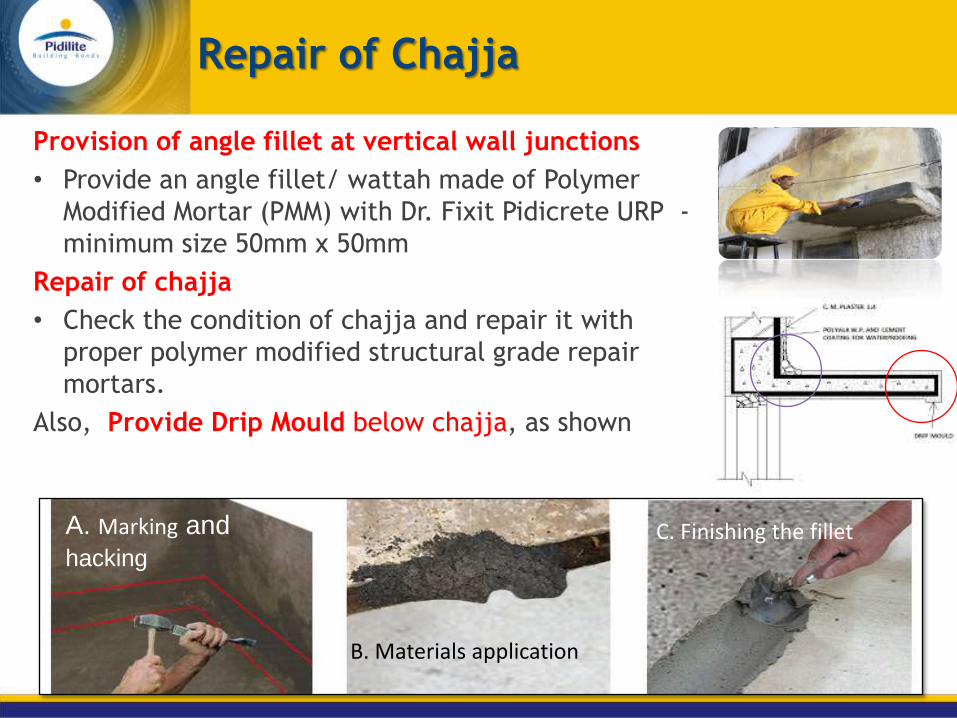
Provision of angle fillet at vertical wall junctions
• Provide an angle fillet/ wattah made of Polymer
Modified Mortar (PMM) with Dr. Fixit Pidicrete URP -
minimum size 50mm x 50mm
Repair of chajja
• Check the condition of chajja and repair it with
proper polymer modified structural grade repair
mortars.
Also, Provide Drip Mould below chajja, as shown
Repair of Chajja
A. Marking and
hacking
B. Materials application
C. Finishing the fillet
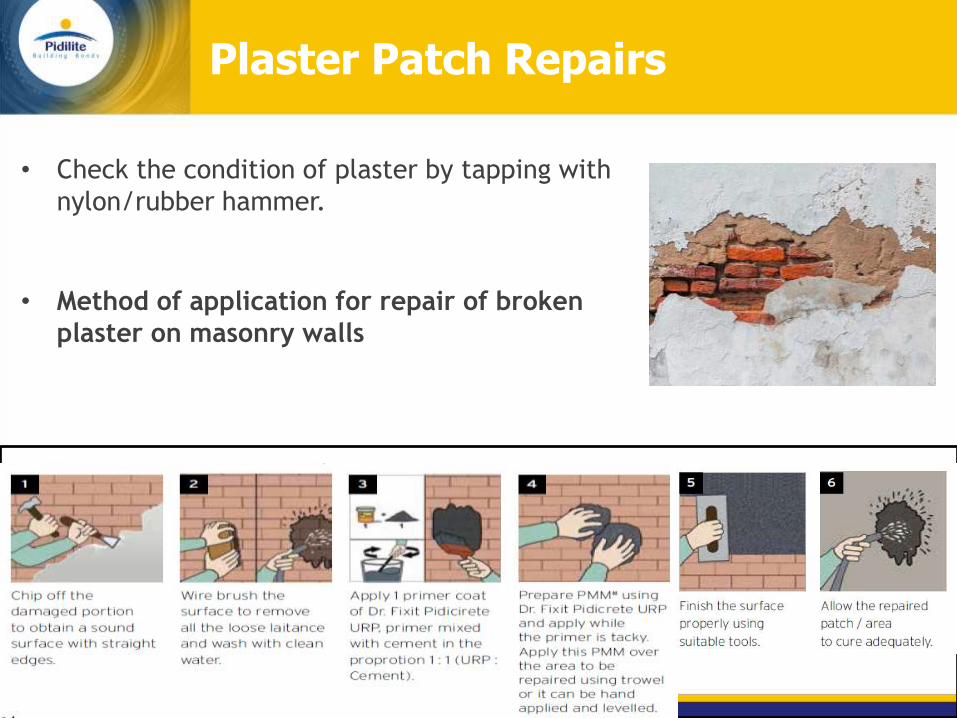
• Check the condition of plaster by tapping with
nylon/rubber hammer.
• Method of application for repair of broken
plaster on masonry walls
Plaster Patch Repairs
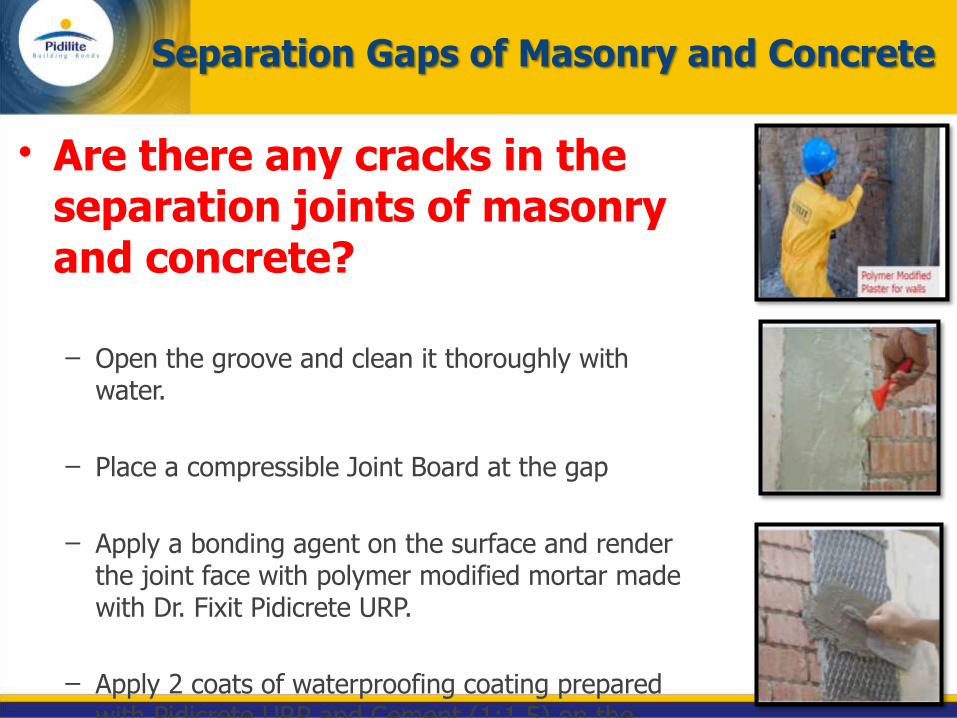
Separation Gaps of Masonry and Concrete
• Are there any cracks in the separation joints of masonry and concrete?
– Open the groove and clean it thoroughly with
water.
– Place a compressible Joint Board at the gap
– Apply a bonding agent on the surface and render the joint face with polymer modified mortar made with Dr. Fixit Pidicrete URP.
– Apply 2 coats of waterproofing coating prepared with Pidicrete URP and Cement (1:1.5) on the surface with metal lath or fibre glass mesh as reinforcement between the coats.

Sealing of Window Frame Gaps & Joints
Check the condition of Joints between
wooden or aluminium frame of windows
and masonry unit
Clean the area properly
Fill the joint with Dr. Fixit Silicone
Sealant.
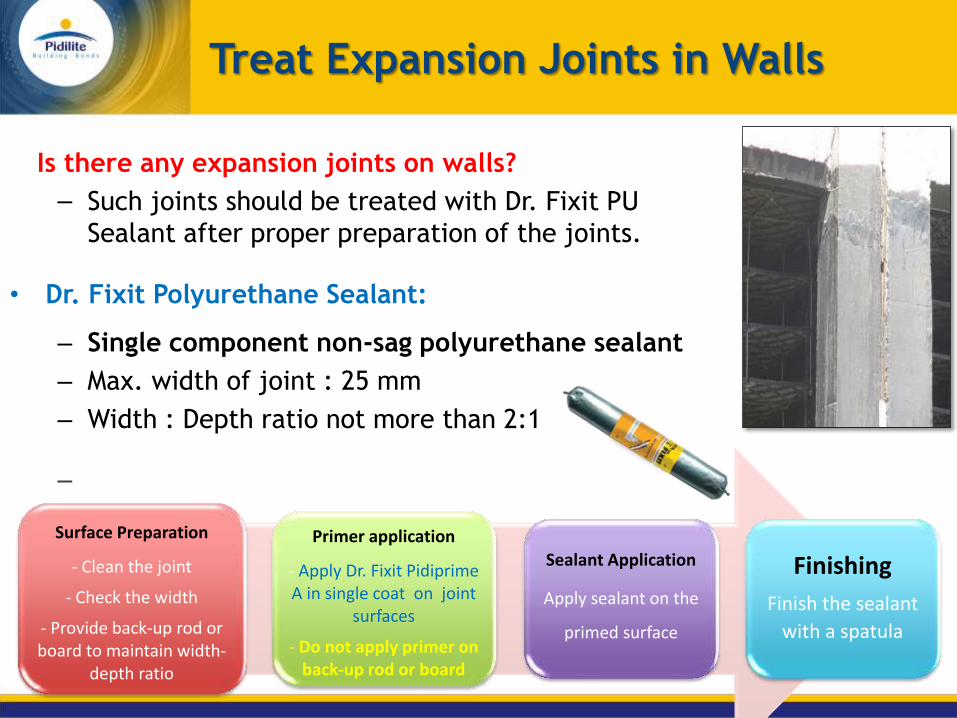
Is there any expansion joints on walls?
– Such joints should be treated with Dr. Fixit PU
Sealant after proper preparation of the joints.
• Dr. Fixit Polyurethane Sealant:
– Single component non-sag polyurethane sealant
– Max. width of joint : 25 mm
– Width : Depth ratio not more than 2:1
–
Treat Expansion Joints in Walls
Surface Preparation
- Clean the joint
- Check the width
- Provide back-up rod or board to maintain width-
depth ratio
Primer application
- Apply Dr. Fixit Pidiprime A in single coat on joint
surfaces
- Do not apply primer on back-up rod or board
Sealant Application
Apply sealant on the
primed surface
Finishing
Finish the sealant
with a spatula
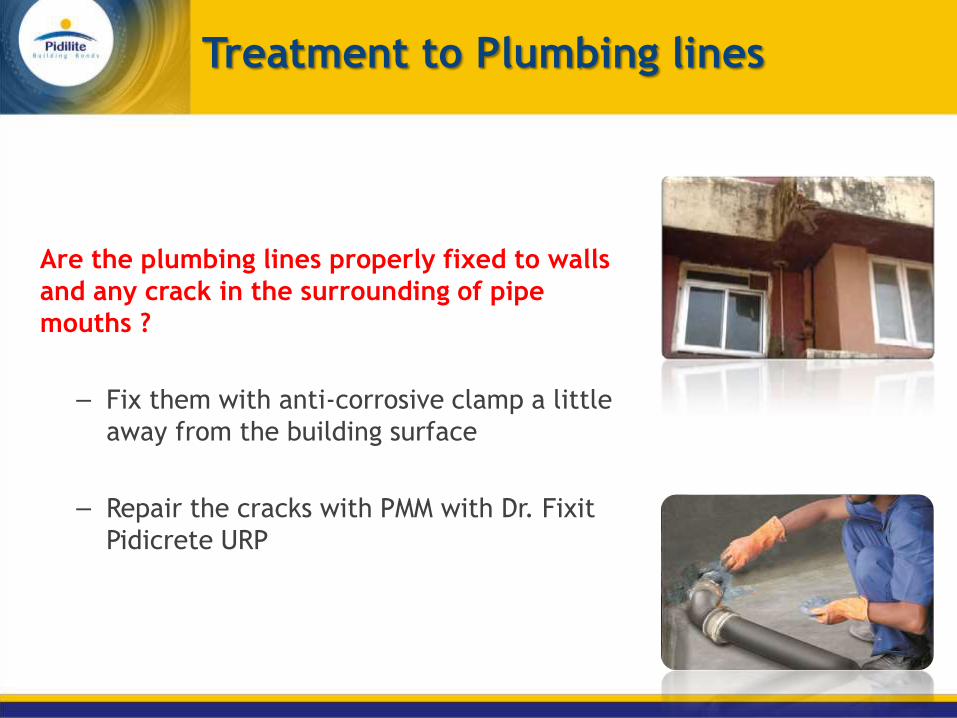
Are the plumbing lines properly fixed to walls
and any crack in the surrounding of pipe
mouths ?
– Fix them with anti-corrosive clamp a little
away from the building surface
– Repair the cracks with PMM with Dr. Fixit
Pidicrete URP
Treatment to Plumbing lines
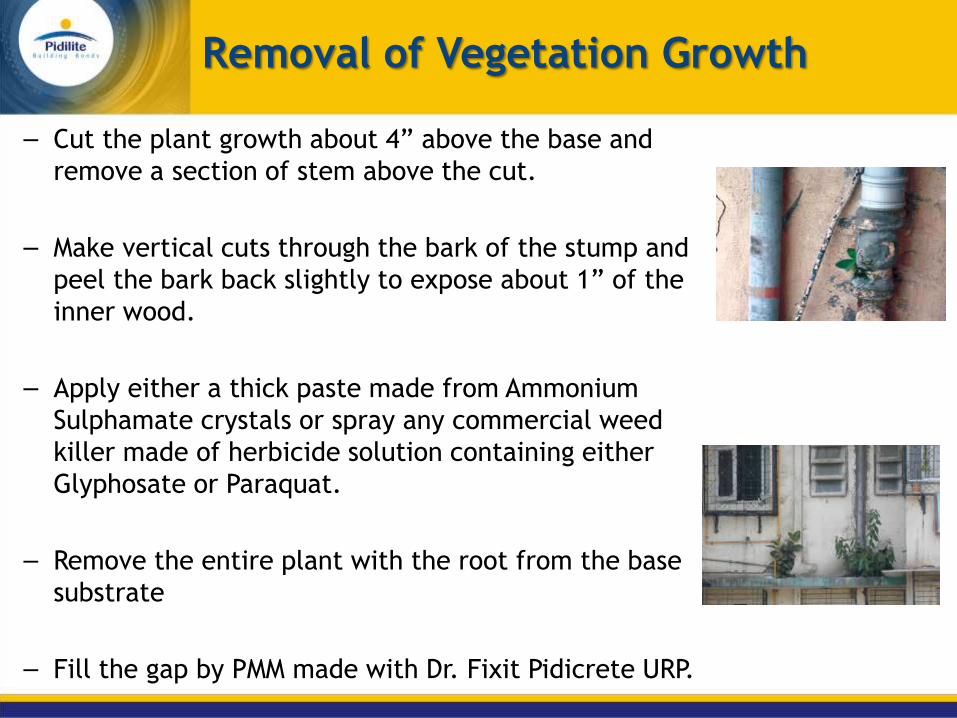
– Cut the plant growth about 4” above the base and
remove a section of stem above the cut.
– Make vertical cuts through the bark of the stump and
peel the bark back slightly to expose about 1” of the
inner wood.
– Apply either a thick paste made from Ammonium
Sulphamate crystals or spray any commercial weed
killer made of herbicide solution containing either
Glyphosate or Paraquat.
– Remove the entire plant with the root from the base
substrate
– Fill the gap by PMM made with Dr. Fixit Pidicrete URP.
Removal of Vegetation Growth
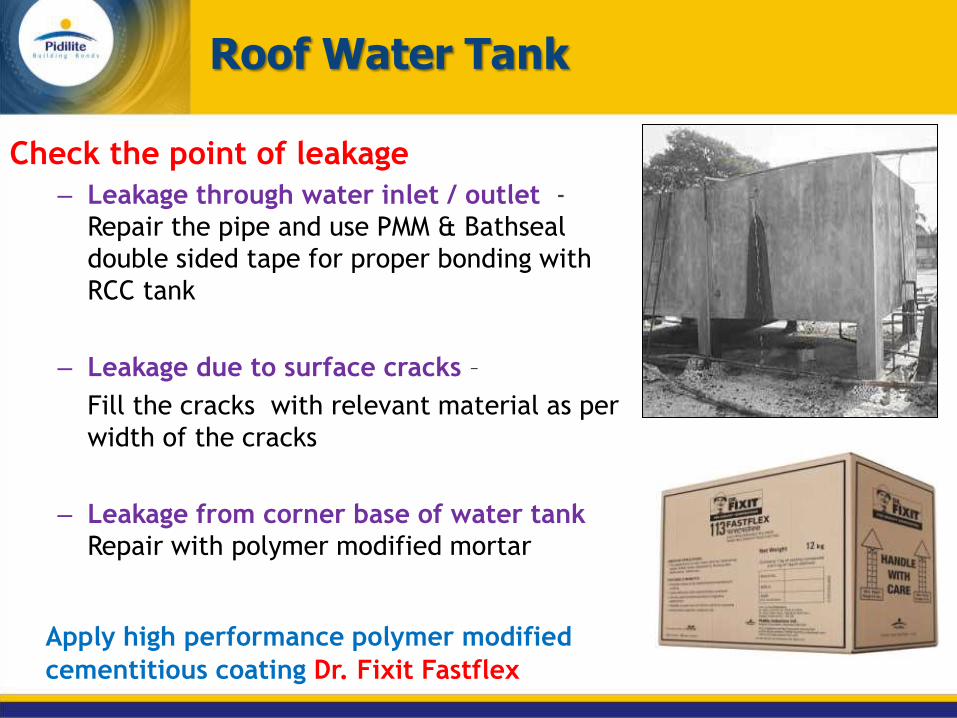
Check the point of leakage
– Leakage through water inlet / outlet -
Repair the pipe and use PMM & Bathseal
double sided tape for proper bonding with
RCC tank
– Leakage due to surface cracks –
Fill the cracks with relevant material as per
width of the cracks
– Leakage from corner base of water tank
Repair with polymer modified mortar
Apply high performance polymer modified
cementitious coating Dr. Fixit Fastflex
Roof Water Tank
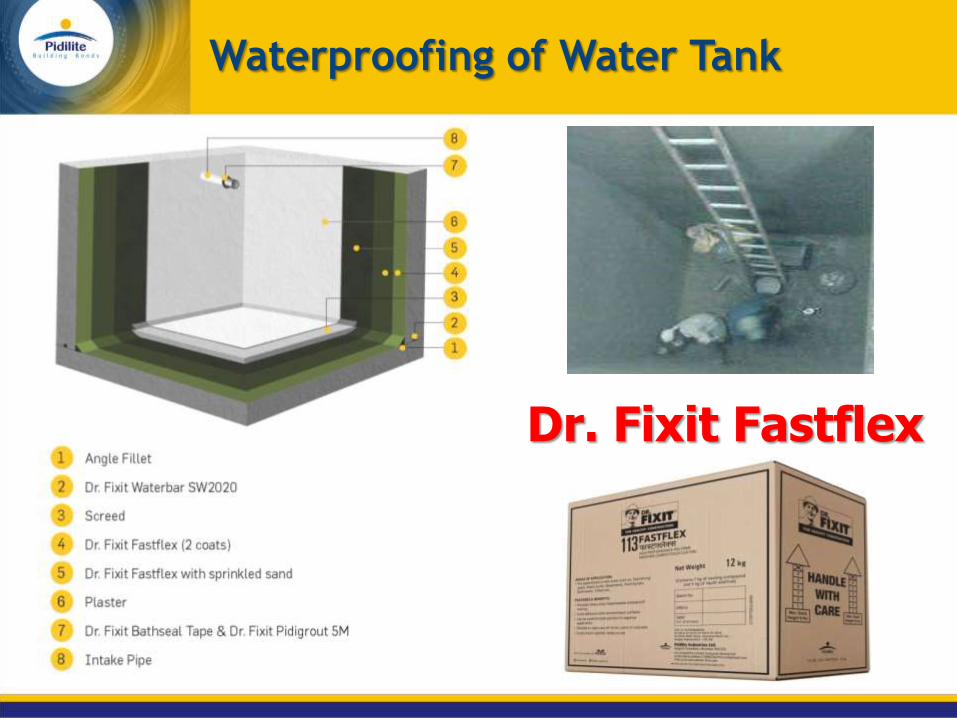
Waterproofing of Water Tank
Dr. Fixit Fastflex
Treatment to Internal Dampness
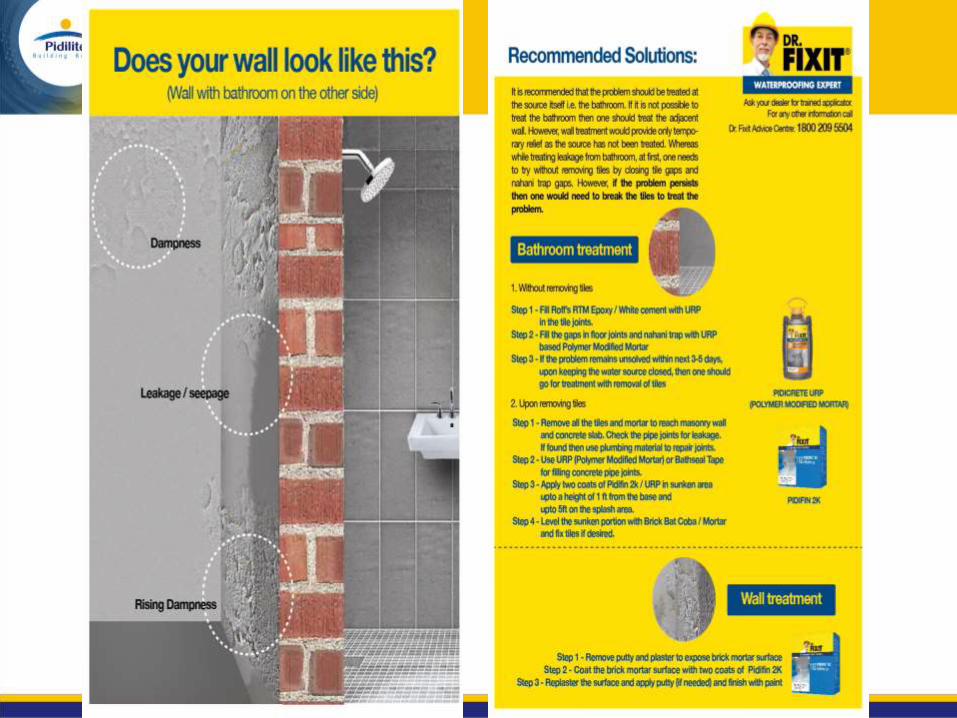
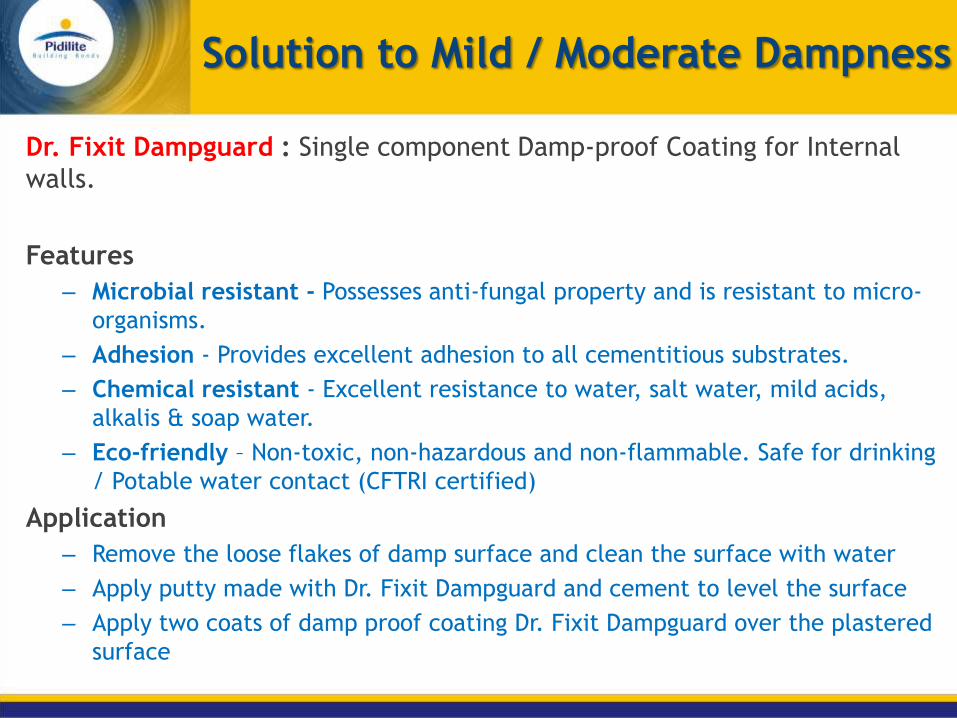
Dr. Fixit Dampguard : Single component Damp-proof Coating for Internal
walls.
Features
– Microbial resistant - Possesses anti-fungal property and is resistant to micro-
organisms.
– Adhesion - Provides excellent adhesion to all cementitious substrates.
– Chemical resistant - Excellent resistance to water, salt water, mild acids,
alkalis & soap water.
– Eco-friendly – Non-toxic, non-hazardous and non-flammable. Safe for drinking
/ Potable water contact (CFTRI certified)
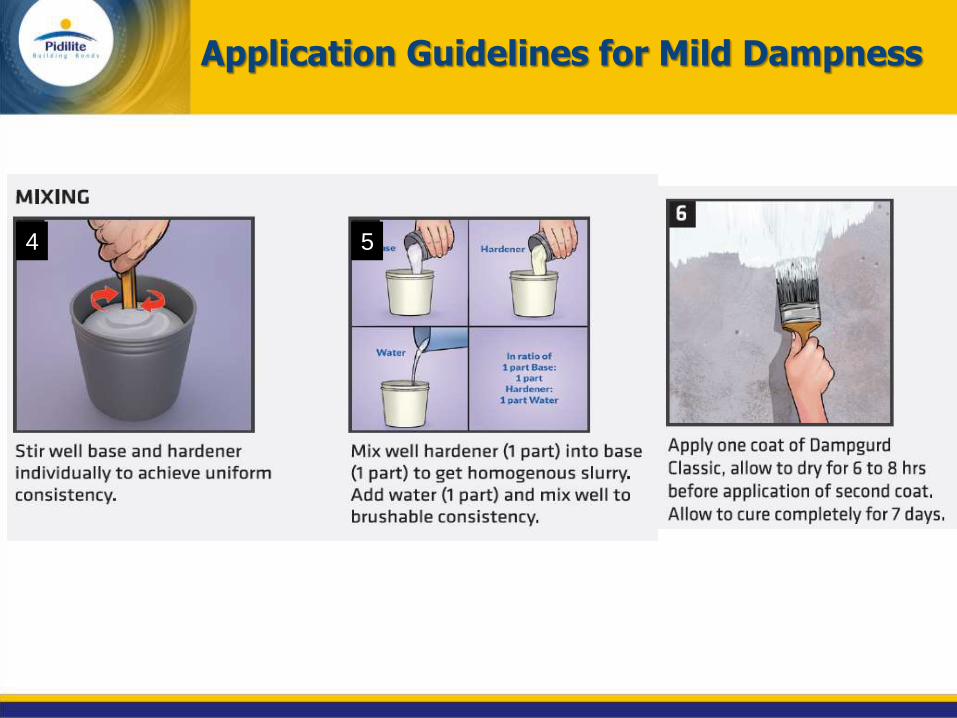
Application
– Remove the loose flakes of damp surface and clean the surface with water
– Apply putty made with Dr. Fixit Dampguard and cement to level the surface
– Apply two coats of damp proof coating Dr. Fixit Dampguard over the plastered
surface
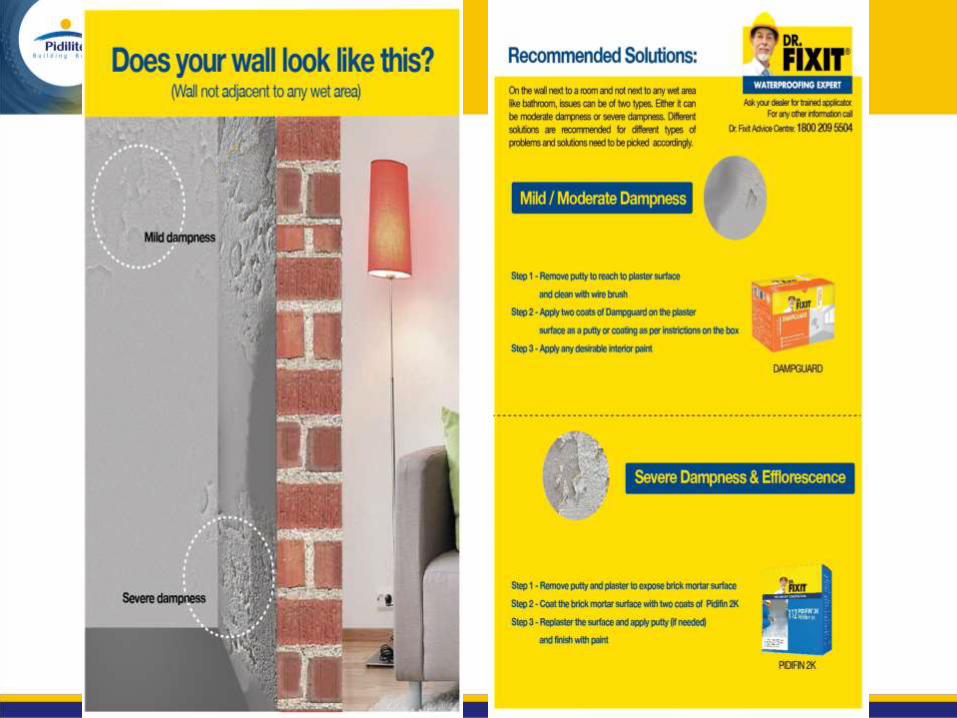
Solution to Mild / Moderate Dampness
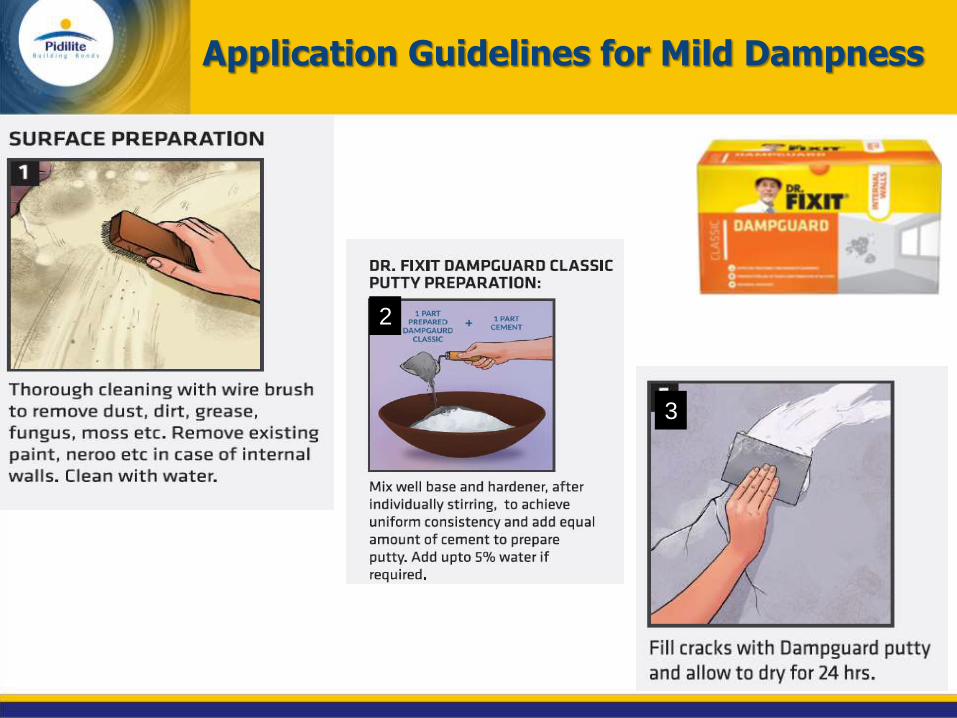
Application Guidelines for Mild Dampness
2
3
2
3
4 5
Application Guidelines for Mild Dampness
• Precautions & Limitations
– Not recommended for rising dampness.
– Do not apply directly on “neeroo” or POP – remove up to plaster level.
– Do not dilute with water more than recommendation.
– Do not apply below 100C.
– Do not apply directly on paints.
– Curing of coating depends upon the humidity and ventilation.
– In case of water tanks rinsing with plenty of water is required before filling with water to avoid foaming.
– In case the putty becomes stiff, add a little water to attend the right consistency
Dr. Fixit Dampguard
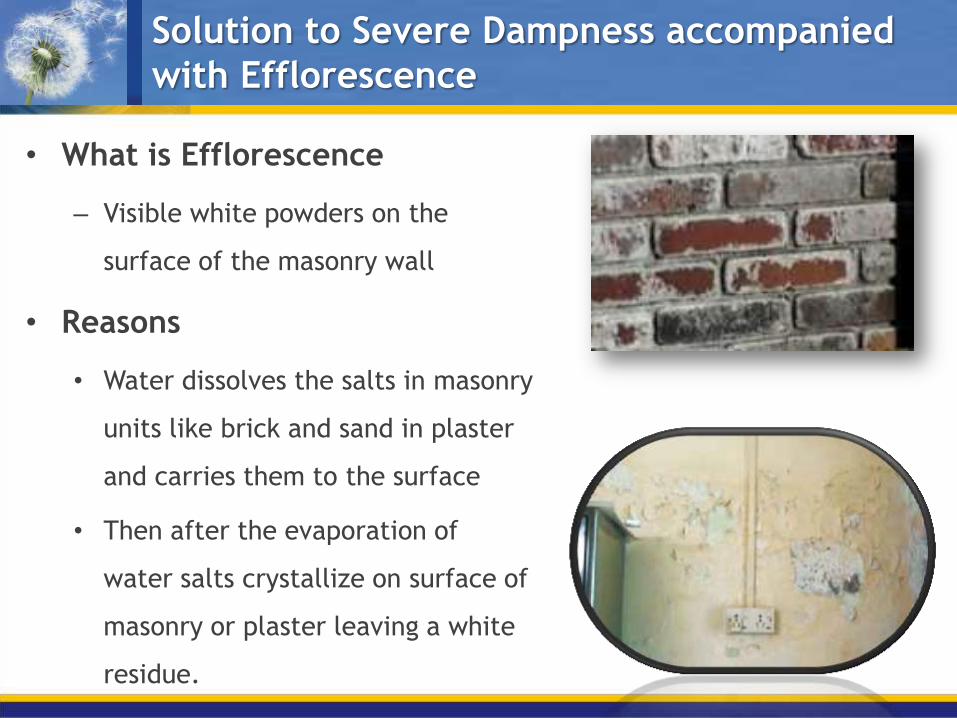
Solution to Severe Dampness accompanied
with Efflorescence
• What is Efflorescence
– Visible white powders on the
surface of the masonry wall
• Reasons
• Water dissolves the salts in masonry
units like brick and sand in plaster
and carries them to the surface
• Then after the evaporation of
water salts crystallize on surface of
masonry or plaster leaving a white
residue.
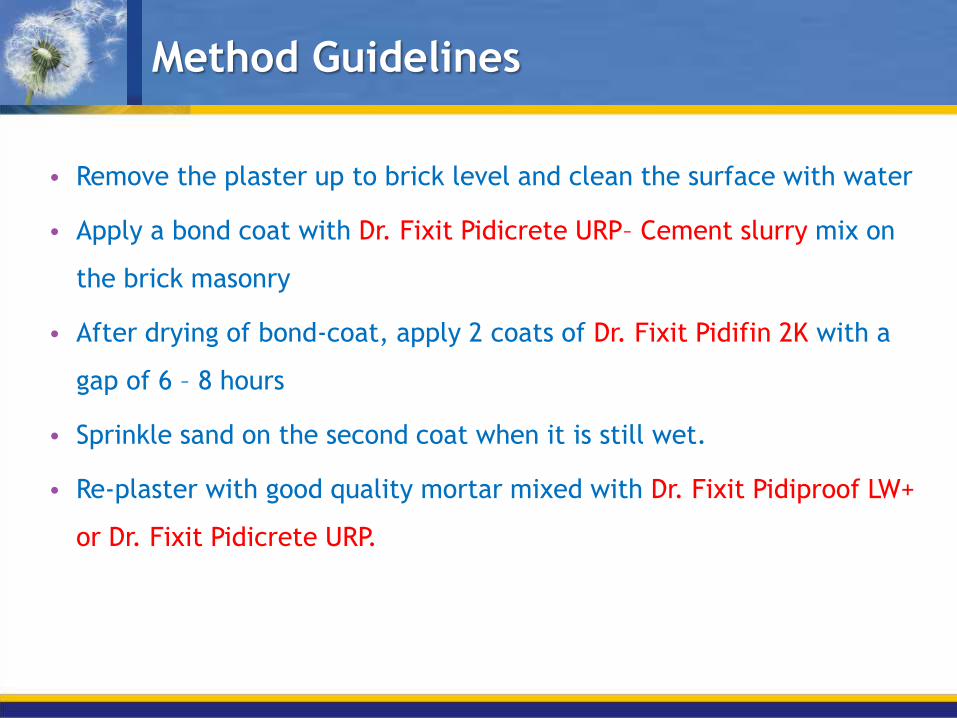
Method Guidelines
• Remove the plaster up to brick level and clean the surface with water
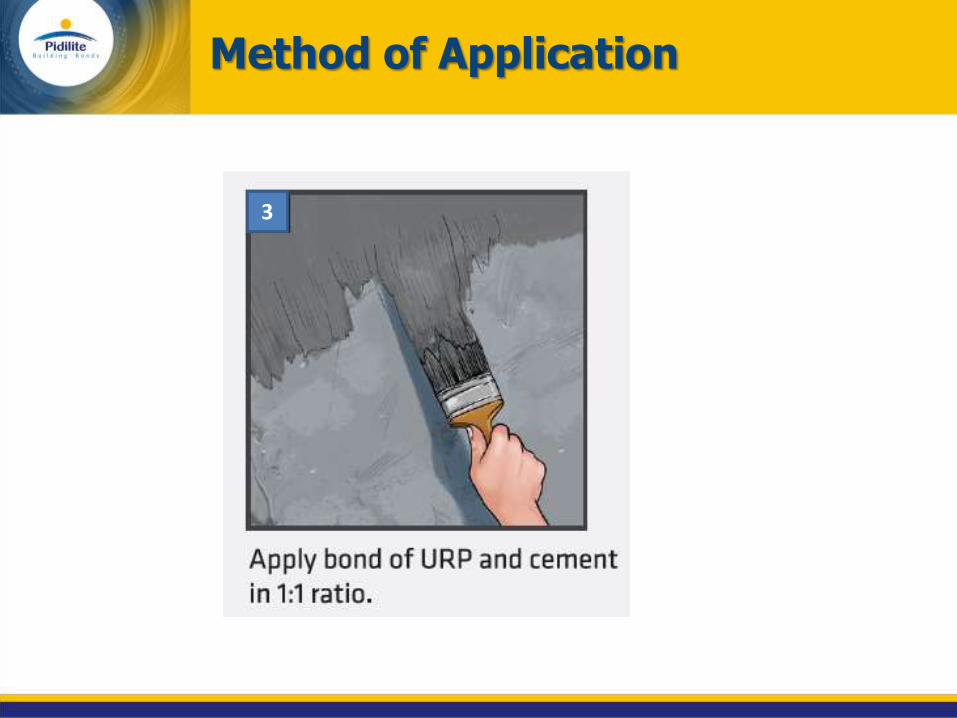
• Apply a bond coat with Dr. Fixit Pidicrete URP– Cement slurry mix on
the brick masonry
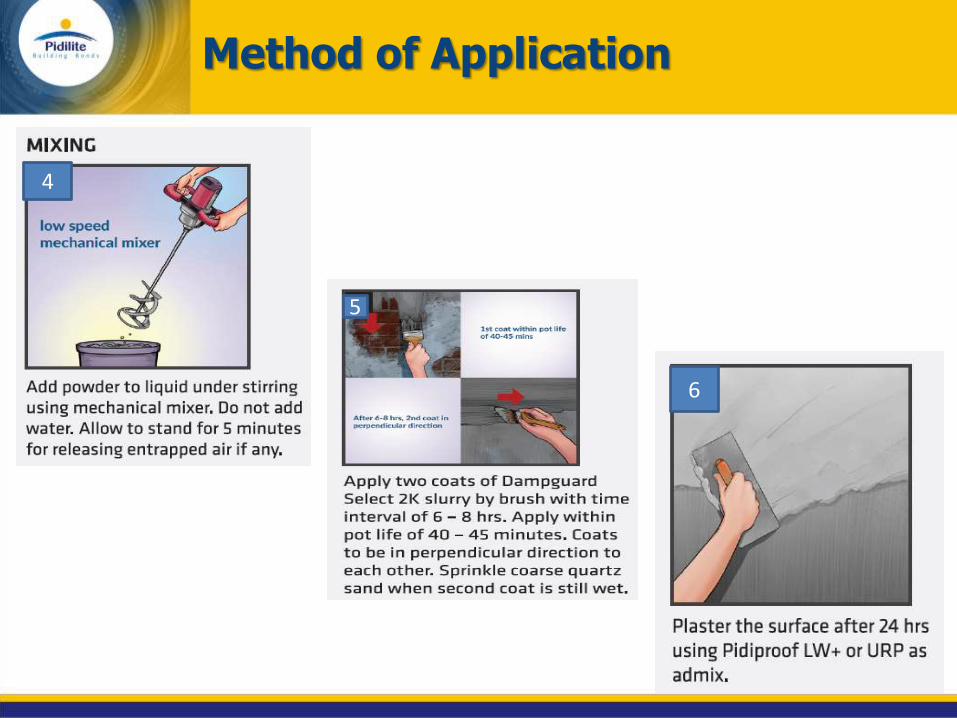
• After drying of bond-coat, apply 2 coats of Dr. Fixit Pidifin 2K with a
gap of 6 – 8 hours
• Sprinkle sand on the second coat when it is still wet.
• Re-plaster with good quality mortar mixed with Dr. Fixit Pidiproof LW+
or Dr. Fixit Pidicrete URP.
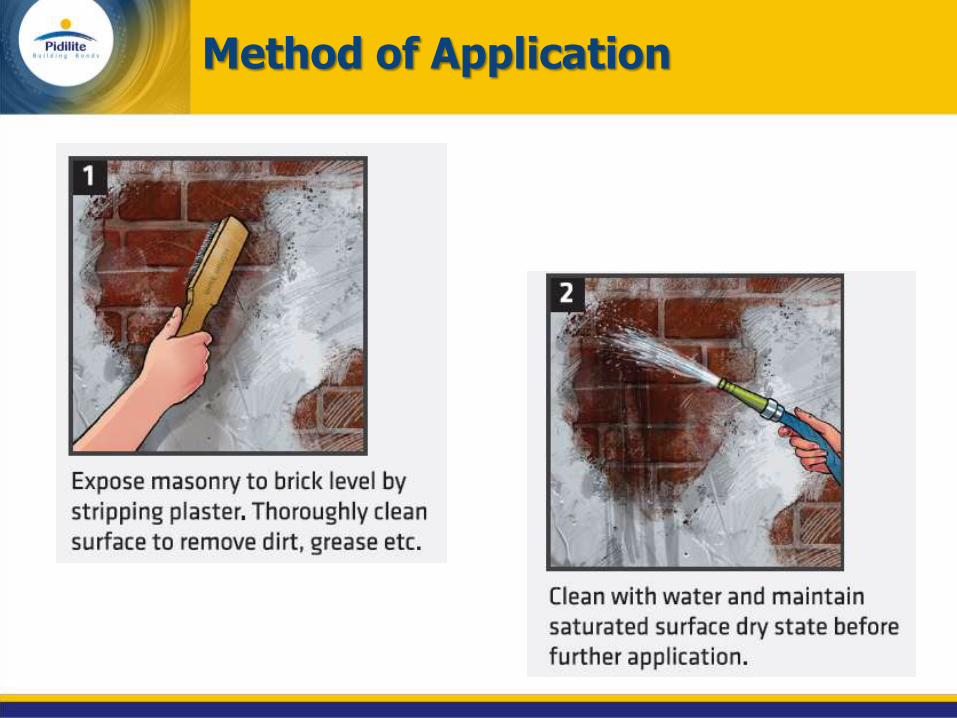
Method of Application
Method of Application
3
Method of Application
4
5
6

THANK YOU