little letter needle book pattern
TRANSCRIPT
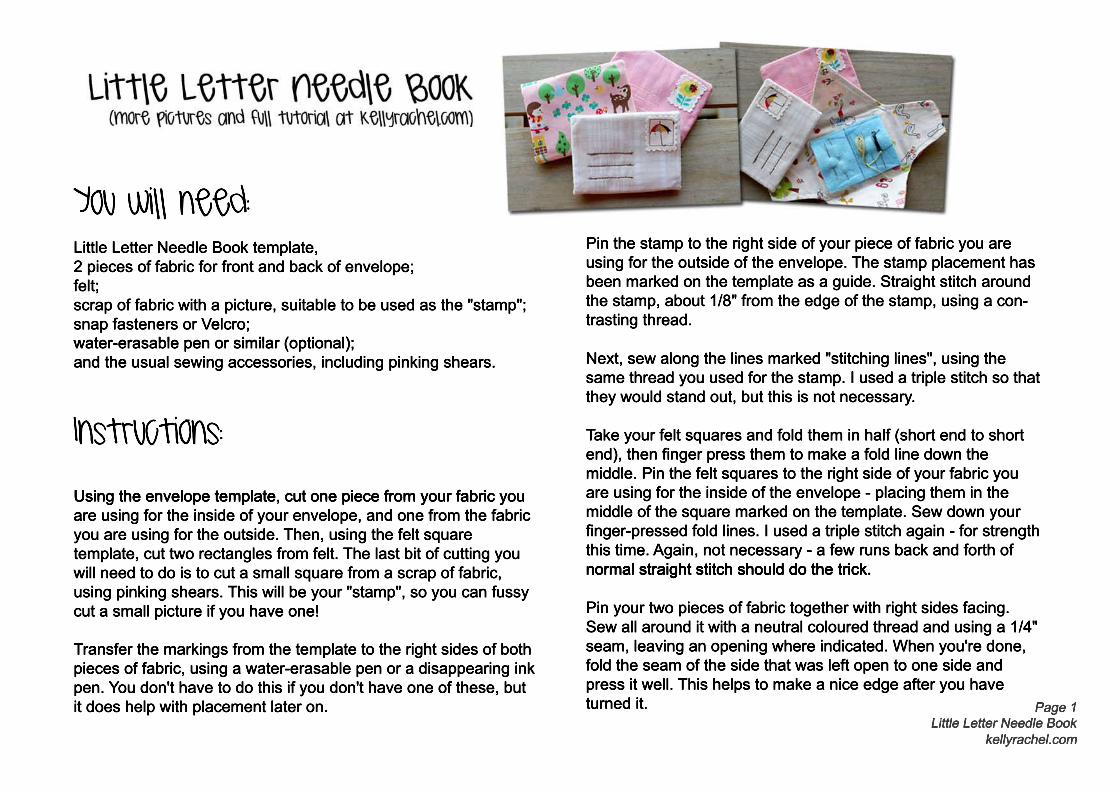
You will need:Little Letter Needle Book template,2 pieces of fabric for front and back of envelope;felt;scrap of fabric with a picture, suitable to be used as the "stamp";snap fasteners or Velcro;water-erasable pen or similar (optional);water-erasable pen or similar (optional);and the usual sewing accessories, including pinking shears.
Instructions:
Using the envelope template, cut one piece from your fabric you Using the envelope template, cut one piece from your fabric you are using for the inside of your envelope, and one from the fabric you are using for the outside. Then, using the felt square template, cut two rectangles from felt. The last bit of cutting you will need to do is to cut a small square from a scrap of fabric, using pinking shears. This will be your "stamp", so you can fussy cut a small picture if you have one!
TTransfer the markings from the template to the right sides of both pieces of fabric, using a water-erasable pen or a disappearing ink pen. You don't have to do this if you don't have one of these, but it does help with placement later on.
Pin the stamp to the right side of your piece of fabric you are using for the outside of the envelope. The stamp placement has been marked on the template as a guide. Straight stitch around the stamp, about 1/8" from the edge of the stamp, using a con-trasting thread.
Next, sew along the lines marked "stitching lines", using the same thread you used for the stamp. I used a triple stitch so that they would stand out, but this is not necessary.
TTake your felt squares and fold them in half (short end to short end), then finger press them to make a fold line down the middle. Pin the felt squares to the right side of your fabric you are using for the inside of the envelope - placing them in the middle of the square marked on the template. Sew down your finger-pressed fold lines. I used a triple stitch again - for strength this time. Again, not necessary - a few runs back and forth of normal straight stitch should do the trick.normal straight stitch should do the trick.
Pin your two pieces of fabric together with right sides facing. Sew all around it with a neutral coloured thread and using a 1/4" seam, leaving an opening where indicated. When you're done, fold the seam of the side that was left open to one side and press it well. This helps to make a nice edge after you have turned it.

After your envelope is turned right way out, poke out all the corners gently, using a chopstick, the end of a pen, the end of a paintbrush or anything pointy really!
Make sure the seam that was left open is folded inward, then press all the seams gently to make them nice and crisp for top-stitching.
Topstitch around the whole envelope about 1/8" in from the edge, using a neutral coloured thread.
Fold the envelope along the fold lines, in the order shown in the picture below.
Press along the folds to make creases, then press the front of Press along the folds to make creases, then press the front of your envelope gently to make it nice and pretty. Be careful not to let the felt inside get too hot, or it may melt slightly or go crinkly. (I have melted my felt before by using an iron that was too hot!)
Sew on some snaps or velcro to keep the top flap down.
Lastly, if you used a water-eraseable pen, wipe off your markings with a wet cloth.
That's it! All done! Now swoon over the cuteness you just created!
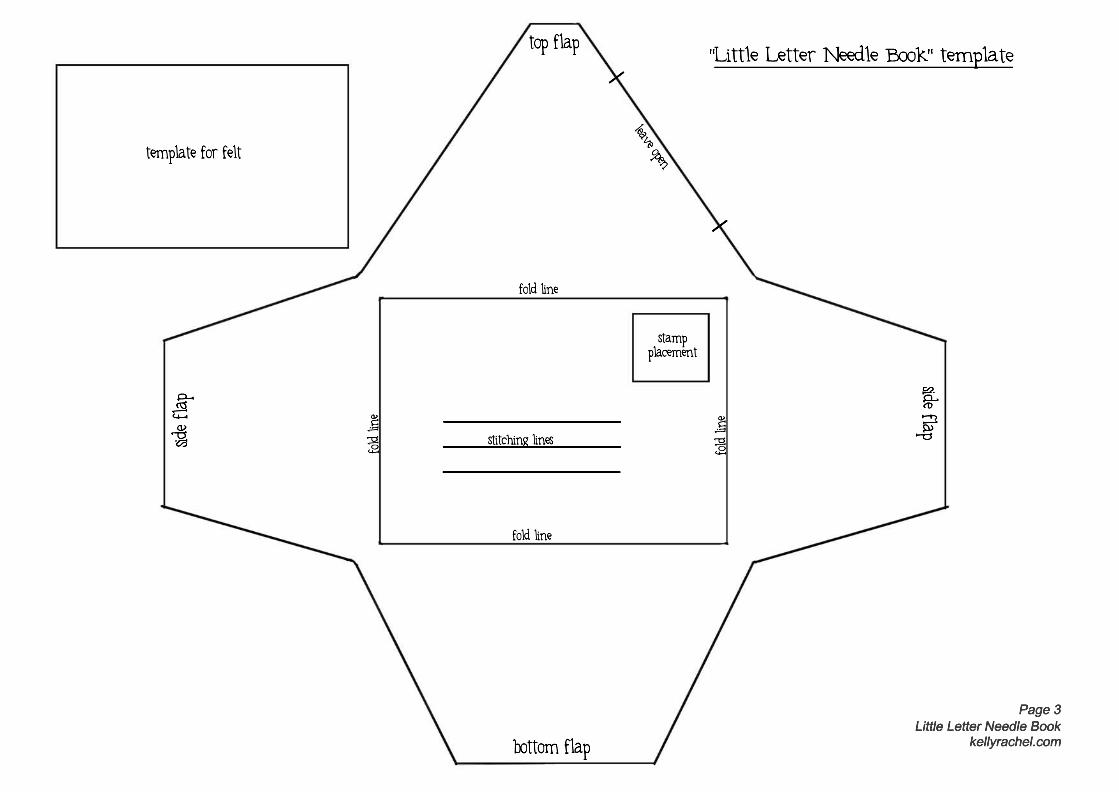
fold line
fold line
fold line
fold line
top flap
stampplacement
stitching linesside flap
bottom flap
side flap
leave opentemplate for felt