learning targets 1. identify and describe supplies and tools needed in floral work. 2. explain how...
TRANSCRIPT

Designing Basic Floral Work
Learning Targets1. Identify and describe supplies and tools
needed in floral work.2. Explain how to design bud vases and vase
arrangements.3. Explain basic geometric designs.4. Define naturalistic style design.5. Describe how to foil a potted plant.

Terms Anchor pinBrickContourFloral foamFlorist shearsGreening pinGridGroupingHyacinth stake
Needlepoint holderPoly foilPruning shearsRosettesTape gridsWater tube

Identify and describe supplies and tools needed
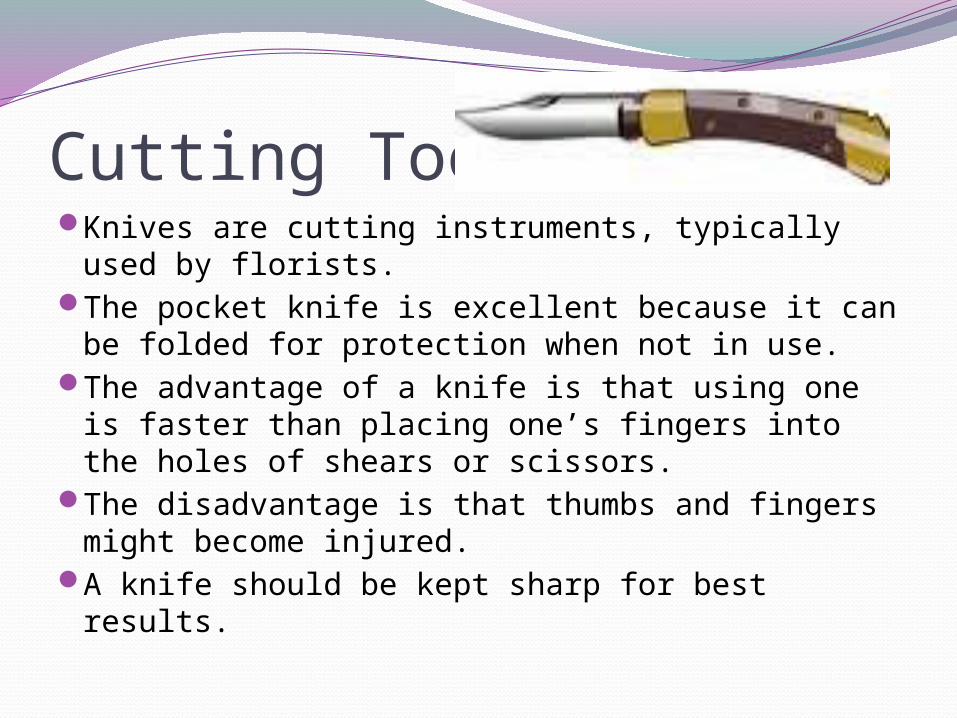
Cutting ToolsKnives are cutting instruments, typically used
by florists. The pocket knife is excellent because it can
be folded for protection when not in use. The advantage of a knife is that using one is
faster than placing one’s fingers into the holes of shears or scissors.
The disadvantage is that thumbs and fingers might become injured.
A knife should be kept sharp for best results.
Florist shears are a cutting tool with short, serrated edges designed for cutting thick or woody stems and flowers that have been wired.
An advantage of this tool is that the stem will not become pinched in the cutting operation, allowing for better water up-take after cutting.

Pruning shears are tools used in the landscaping area to cut branches from a tree or shrub.
The cutting style of shears is preferred to the anvil style, which cuts by pinching the stem.
Pruning shears are typically used on very tough branches and stems.
They are very valuable during the Christmas holiday season because of their ability to cut evergreen stems.

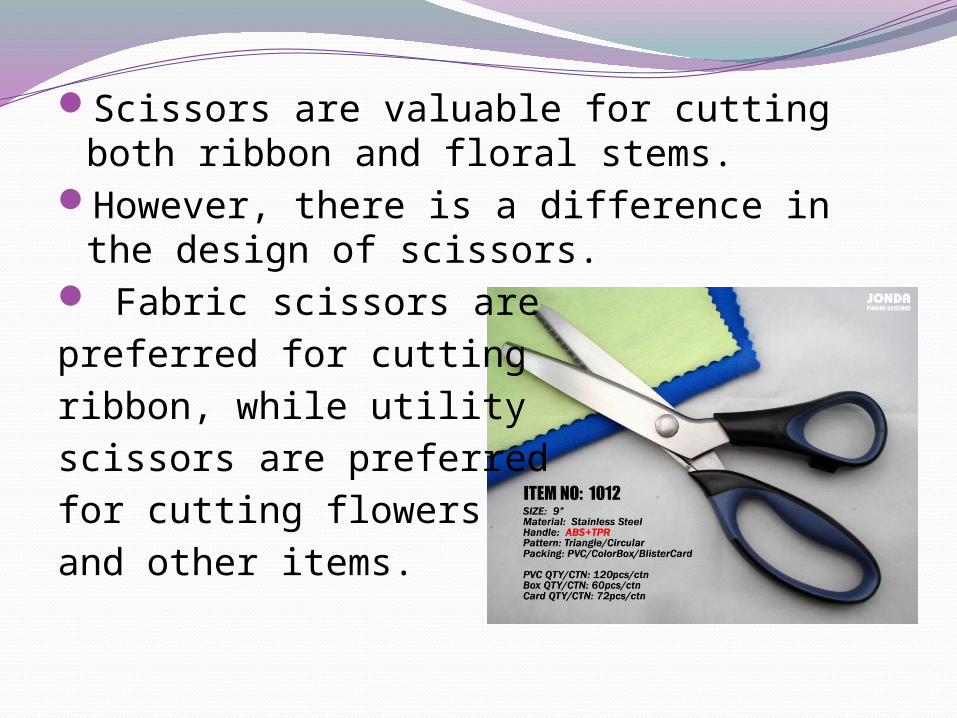
Scissors are valuable for cutting both ribbon and floral stems.
However, there is a difference in the design of scissors.
Fabric scissors are preferred for cutting ribbon, while utility scissors are preferred for cutting flowers and other items.
Supplies and their usesFloral foam is a porous material that holds a
great amount of water and provides stability for flower stems.
Flowers can be placed at an angle in this material and the foam will hold them in place.
Foam comes in two formulations, one for fresh materials and one for dried and artificial materials.
The foam comes in the shape of a rectangle and is referred to as a brick.

Florist foam can be cut to the desired size and shape with a knife or heavy gauge wire.
The foam should be allowed to soak in a solution of floral preservative for ½ hour (minimum) before using it to assure maximum water absorption.
Foam should not be re-soaked, the bricks should not be forced into the solution because this will create air bubbles in the foam.
When placing foam into a container there are several things to remember:1. An inch or more of the foam should appear
above the edge of the container, which will allow for the placement of flowers at angles that might not be permitted otherwise.
2. Foam placed in a clear glass container will appear green from the outside.
This appearance can be changed by wrapping the foam in silver foil.
Also, using a container made from colored plastic material can mask the green color.
3. Leave a small area in which the recipient can add water at a later date.
This is very important for designs in which the foam covers the entire area of the container.
Foam must be secured to the container to prevent the arrangement from fallingover. There are several ways to achieve this:Waterproof tape is the most common method
used to secure foam. It can be used with wet foam, but the container must be dry.
Waterproof tape is available in ½ inch and ¼ inch widths and comes in three colors—white, green, and clear.
The tape is usually affixed from a 12 to 6 o’clock position and from a 3 to 9 o’clock position.
Chicken wire is inexpensive, offers no water uptake ability, but creates great support for heavy and thick-stemmed flowers.
It can be secured into place with plastic S clips.
c. A greening pin is an “s” top shaped “hairpin” that is used to keep moss or foliage in place.
Wire bent in a u shape can achieve the same effect.
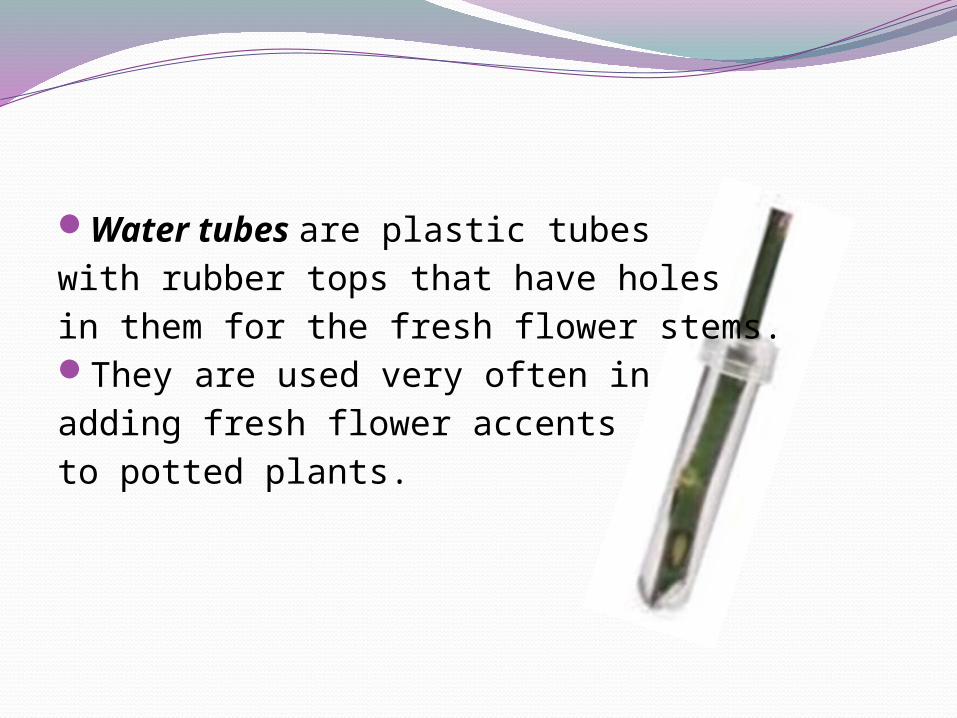
Water tubes are plastic tubes with rubber tops that have holes in them for the fresh flower stems. They are used very often in adding fresh flower accents to potted plants.
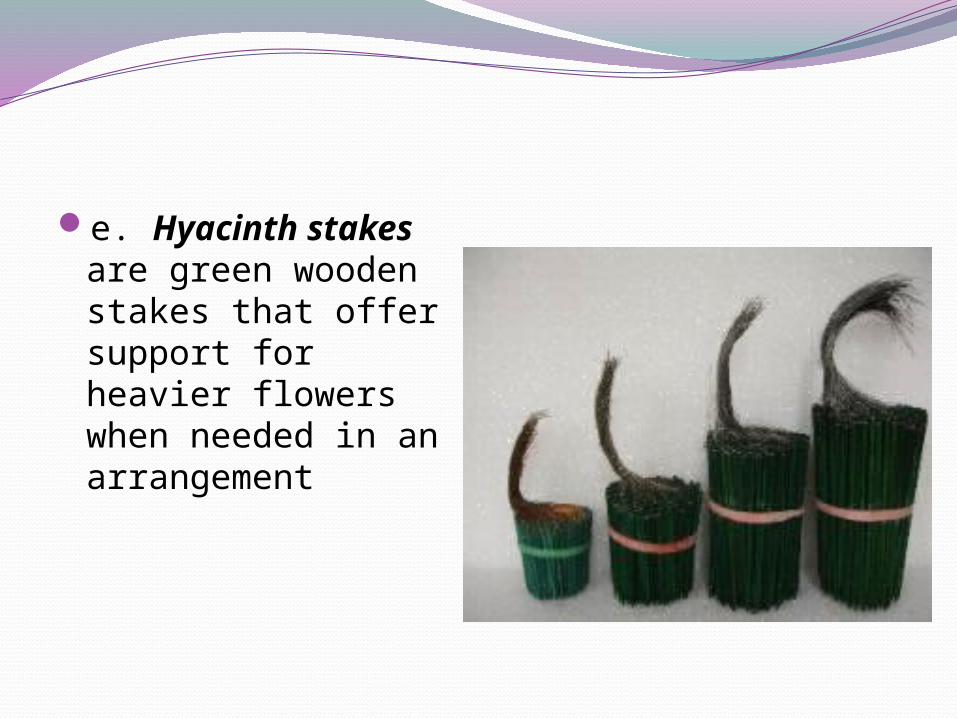
e. Hyacinth stakes are green wooden stakes that offer support for heavier flowers when needed in an arrangement

Explain how to design bud vases and vase arrangements.
Bud vases and multi-flower arrangements:Bud vases are one of the most commonly
ordered floral arrangements. The term comes from the shape of the
container of the vase. Bud vases vary in size, usually ranging from 6
to 9 inches in height. More important to note is the size of the
opening at the top, which will determine how many flowers can be used in an arrangement in the vase.

Vase arrangements originated in Italy, when the Italians started arranging their garden flowers in vases.
A wide variety of containers can be used for these designs.
The materials of which these containers are made vary as much as their shapes.
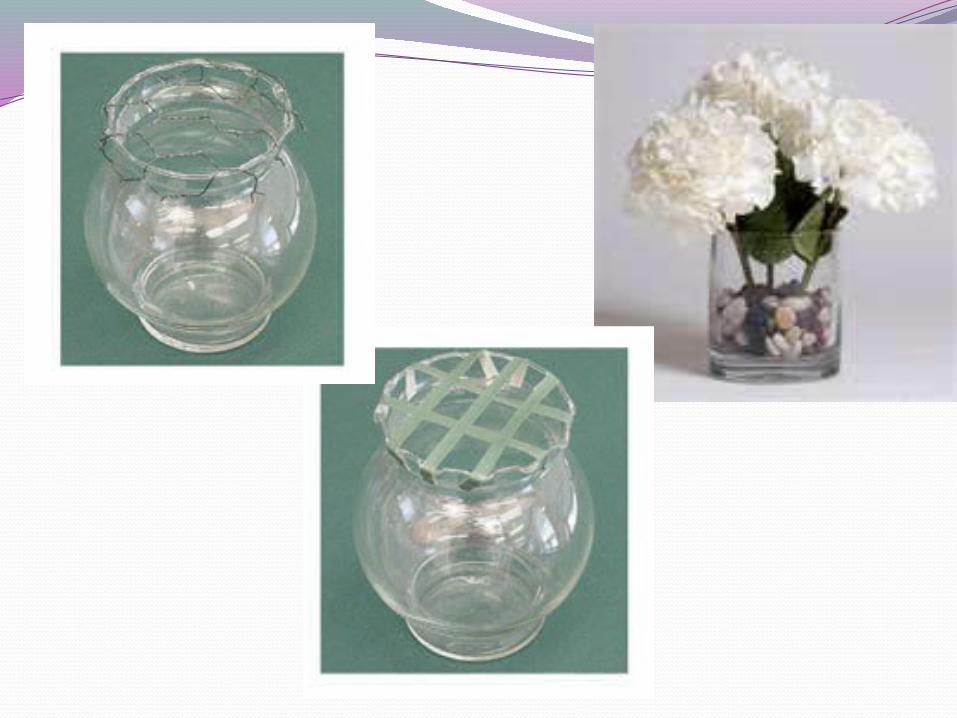
First-time designers often become frustrated with vase arrangements because when they are finished arranging, they have formed a design with a hole in the middle. This can be avoided by using a grid, a framework of materials at the top of a vase to provide support for the flowers.
There are three ways to create grids for support; with more foliage, with tape, and with wire mesh.

1. Foliage grids do not require additional materials. The designer places the stems of foliage such as leatherleaf at angles, creating a radiated pattern.
The overlap of the stems creates the natural framework.
2. Tape grids are used to achieve an artificial framework at the opening of the vase.
By placing tape at 90-degree angles, a support grid can be achieved. The tape is usually matched to the container color to hide the mechanical system.
3. Also, marbles or gemstones can be placed in the bottom of the container to provide a third support system.
This also adds color and texture to the arrangement.
Once the framework is in place, adding the foliage and flowers will allow the designer to create either one-sided designs or all around designs in any type of vase.

Its Lab Time
DESIGNING A SINGLEFLOWER BUD VASE
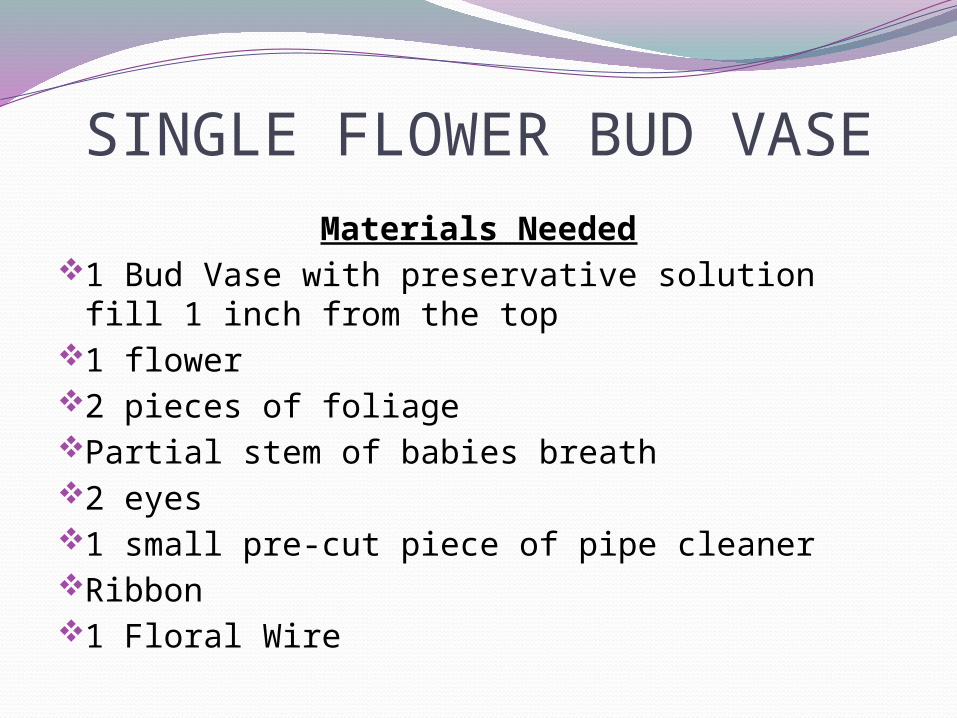
SINGLE FLOWER BUD VASEMaterials Needed
1 Bud Vase with preservative solution fill 1 inch from the top
1 flower2 pieces of foliagePartial stem of babies breath2 eyes1 small pre-cut piece of pipe cleanerRibbon1 Floral Wire
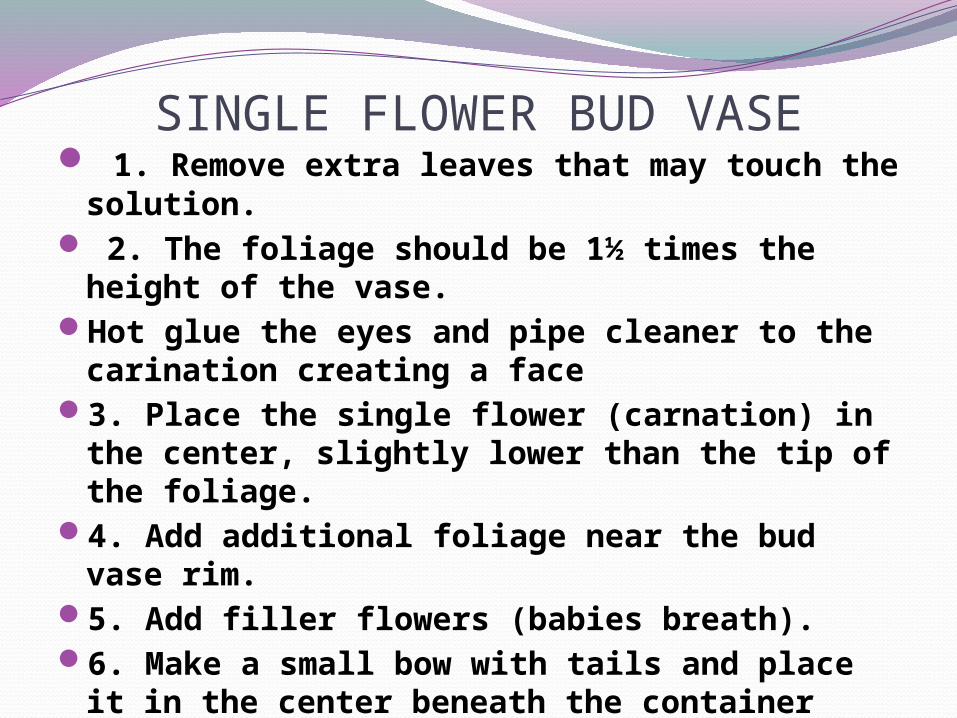
SINGLE FLOWER BUD VASE 1. Remove extra leaves that may touch the
solution. 2. The foliage should be 1½ times the
height of the vase.Hot glue the eyes and pipe cleaner to the
carination creating a face3. Place the single flower (carnation) in the
center, slightly lower than the tip of the foliage.
4. Add additional foliage near the bud vase rim.
5. Add filler flowers (babies breath).6. Make a small bow with tails and place it in
the center beneath the container rim.