instructional technology(gcet)
TRANSCRIPT

Instructional Technology
&
A.V Aids
Boys group
Boys group
• Ayaz Mahmood 43
• Mahmood-ul-Hassan 47
• Rehan Khan 49
• Saqib Sarwer 53

1:Instructional Technology
Enhancing Education

Instructional technology
Education
• Design, development, use, management and evaluation
of process and resources for learning.
• Instructional technology aims to promote the application
of validated, practical procedures in the design and
delivery of instruction.
• It is often defined either in terms of media and other
technology used
• e.g. audio visual media and equipment and computers

Instructional technology
OR
• In terms of a systematic process
which encompasses instructional design, development,
delivery and evaluation.
["Instructional Technology: The Definition and Domains of
the Field", 1994,Barbara Seels and Rita Richey, Washington
, D.C., Association for
Educational Communications and Technology].
(29-01-2010)

Why do we use technology to
enhance teaching and learning?
We have a duty to our students to use
technology to enhance teaching and research.
We have a duty to ensure that all of our
students have an appropriate
familiarity with the technology that is so
rapidly remaking the world.
Why do we use technology to
enhance teaching and learning?
By using technology to enhance teaching and
learning, we improve our core function as a
University, and give our students the skills
they need to function effectively in the
world of work.

Characteristics of good teaching:
•Instructors are well prepared.
•Instructors excite and motivate students
•Instructors communicate effectively
with their students.
•Instructors bring latest information to
students

Characteristics of successful
learning:
•Students gain and retain knowledge of the
content of the course.
•Students develop critical thinking skills.
•Students integrate knowledge within and
across disciplines.
•Students develop the ability to work in a team
to solve a problem.

Using technology to enhance
education
The use of modern instructional technologies
enhances teaching, and learning, by promoting
all of these characteristics.

Enhances how we teach
New instructional tools:
• Require that instructors are
well-organized and adaptable.

Enhances how we teach
New instructional tools:
• Require that instructors are well organized
and adaptable.
• Bring text, sounds and images to enrich and
enliven the classroom.

Enhances how we teach
New instructional tools:
• Require that instructors are well organized
and adaptable.
• Bring text, sounds and images to enrich and
enliven the classroom.
• Improve communications between
instructor and student.

Enhances how we teach
New instructional tools:
• Require that instructors are well organized
and adaptable.
• Bring text, sounds and images to enrich
and enliven the classroom.
• Improve communications between
instructor and student.
• Bring up-to-date content into classroom or
lab. http://www.dismal.com

Further enhancements
• More content available outside the
classroom, asynchronously.
• More interaction in the classroom.
• Increased use of research methods in
undergraduate courses.

Enhancements to learning
New instructional tools:
• Assist in the delivery of content knowledge
to students.
• Availability of electronic data resources
and the web

Enhancements to learning
New instructional tools:
• Improve retention
•Increased interaction improves retention
•Empower students who find communication
in traditional lecture to be intimidating.
Enhancements to learning
New instructional tools:
• Improve the development of critical
thinking skills.
• Students engage content in a mode suited
to their preferred learning style.

Enhancements to learning
New instructional tools:
• Improve students’ integration of knowledge
within and across disciplines.
•Research projects can become part of the standard course
•Students can bring ideas to some stage of completion,
integrating knowledge more effectively.
Enhancements to learning
New instructional tools:
• Improve and encourage teamwork
and problem-solving.
• Email and WWW applications enable
group activities, even in large courses
•Conferencing and chat facilities
promote discussion
Enhancing Education
It is incumbent upon the faculties of research
universities to think carefully and systematically
not only about how to make the most effective
use of existing technologies but also how to
create new ones that will enhance their own
teaching and that of their colleagues.
Reinventing Undergraduate Education: A Blueprint for America’s
Research Universities.

Enhancing Education
The best teachers and researchers should be
thinking about how to design courses in
which technology enriches teaching rather
than substitutes for it.
Reinventing Undergraduate Education: A Blueprint for America’s
Research Universities.

Enhancing Education

DEFINITION OF AV AIDS
Audio visual aids are anything by means of which
learning process may be encouraged or carried on
through the sense of hearing or sense of sight.
- Goods
Dictionary of
education

TYPES

NON PROJECTED
• Cartoons
• Charts
• Comics
• Diagrams
• Flash cards
• Graphs
• Maps
• Photographs
• Pictures
• Posters
• Printed material
• Black board
• Bulletin board
• Flannel board
• Magnetic board
• Diagrams
• Models
• Puppets
• Specimens

PROJECTED AV AIDS
DEFINITION
Projected visual aids are
pictures shown upon a
screen by the use of a
certain type of machine.
ADVANTAGES OF
PROJECTED AV AIDS
• Provides greater enjoyment in learning
• Stimulates more rapid learning
• Increases retention: larger percentages and
longer retention
• Compels attention
• Enlarges or reduces actual size of objects
• Brings distant past and the present into the
classroom

Opaque projectors
Slides
Film strips
Overhead projectors
LCD panels

OPAQUE PROJECTOR
• a device which displays opaque materials by
shining a bright lamp onto the object
• A system of mirrors, prisms and/or
imaging lenses is used to focus an image of
the material onto a viewing screen

Opaque Projector
• projectors require
brighter bulbs
• larger lenses
• Care to be taken to
prevent material
damage
• Not very common

• typically used to project images of book
pages, drawings, mineral specimens, leaves,
etc
• artists’ enlargement tools
• predecessor to the overhead projector

CARE OF EPIDIASCOPE
• handled carefully
• Protected from breakage
• away from moisture
• kept clean
• preferably kept in a cool room
• switched off when not in use.
ADVANTAGES
• graphic aids are projected with magnification
• tracing enlarged images
• no need of clipping picture from book resources
• Flat specimen like coins, cloth pieces, leaves etc.
can also be projected
• seen conveniently by a large number of students
• Teaching material of various sizes can be used
• language reading lessons
• stamp size to that of 20cmx250cm size pictures.
• helps in preparation of graphic aids

DISADVANTAGES
• Demands total darkness
• Bulky machine
• Electricity required
• Difficult maintenance
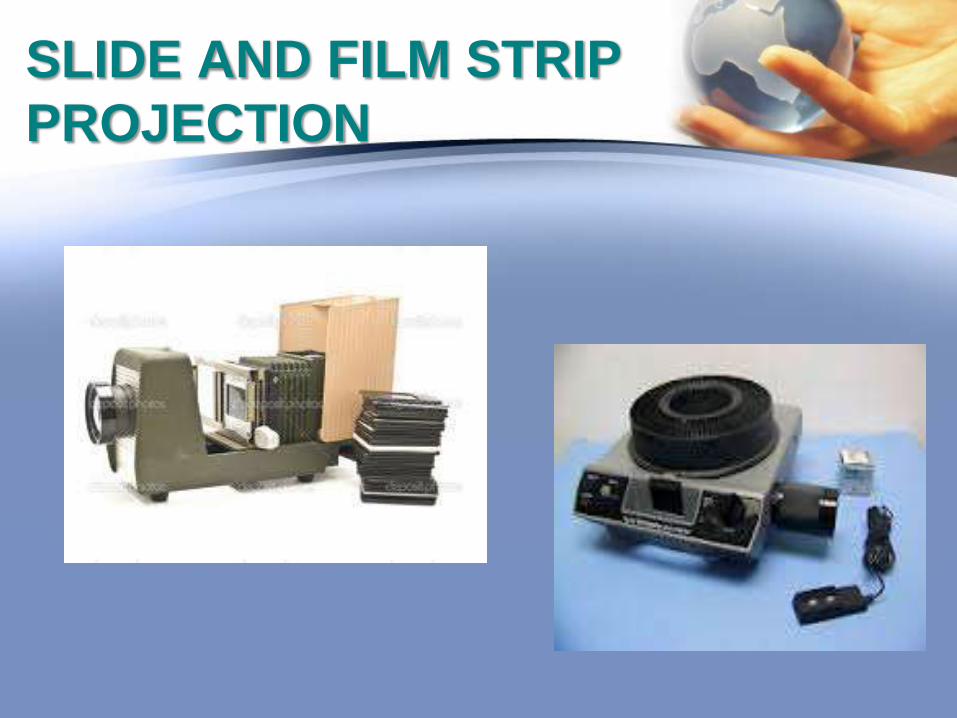
SLIDE AND FILM STRIP
PROJECTION

A slide is a still transparency of 70mm, 35mm or
6mm size which is optically enlarged and
projected on a screen as a real image

FILM STRIP
the film strip is a series of sequenced slides
on a piece of film covering a large portion of a
lesson
20 to 50 slides or frames are on about half
meters to one and half meters long film strip.

4 KINDS OF SLIDES CAN BE
MADE BY TEACHER
• Marker slides
• Cellophane slides
• Silhouette slides
• Etched glass slides

Marker slide
• a clean glass piece of right size
• Draw picture or a diagram is with a fine tip marker
pen
• Hold glass piece in cardboard or wooden frame
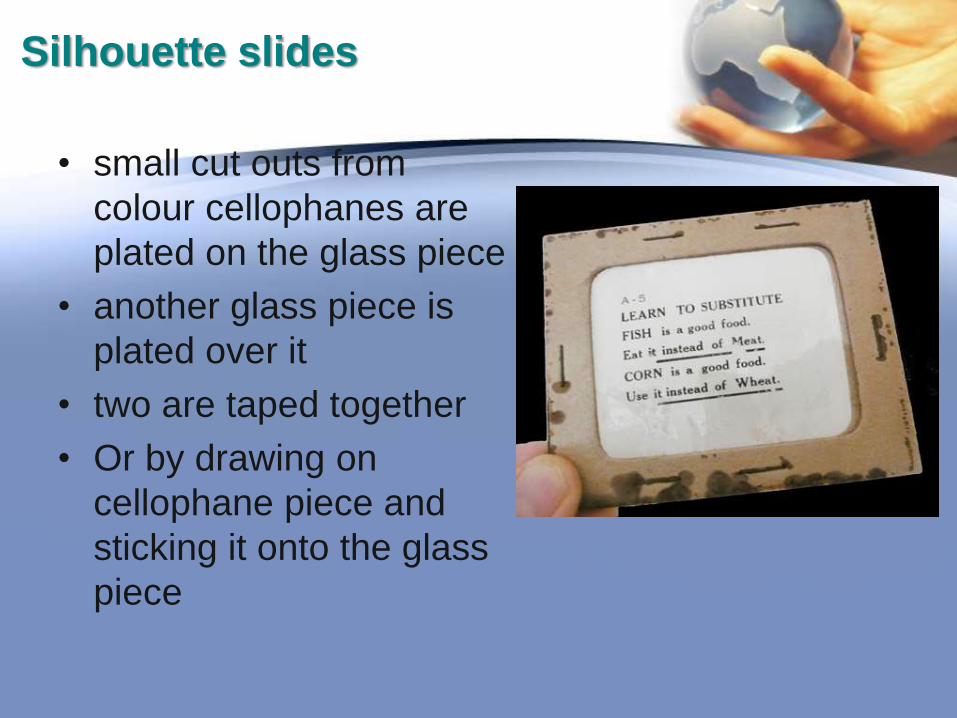
Silhouette slides
• small cut outs from
colour cellophanes are
plated on the glass piece
• another glass piece is
plated over it
• two are taped together
• Or by drawing on
cellophane piece and
sticking it onto the glass
piece
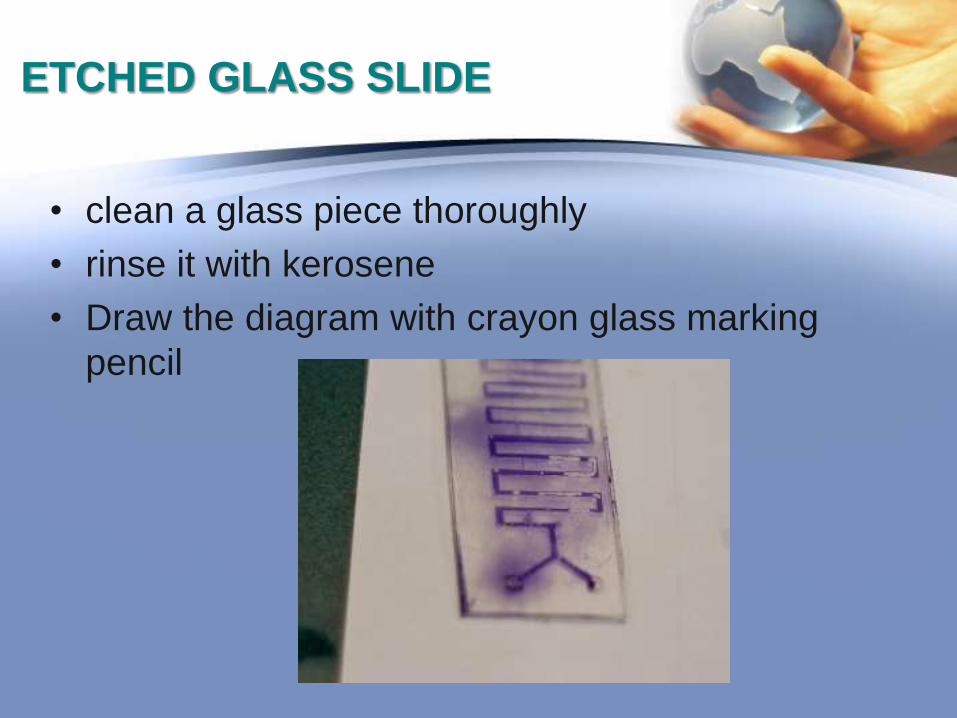
ETCHED GLASS SLIDE
• clean a glass piece thoroughly
• rinse it with kerosene
• Draw the diagram with crayon glass marking
pencil

• Another method
• cover the glass piece with smoke from burning
mustard oil lamp
• etch out the diagram with a sharp needle
• Cover with another glass piece
• tape them together
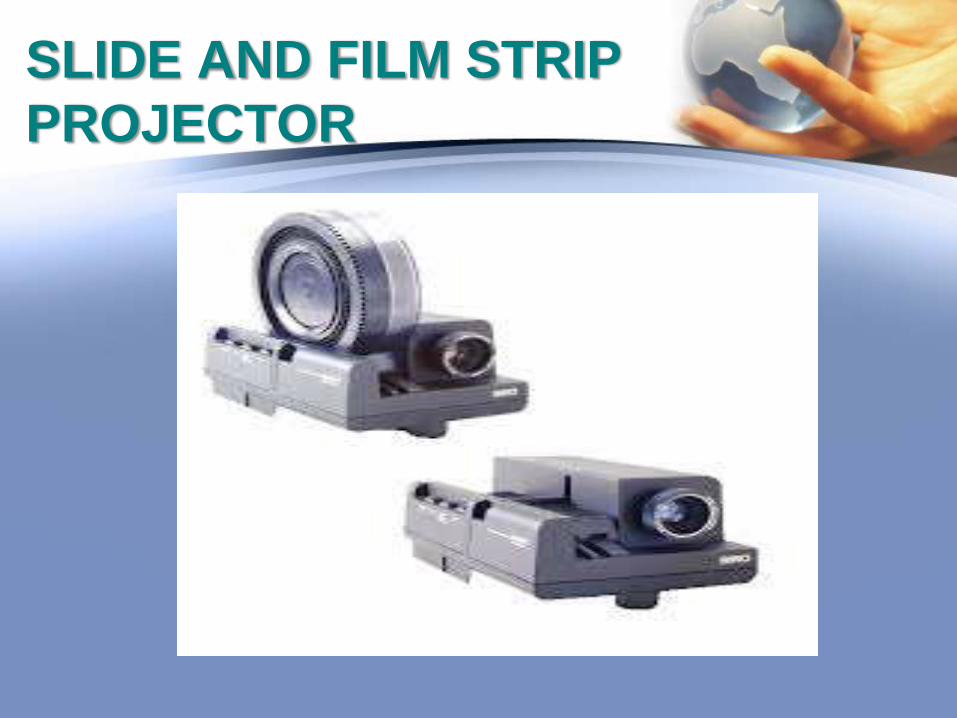
SLIDE AND FILM STRIP
PROJECTOR
• The slides and film strips are projected on a
screen using an optical instrument called slide
and film strip projector
• Technology same as opaque projectors
• Cannot project 3 dimensional image
• makes use of small photographs mounted on a
slide

STRUCTURE
• consists of a metal case having a concave
reflector
• 500 watt or 1000 watt straight filament bulb
• set of concave lens called condenser to illuminate
the slide
• slid able set of convex lenses have objective
which focuses the image of the slide on the
screen.
• The metal core is fitted with as small exhaust fan
to blow out the excess heat.
• a slide frame or a film strip carrier

Using common slide and film projectors
• Place the slide projector on a rigid and stable
table.
• Place the screen at an appropriate place
• Insert the slide projector or film strip carrier in its
place after opening the tube.
• Mount a slide or film strip on its carrier
• Insert the projector cord plug into the wall socket.
• Darken the room

• Switch on the cooling fan first and then the
projection bulb.
• Focus the image
• Show the slide and explain
• Insert the next slide
• Present the slides or frames sequentially
• switch off the bulb first then the cooling fan
• unplug the slide projector and store it back in its
box.

PREPARATION OF A
SLIDE SHOW
• Collect all the available slides
• check them thoroughly
• Choose the slides
• Arrange the chosen slides in a proper sequence
• Darken the room
• Make proper seating arrangements for students
• start teaching
• interruption during the slide show will result in the
loss of interest
CARE OF SLIDES AND
FILMSTRIPS
• they require care in handling and storage
• store vertically in cardboard trays of right size
• trays should be covered
• they should be catalogued subject wise
• film strips can be placed in rolled up positions in
cylindrical container
• container should be properly labelled
ADVANTAGES OF SLIDE
PROJECTIONS.
• Requires simple skills
• convenient aid for making classroom teaching
interesting.
• small in size
• can be stored and also carried around easily
• quite cheaper
• a logical and sequential order of presentation
• image in the screen can be held for any time
interval

• save time in teaching
• Capture attention and interest of students
• Interaction with students and group participation
is possible
ADVANTAGES OF FILM
STRIPS
• economical
• easy to make
• convenient to handle
• Takes up little
• can be easily stored
• Provides logical sequence
• Can use AC/DC power, batteries, or
rechargeable batteries with solar panels.

DISADVANTAGES OF
SLIDES AND FILM STRIP
• Need a darkened room.
• Require equipment and power that will need to be
maintained.
• Sequence cannot be changed.
• Visual media only; it requires audio or printed
text.
• Require professional assistance for final
production.

CARE OF THE FILMSTRIP
• Keep free of dust and dirt which can scratch the
filmstrip
• Keep dry because moisture can cause the
emulsion to become sticky.
• Then the film will stick together and be
destroyed.
• Keep oily hands off the film as they can leave
residue on the film.
• Keep away from excessive heat which can cause
the film to warp.

STORAGE OF THE
FILMSTRIP
• Store in containers away from heat, dust,
moisture
• When winding up the filmstrip, hold onto the
edges
• Do not pull to make it tighter as this can leave
scratches on the film

CARE OF THE
EQUIPMENT
• Don’t handle projector while the bulb is still hot as
the bulb filament is fragile.
• Pack equipment carefully for safe transporting.
• Protect from the environment, dust, dirt, moisture
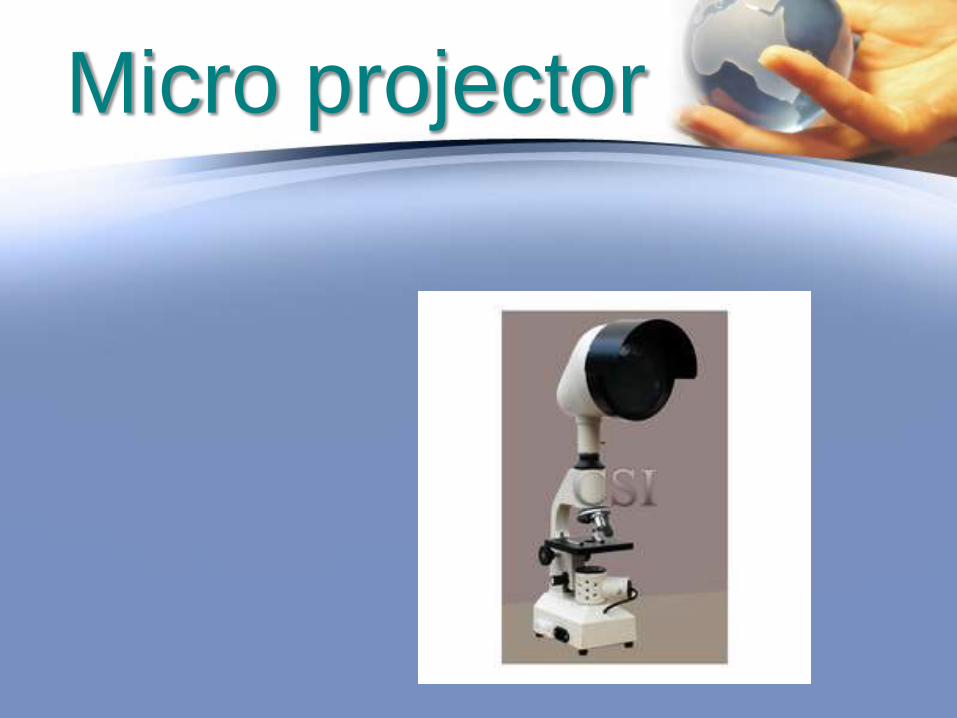
Micro projector

MICRO PROJECTOR
• slide projectors designed to project the microfilm
slides or microscopic slides to a group of
students simultaneously
• reduces the cost of instruction
• enlargement on screen is quite big for students
• with teacher’s commentary, micro projector can
ensure that students are understanding

OVER HEAD PROJECTOR
OHP
• An OHP is an important electronic teaching aid.
• This machine projects an image from a
transparency
• It will be advisable to switch off the bulbs of OHP
for 5 minutes after every 10 minutes of use.

PREPARING TRANSPERENCIES

PREPARING A TRANSPARENCY
• prepared by writing on cellophane sheets with the
help of an OHP pen
• Coloured pens
• Xeroxing from any printed material
• besides single transparency can be used on a roll

RULE OF 6 FOR
PREPARING A
TRANSPERENCY
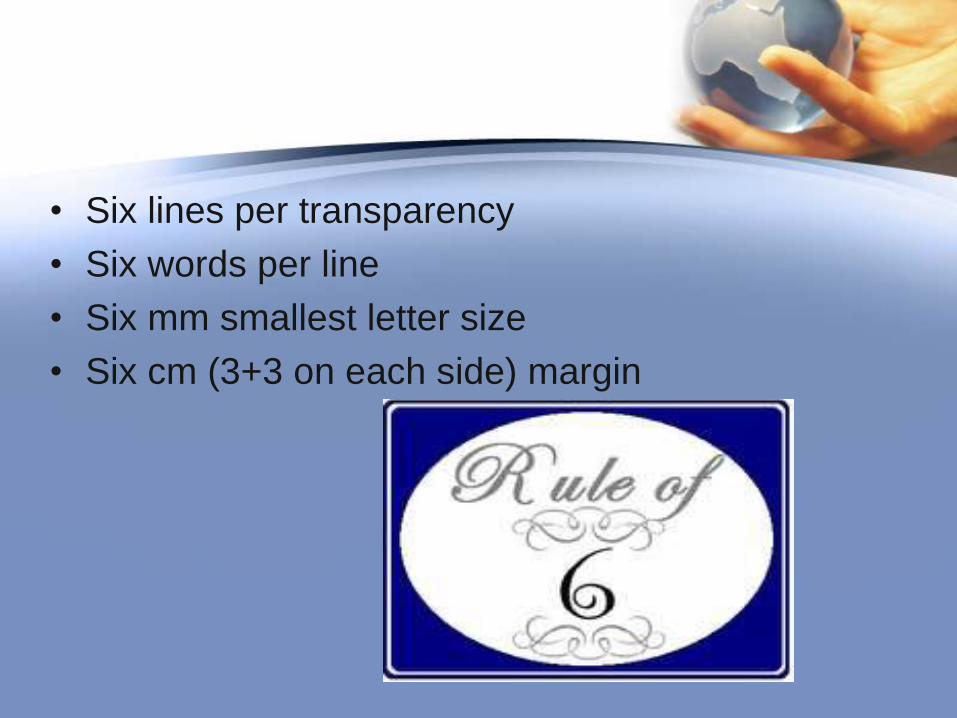
• Six lines per transparency
• Six words per line
• Six mm smallest letter size
• Six cm (3+3 on each side) margin

SCREENS FOR
PROJECTIONS
Effective utilization of projection material
necessitates careful selection of the screen.
Types of screen are
aluminium coated
glass board
flat white screen
Screens should be mounted properly and at a
proper angle
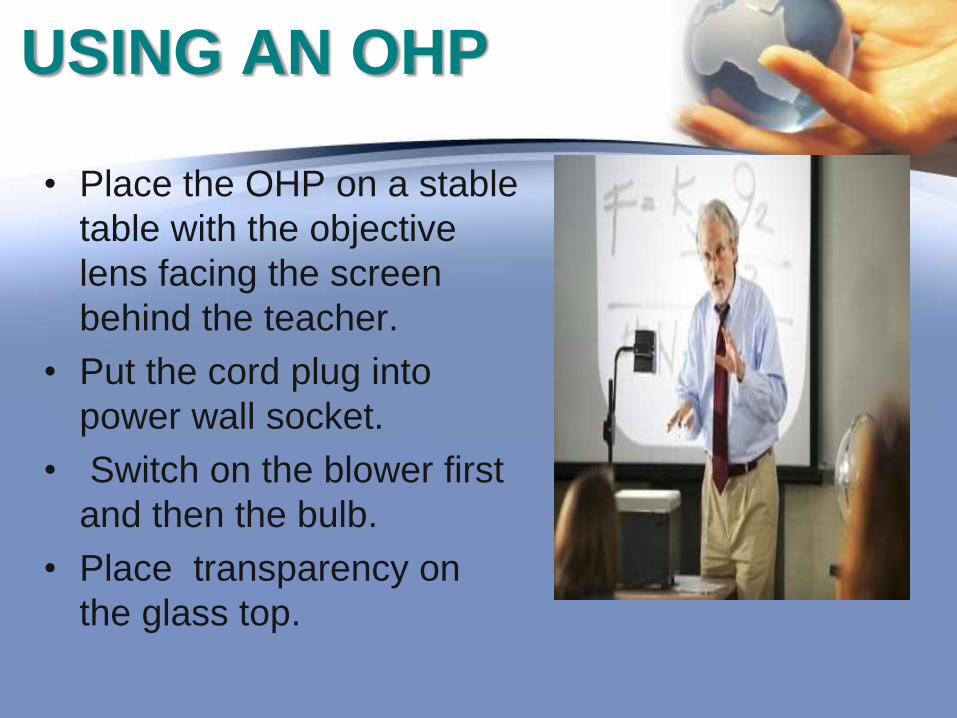
USING AN OHP
• Place the OHP on a stable
table with the objective
lens facing the screen
behind the teacher.
• Put the cord plug into
power wall socket.
• Switch on the blower first
and then the bulb.
• Place transparency on
the glass top.
• Move the objective lens and mirror assembly up
and down to get the image in focus on the
screen.
• Explain about the material on the transparency
from behind OHP with a strong pointer.
• The handle of the teacher should not come on
the slide.
• Make your points short and simple
• Remove what is not needed.

ADVANTAGES OF OHP
• teacher can face the class without any difficulty.
• The teacher can maintain eye contact and
observe the reactions of students.
• Small objects can be shown on the machine
simply by placing them on projection slide.
• The graphics and writings can be shown very
clearly and colourfully.
• It does not need as darkened room as compared
to other projectors

SOME DO’S AND DON’T’S
WHILE USING THE OHP

DO’S
• Focus and position image before presentation
• Stand to the side of the screen
• Turn off projector when not in use
• Letters the larger the better
• Use colour to attract attention
• Put captions on top.
• Have images in to two-thirds of visual position
image at the top of the screen
• Use pen or ruler to point
• Use upper and lower case letters

DON’T’S
• Walk or stand in front of the screen.
• Leave the projector on when you’ve talking about
something
• Write closely on the whole of the transparency
sheet
• Have images type-written or too small
• Use black and white visuals only
• Use finger to point
• Use only capital letter
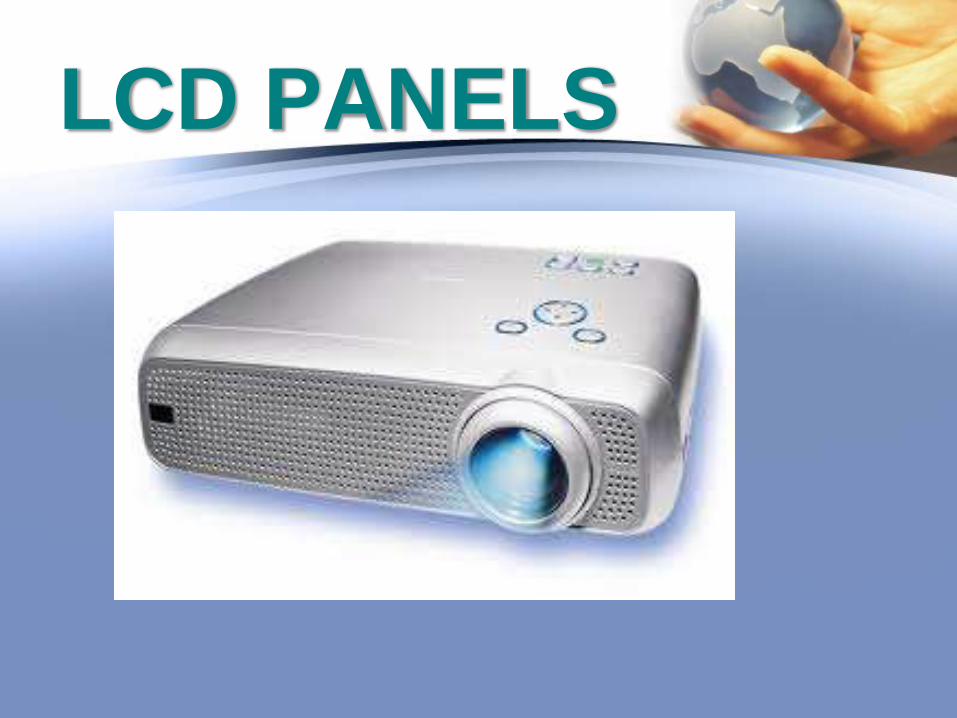
LCD PANELS

LCD
• largely superseded by data projectors
• When connected to a computer will enable to
project computer generated image onto a display
screen
• modern equivalent of the slide
projector or overhead projector.
POWER POINT PRESENTATIONS
• alternative to using OHP
• production of interesting and visually attractive
presentations
• flexibility both in terms of content and display
• Graphics, drawings, tables and organizational
charts
• keep presentation simple and clear
• effectively used to emphasize the main features
of the topic.

GUIDELINES FOR POWERPOINT
PRESENTATION:
• Limit number of slides not more than 12 for a 10
minute presentation.
• Ensure text contrasts with the background
• avoid patterned background.
• Comply with copyright law, when pictures, charts,
tables or diagrams are used.
• Standardise position, colour and styles.
• Use on one or two animation or transition effects
8 RULES FOR BETTER
POWERPOINT PRESENTATIONS
1. Remember that you are the presenter, not
PowerPoint
2. Don’t make your audience read the slides either
3. Make sure your presentation is easy on the
eyes.
4. Never include anything that makes you
announce, “I don’t know if everyone can read
this, …
5. Leave out the sound effects and background
music

8 RULES FOR BETTER
POWERPOINT PRESENTATIONS
6. Stick with simple animations if you use them at
all
7. Proofread, proofread, proofread
8. Practice, practice, practice.
ADVANTAGES OF POWER
POINT
• If you get lost, you can casually look at the power
point for guidance
• People can register the info more as they can
observe the PPT
• Images and good Presentation can make the
PPT more engaging
• Good for Reference at the end, if they ask
questions
• Looks more professional
DISADVANTAGES OF POWER
POINT
• You will not be able to change any slide during a
presentation
• Presenter cannot get into giving their full heart to
the presentation.
• time consuming
• Technically faults can rise

CONCLUSION
• Audio Visual Aids are very useful for the teaching
process
• audio-visual are great tools to catch the audience
attention
• It is important to use variety of teaching methods
for students with varying preferences
• An AV aid should also not distract a student from
learning experiences
