install windows assessment and deployment kit for windows 8.1 … · • if there are any updates...
TRANSCRIPT

System Center Virtual Machine Manager R2 installation with local SQL 2012
DB.
Active Directory Setup:
• DOMAIN\scvmmsvc SCVMM Service Account account
• DOMAIN\scvmmadmin RunAs account for managing hosts
• DOMAIN\sqlsvc SQL service account
• DOMAIN\SCVMMAdmins SCVMM Administrators security group
Prerequisites List (DPM Server):
• Install Server 2012 R2 Operating System.
• Join server to the domain.
• Install all windows updates so the server is fully patched.
• Add the “scvmmsvc” and “scvmmadmin” account to the “SCVMMAdmins” global group.
• Add the “DOMAIN\SCVMMAdmins” domain global group and the “DOMAIN\scvmmsvc”
domain account explicitly to the Local Administrators group on each SCVMM role server.
• Ensure that the server has a minimum of 4GB of Ram.
• Windows Assessment and Deployment Kit (ADK) for Windows 8.1
Install Windows Assessment and Deployment Kit for Windows 8.1 (ADK)
Click on the link below to download the ADK
• http://www.microsoft.com/en-gb/download/details.aspx?id=39982
• Double click adksetup.exe and follow the prompts.

• Click on the checkbox to accept the terms for .NET and then click on the “Accept & Install”
button for .NET Framework 4.5 to install.
• When you get prompted to restart click the Ok button.

• After the server has rebooted the installation will resume. You can choose the default option
as shown above or Download the ADK to a share and run the install from there. I chose the
default, click the Next Button to proceed.

• Make your selection and then click the Next button.

• Accept the License agreement for the installation to continue.

• Only install the following options above:
• Deployment Tools
• Windows Preinstallation Environment (Windows PE)
• Click the Install button.

• Progress screen..
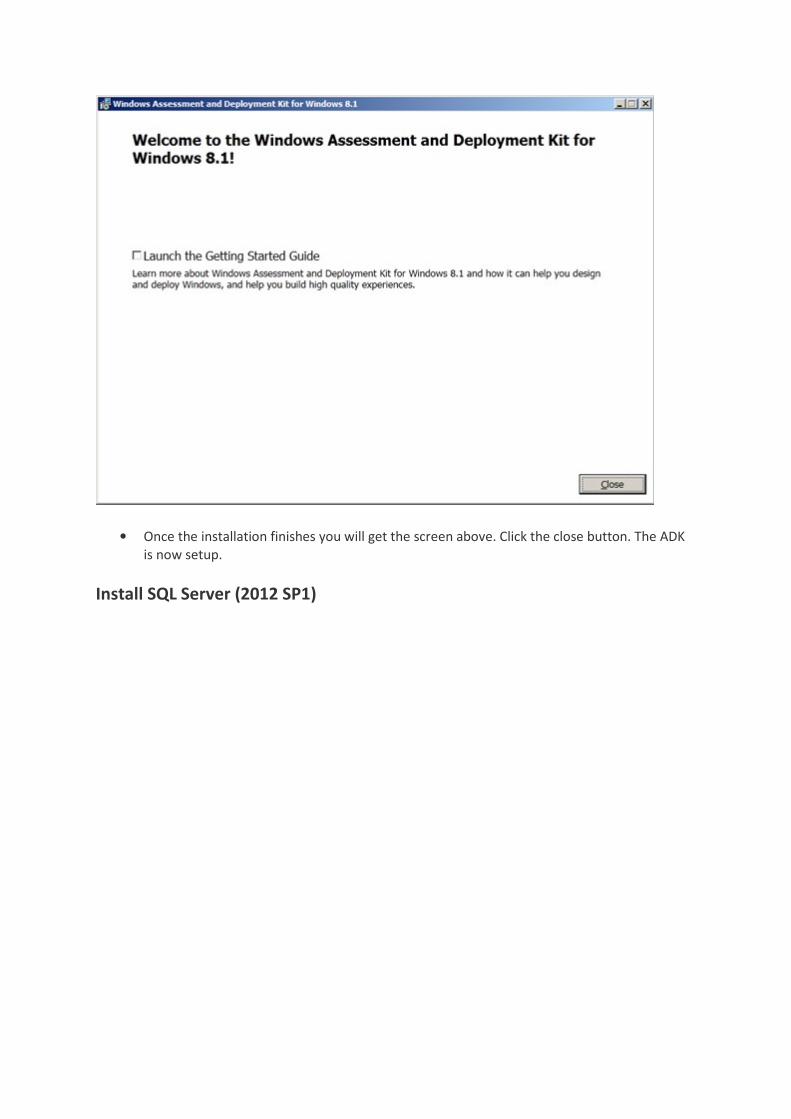
• Once the installation finishes you will get the screen above. Click the close button. The ADK
is now setup.
Install SQL Server (2012 SP1)

• Double click the setup file located in the SQL 2012 SP1 Media
• The screen above will show, click on “New SQL Server Stand-alone installation or add
features to an existing installation”

• The above screen will show, if there are any warnings or errors it will list them. Click Ok to
continue.

• Here you can enter a product key that you received from MS found on the media.
• In this Sandbox setup we will choose “Evaluation” and then click the Next button.

• Click the checkbox to accept the license terms and then click the Next button.
• If there are any updates on the next screen let them download and proceed with the install.

• Again the support rules will run, click Next to continue

• Select the first option and click the Next button.

• On the feature selection screen, choose the following options:
o Database Engine Services with Full-Text and Semantic Extractions for Search
o Reporting Services – Native
o Management Tools and its sub-feature.

• Click Next to continue

• I left the instance as default, click the Next button to continue.

• Click Next to continue.

• As this is a Sandbox environment the defaults were chosen but you will want to add in the
Domain accounts that have access to SQL in a production Environment.
• Don’t click next just yet, we need to set the Collation as with SCOM. Click the Collation Tab
next to the Service Accounts Tab.

• Click on the Customize button to change the collation.

• Click on the radio button labelled “SQL Collation, used for backwards compatibility”
• Scroll down until you see “SQL_Latin1_General_CP1_CI_AS”. Click on it and then click OK.

• Add in the Current User and any other user that will be managing SQL. Click Next to
continue.

• Select the option “Install Only” and then click Next.

• Make your selection and click Next.

• Click Next to continue.

• Review all the options you just made, if happy click the Install button.
• Sit back and wait for the installation to finish, it can take a while.
Install System Center Virtual Machine Manager 2012 R2
Open up the SCVMM media and double click Setup.

• When the splash screen loads click on the Install Button.

• Select the VMM Management Server which includes the VMM Console and click Next.

• Enter in the following information:
o Name
o Organization
o Product key
• Click Next.

• Click on the check box to select the License Agreement and then click Next.

• Make you select and then click Next.

• Accept the default path or install to a different directory by clicking the browse button.
• Click Next.

• Enter in the Server Name.
• If you want to use different credentials then tick the checkbox and enter in the details.
• Specify an instance name by clicking the drop down. This will be the instance you created
when you installed SQL.
• Create a new database or use an existing one you created earlier.
• Click Next.

• Enter in the Domain account and password.
• If you want to store the information in AD then select the checkbox and enter in the
location.
• Click Next.

• Check the ports, if you happy click Next.

• You can create a new library share or use an existing one. Once you have made your choice
click Next.

• Summary screen, click the Install button.

• Installation is now complete.
• Click the close button.
Open up SCVMM, you will see the splash screen below:

• Window of what SCVMM looks like.
• Now you can go ahead and create your VM’s.