huawei mate 9 battery replacement - ifixit-guide-pdfs.s3 ... · pdf filehuawei mate 9 battery...
TRANSCRIPT
Huawei Mate 9 Battery ReplacementThis guide shows how to replace the battery in your Huawei Mate 9.
Written By: Dominik Schnabelrauch
Huawei Mate 9 Battery Replacement
© iFixit — CC BY-NC-SA www.iFixit.com Page 1 of 7
INTRODUCTION
Use this guide to replace the battery in your Huawei Mate 9 smartphone. When reassembling yourphone apply new adhesive where it is necessary.
TOOLS:SIM Card Eject Tool (1)
T2 Torx Screwdriver (1)
iFixit Opening Tools (1)
Spudger (1)
Tweezers (1)
Plastic Cards (1)
PARTS:Huawei Mate 9 Replacement Battery (1)
Huawei Mate 9 Battery Replacement
© iFixit — CC BY-NC-SA www.iFixit.com Page 2 of 7
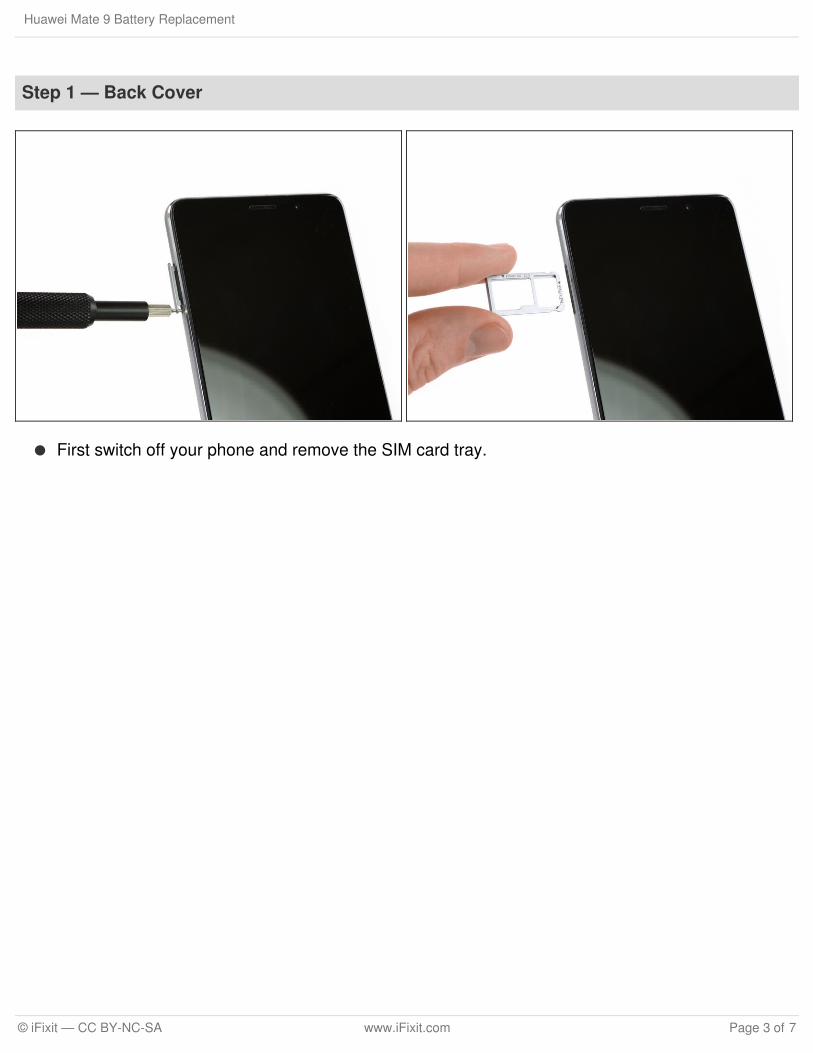
Step 1 — Back Cover
First switch off your phone and remove the SIM card tray.
Huawei Mate 9 Battery Replacement
© iFixit — CC BY-NC-SA www.iFixit.com Page 3 of 7
Step 2
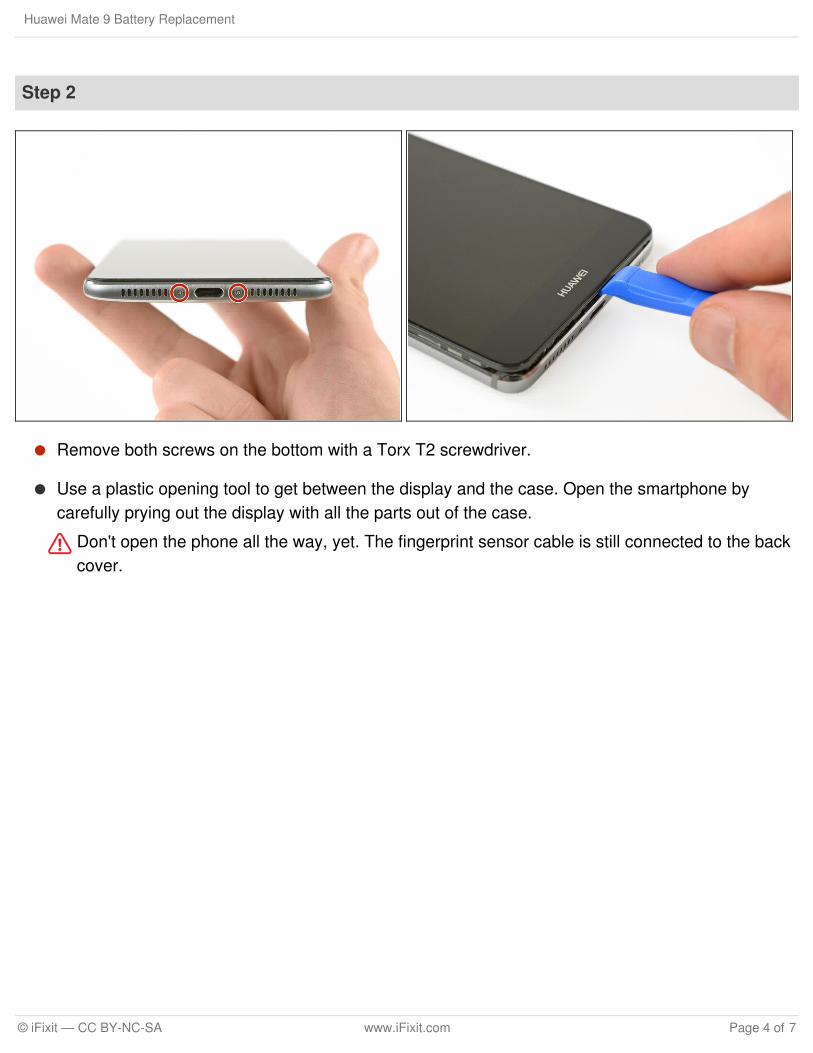
Remove both screws on the bottom with a Torx T2 screwdriver.
Use a plastic opening tool to get between the display and the case. Open the smartphone bycarefully prying out the display with all the parts out of the case.
Don't open the phone all the way, yet. The fingerprint sensor cable is still connected to the backcover.
Huawei Mate 9 Battery Replacement
© iFixit — CC BY-NC-SA www.iFixit.com Page 4 of 7
Step 3
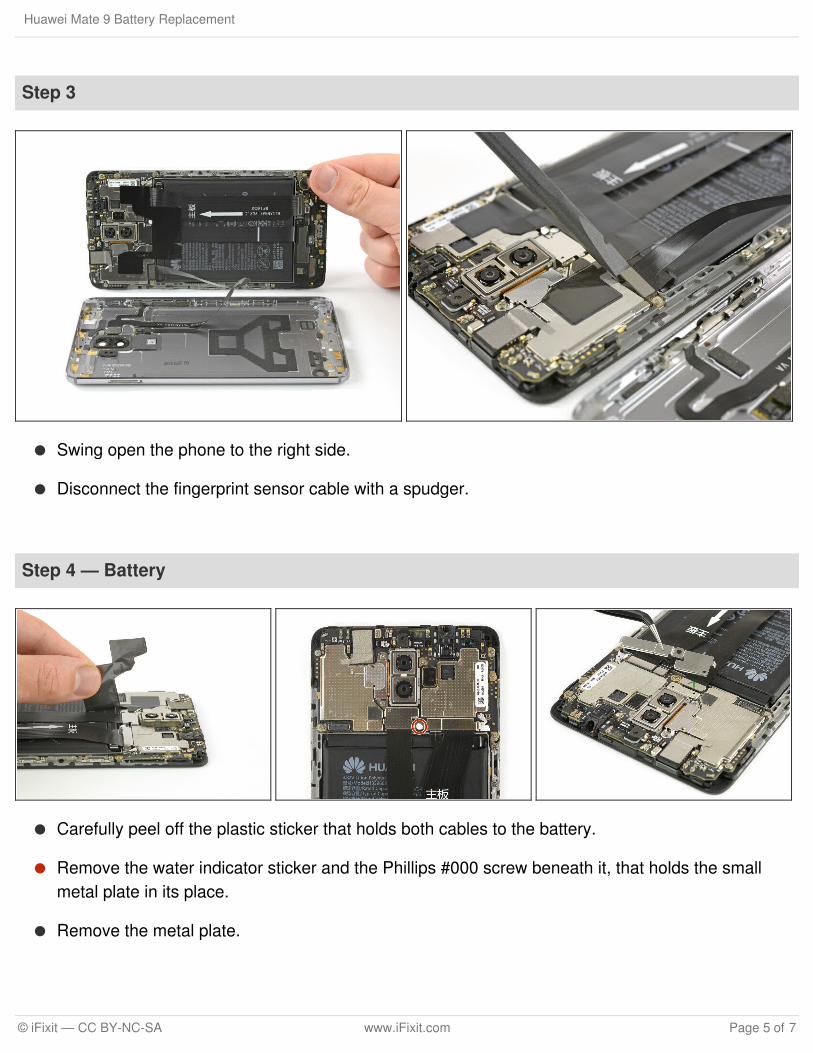
Swing open the phone to the right side.
Disconnect the fingerprint sensor cable with a spudger.
Step 4 — Battery
Carefully peel off the plastic sticker that holds both cables to the battery.
Remove the water indicator sticker and the Phillips #000 screw beneath it, that holds the smallmetal plate in its place.
Remove the metal plate.
Huawei Mate 9 Battery Replacement
© iFixit — CC BY-NC-SA www.iFixit.com Page 5 of 7
Step 5
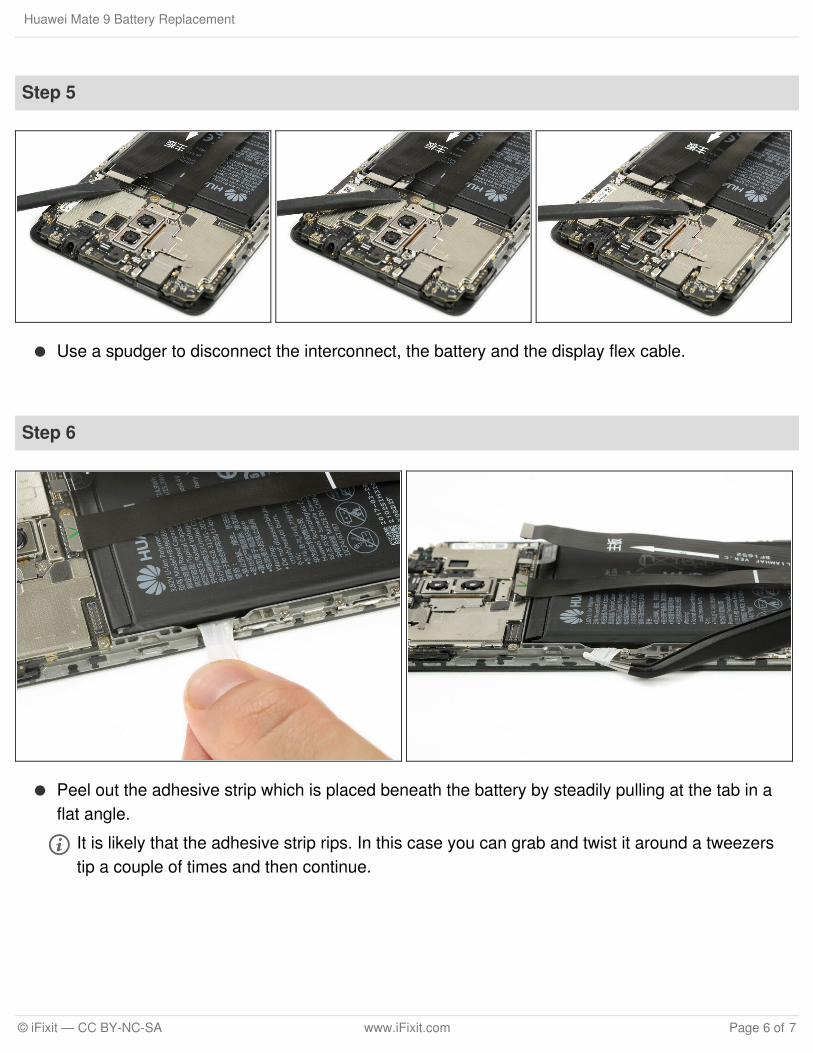
Use a spudger to disconnect the interconnect, the battery and the display flex cable.
Step 6
Peel out the adhesive strip which is placed beneath the battery by steadily pulling at the tab in aflat angle.
It is likely that the adhesive strip rips. In this case you can grab and twist it around a tweezerstip a couple of times and then continue.
Huawei Mate 9 Battery Replacement
© iFixit — CC BY-NC-SA www.iFixit.com Page 6 of 7
To reassemble your device, follow these instructions in reverse order. When reassembling your phoneapply new adhesive where it is necessary.
This document was last generated on 2018-04-05 07:49:44 PM.
Step 7
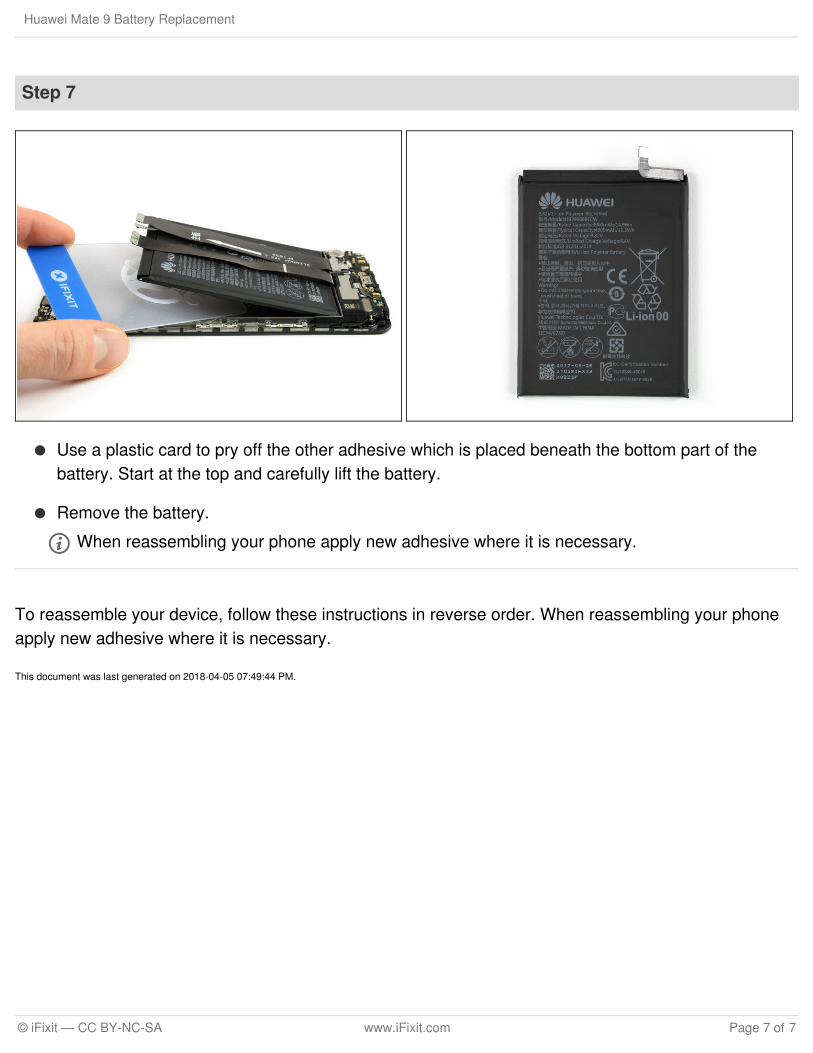
Use a plastic card to pry off the other adhesive which is placed beneath the bottom part of thebattery. Start at the top and carefully lift the battery.
Remove the battery.
When reassembling your phone apply new adhesive where it is necessary.
Huawei Mate 9 Battery Replacement
© iFixit — CC BY-NC-SA www.iFixit.com Page 7 of 7