honey's vintage kitchen 50's dinner party
DESCRIPTION
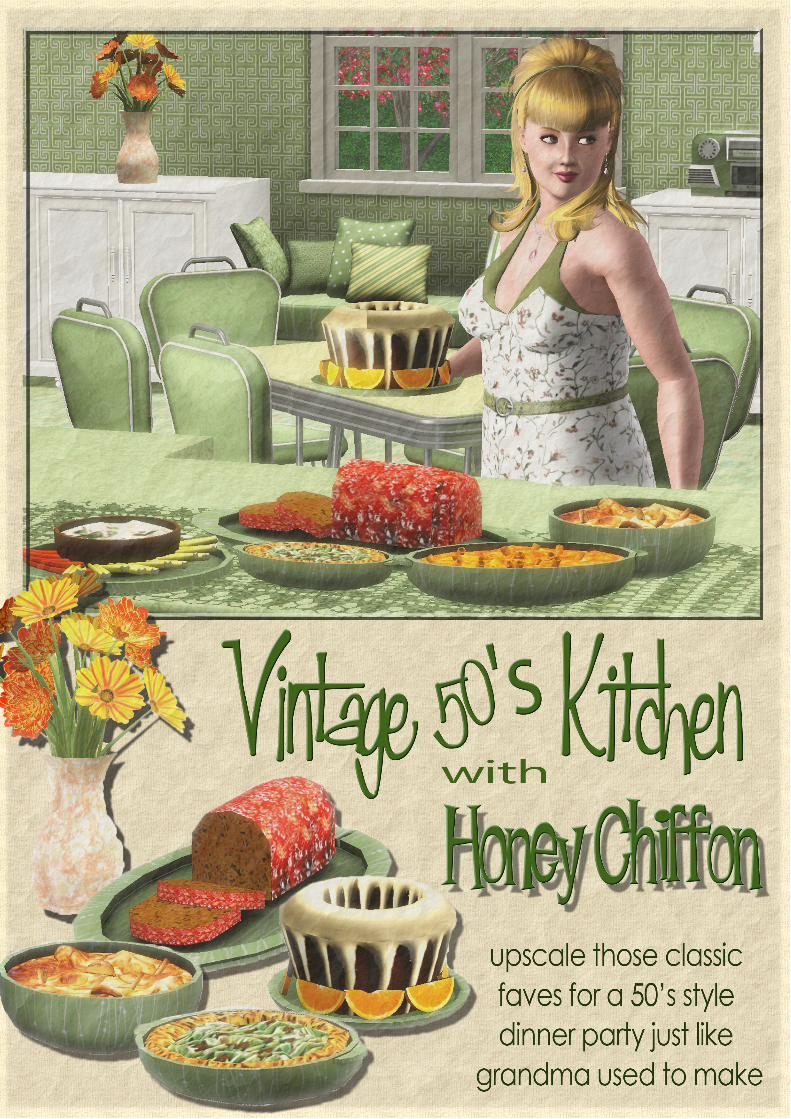
A fun 50's dinner party menu and recipes, updated for modern times.TRANSCRIPT
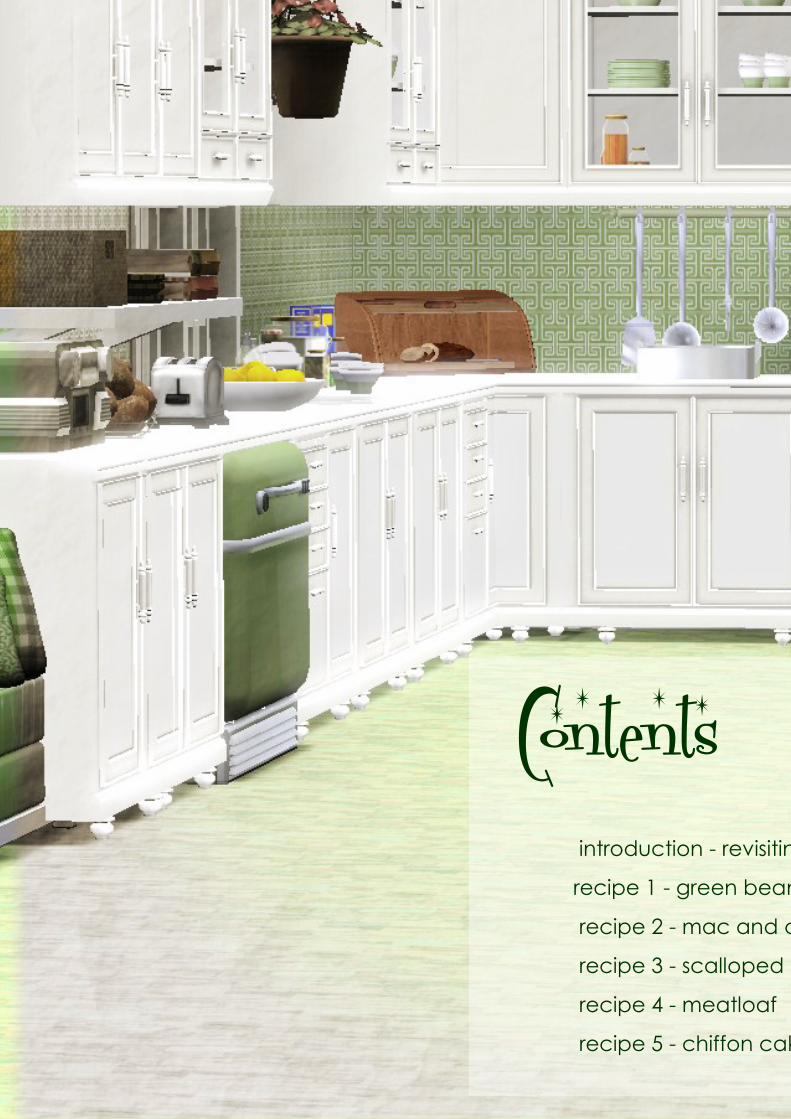
Contents introduction - revisiting the 50’s kitchen
recipe 1 - green bean casserole
recipe 2 - mac and cheese
recipe 3 - scalloped potatoes
recipe 4 - meatloaf
recipe 5 - chiffon cake

Contents introduction - revisiting the 50’s kitchen
recipe 1 - green bean casserole
recipe 2 - mac and cheese
recipe 3 - scalloped potatoes
recipe 4 - meatloaf
recipe 5 - chiffon cake
It was in the 1950’s that a revolution began in the kitchen of housewives everywhere.
A proliferation of convenience foods became available along with appliances to add
to that convenience - all in the name of making the job of the housewife more
pleasant and to allow more time for family. Brand names like Jell-O, Crisco, Mazola
Oil, and Pillsbury played predominant roles. Time-saving items such as cake mixes and
ready-made frostings, canned soups, frozen vegetables and TV dinners began to truly
make their mark, and one-dish casseroles were taking over the culinary scene in
abundance.
As an advocate for REAL food it seems to me that this was when cooking and food as
we know it began on it’s downward spiral. Fewer and fewer woman were practicing
canning or preserving their own foods, while increased reliance on convenience
foods was noted, often at the expense of quality and nutrition. There began to be less
focus on local and seasonal food items as interest in more exotic and worldly food
tastes were piquing curiosity - not that I’m against exotic or worldly tastes, but it is
shame about the local and seasonally-fresh part.
There is a movement of sorts taking place in the kitchens of many foodies today -
locavores are on the rise, the Slow Food movement is growing in strength, foodies
everywhere are experimenting with REAL food once again with the goal of breathing
life back into the near-extinct traditional food practices that were nothing but
commonplace before the 50’s.
In this fun, mini cook book, at the risk of insulting 50’s traditionalists everywhere, I will
attempt to revive some classic 50’s recipes with my current philosophy of eating REAL.
Let’s see if it can be done.
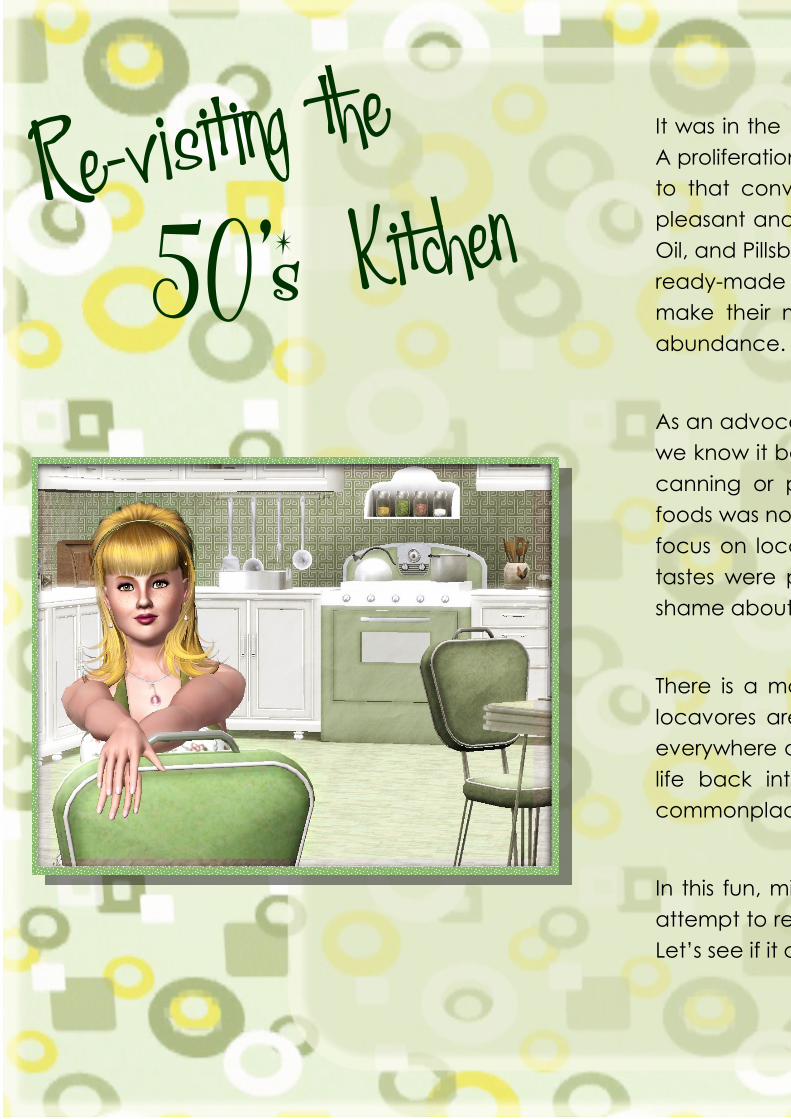
Re-visiting the
Kitchen 50’s
It was in the 1950’s that a revolution began in the kitchen of housewives everywhere.
A proliferation of convenience foods became available along with appliances to add
to that convenience - all in the name of making the job of the housewife more
pleasant and to allow more time for family. Brand names like Jell-O, Crisco, Mazola
Oil, and Pillsbury played predominant roles. Time-saving items such as cake mixes and
ready-made frostings, canned soups, frozen vegetables and TV dinners began to truly
make their mark, and one-dish casseroles were taking over the culinary scene in
abundance.
As an advocate for REAL food it seems to me that this was when cooking and food as
we know it began on it’s downward spiral. Fewer and fewer woman were practicing
canning or preserving their own foods, while increased reliance on convenience
foods was noted, often at the expense of quality and nutrition. There began to be less
focus on local and seasonal food items as interest in more exotic and worldly food
tastes were piquing curiosity - not that I’m against exotic or worldly tastes, but it is
shame about the local and seasonally-fresh part.
There is a movement of sorts taking place in the kitchens of many foodies today -
locavores are on the rise, the Slow Food movement is growing in strength, foodies
everywhere are experimenting with REAL food once again with the goal of breathing
life back into the near-extinct traditional food practices that were nothing but
commonplace before the 50’s.
In this fun, mini cook book, at the risk of insulting 50’s traditionalists everywhere, I will
attempt to revive some classic 50’s recipes with my current philosophy of eating REAL.
Let’s see if it can be done.
healthfully yours,
Honey Chiffon
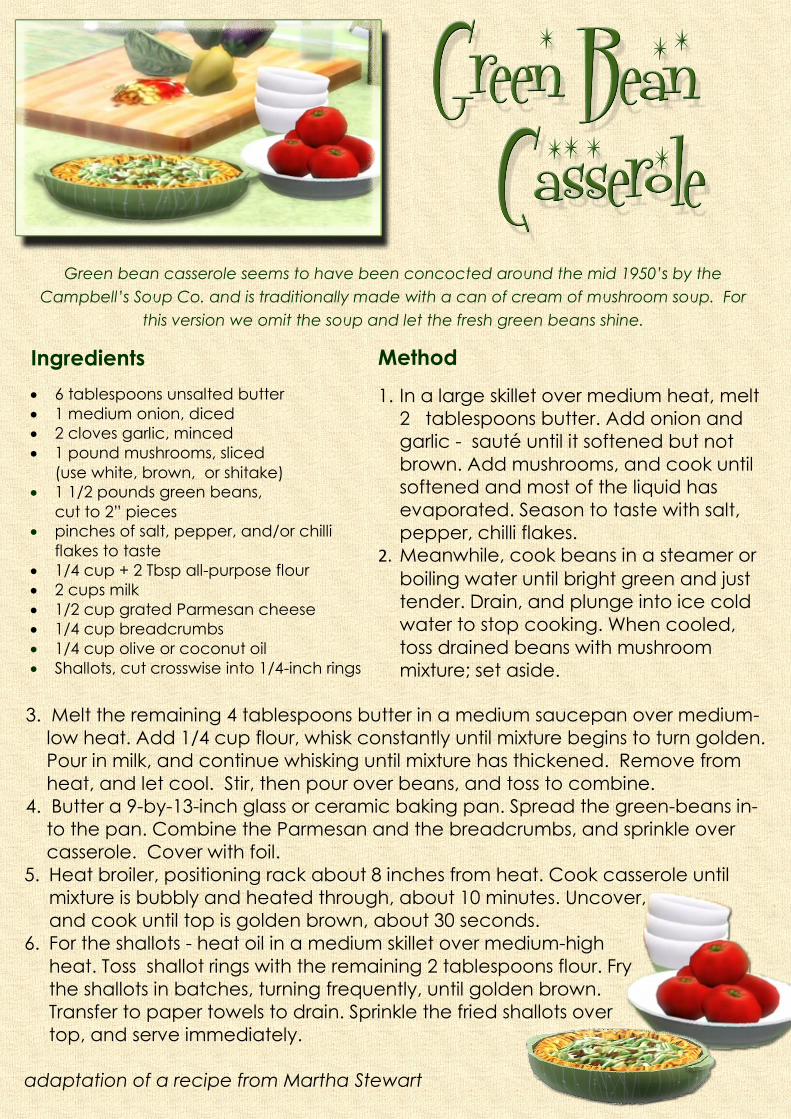
Green bean casserole seems to have been concocted around the mid 1950‟s by the
Campbell‟s Soup Co. and is traditionally made with a can of cream of mushroom soup. For
this version we omit the soup and let the fresh green beans shine.
Ingredients
6 tablespoons unsalted butter
1 medium onion, diced
2 cloves garlic, minced
1 pound mushrooms, sliced
(use white, brown, or shitake)
1 1/2 pounds green beans,
cut to 2” pieces
pinches of salt, pepper, and/or chilli
flakes to taste
1/4 cup + 2 Tbsp all-purpose flour
2 cups milk
1/2 cup grated Parmesan cheese
1/4 cup breadcrumbs
1/4 cup olive or coconut oil
Shallots, cut crosswise into 1/4-inch rings
Method
1. In a large skillet over medium heat, melt
2 tablespoons butter. Add onion and
garlic - sauté until it softened but not
brown. Add mushrooms, and cook until
softened and most of the liquid has
evaporated. Season to taste with salt,
pepper, chilli flakes.
2. Meanwhile, cook beans in a steamer or
boiling water until bright green and just
tender. Drain, and plunge into ice cold
water to stop cooking. When cooled,
toss drained beans with mushroom
mixture; set aside.
3. Melt the remaining 4 tablespoons butter in a medium saucepan over medium-
low heat. Add 1/4 cup flour, whisk constantly until mixture begins to turn golden.
Pour in milk, and continue whisking until mixture has thickened. Remove from
heat, and let cool. Stir, then pour over beans, and toss to combine.
4. Butter a 9-by-13-inch glass or ceramic baking pan. Spread the green-beans in-
to the pan. Combine the Parmesan and the breadcrumbs, and sprinkle over
casserole. Cover with foil.
5. Heat broiler, positioning rack about 8 inches from heat. Cook casserole until
mixture is bubbly and heated through, about 10 minutes. Uncover,
and cook until top is golden brown, about 30 seconds.
6. For the shallots - heat oil in a medium skillet over medium-high
heat. Toss shallot rings with the remaining 2 tablespoons flour. Fry
the shallots in batches, turning frequently, until golden brown.
Transfer to paper towels to drain. Sprinkle the fried shallots over
top, and serve immediately.
adaptation of a recipe from Martha Stewart
Ingredients
6 tablespoons unsalted butter, plus more for baking dish
Coarse salt and ground pepper, chilli flakes if you like some heat
1 pound good quality pasta, preferably NOT elbow macaroni - try something interesting
1/4 cup all-purpose flour
1 teaspoon dry mustard powder
4 cups whole milk
4 ounces or 1 cup each of 3 cheeses - find three that have flavours that work together - I
love extra old white cheddar, Havarti for creaminess and Oka for depth of flavour (and be-
cause it’s Canadian)
1 teaspoon Worcestershire sauce
1 cup good quality bread crumbs - spelt or panko work great
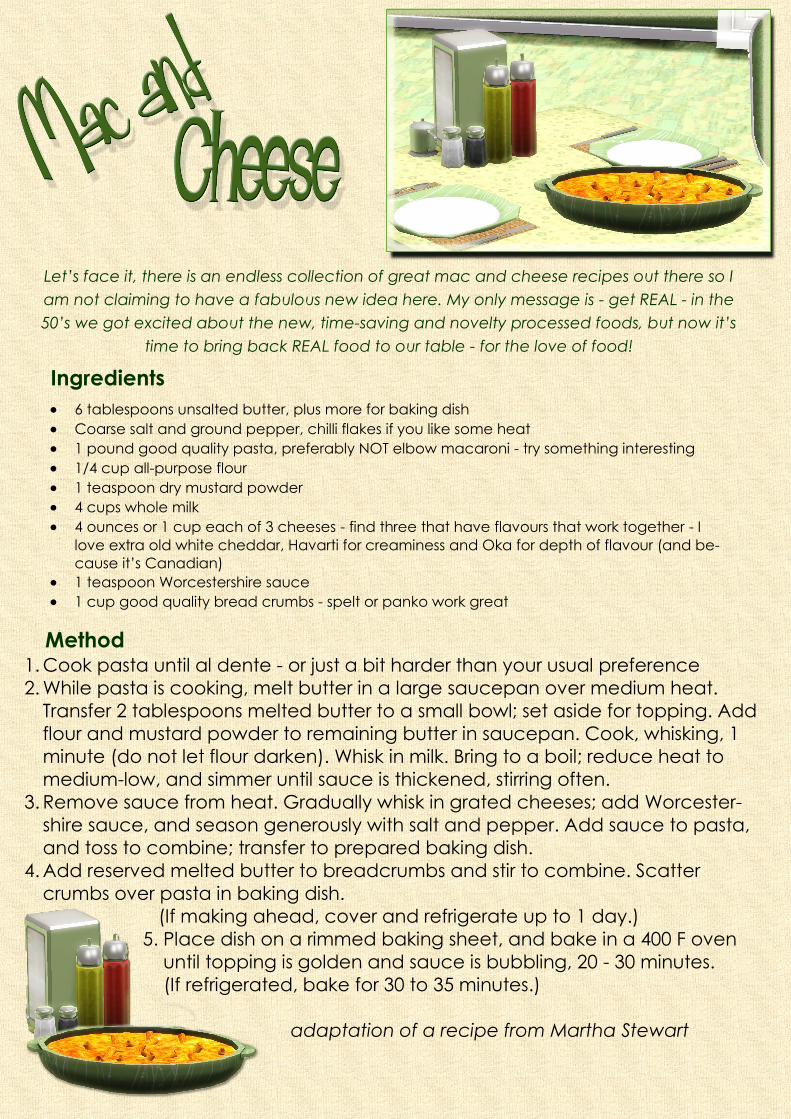
Let‟s face it, there is an endless collection of great mac and cheese recipes out there so I
am not claiming to have a fabulous new idea here. My only message is - get REAL - in the
50‟s we got excited about the new, time-saving and novelty processed foods, but now it‟s
time to bring back REAL food to our table - for the love of food!
Method 1. Cook pasta until al dente - or just a bit harder than your usual preference
2. While pasta is cooking, melt butter in a large saucepan over medium heat.
Transfer 2 tablespoons melted butter to a small bowl; set aside for topping. Add
flour and mustard powder to remaining butter in saucepan. Cook, whisking, 1
minute (do not let flour darken). Whisk in milk. Bring to a boil; reduce heat to
medium-low, and simmer until sauce is thickened, stirring often.
3. Remove sauce from heat. Gradually whisk in grated cheeses; add Worcester-
shire sauce, and season generously with salt and pepper. Add sauce to pasta,
and toss to combine; transfer to prepared baking dish.
4. Add reserved melted butter to breadcrumbs and stir to combine. Scatter
crumbs over pasta in baking dish.
(If making ahead, cover and refrigerate up to 1 day.)
5. Place dish on a rimmed baking sheet, and bake in a 400 F oven
until topping is golden and sauce is bubbling, 20 - 30 minutes.
(If refrigerated, bake for 30 to 35 minutes.)
adaptation of a recipe from Martha Stewart

Method Preheat oven to 350 degrees. Butter a 12-cup baking dish. Melt butter in a
skillet over medium heat. Add leeks, and cook until translucent, 3 to 4
minutes. Meanwhile combine chicken stock and cream with salt, pepper
and any seasonings.
Arrange 1/3 of each white then sweet potatoes in dish, slightly overlapping
slices. followed by 1/2 of the leeks and 1/3 of the cheese. Repeat. Top with
remaining potatoes in a spiral - alternating sweet and white slices. Sprinkle
with remaining cheese. Pour the cream mixture over the top. Cover with
parchment and foil. (Mixture can be refrigerated overnight.)
Bake for 30 minutes. Increase temperature to 425 degrees,
uncover, and cook until top is golden brown and potatoes are
tender, about 45 minutes. Let rest for 15 to 30 minutes
before serving.
adaptation of a recipe from Martha Stewart
Ingredients 2 tablespoons unsalted butter, plus more for baking dish
2 leeks, trimmed, thinly sliced, and rinsed well (about 1 cup)
4 large russet potatoes and 2 large sweet potatoes, peeled and very thinly sliced
1/2 teaspoon coarse salt and freshly ground pepper, to taste
1 cup light or heavy cream
1 cup homemade or store-bought chicken stock
8 ounces (3 cups) shredded Gruyere or extra old white cheddar cheese
cheese is optional, thyme, paprika or nutmeg can be added for additional
flavour, and you can choose all white or all sweet potatoes if preferred
Scalloped potatoes bring back fond memories of family dinners for me - it is definitely an
“old fashioned” dish. Though technically not invented in the 1950‟s, it would definitely
have been a staple casserole on dinner tables. Lately potatoes have been shunned, but
in the name of REAL food I‟m going out on a limb and saying “go ahead, eat some
potatoes, they are not the enemy.
Tomato Relish (make first): Extra-virgin olive oil
1 onion, finely diced
2 garlic cloves, minced
2 bay leaves
2 red bell peppers, cored, and finely diced
2 tomatoes, halved, seeded, and finely diced
1/4 cup chopped fresh flat-leaf parsley
1 (12-ounce) bottle ketchup
1 tablespoon Worcestershire sauce
Kosher salt and freshly ground black pepper
adaptation of a recipe from Tyler Florence
Meatloaf 2 cups good quality bread crumbs
2 garlic cloves, chopped
1 medium onion, chopped
1 celery stalk, chopped
1 medium carrot, chopped
1/2 cup flat-leaf parsley
12 ounces each of ground beef and pork
preferably pasture-raised
12 ounces ground veal, preferably milk-fed
1 large egg
1 cup Tomato Relish plus more for topping
1 tablespoon Dijon mustard
1 tablespoon Worcestershire sauce
Coarse salt and freshly ground pepper
adaptation of a recipe from Martha Stewart
For the Relish first…
Preheat pan with a little bit of oil over
medium heat. Sauté the onion, garlic,
and bay leaves for a few minutes to
create a base flavour. Throw in the red
peppers and cook them for a couple
of minutes to soften. Now add the
tomatoes. Stir in the parsley, ketchup,
and Worcestershire; season with salt
and pepper. Simmer the relish for 5
minutes to pull all the flavours together.
Remove it from the heat and let cool.
You should have about 4 cups of relish.
For the Meatloaf
Pulse garlic, onion, celery, carrot, and
parsley in food processor until finely
chopped. Combine with breadcrumbs
in a large bowl. Add meats, egg, 1
cup tomato relish, mustard, Worcester-
shire sauce, 1 tablespoon salt, and 1/2
teaspoon pepper; mix together using
your hands. Transfer mixture to a 5-by-9
-inch loaf pan. Top with a generous
coating of the relish.
Set pan on a rimmed baking sheet,
and bake at 350 degrees F until an in-
stant-read thermometer inserted into
the center reaches 160 degrees F,
about 1 1/2 hours. Let cool slightly.
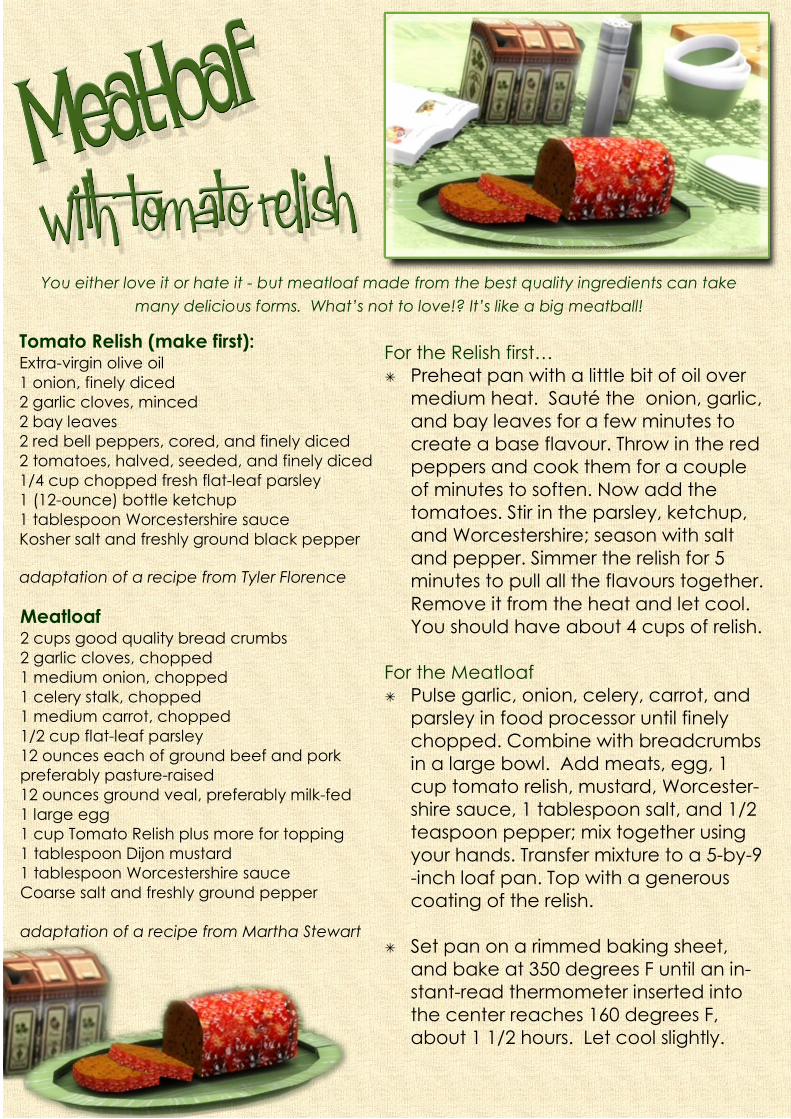
You either love it or hate it - but meatloaf made from the best quality ingredients can take
many delicious forms. What‟s not to love!? It‟s like a big meatball!
Cake Ingredients
2 cups (500 mL) cake and pastry flour
2 teaspoons (10mL) baking powder
1 1/2 cups (375 mL) granulated sugar
1/2 cup (125 mL) canola or melted coconut oil
pinch of salt
zest from 2 large oranges (finely grated outer peel)
juice from 2 large oranges, with additional water if
needed to equal 3/4 cup (6 liquid oz)
7 eggs - separated
1 more teaspoon (5 mL) baking soda
Glaze Ingredients
2 cups icing sugar
Method
Preheat oven to 325 °F
Sift flour, sugar, 2 teaspoons of baking powder and salt into a large bowl.
Using an electric mixer on low speed, beat in oil, egg yolks, orange juice and lemon peel until just well blended,
do not overwork
In a separate large bowl, beat room temperature egg whites with 1 teaspoon of baking powder. Use clean, dry
beaters and beat until stiff, but not dry.
Fold the egg whites into the batter gently - this is important so that you don’t lose the fluffiness of the whites.
Line the bottom of the pan with a ring of parchment paper to help avoid leaking - a two piece pan with a
removable bottom is best
Pour the batter into the NON-greased pan, then tap gently on the counter to remove any large
air pockets
Bake until springy to the touch, about 1 to 1 1/4 hours
Immediately invert the pan over a bottle or jar - be sure that it is suspended over the counter so that air
circulates underneath , allowing it to cool. Some chiffon tube pans have little legs on them so that you
can stand it upside down without having to use a jar.
Allow to cool completely before removing - run a thin spatula or knife around the sides
of the pan to loosen. Transfer cake to a plate and drizzle with glaze.
It is sometimes said that everyone‟s first attempt at chiffon cake fails, but don‟t be discouraged. The key is to follow the
method meticulously, and use the correct type of pan - a smooth sided, two-piece tube pan and do NOT grease it first.
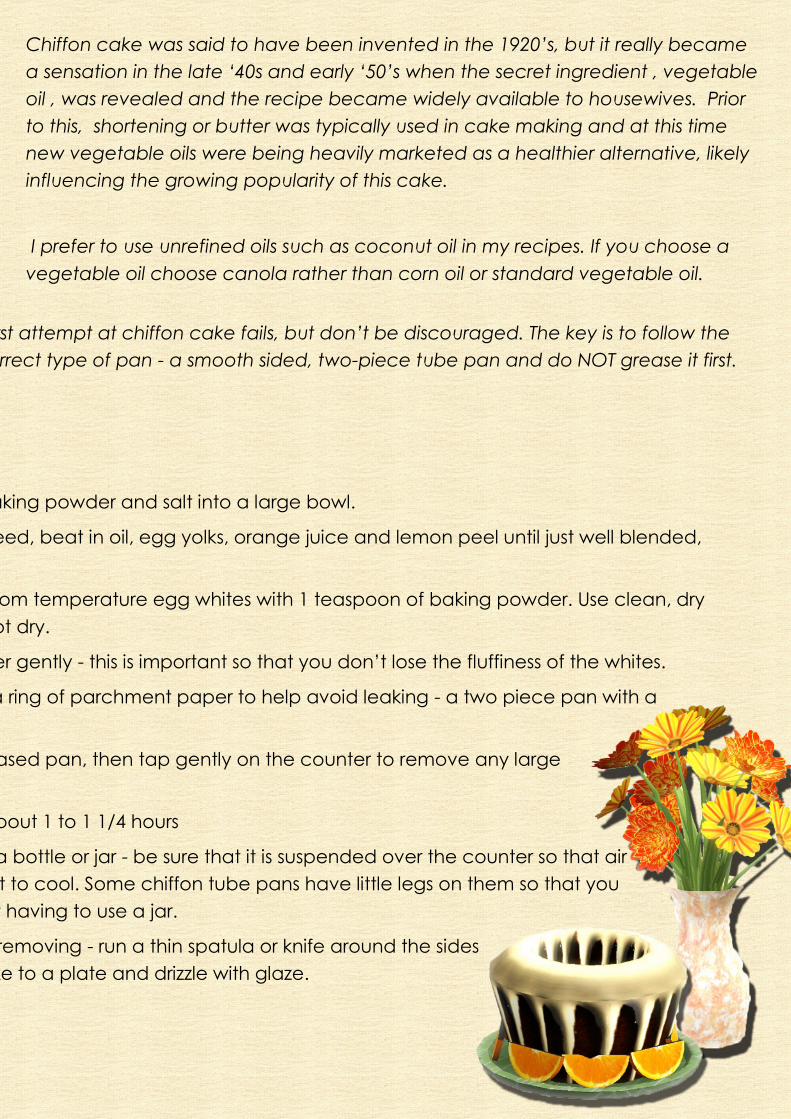
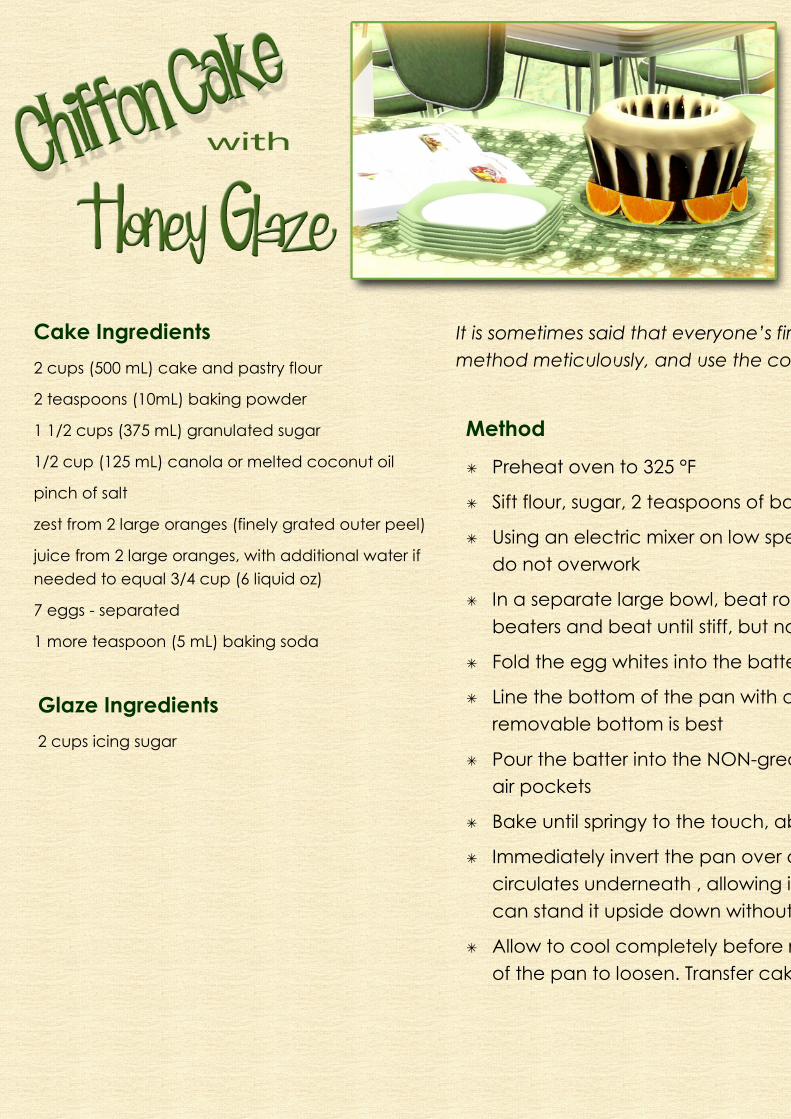
Chiffon cake was said to have been invented in the 1920‟s, but it really became
a sensation in the late „40s and early „50‟s when the secret ingredient , vegetable
oil , was revealed and the recipe became widely available to housewives. Prior
to this, shortening or butter was typically used in cake making and at this time
new vegetable oils were being heavily marketed as a healthier alternative, likely
influencing the growing popularity of this cake.
I prefer to use unrefined oils such as coconut oil in my recipes. If you choose a
vegetable oil choose canola rather than corn oil or standard vegetable oil.
Method
Preheat oven to 325 °F
Sift flour, sugar, 2 teaspoons of baking powder and salt into a large bowl.
Using an electric mixer on low speed, beat in oil, egg yolks, orange juice and lemon peel until just well blended,
do not overwork
In a separate large bowl, beat room temperature egg whites with 1 teaspoon of baking powder. Use clean, dry
beaters and beat until stiff, but not dry.
Fold the egg whites into the batter gently - this is important so that you don’t lose the fluffiness of the whites.
Line the bottom of the pan with a ring of parchment paper to help avoid leaking - a two piece pan with a
removable bottom is best
Pour the batter into the NON-greased pan, then tap gently on the counter to remove any large
air pockets
Bake until springy to the touch, about 1 to 1 1/4 hours
Immediately invert the pan over a bottle or jar - be sure that it is suspended over the counter so that air
circulates underneath , allowing it to cool. Some chiffon tube pans have little legs on them so that you
can stand it upside down without having to use a jar.
Allow to cool completely before removing - run a thin spatula or knife around the sides
of the pan to loosen. Transfer cake to a plate and drizzle with glaze.
It is sometimes said that everyone‟s first attempt at chiffon cake fails, but don‟t be discouraged. The key is to follow the
method meticulously, and use the correct type of pan - a smooth sided, two-piece tube pan and do NOT grease it first.
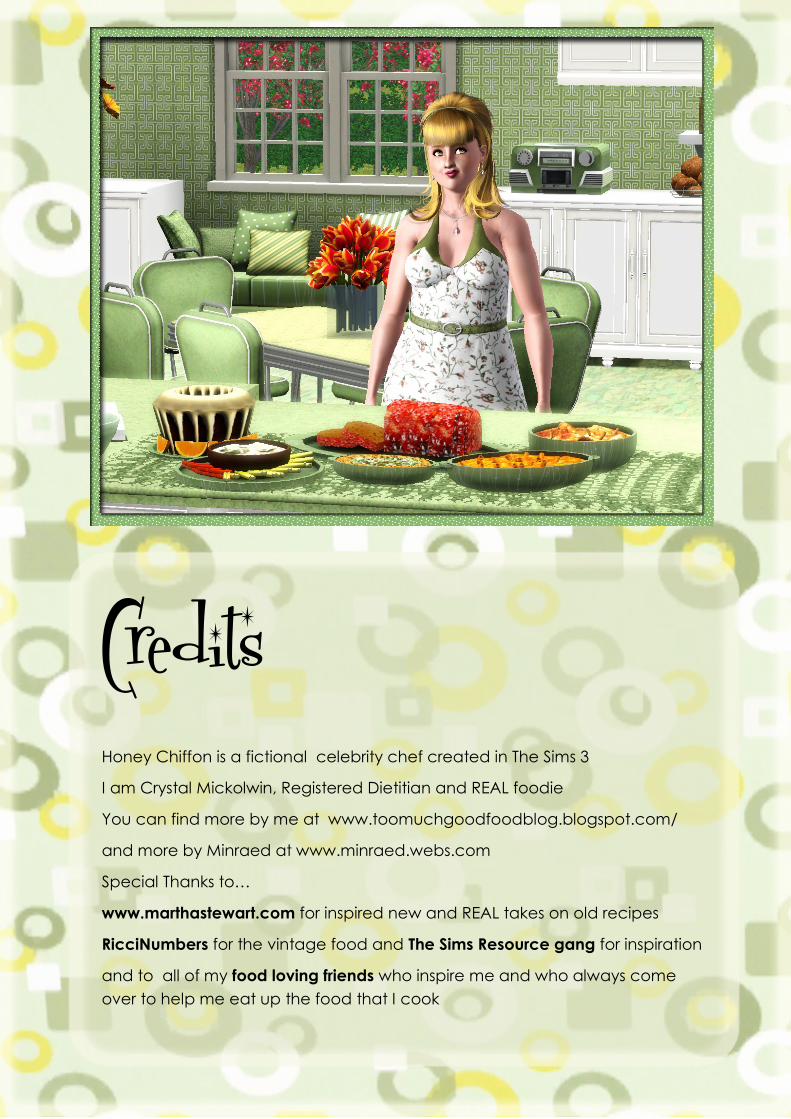
Credits Honey Chiffon is a fictional celebrity chef created in The Sims 3
I am Crystal Mickolwin, Registered Dietitian and REAL foodie
You can find more by me at www.toomuchgoodfoodblog.blogspot.com/
and more by Minraed at www.minraed.webs.com
Special Thanks to…
www.marthastewart.com for inspired new and REAL takes on old recipes
RicciNumbers for the vintage food and The Sims Resource gang for inspiration
and to all of my food loving friends who inspire me and who always come
over to help me eat up the food that I cook