flash odds and ends
DESCRIPTION
this tutorial covers shape and line tweens, the line and eraser tools, and using masks (animated and otherwise).TRANSCRIPT

Odd and Ends 1.24.2011
LINES:
one tool: two modes
when selected pencil mode's on top; object drawing groups it.
pencil mode choices: ink follows your hand perfectly...the others are self-explanatory.
ERASER:
eraser modes are demonstrated in the movie on the next page. spoiler alert: note that the Erase Inside tool only erase the fill of the shape it starts out in.

coming soon to a theater near you...
SHAPE TWEENS
draw a shape on one side of the Stage.
F7 a blank keyframe in frame 30.

create a huge, different colored, different shape like this PolyStar...
select all the frames and ...
test it... boring. so let's ass a blank keyframe in the middle:
with the blank keyframe selected, draw a vastly different shape in the middle of the stage between the other two..
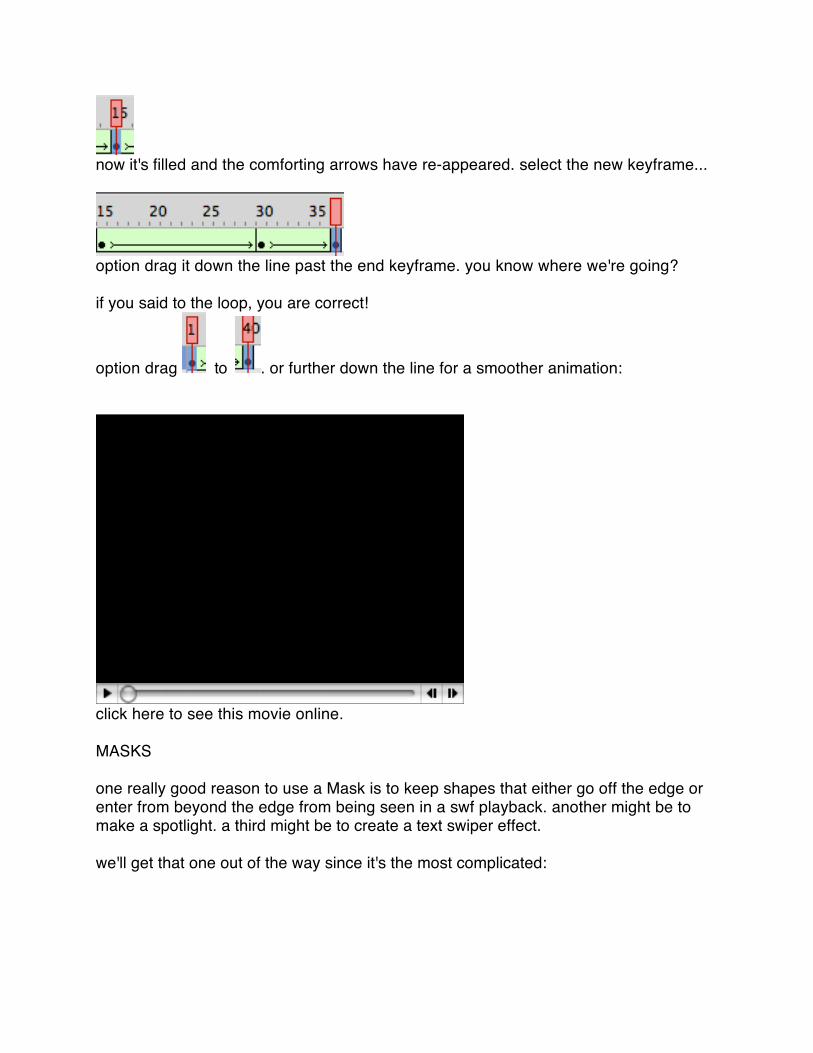
now it's filled and the comforting arrows have re-appeared. select the new keyframe...
option drag it down the line past the end keyframe. you know where we're going?
if you said to the loop, you are correct!
option drag to . or further down the line for a smoother animation:
click here to see this movie online.
MASKS
one really good reason to use a Mask is to keep shapes that either go off the edge or enter from beyond the edge from being seen in a swf playback. another might be to make a spotlight. a third might be to create a text swiper effect.
we'll get that one out of the way since it's the most complicated:

We'll be doing something similar to the car scanner we did last week. Type in something like the above. Command 2 (to center stage view); Command X; Command V to center text.
Name your Layer. Create a new layer. Name it swiper.
Grab the Rectangle Tool. Select the Fill Color for it. Go to the Color Mixer. Make both pots pure red this time.
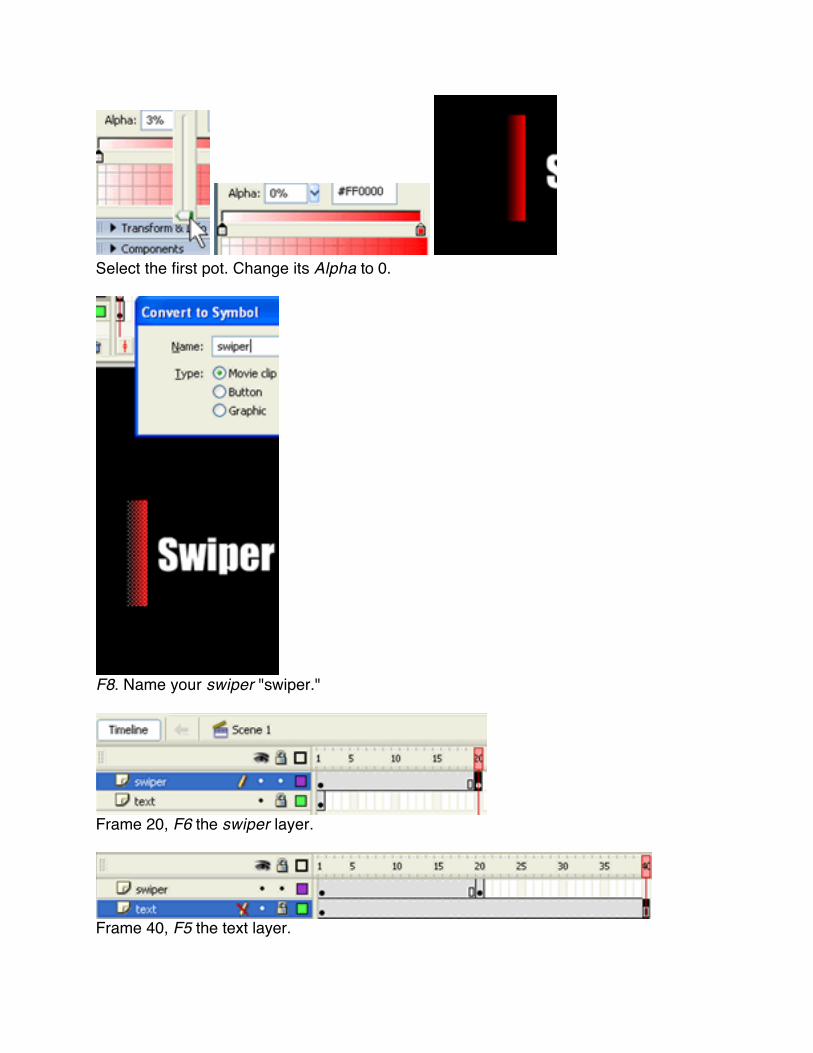
Select the first pot. Change its Alpha to 0.
F8. Name your swiper "swiper."
Frame 20, F6 the swiper layer.
Frame 40, F5 the text layer.

Nudge the swiper over in frame 20 to the right of the text. Shift + Right Arrow for a quicker nudge factor.
Let's disappear the swiper in frame 30. F6. How?
Alpha it down to 0%.
'Tween.

Shift F5 to dump the excess frameage in the text layer.
New layer for a mask to follow the swiper as we did with the car. Name it text mask.
Select the Rectangle Tool again. Fill with bright green. Draw it like above to cover the words entirely.
F8. Name it mask.

Drag to the other side. Make sure its leading edge lines up with the right side of the swiper.
F6 it in frame 20 to match the swiper keyframe.
Line its up leading edge up with the swiper again.
'Tween it.

Right click on the text mask layer. Choose Mask.
Final effect.
student version.
to keep things from leaving the stage, wait until you're pretty much done with everything else and draw a rectangle exactly the size of your stage. you can type the stage size into its parameters in the Properties Panel and set the X amnd Y to 0 as a shortcut.
put it on a new layer that lies above all of the other images/objects.
right click on its layer and chose Mask. the layer below is automatically locked and masked.

to get any other layer(s) locked in, drag them up and to the right until you see the line above. you'll get:
you'll still need to lock the new layer for the mask to affect it.
test it. no matter how wide you expand your swf (full-screen?), your shapes will respect the boundaries of your movie.
before we do the spotlight effect, let me remind you that you can shape tween lines also. you can even make multiple lines become one. you can start with chaos and end up with peaceful order.
so I'm going to draw a bunch of lines in frame 1:
you can play with the smoothing, stroke size and color. create a blank keyframe like before in frame 30.

draw a single shape some distance away. I made the stroke thicker.
click here to view.
you can a bunch more tweens and get some serious anarchy going in your universe. I'm going to do that so my spot light will mean more:

create a new layer on top and draw a small circle. create a keyframe in frame 15.
create a keyframe in frame 30. expand?

right click on that Layer and choose :
shift select the other Layers drag upward and inward until you see the line like above.
lock them all also like above.
result:
if you want the "spotlight" to be a different color from the stage, temporarily remove the mask, copy the frames and paste them in a new layer at the very bottom.

it will perfectly follow the mask and contain whatever color you choose for it:
final result: