dura-tuff grouser products welding procedure
TRANSCRIPT
GETTING STARTEDDura-Tuff is often asked for suggestions on which welding consumables to use whenregrousering. The products listed below are based on the information obtained fromDura-Tuff customers and have been proven to be effective for welding grouser bar.Consult your welding supplier for recommendations on welding hardened steel.
MIG
Submerged Arc
Electrode
INNERSHIELD® NS-3M
LINCOLNWELD® L-61®LINCOLNWELD® L-60®
E-7018
Fabshield® 4
Welding Process Brand ProductWELDING PRODUCT RECOMMENDATIONS
1) Remove any dirt, grease or moisture from the welding surface. Rust and dirt can be a source ofhydrogen and cause a weld to crack. Often the surface can be cleaned with a metal brush or metalconditioning disk.
2) Dry off any moisture with a torch or allow to air dry.
PREPARE THE WORN TRACK SHOE FOR WELDING
**Consult your welding supplier for recommendations on welding hardened steel.
DURA-TUFF GROUSER PRODUCTSWELDING PROCEDURE
TRIMMING THE TRACK SHOE
4. Trimming is important to ensure that there is a clean, smooth edge to weld on to.
1. Trimming is not necessary if using the Dura-Tuff Weld Ready Forged or Curved grouser bar.
2. If using straight grouser bar, it is recommended that the worn track shoe be trimmed evenly to create a flat surface to weld on the new grouser bar.
3. The trimming is normally done using an oxy-acetylene torch, and it is important to ensure that there is a clean, smooth edge to weld on to.
1. Cold metals should not be welded. Grouser bars and track shoes should be at a uniform temperature before welding.
2. Preheating is needed if track shoes and/or grouser bars are colder than 60°F (16°C).
PREHEATING THE TRACK SHOE
3. Trimming the worn grouser provides adequate preheat for the pad. Do not preheat over 300˚F (149�C).
4. If trimming is not necessary, preheat with a torch to 100°F (38°C)
5. Preheating can also be achieved by first running a ¼” to 3/8” weld pass. This is called a heat pass where the weld will heat up both the grouser and shoe. In cold welding conditions, the heat pass would be closely followed by the fill and/or final weld pass.
6. Preheating and post heating will reduce cooling rates and residual stresses, reducing the chance of a crack forming in the weld.
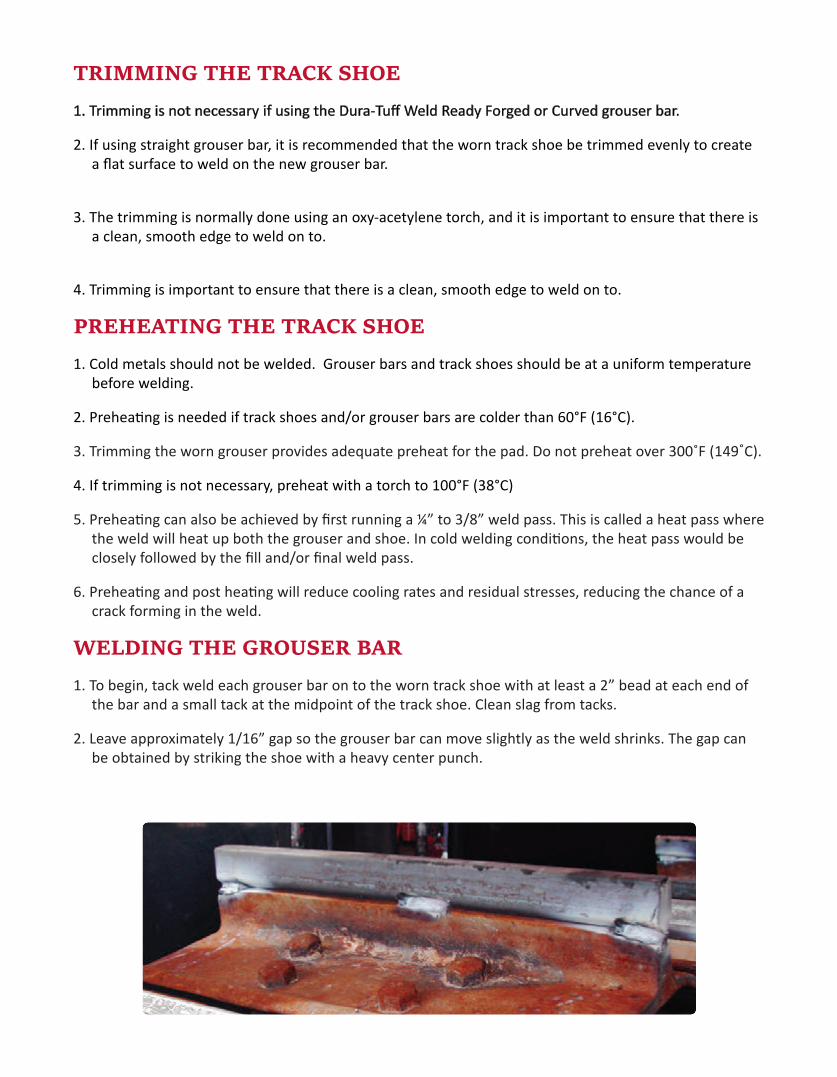
1. To begin, tack weld each grouser bar on to the worn track shoe with at least a 2” bead at each end of the bar and a small tack at the midpoint of the track shoe. Clean slag from tacks.
WELDING THE GROUSER BAR
2. Leave approximately 1/16” gap so the grouser bar can move slightly as the weld shrinks. The gap can be obtained by striking the shoe with a heavy center punch.
3. It is important to make sure that the ends of the grouser bar are completely welded to the shoe. Avoid leaving cavities where the weld was started as this will allow the end of the grouser bar to break off.
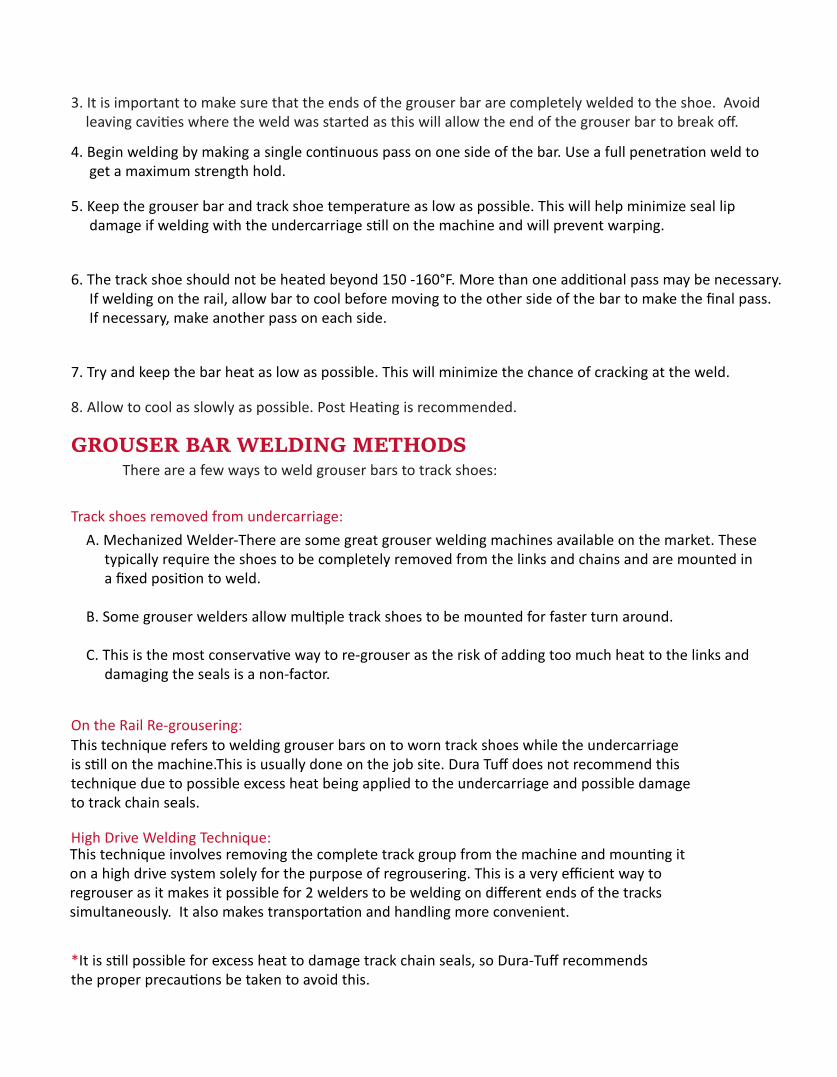
4. Begin welding by making a single continuous pass on one side of the bar. Use a full penetration weld to get a maximum strength hold.
5. Keep the grouser bar and track shoe temperature as low as possible. This will help minimize seal lip damage if welding with the undercarriage still on the machine and will prevent warping.
6. The track shoe should not be heated beyond 150 -160°F. More than one additional pass may be necessary. If welding on the rail, allow bar to cool before moving to the other side of the bar to make the final pass. If necessary, make another pass on each side.
7. Try and keep the bar heat as low as possible. This will minimize the chance of cracking at the weld.
8. Allow to cool as slowly as possible. Post Heating is recommended.
GROUSER BAR WELDING METHODSThere are a few ways to weld grouser bars to track shoes:
Track shoes removed from undercarriage: A. Mechanized Welder-There are some great grouser welding machines available on the market. These typically require the shoes to be completely removed from the links and chains and are mounted in a fixed position to weld. B. Some grouser welders allow multiple track shoes to be mounted for faster turn around. C. This is the most conservative way to re-grouser as the risk of adding too much heat to the links and damaging the seals is a non-factor.
On the Rail Re-grousering:This technique refers to welding grouser bars on to worn track shoes while the undercarriageis still on the machine.This is usually done on the job site. Dura Tuff does not recommend thistechnique due to possible excess heat being applied to the undercarriage and possible damageto track chain seals.
High Drive Welding Technique: This technique involves removing the complete track group from the machine and mounting iton a high drive system solely for the purpose of regrousering. This is a very efficient way toregrouser as it makes it possible for 2 welders to be welding on different ends of the trackssimultaneously. It also makes transportation and handling more convenient.
*It is still possible for excess heat to damage track chain seals, so Dura-Tuff recommendsthe proper precautions be taken to avoid this.
ICE LUG WELDING PROCEDUREThe technique for welding ice lugs is similar to full length grouser bar.
1) Ensure a clean and smooth weld surface.
2) Preheat as needed, especially if welding in winter conditions.
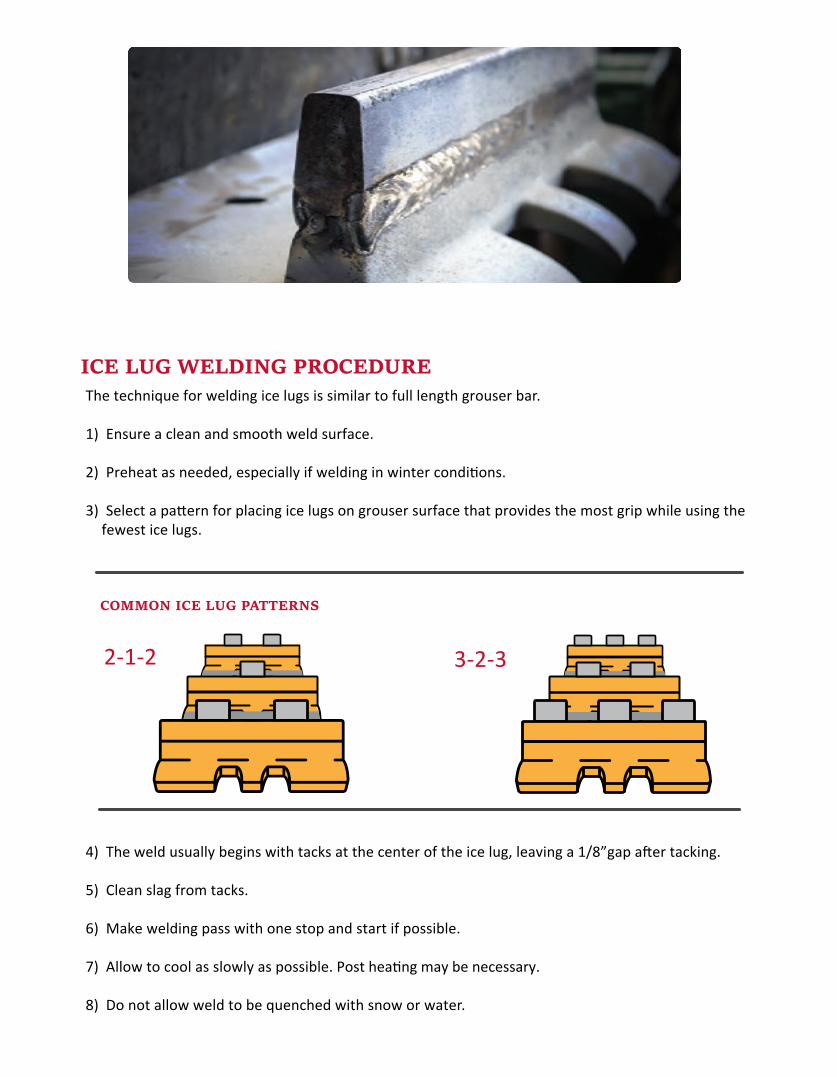
3) Select a pattern for placing ice lugs on grouser surface that provides the most grip while using thefewest ice lugs.
4) The weld usually begins with tacks at the center of the ice lug, leaving a 1/8”gap after tacking.
5) Clean slag from tacks.
6) Make welding pass with one stop and start if possible.
7) Allow to cool as slowly as possible. Post heating may be necessary.
8) Do not allow weld to be quenched with snow or water.
2-1-2
COMMON ICE LUG PATTERNS
3-2-3