developing fine motor skills -...
TRANSCRIPT
© www.staidenshomeschool.com Donnette E Davis 2007
DEVELOPING FINE MOTOR SKILLS
A Fun 116-page Activity Book
Suitable for Prek-2 Learners Includes:
• Cut & Paste • Line Cutting • Shape Cutting • Line Tracing • Shape Tracing • Shape Matching • Number Tracing
• Letter Tracing • Dot-2Dot • Mazes • Fun Craft Recipes • Fingerplay • Finger Puppets • Activities • Paper Crafts • Pipe Cleaner Crafts • Teacher/Parent Ideas
www.staidenshomeschool.com (c) 2007 Donnette E Davis
- 2 -
INDEX
INTRODUCTION : DEVELOPING FINE MOTOR SKILLS
A - CUTTING ACTIVITIES
B - PLACING AND PASTING
C - TRACING AND COLOURING
D - SELF-CARE SKILLS
E - FINGER TRACING
F - PRE-WRITING
G – WRITING
H – FUN RECIPES
I - FINGERPLAYS
J – LETTER & NUMBER ACTIVITIES
K – NUMBER & COLOUR ACTIVITIES
L – SIMPLE PAPER CRAFTS
M – PIPE CLEANER CRAFTS
© Donnette E Davis 2007
St Aiden’s Homeschool, South Africa
www.staidenshomeschool.com (c) 2007 Donnette E Davis
- 3 -
INTRODUCTION
Developing Fine Motor Skills
Fine motor skills can be defined as small muscle movements: those that occur in the finger, in coordination with the eyes. Teaching fine motor skills is similar to teaching other skills because the instructor must always try to be patient and understanding. Fine motor skills won't develop over-night, but with time and practice. Here are some suggestions for developing fine motor skills, and some activities to use to practice them: A. Cutting Use a thick black line to guide cutting the following:
1. A fringe from a piece of paper 2. Cut off corners of a piece of paper 3. Cut along curved lines 4. Cut lines with a variety of angles 5. Cut figures with curves and angles 6. Cut clay with blunt scissors
B. Placing and Pasting
1. Place a variety of forms (eg. blocks, felt, paper, string, yarn, cereal, cotton) on outlines
2. Match shapes, colour, or pictures to a page and paste them within the outlines
C. Tracing and Colouring
1. Use a thick black line if needed 2. Trace and then colour shapes, increasing the size and complexity gradually
www.staidenshomeschool.com (c) 2007 Donnette E Davis
- 4 -
D. Self-Care Skills (not listed in order of difficulty)
1. Buttoning 2. Lacing 3. Tying 4. Fastening Snaps 5. Zipping 6. Carrying 7. Using a screwdriver 8. Locking and unlocking a door 9. Winding a clock 10. Opening and closing jars 11. Vacuuming a rug 12. Rolling out dough or other simple cooking activities 13. Washing plastic dishes 14. Sweeping the floor 15. Dressing 16. Bathing
E. Finger Tracing
1. Many times when a child is unable to do a worksheet, it helps to trace the pattern with his finger before he tries it with a pencil.
2. Have the child trace a pattern in sand, cornmeal, finger paint, etc. The textures give the child kinesthetic feedback.
F. Pre-Writing
1. Dot-to-dot drawings of pictures, objects, shapes, numbers, letters, etc.
2. Typing exercises 3. Tile and mosaic work 4. Folding activities 5. Fine colouring 6. Have the child do repetitious strokes (with an increasingly smaller writing tool) similar to those found in manuscript or
www.staidenshomeschool.com (c) 2007 Donnette E Davis
- 5 -
cursive letters. Emphasize accuracy, spacing and flow or rhythm. Sometimes doing it to music helps.
G. Writing
1. Have the child write in the air and in front of his eyes (arm outstretched) with his finger.
2. To increase his tactile awareness, have him trace over letters on textured surfaces. Have him manipulate 3-dimensional letters when blindfolded.
3. When a writing tool is introduced, letters which involve similar strokes should be taught first (moving simple to complex). Next, combinations of letters in short words, sentences and finally spontaneous writing. (Remember to use words which are within the child's reading vocabulary).
Things to remember:
Upright working surfaces promote fine motor skills. Examples of these are: vertical chalkboards; easels for painting; flannel boards; lite bright; magnet boards (or fridge); windows and mirrors; white boards, etc. Kids can also make sticker pictures; do rubber ink-stamping; use reuseable vinyl stickers to make pictures; complete puzzles with thick knobs; use magna-doodle and etch-a-sketch as well. The benefits for these include: having the child's wrist positioned to develop good thumb movements; they help develop good fine motor muscles; the child is using the arm and shoulder muscles.
If at all possible the shapes and pictures that are to be coloured and cut out should be printed on thin cardstock, which make for a sturdier handling capacity for little hands.
In general, it is more fun to learn while you play. Keep that in mind when teaching fine motor skills. Try to incorporate activities like dress-up to teach zipping and buttons; card creations to practice writing or tracing skills; cutting and pasting to make a creation other than just a plain piece of paper, etc. Be creative and have fun!
www.staidenshomeschool.com (c) 2007 Donnette E Davis
- 6 -
Age Rating : All children develop as individuals. Parents and caregivers should use the age ratings below as a guideline, taking the abilities, temperament and interests of their children into account.
Ages 5+ Easy cut and paste project for early grade school children learning about the seasons. Ages 4+ Can complete the entire project with little guidance.
Age 3 Cutting out the cards will be an appropriate challenge. Some guidance will be required in assembly. Age 2 Will enjoy applying glue and pasting the cards into the appropriate squares with guidance.
Will likely not be able to cut out the cards, Will enjoy cutting the scraps up into tiny pieces -- copying the adult who is cutting out the cards.
Preschool children are encouraged to practice scissor cutting to strengthen hand muscles and coordination for later skills such as writing. Fine motor skills (those skills that involve the small muscle movements of his hands and fingers in coordination with his eyes) are developed through cut and paste activities.
If an aspect of the project is frustrating to the child provide assistance - try to keep things fun. Sing songs, read stories or watch shows about the seasons to supplement the project - again focusing on extra activities that the child enjoys to help keep them motivated.
Activities with Fine Motor Manipulatives
Pre-kindergartners benefit from experiences that support the development of fine motor skills in the hands and fingers. Children should have strength and dexterity in their hands and fingers before being asked to manipulate a pencil on paper. Working on dexterity and strength first can eliminate the development of an inappropriate pencil grasp, which is becoming more commonplace as young children are engaged in writing experiences before their hands are ready. The following activities involve the use of manipulatives which will support young children's fine motor development, and will help to build the strength and dexterity necessary to hold a pencil appropriately.
www.staidenshomeschool.com (c) 2007 Donnette E Davis
- 7 -
Fine Motor Activities
• Moulding and rolling play dough into balls - using the palms of the hands facing each other and with fingers curled slightly towards the palm.
• Rolling play dough into tiny balls (peas) using only the finger tips.
• Using pegs or toothpicks to make designs in play dough. • Cutting play dough with a plastic knife or with a pizza wheel by holding the implement in a diagonal volar grasp. (see attached diagram)
• Tearing newspaper into strips and then crumpling them into balls. Use to stuff scarecrow or other art creation.
• Scrunching up 1 sheet of newspaper in one hand. This is a super strength builder.
• Using a plant sprayer to spray plants, (indoors, outdoors) to spray snow (mix food colouring with water so that the snow can be painted), or melt "monsters". (Draw monster pictures with markers and the colours will run when sprayed.)
• Picking up objects using large tweezers such as those found in the "Bedbugs" game. This can be adapted by picking up Cheerios, small cubes, small marshmallows, pennies, etc., in counting games.
• Shaking dice by cupping the hands together, forming an empty air space between the palms.
• Using small-sized screwdrivers like those found in an erector set.
• Lacing and sewing activities such as stringing beads, Cheerios, macaroni, etc.
• Using eye droppers to "pick up" coloured water for colour mixing or to make artistic designs on paper.
• Rolling small balls out of tissue paper, and then gluing the balls onto construction paper to form pictures or designs.
• Turning over cards, coins, checkers, or buttons, without bringing them to the edge of the table.
• Making pictures using stickers or self-sticking paper reinforcements.
• Playing games with the "puppet fingers" -the thumb, index, and middle fingers. At circle time have each child's puppet
www.staidenshomeschool.com (c) 2007 Donnette E Davis
- 8 -
fingers tell about what happened over the weekend, or use them in songs and finger plays.
Scissor Activities
When scissors are held correctly, and when they fit a child's hand well, cutting activities will exercise the very same muscles which are needed to manipulate a pencil in a mature tripod grasp. The correct scissor position is with the thumb and middle finger in the handles of the scissors, the index finger on the outside of the handle to stabilize, with fingers four and five curled into the palm.
• Cutting junk mail, particularly the kind of paper used in magazine subscription cards.
• Making fringe on the edge of a piece of construction paper. • Cutting play dough with scissors. • Cutting straws or shredded paper.
Sensory Activities
The following activities ought to be done frequently to increase postural muscle strength and endurance. These activities also strengthen the child's awareness of his/her hands.
• Wheelbarrow walking, crab walking • Clapping games (loud/quiet, on knees together, etc.) • Catching (clapping) bubbles between hands • Pulling off pieces of thera-putty with individual fingers and thumb
Drawing in a tactile medium such as wet sand, salt, rice, or "goop". Make "goop" by adding water to cornstarch until you have a mixture similar in consistency to toothpaste. The "drag" of this mixture provides feedback to the muscle and joint receptors, thus facilitating visual motor control.
Picking out small objects like pegs, beads, coins, etc., from a tray of salt, sand, rice, or putty. Try it with eyes closed too. This helps develop sensory awareness in the hands.
www.staidenshomeschool.com (c) 2007 Donnette E Davis
- 9 -
Midline Crossing
Establishment of hand dominance is still developing at this point. The following activities will facilitate midline crossing:
• Encourage reaching across the body for materials with each hand. It may be necessary to engage the other hand in an activity to prevent switching hands at midline.
• Refrain specifically from discouraging a child from using the left hand for any activity. Allow for the natural development of hand dominance by presenting activities at midline, and allowing the child to choose freely.
• Start making the child aware of the left and right sides of his body through spontaneous comments like, "kick the ball with your right leg." Play imitation posture games like "Simon Says" with across the body movements.
• When painting at easel, encourage the child to paint a continuous line across the entire paper- also from diagonal to diagonal.
This information was obtained via various professionals & internet resources, including craft activities and FMS information from www.wikipedia.org.
www.staidenshomeschool.com (c) 2007 Donnette E Davis
- 10 -
Section A. Cutting
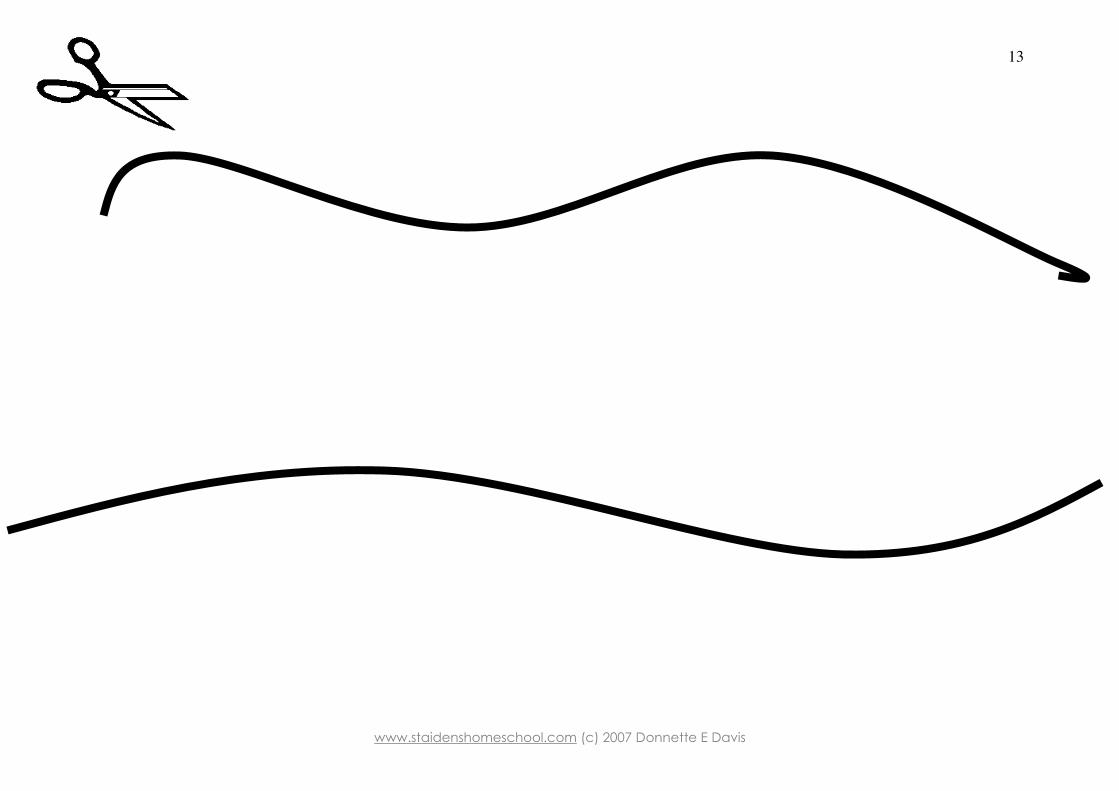
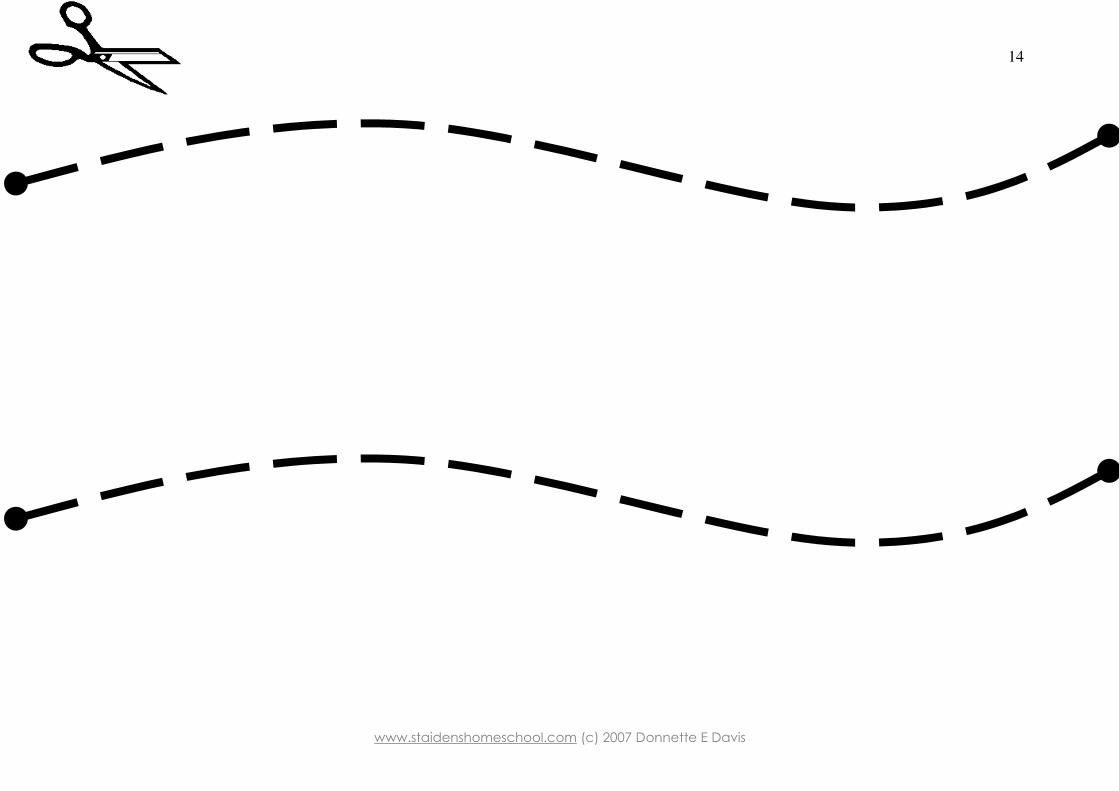
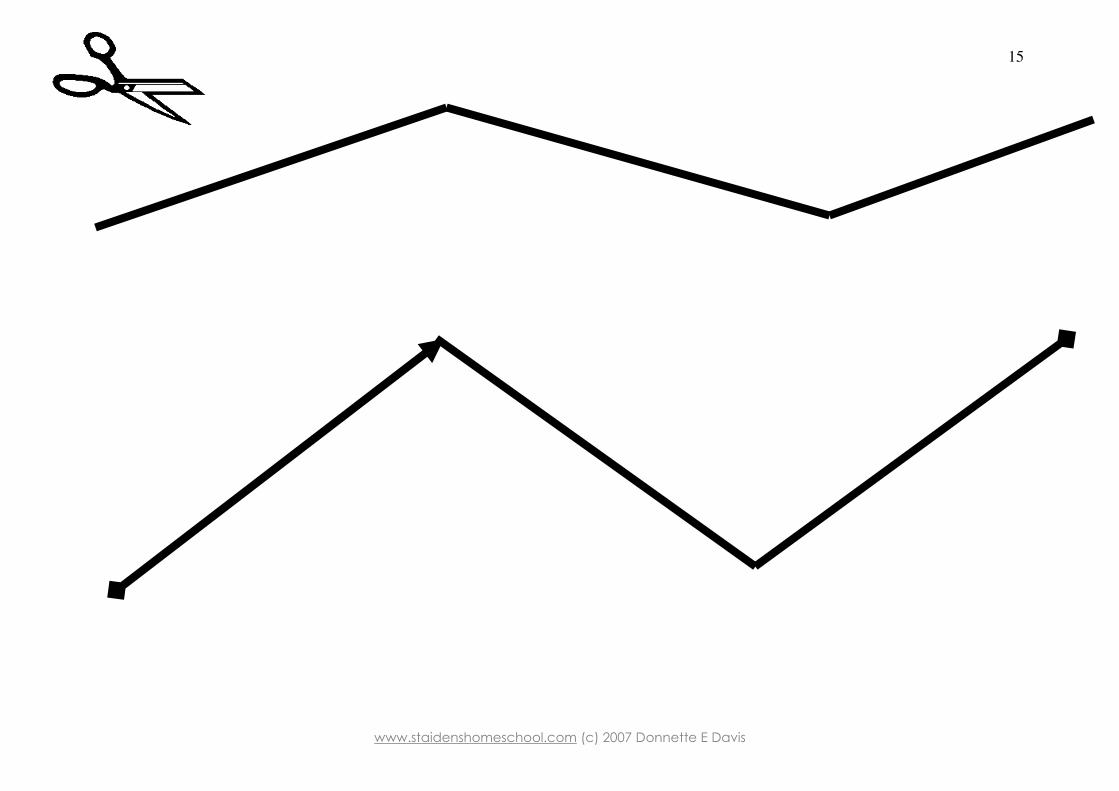
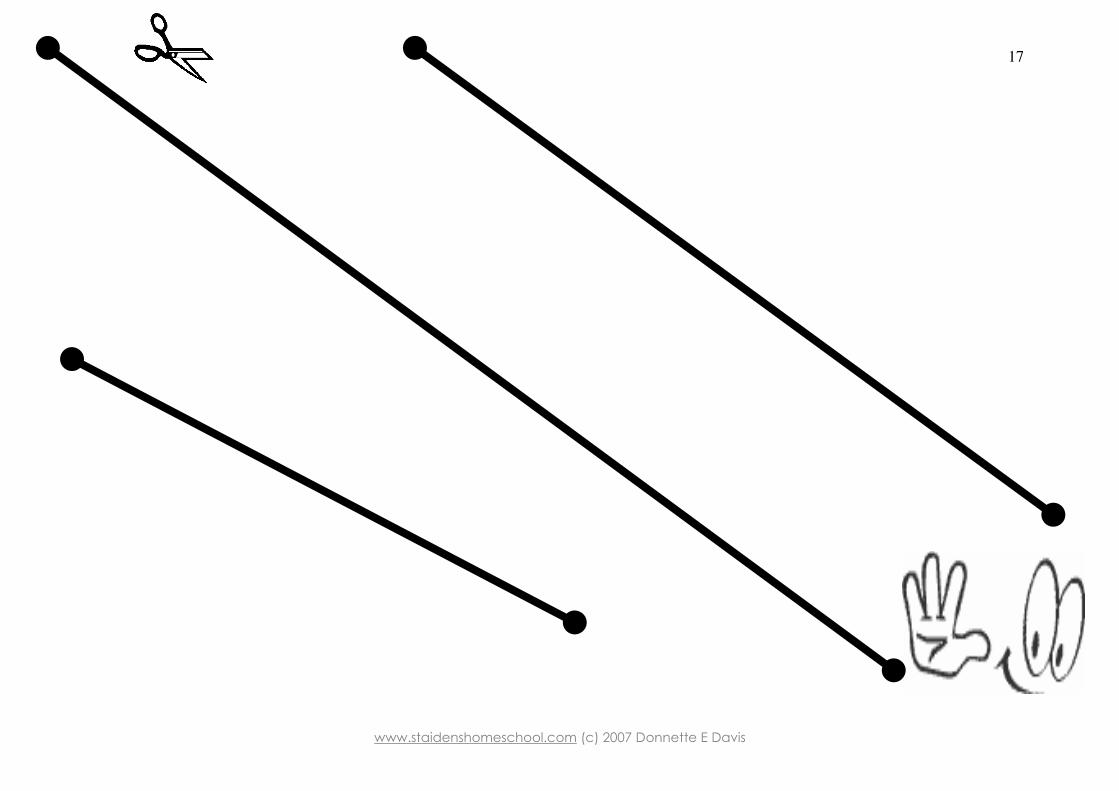
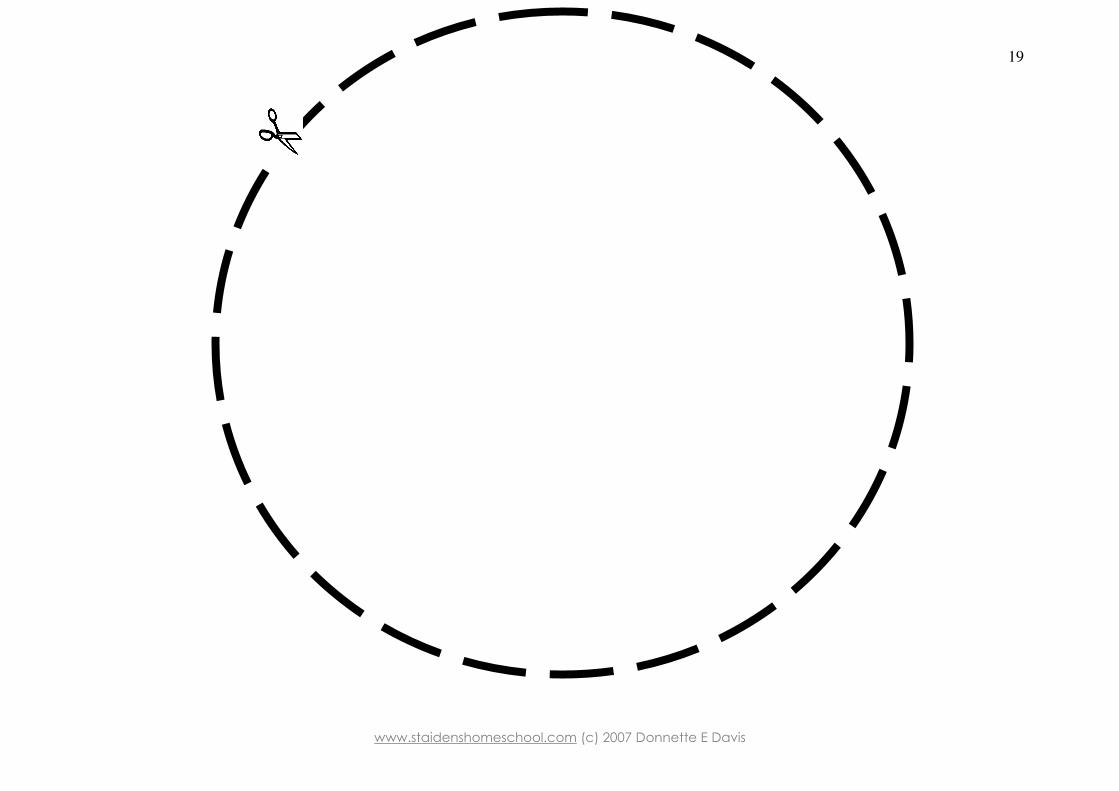
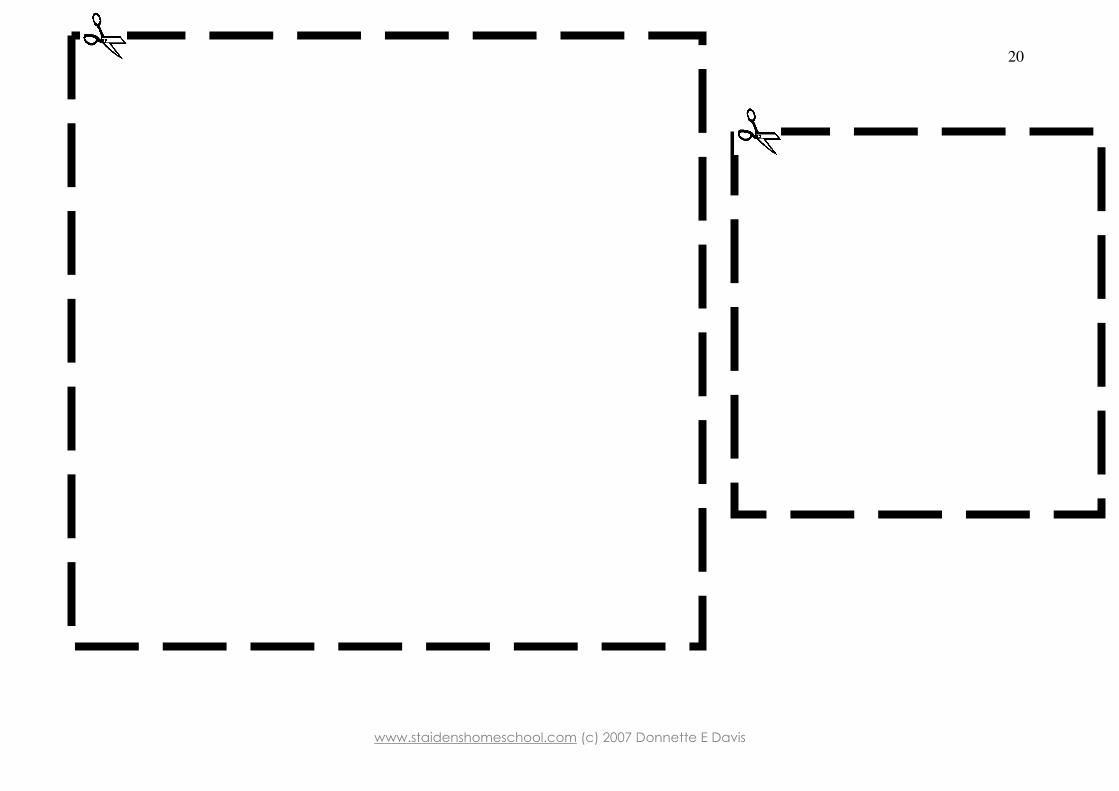
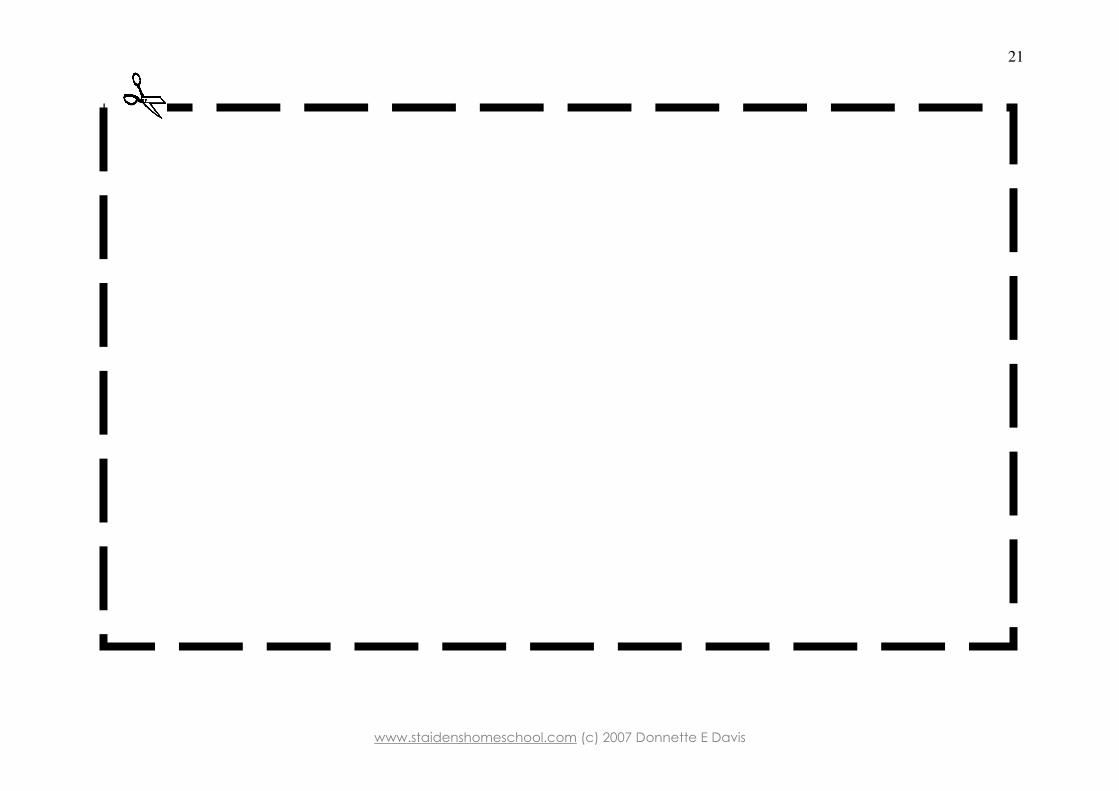
Use the following activity pages to guide your child through cutting. Adult supervision required. In most instances encourage the child to cut along the solid line from one edge of the page to the other. As your child progresses you will find cutting activities with dotted lines, dots and then finally “points”.
Print as many pages as is required until your child is comfortable holding the scissors and can trace & cut along the lines with confidence.
If at all possible the shapes and pictures that are to be coloured and cut out should be printed on thin cardstock, which make for a sturdier handling capacity for little hands.
For your convenience, each page will be printed separately from instructions pages so that you can choose & print pages as you need them. Have fun!
www.staidenshomeschool.com (c) 2007 Donnette E Davis
11
www.staidenshomeschool.com (c) 2007 Donnette E Davis
12
www.staidenshomeschool.com (c) 2007 Donnette E Davis
13
www.staidenshomeschool.com (c) 2007 Donnette E Davis
14
www.staidenshomeschool.com (c) 2007 Donnette E Davis
15

www.staidenshomeschool.com (c) 2007 Donnette E Davis
16
www.staidenshomeschool.com (c) 2007 Donnette E Davis
17
www.staidenshomeschool.com (c) 2007 Donnette E Davis
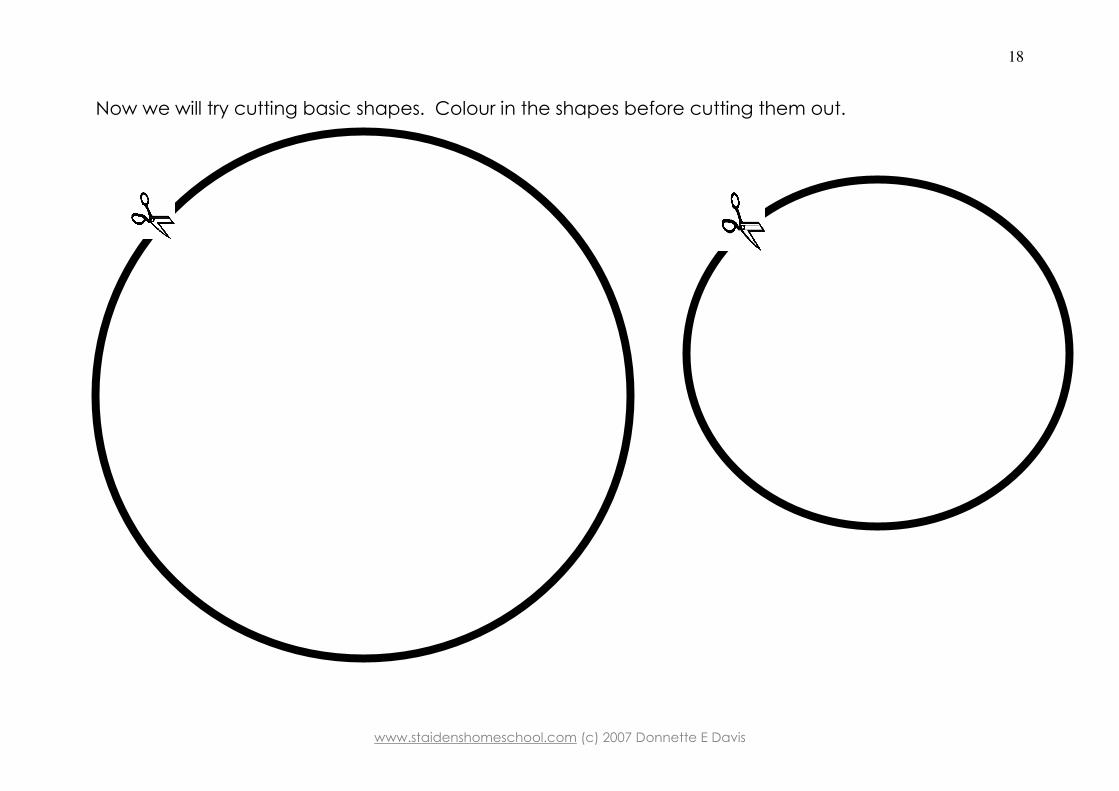
18
Now we will try cutting basic shapes. Colour in the shapes before cutting them out.
www.staidenshomeschool.com (c) 2007 Donnette E Davis
19
www.staidenshomeschool.com (c) 2007 Donnette E Davis
20
www.staidenshomeschool.com (c) 2007 Donnette E Davis
21
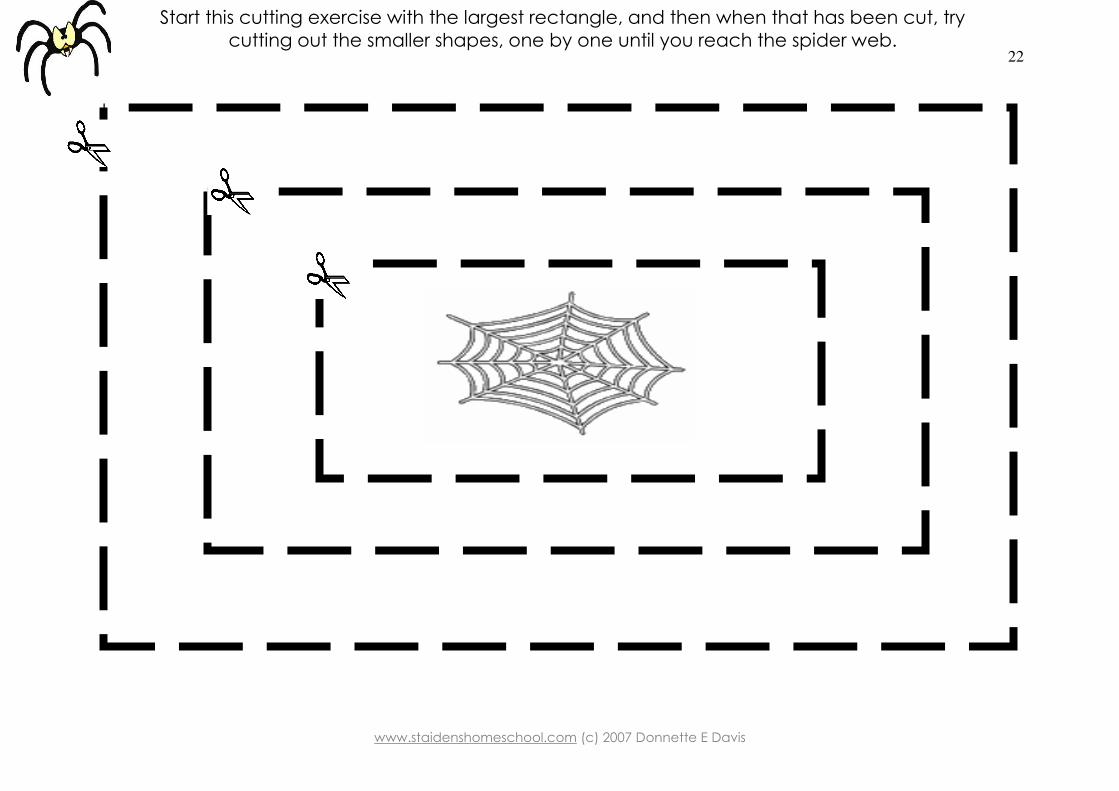
www.staidenshomeschool.com (c) 2007 Donnette E Davis
22
Start this cutting exercise with the largest rectangle, and then when that has been cut, try cutting out the smaller shapes, one by one until you reach the spider web.
www.staidenshomeschool.com (c) 2007 Donnette E Davis
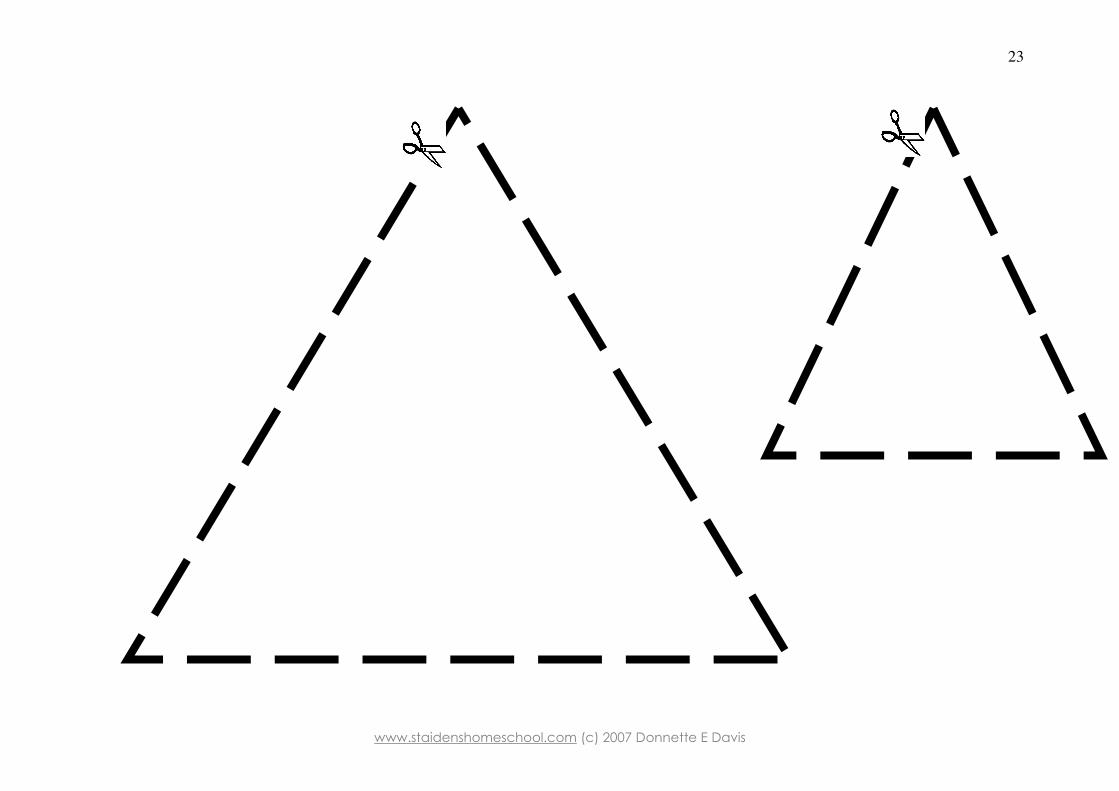
23
www.staidenshomeschool.com (c) 2007 Donnette E Davis
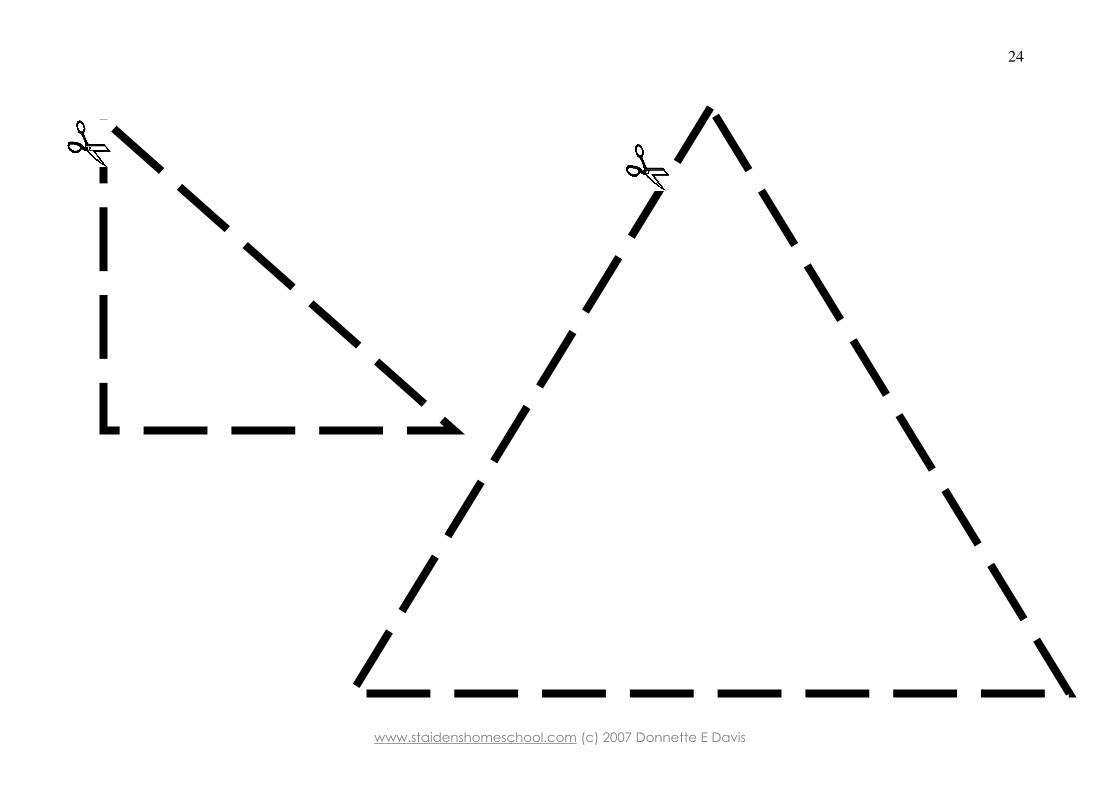
24

www.staidenshomeschool.com (c) 2007 Donnette E Davis
25
www.staidenshomeschool.com (c) 2007 Donnette E Davis
26
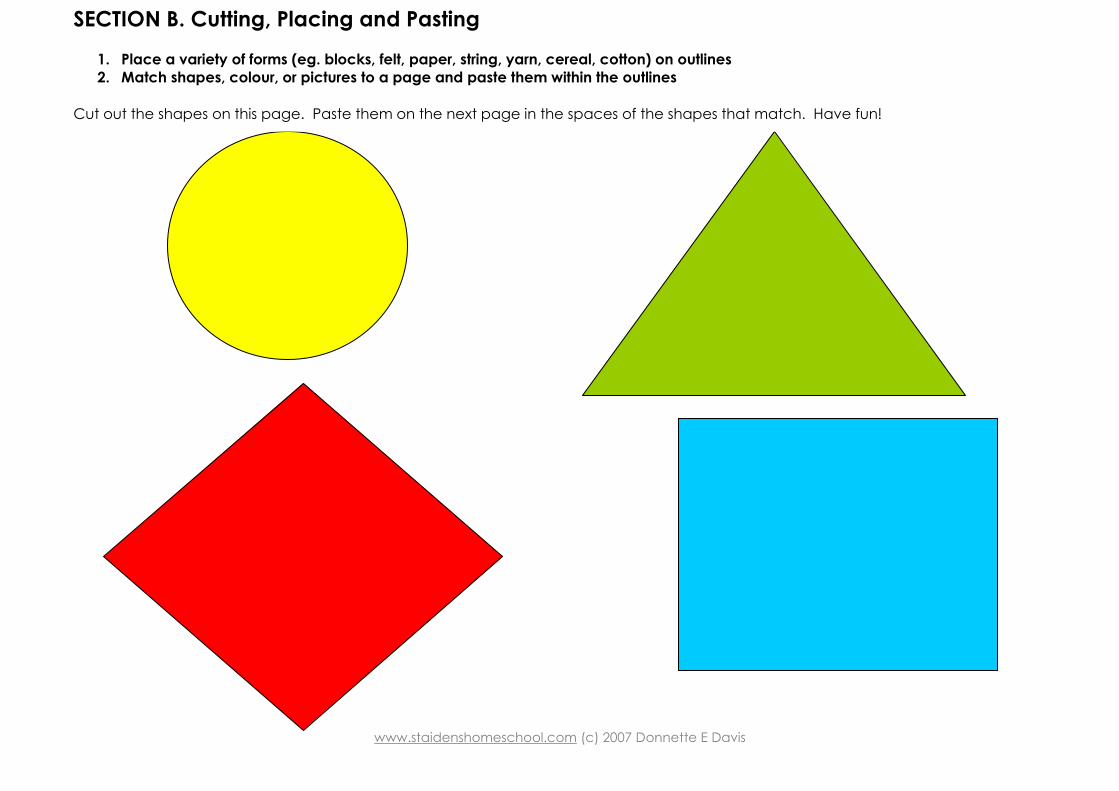
SECTION B. Cutting, Placing and Pasting
1. Place a variety of forms (eg. blocks, felt, paper, string, yarn, cereal, cotton) on outlines
2. Match shapes, colour, or pictures to a page and paste them within the outlines
Cut out the shapes on this page. Paste them on the next page in the spaces of the shapes that match. Have fun!
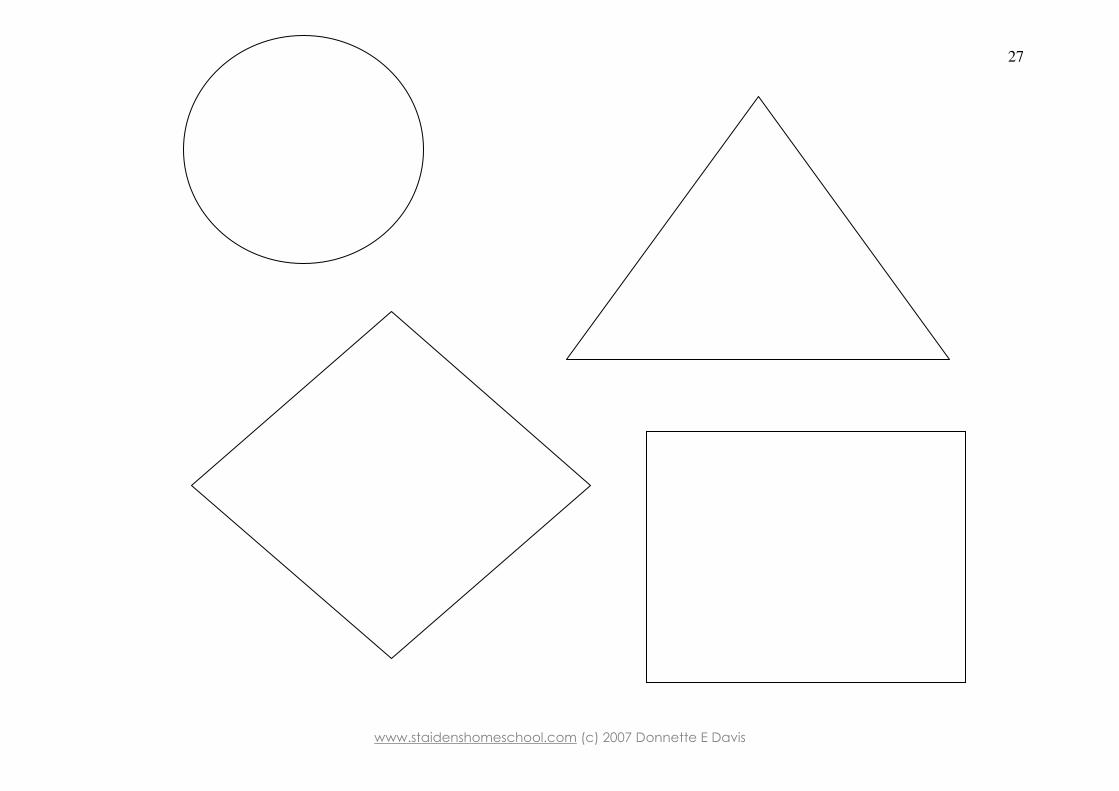
www.staidenshomeschool.com (c) 2007 Donnette E Davis
27
www.staidenshomeschool.com (c) 2007 Donnette E Davis
28
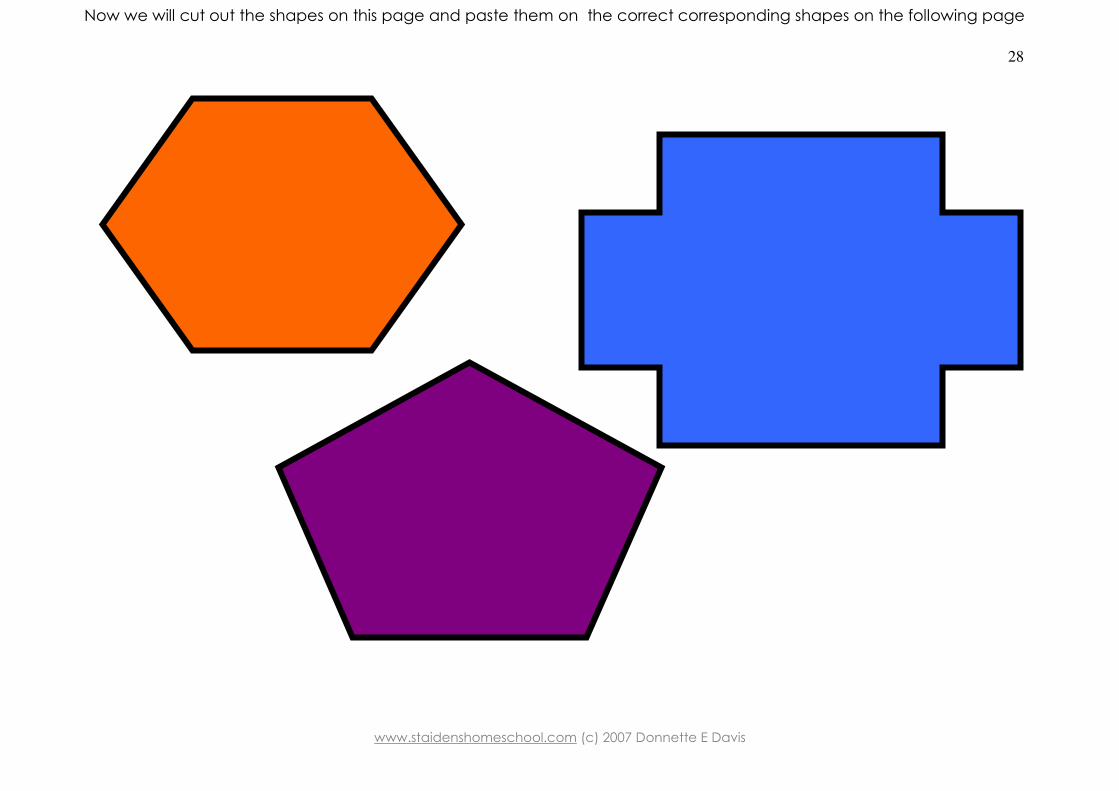
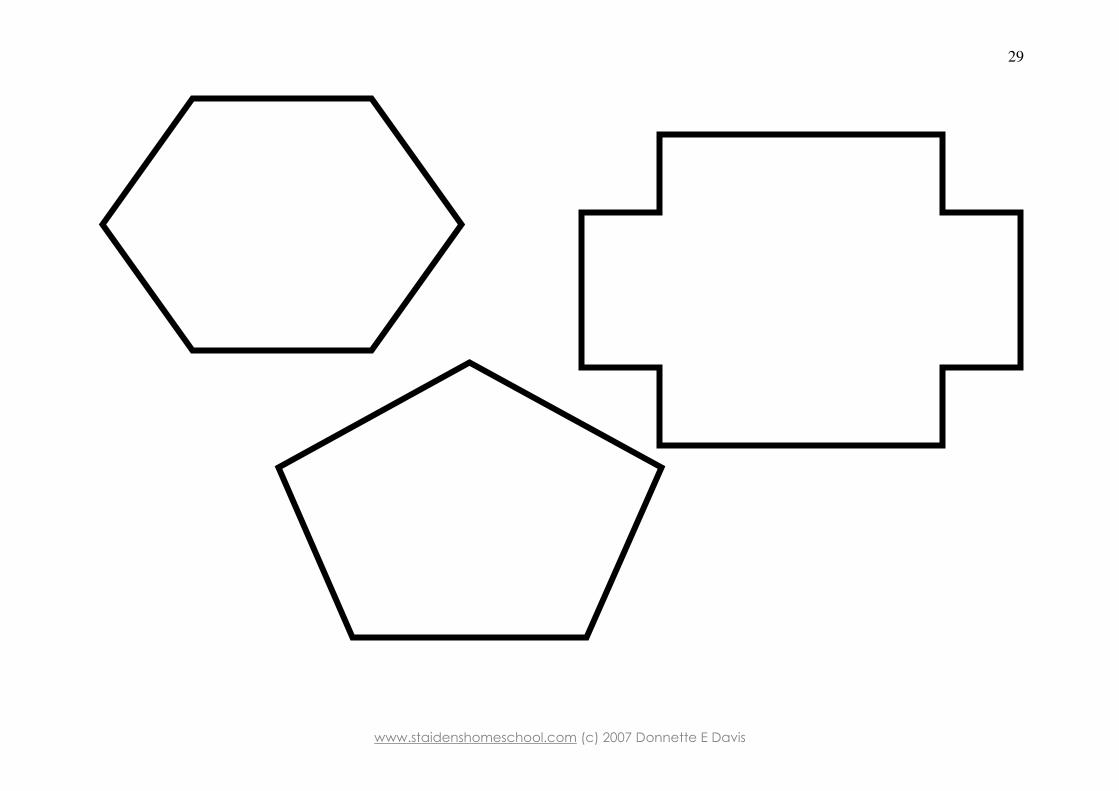
Now we will cut out the shapes on this page and paste them on the correct corresponding shapes on the following page
www.staidenshomeschool.com (c) 2007 Donnette E Davis
29
www.staidenshomeschool.com (c) 2007 Donnette E Davis
30
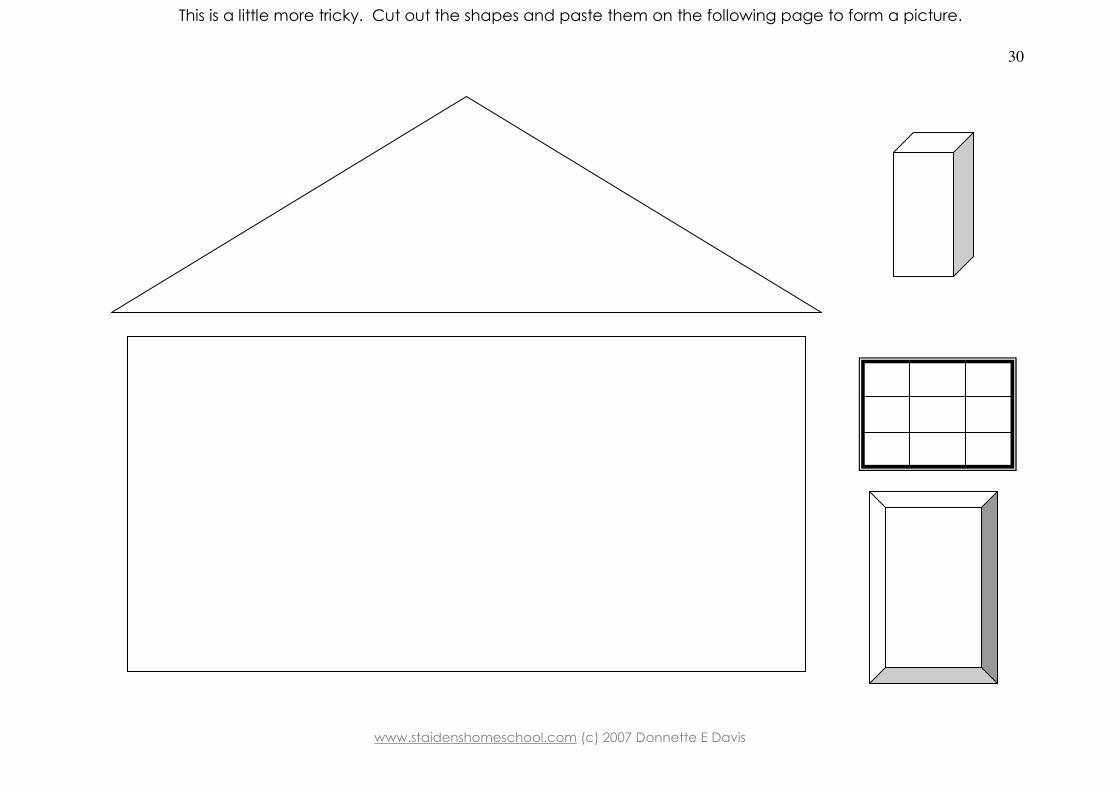
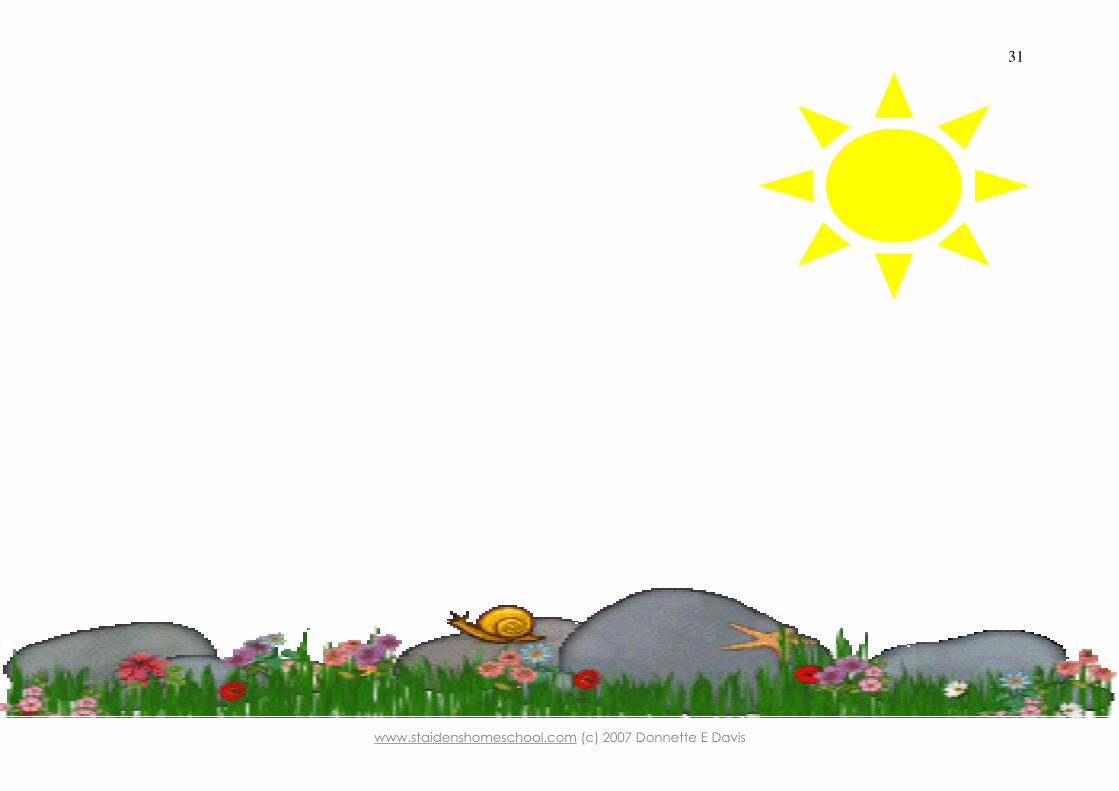
This is a little more tricky. Cut out the shapes and paste them on the following page to form a picture.
www.staidenshomeschool.com (c) 2007 Donnette E Davis
31
www.staidenshomeschool.com (c) 2007 Donnette E Davis
32
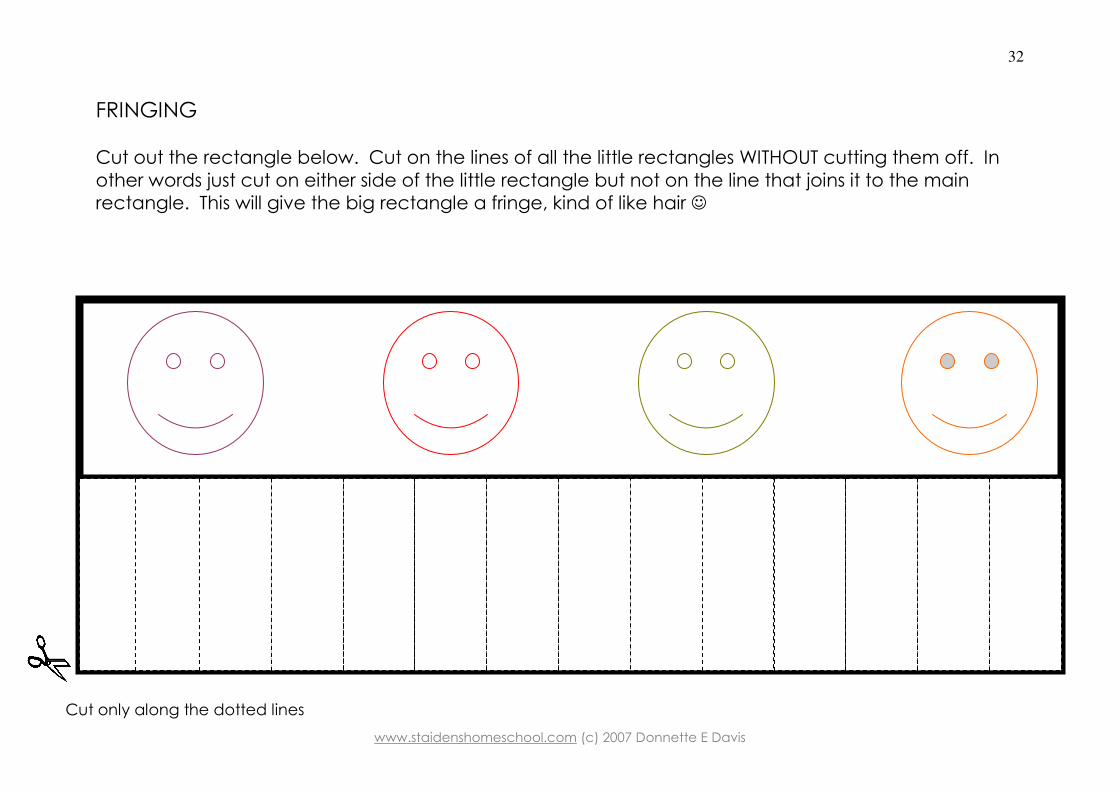
FRINGING Cut out the rectangle below. Cut on the lines of all the little rectangles WITHOUT cutting them off. In other words just cut on either side of the little rectangle but not on the line that joins it to the main rectangle. This will give the big rectangle a fringe, kind of like hair ☺
Cut only along the dotted lines
www.staidenshomeschool.com (c) 2007 Donnette E Davis
33
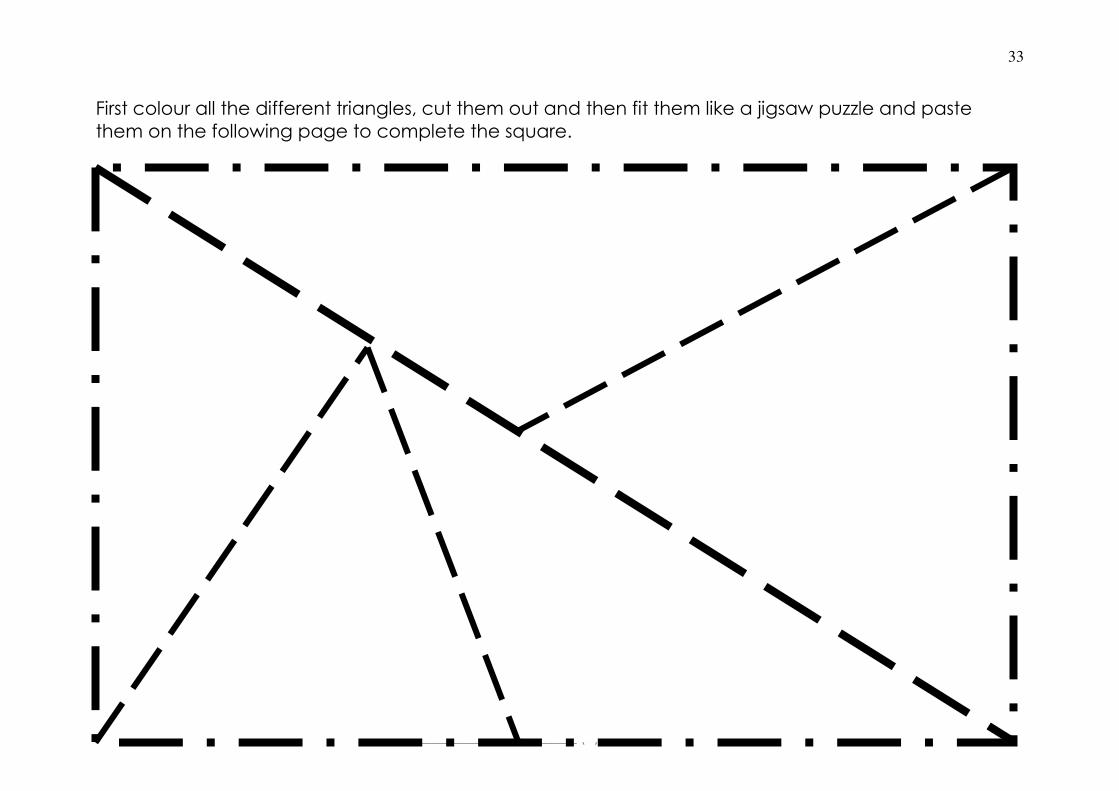
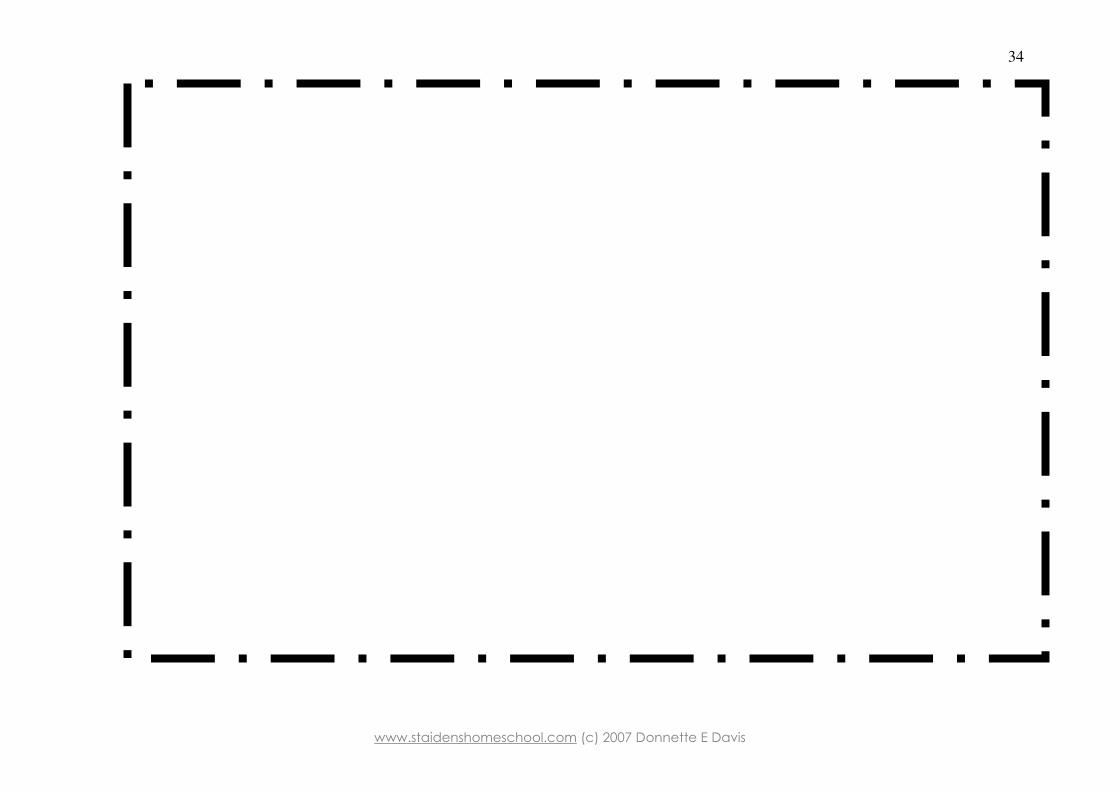
First colour all the different triangles, cut them out and then fit them like a jigsaw puzzle and paste them on the following page to complete the square.
www.staidenshomeschool.com (c) 2007 Donnette E Davis
34
www.staidenshomeschool.com (c) 2007 Donnette E Davis
35
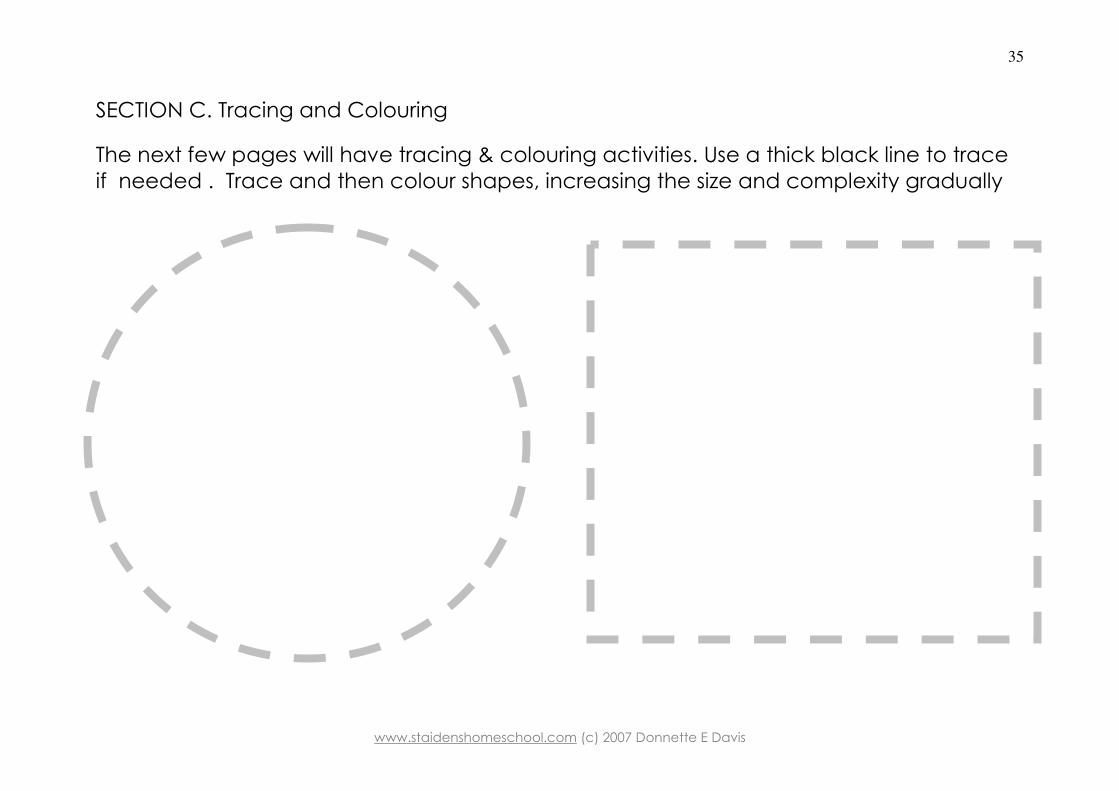
SECTION C. Tracing and Colouring
The next few pages will have tracing & colouring activities. Use a thick black line to trace if needed . Trace and then colour shapes, increasing the size and complexity gradually
www.staidenshomeschool.com (c) 2007 Donnette E Davis
36
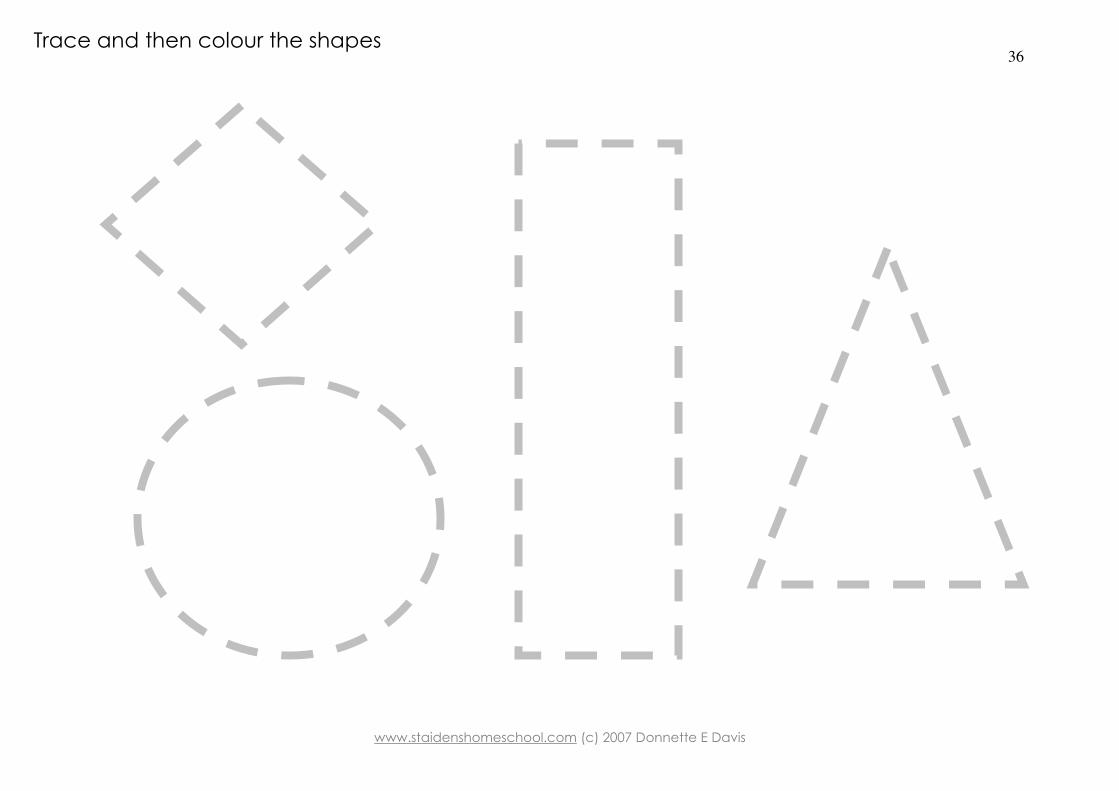
Trace and then colour the shapes
www.staidenshomeschool.com (c) 2007 Donnette E Davis
37
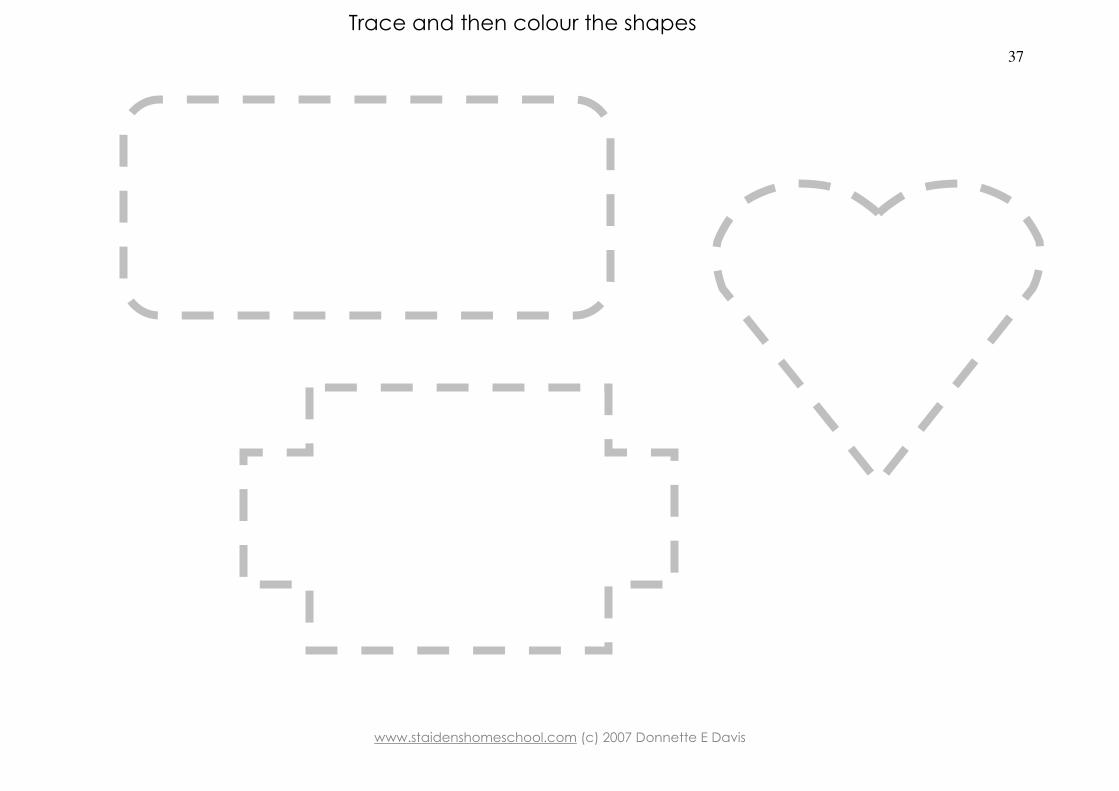
Trace and then colour the shapes
www.staidenshomeschool.com (c) 2007 Donnette E Davis
38
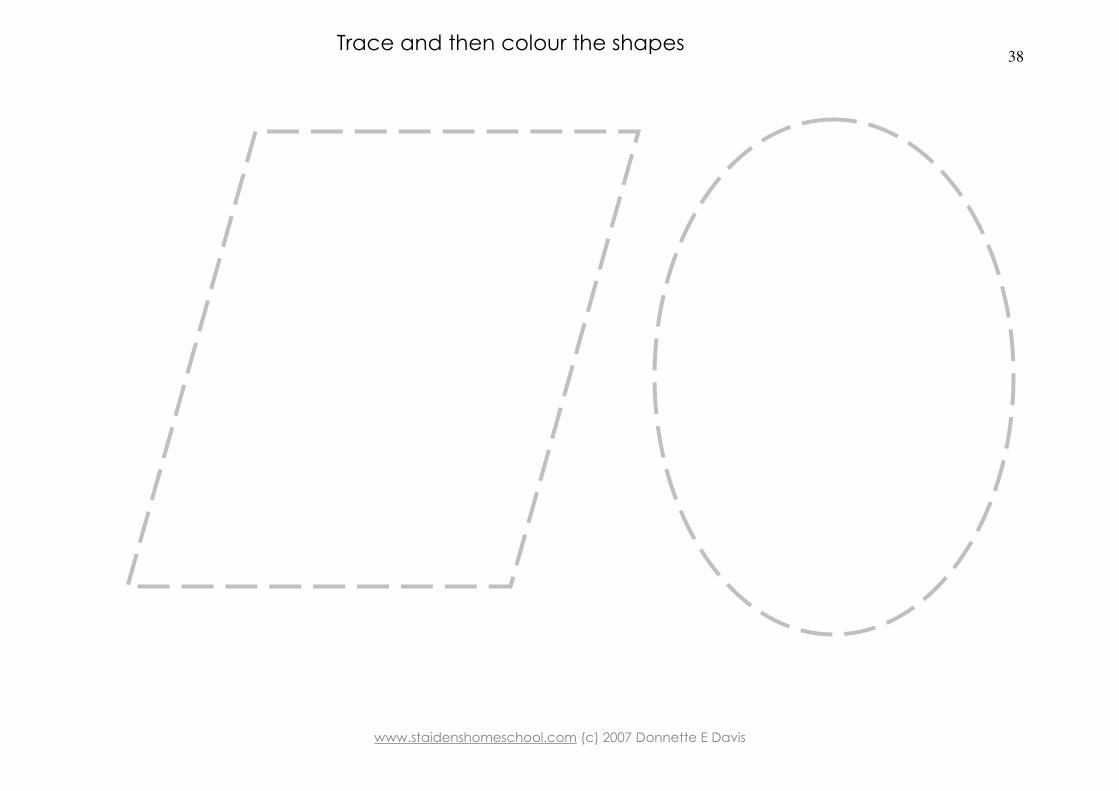
Trace and then colour the shapes
www.staidenshomeschool.com (c) 2007 Donnette E Davis
39
Sections D & E contain activities for you to do with your child outside of a workbook environment.
SECTION F. Pre-Writing
• Dot-to-dot drawings of pictures, objects, shapes, numbers, letters, etc. • Typing exercises • Tile and mosaic work. For this we provide a page of coloured “tiles” which are just basic shapes that we have coloured in. The child can cut them all out and then choose which he or she prefers to create their own masterpiece. It is not necessary to use all the “tiles” we provide in this book.
• If at all possible the shapes and pictures that are to be coloured and cut out should be printed on thin cardstock, which make for a sturdier handling capacity for little hands.
• Folding activities • Fine colouring • Have the child do repetitious strokes (with an increasingly smaller writing tool) similar to those found in manuscript or cursive letters. Emphasize accuracy, spacing and flow or rhythm. Sometimes doing it to music helps.
• In this workbook we will include a number of pages relating to each of these activities including letter tracing practice. Again print out as many times as you require as practice makes perfect ☺
www.staidenshomeschool.com (c) 2007 Donnette E Davis
40
www.staidenshomeschool.com (c) 2007 Donnette E Davis
41
www.staidenshomeschool.com (c) 2007 Donnette E Davis
42
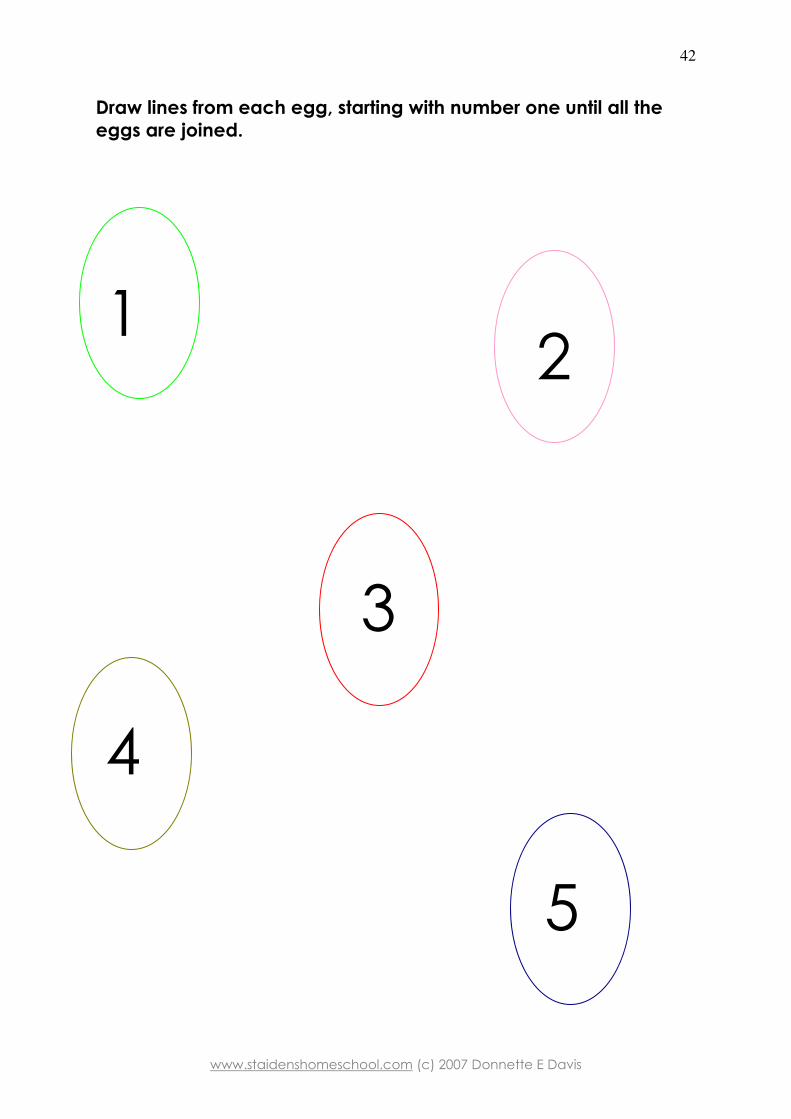
Draw lines from each egg, starting with number one until all the
eggs are joined.
1 2
3
4
5
www.staidenshomeschool.com (c) 2007 Donnette E Davis
43
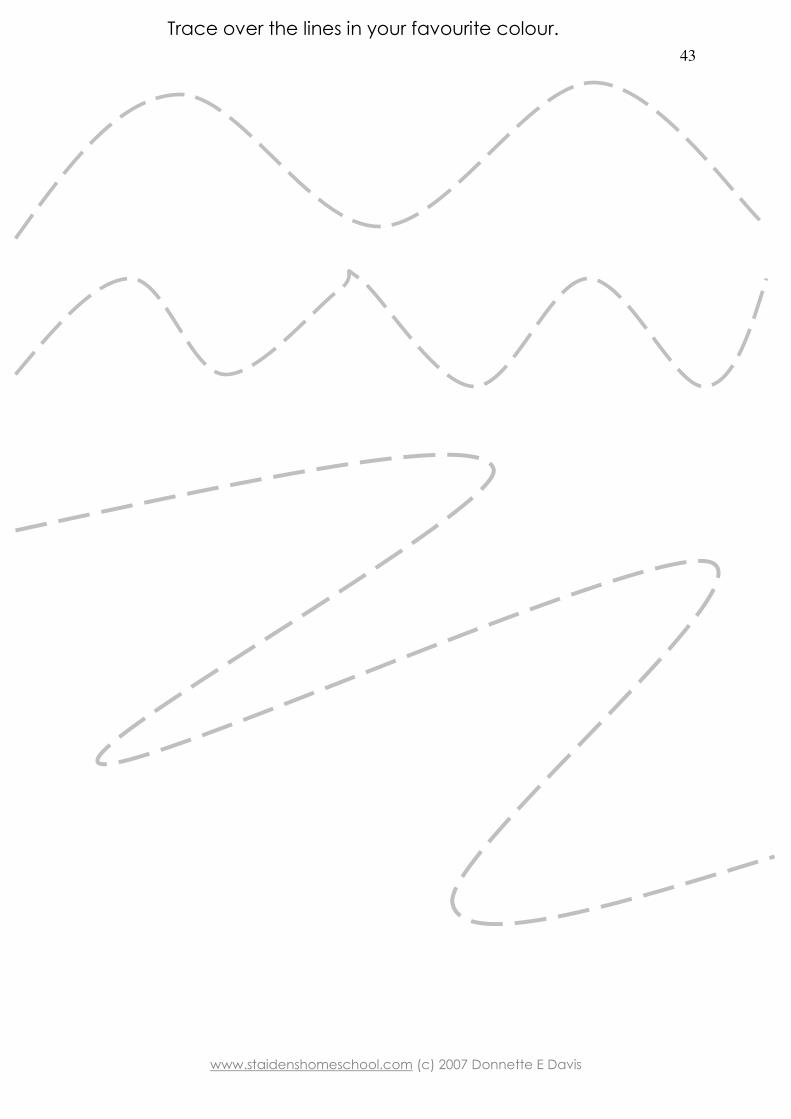
Trace over the lines in your favourite colour.
www.staidenshomeschool.com (c) 2007 Donnette E Davis
44
www.staidenshomeschool.com (c) 2007 Donnette E Davis
45
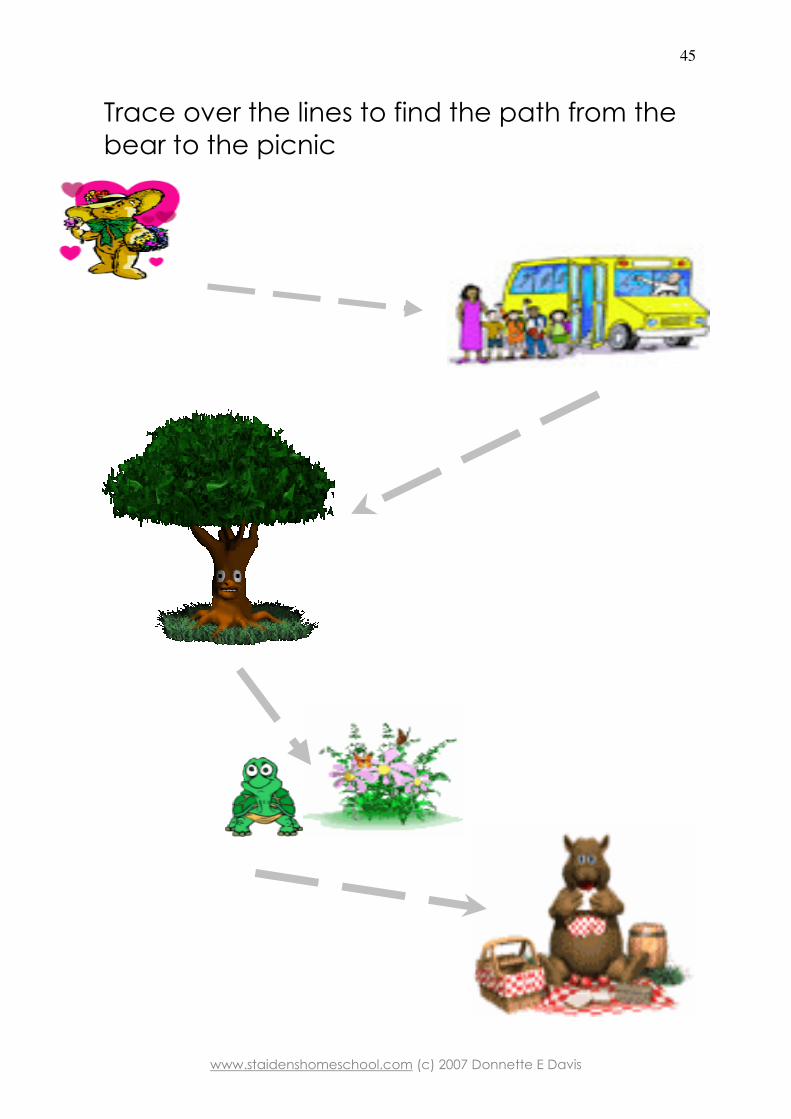
Trace over the lines to find the path from the bear to the picnic
www.staidenshomeschool.com (c) 2007 Donnette E Davis
46
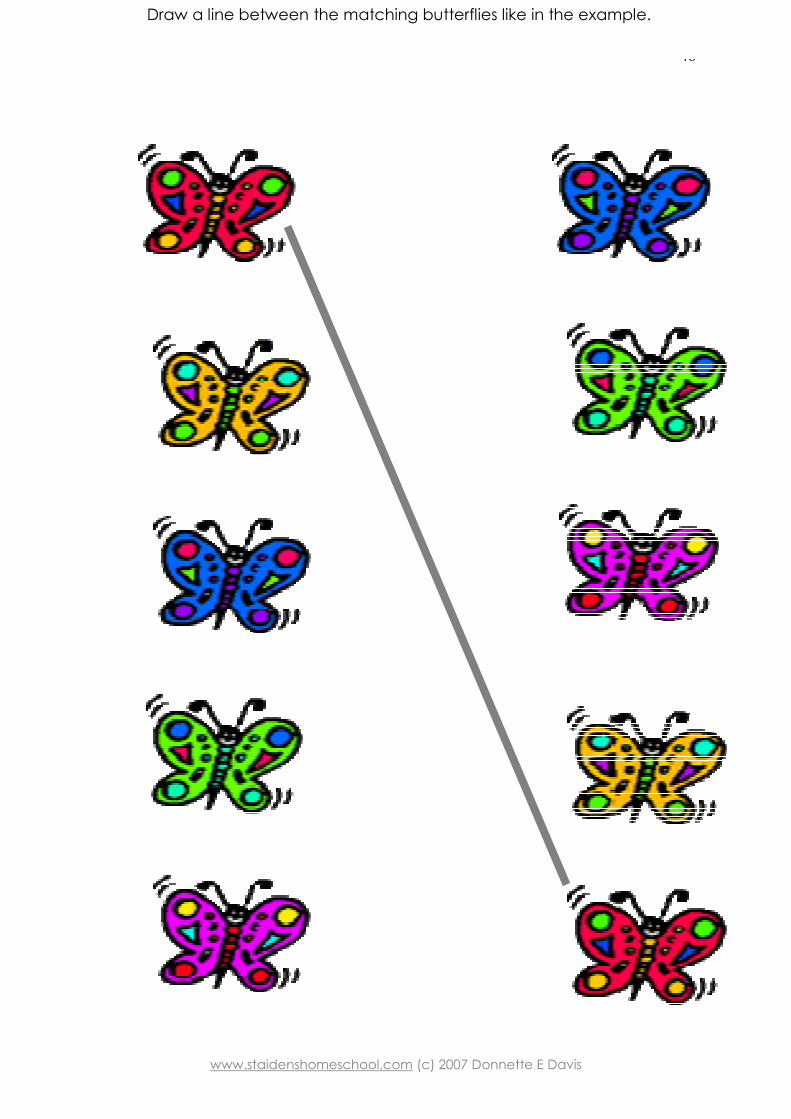
Draw a line between the matching butterflies like in the example.
www.staidenshomeschool.com (c) 2007 Donnette E Davis
47
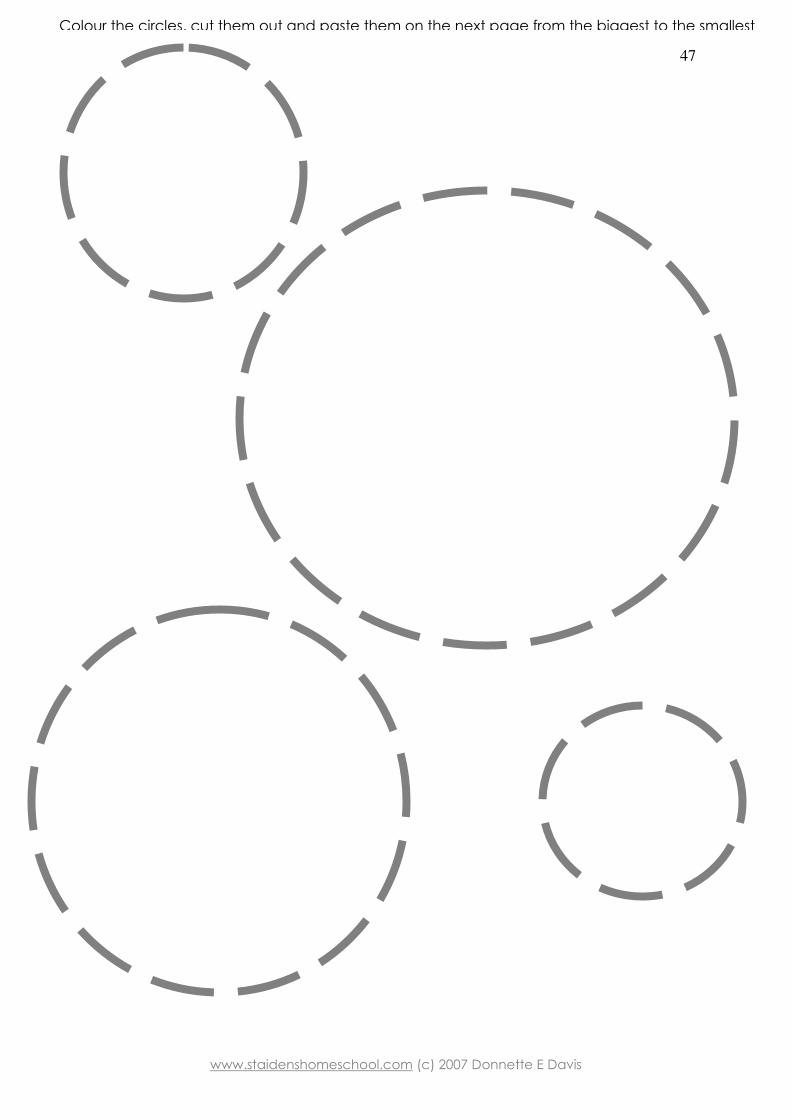
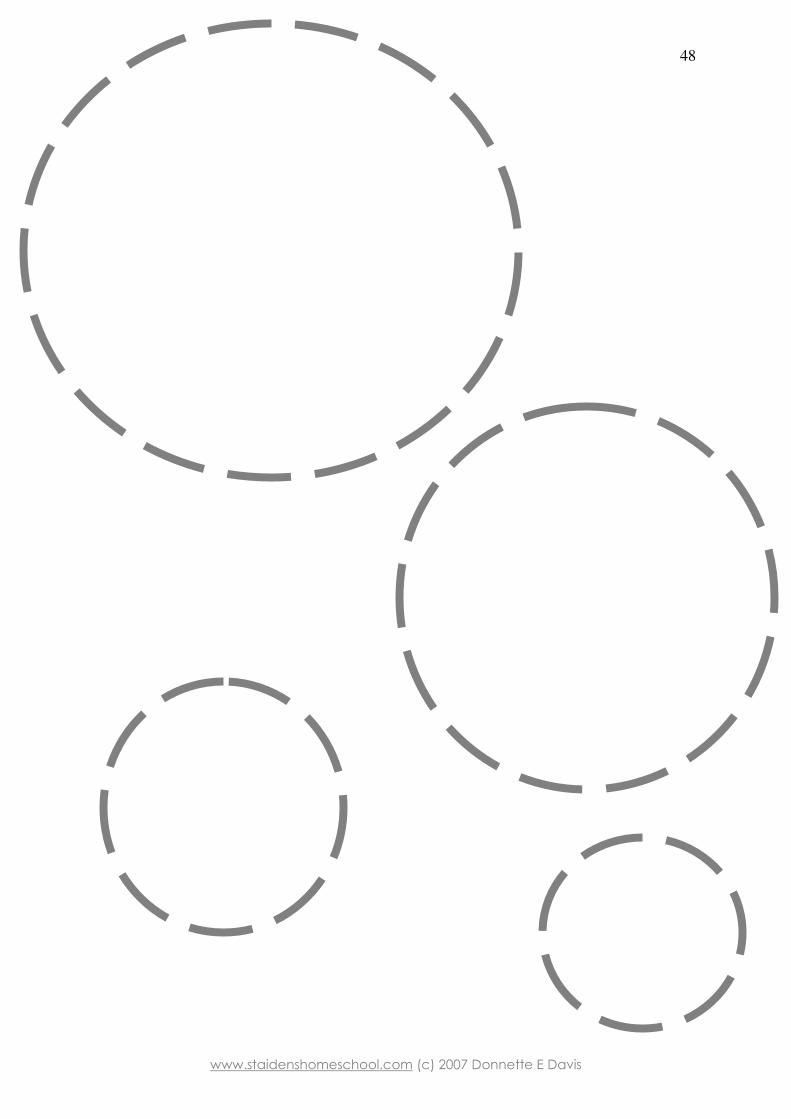
Colour the circles, cut them out and paste them on the next page from the biggest to the smallest
www.staidenshomeschool.com (c) 2007 Donnette E Davis
48
www.staidenshomeschool.com (c) 2007 Donnette E Davis
49
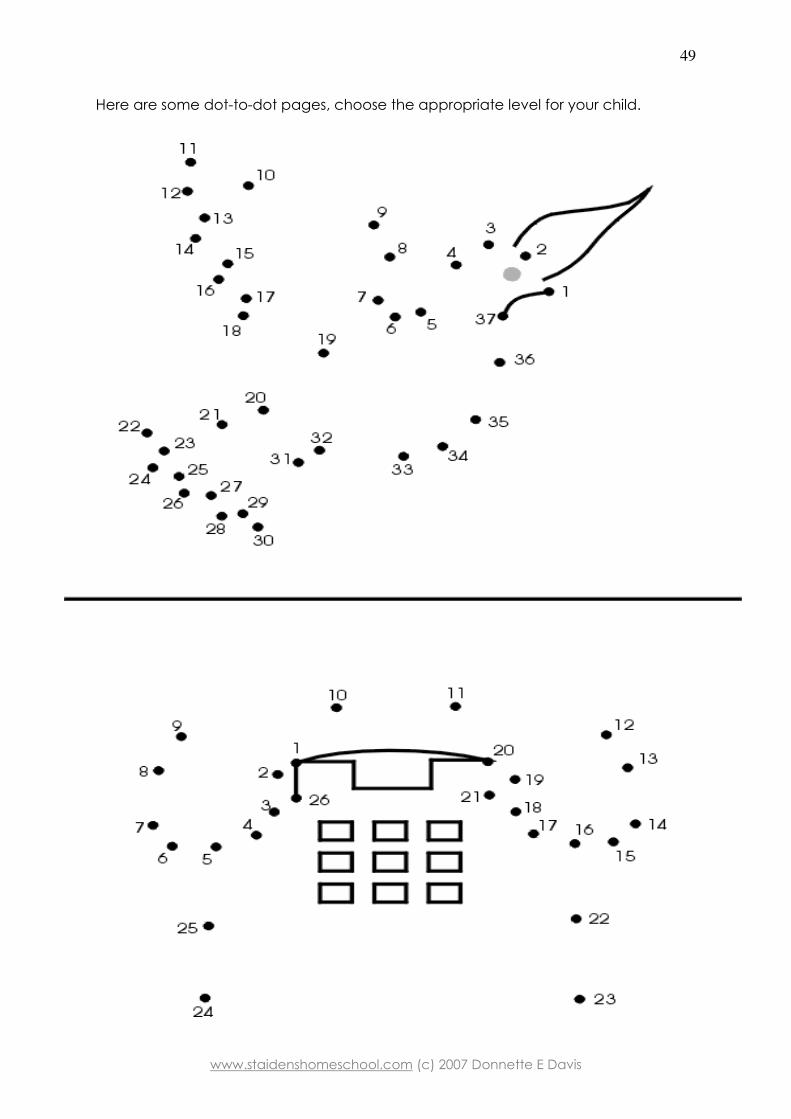
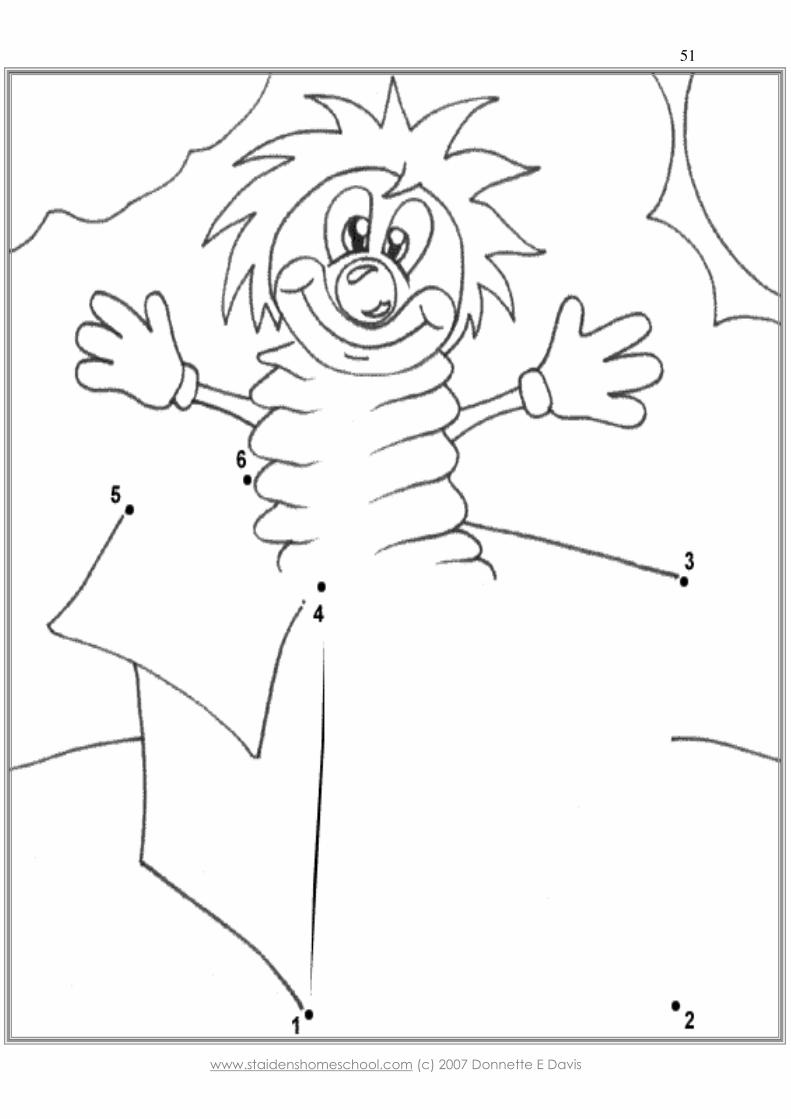
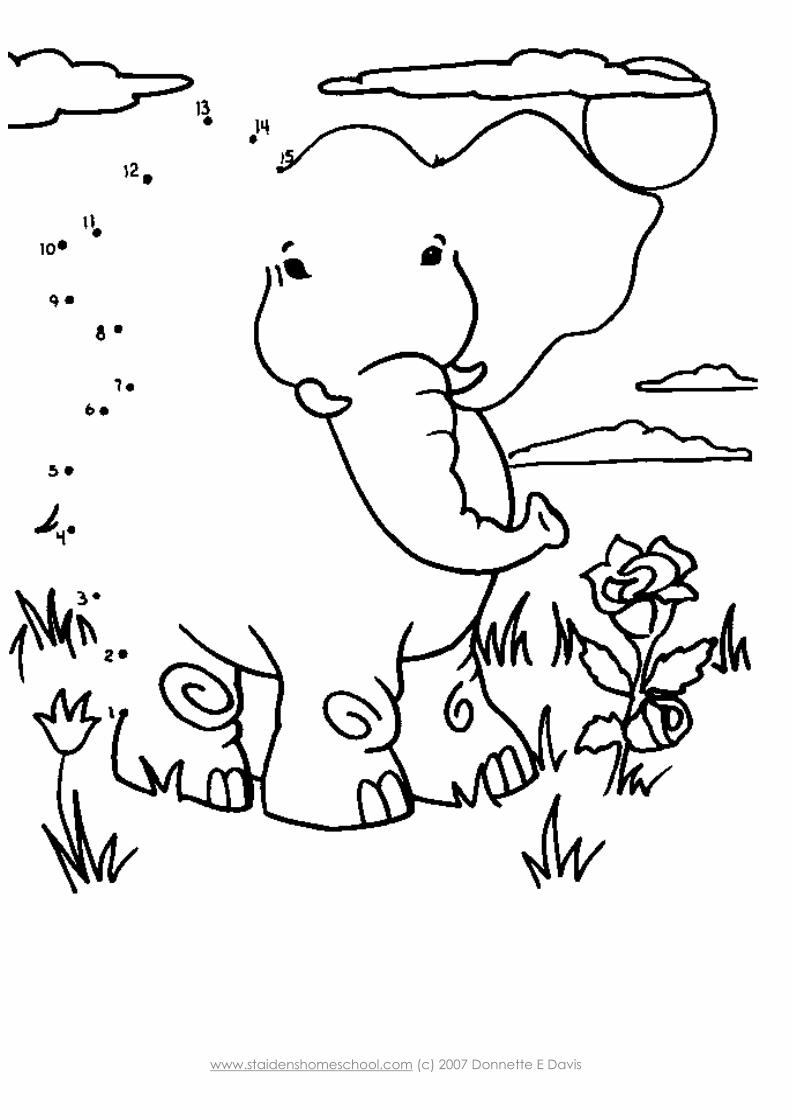
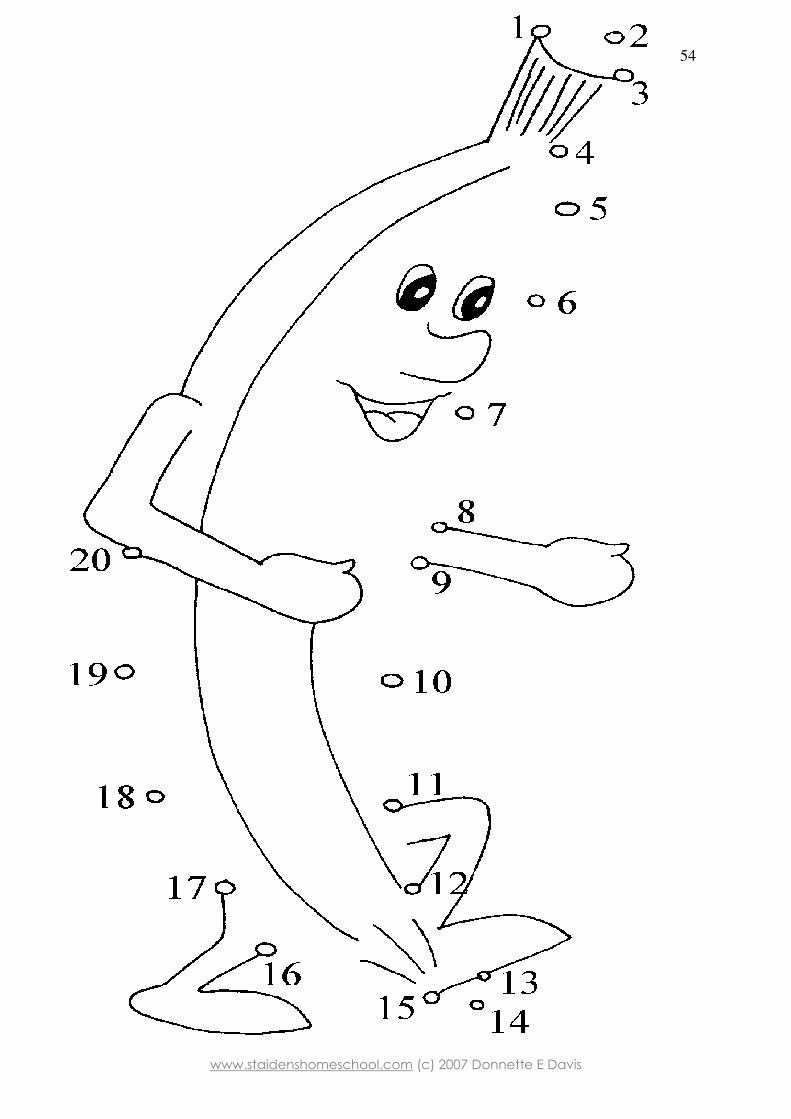
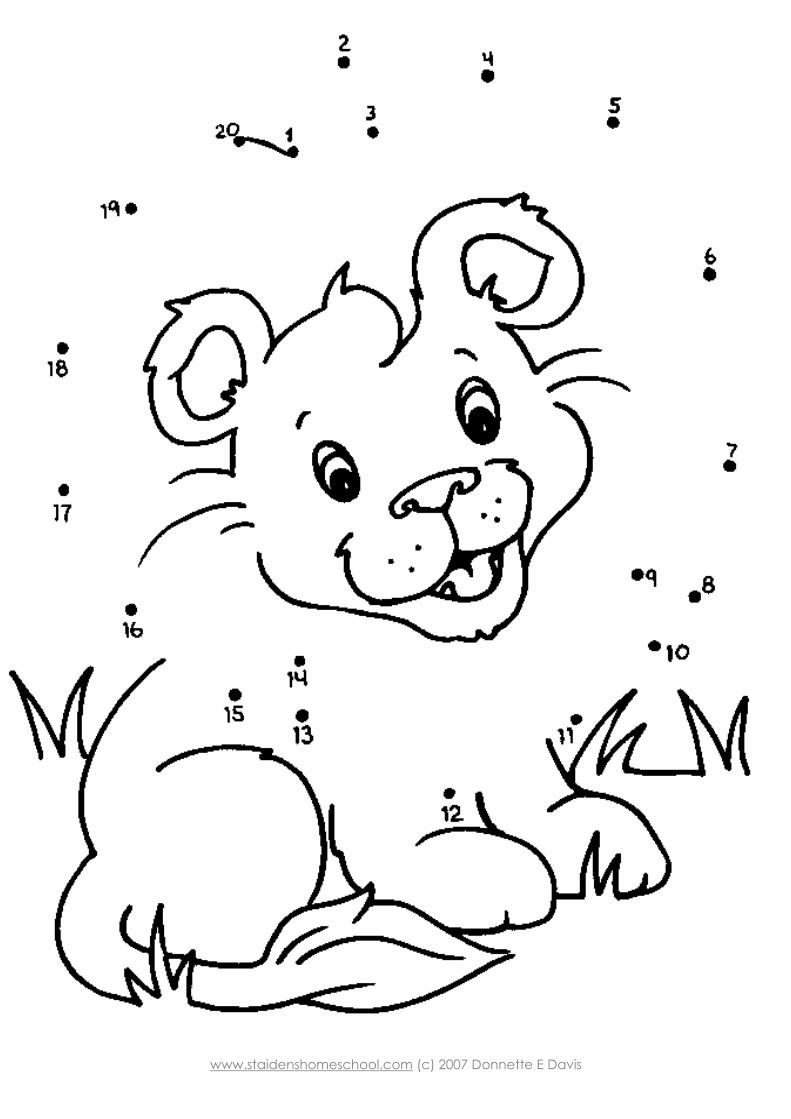
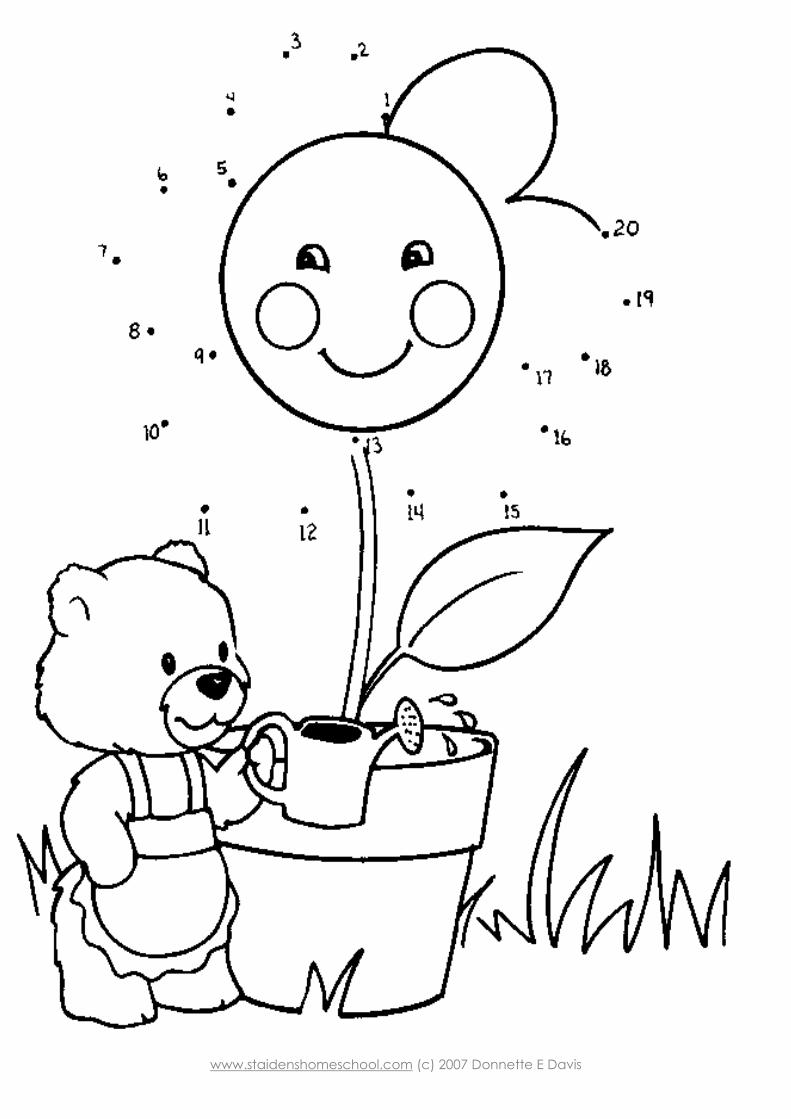
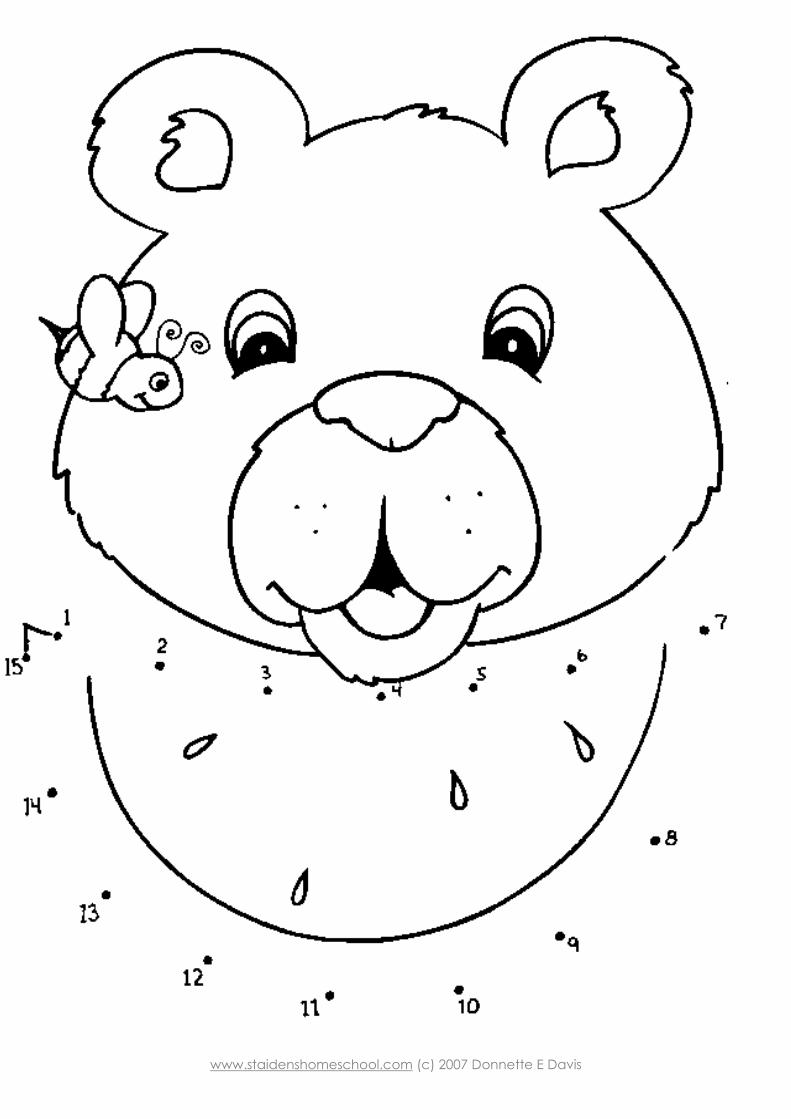
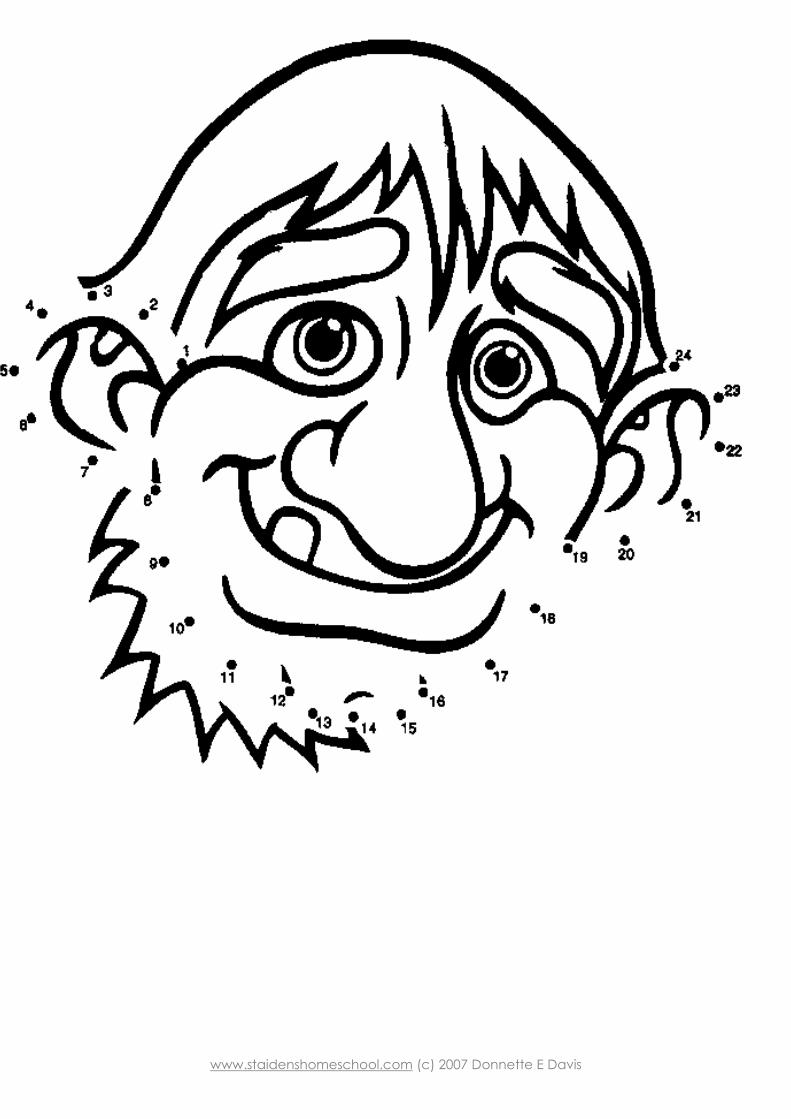
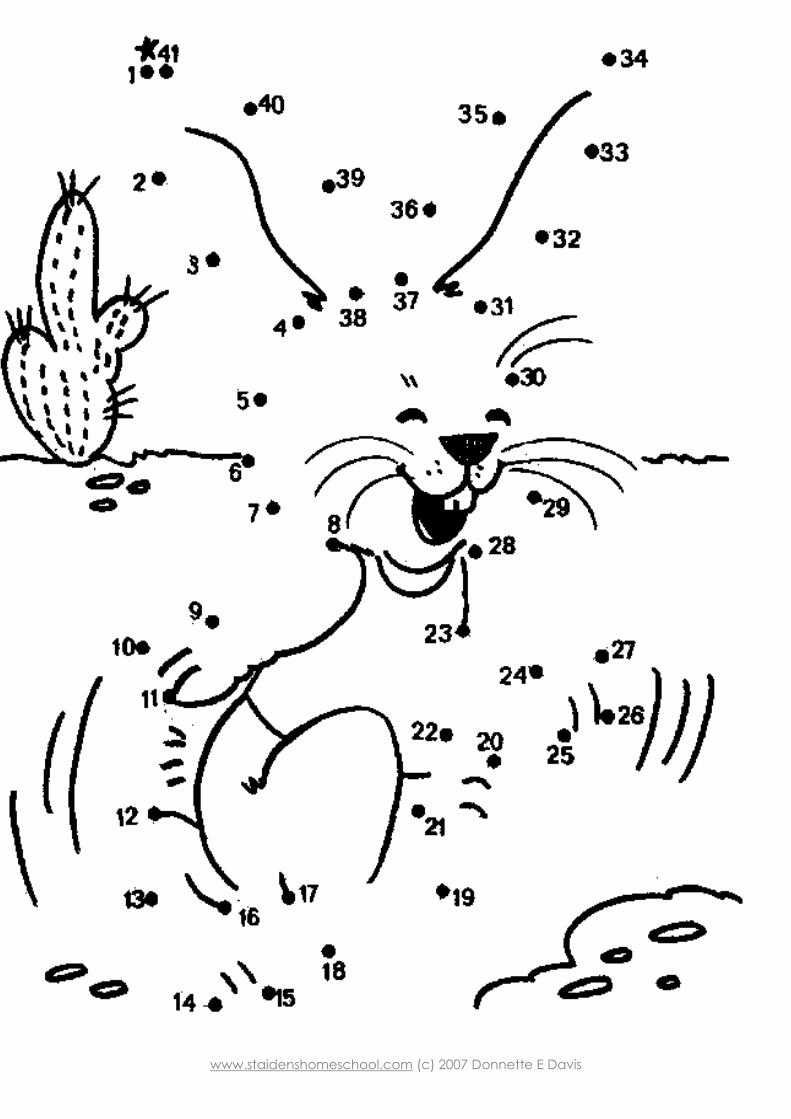
Here are some dot-to-dot pages, choose the appropriate level for your child.
www.staidenshomeschool.com (c) 2007 Donnette E Davis
50
www.staidenshomeschool.com (c) 2007 Donnette E Davis
51

www.staidenshomeschool.com (c) 2007 Donnette E Davis
52
www.staidenshomeschool.com (c) 2007 Donnette E Davis
53
www.staidenshomeschool.com (c) 2007 Donnette E Davis
54
www.staidenshomeschool.com (c) 2007 Donnette E Davis
55
www.staidenshomeschool.com (c) 2007 Donnette E Davis
56
www.staidenshomeschool.com (c) 2007 Donnette E Davis
57
www.staidenshomeschool.com (c) 2007 Donnette E Davis
58
www.staidenshomeschool.com (c) 2007 Donnette E Davis
59
www.staidenshomeschool.com (c) 2007 Donnette E Davis
60
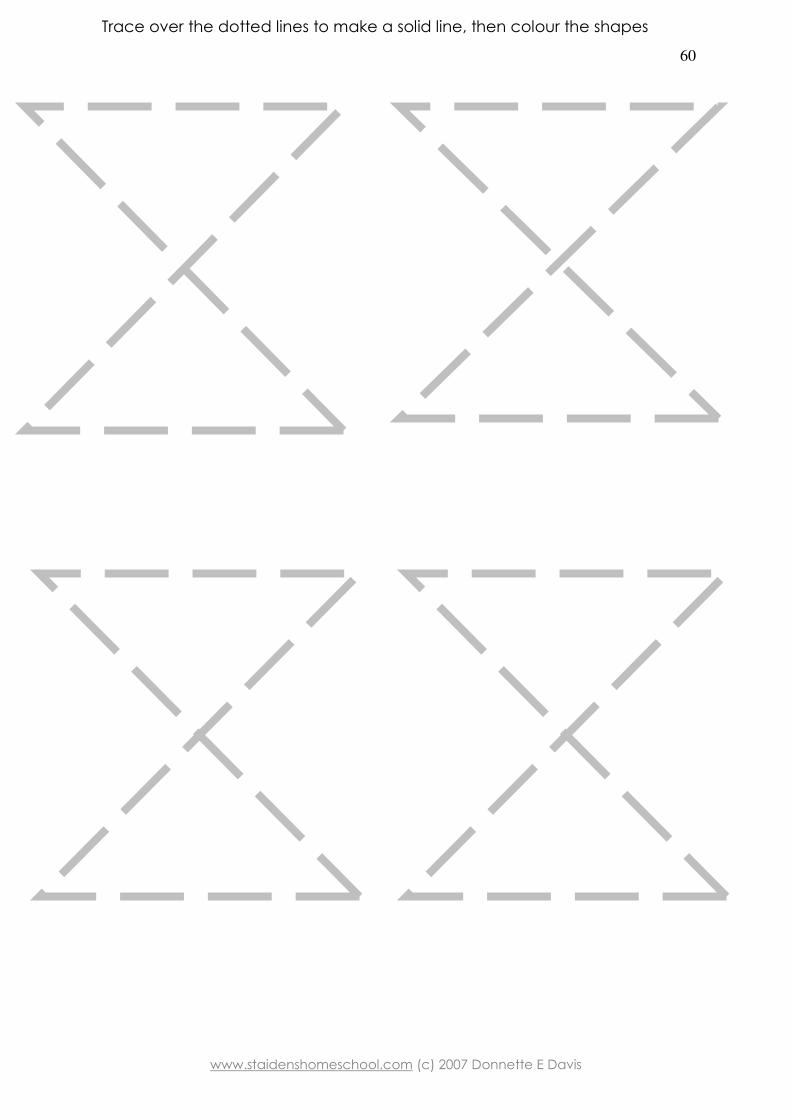
Trace over the dotted lines to make a solid line, then colour the shapes
www.staidenshomeschool.com (c) 2007 Donnette E Davis
61
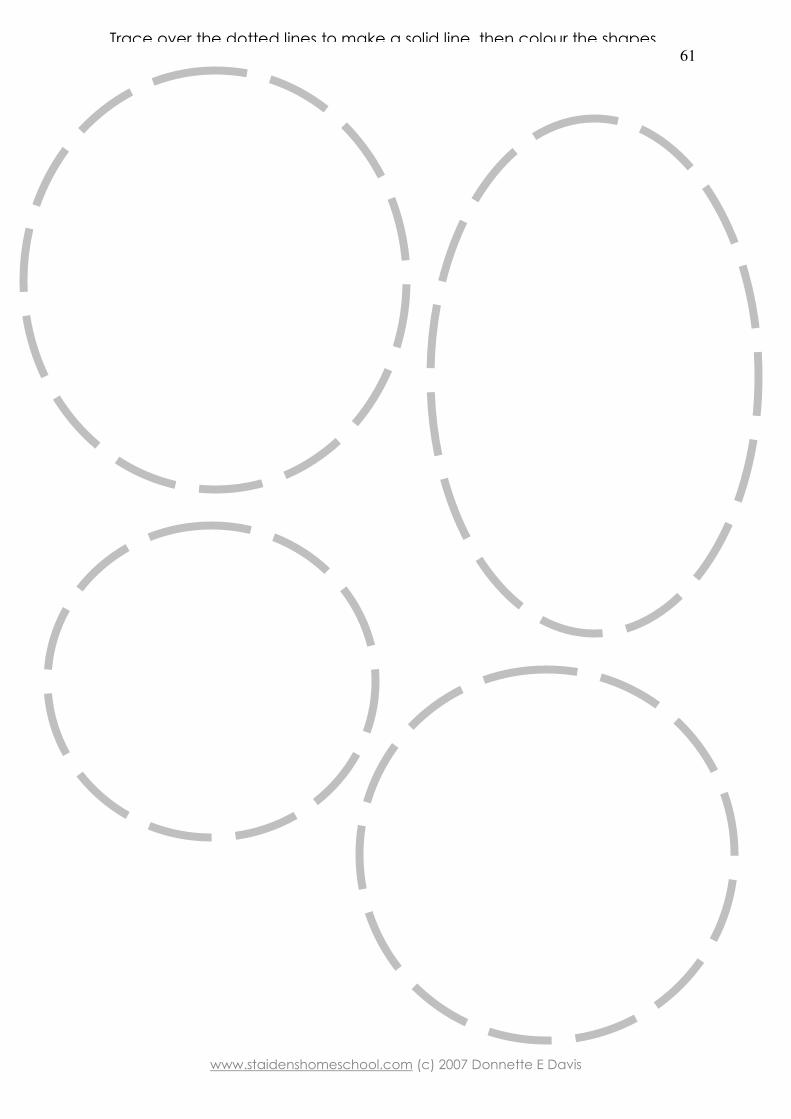
Trace over the dotted lines to make a solid line, then colour the shapes
www.staidenshomeschool.com (c) 2007 Donnette E Davis
62
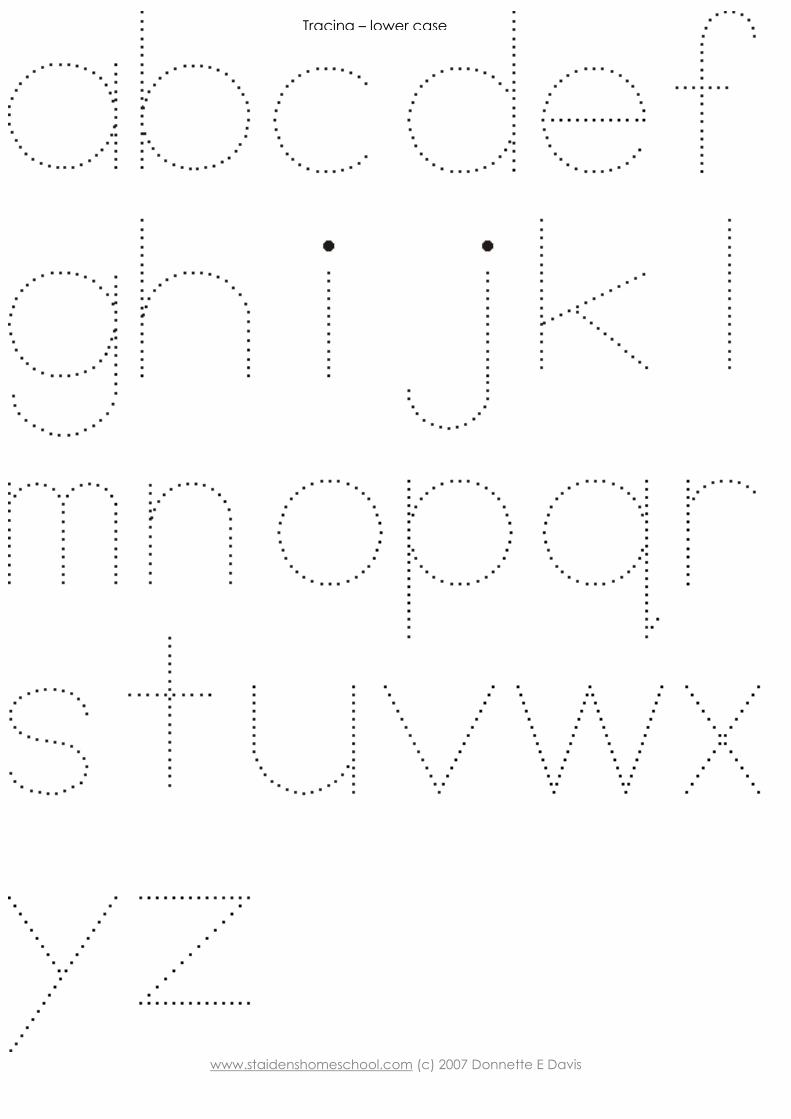
Tracing – lower case

www.staidenshomeschool.com (c) 2007 Donnette E Davis
63
© www.staidenshomeschool.com 2007
Colour the card in beautiful bright colours, decorate it for mum or dad, and then cut it out and fold it up.
www.staidenshomeschool.com (c) 2007 Donnette E Davis
64
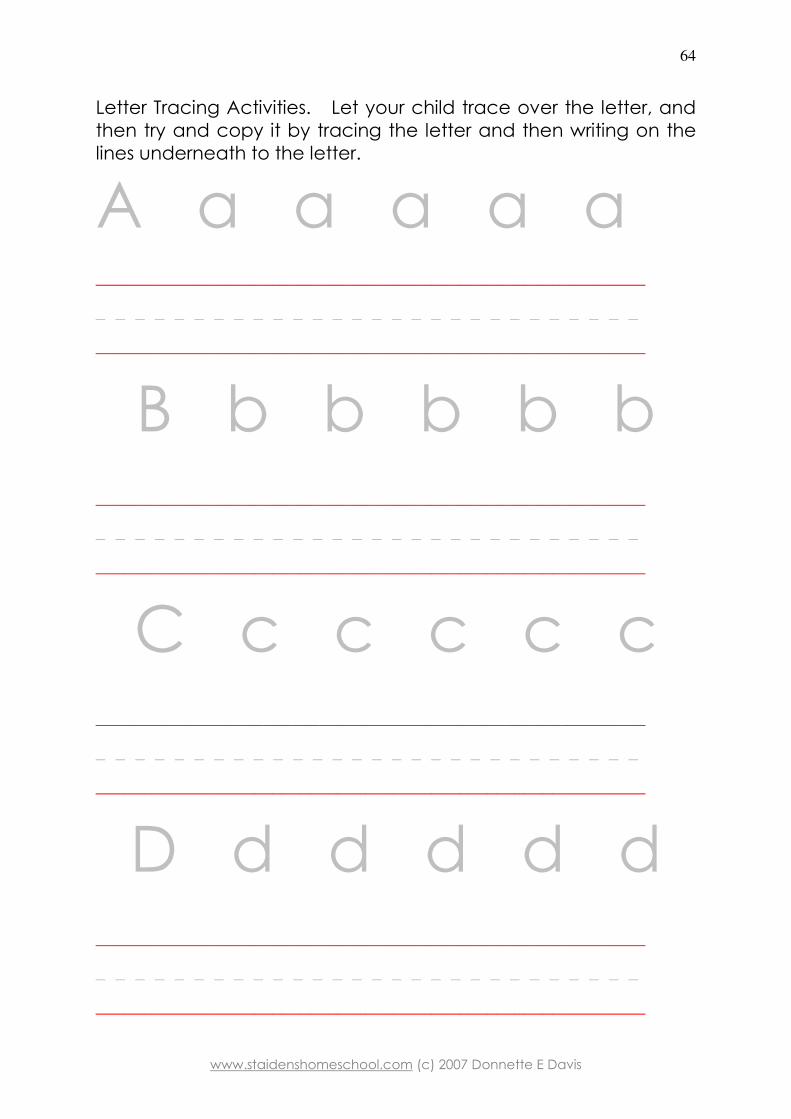
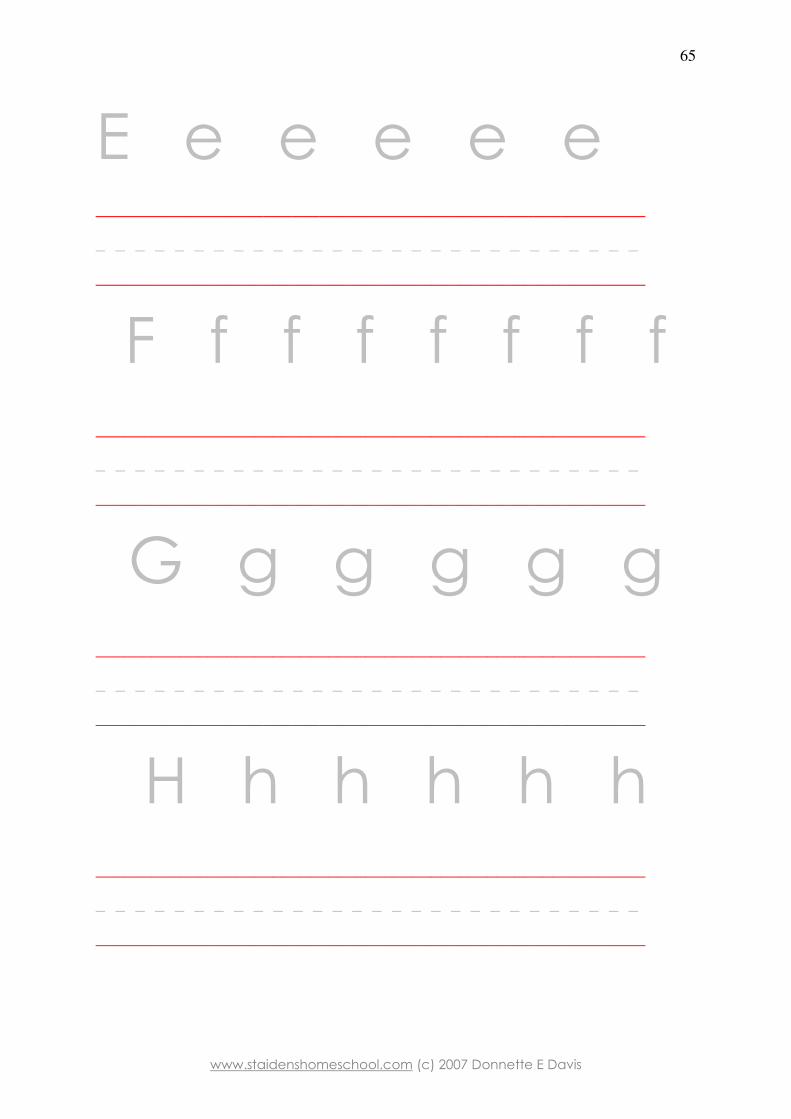
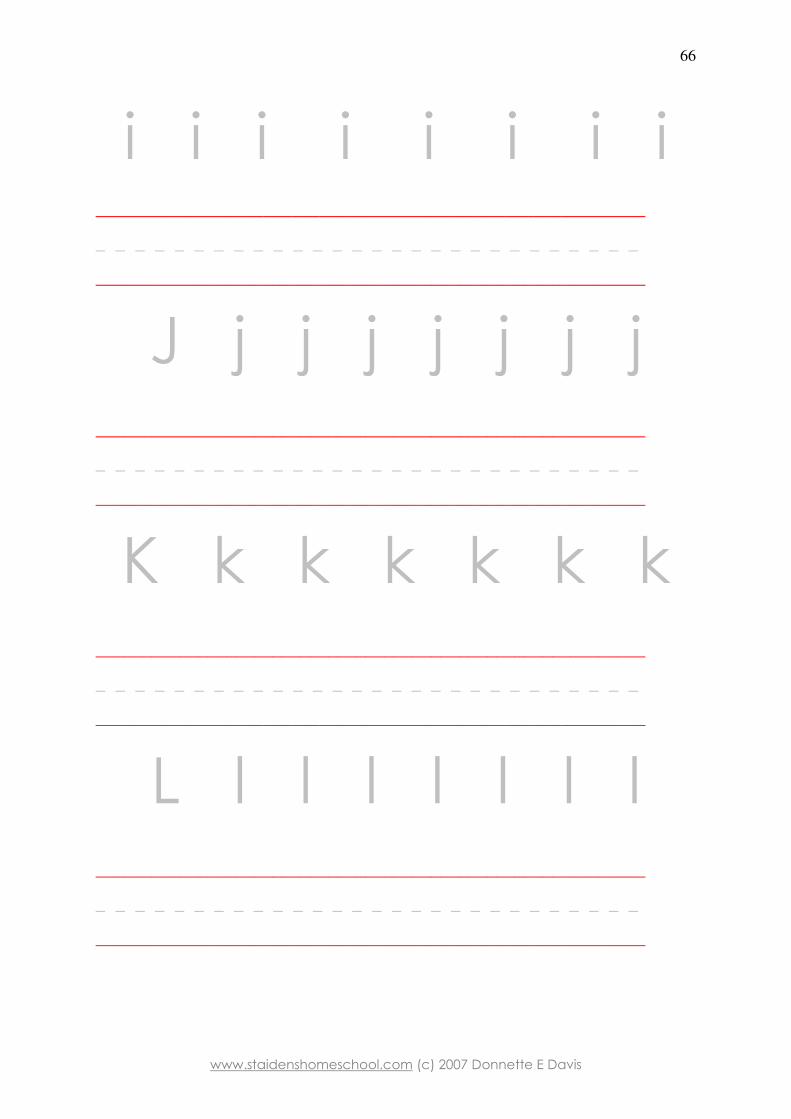
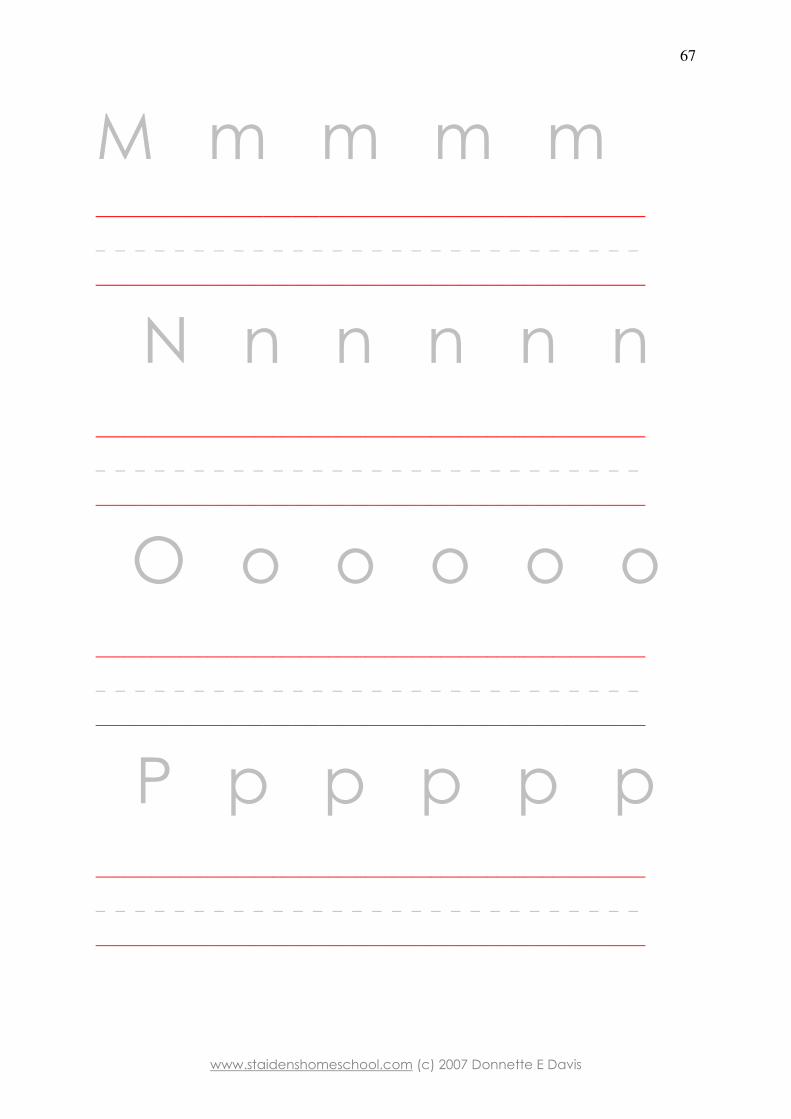
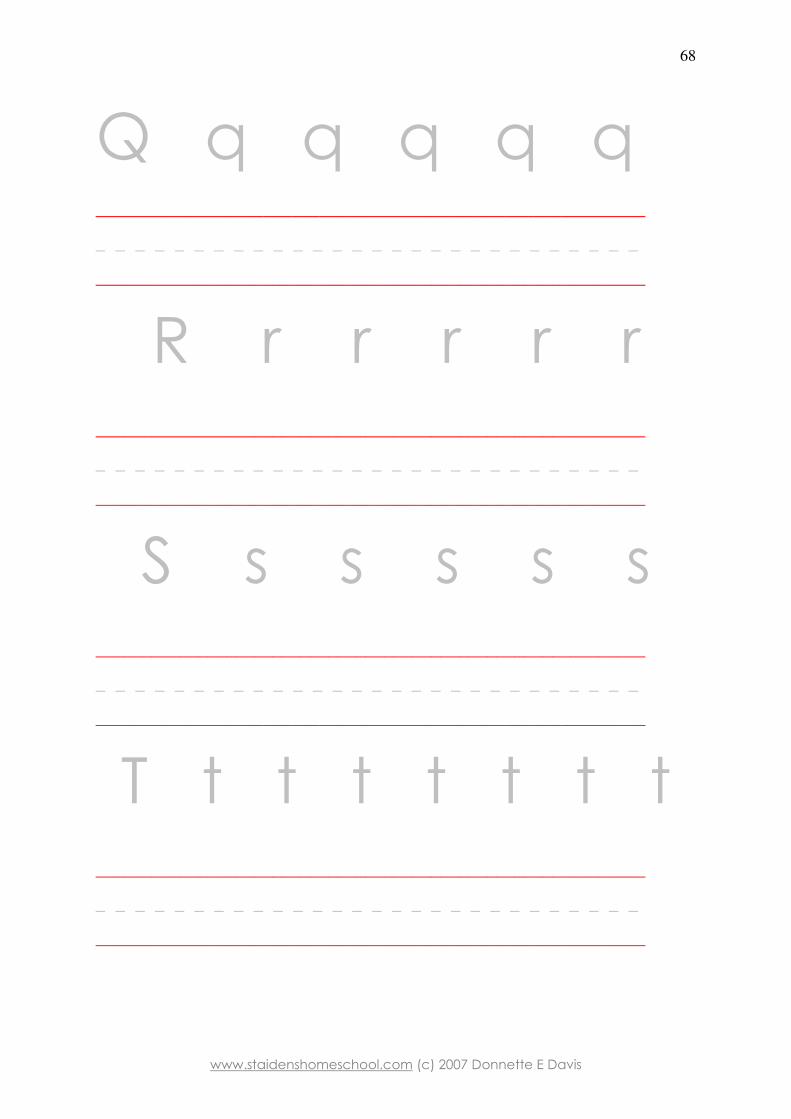
Letter Tracing Activities. Let your child trace over the letter, and then try and copy it by tracing the letter and then writing on the lines underneath to the letter.
A a a a a a ___________________________________________________________
_ _ _ _ _ _ _ _ _ _ _ _ _ _ _ _ _ _ _ _ _ _ _ _ _ _ _ _
___________________________________________________________
B b b b b b ___________________________________________________________
_ _ _ _ _ _ _ _ _ _ _ _ _ _ _ _ _ _ _ _ _ _ _ _ _ _ _ _
___________________________________________________________
C c c c c c ___________________________________________________________
_ _ _ _ _ _ _ _ _ _ _ _ _ _ _ _ _ _ _ _ _ _ _ _ _ _ _ _
___________________________________________________________
D d d d d d ___________________________________________________________
_ _ _ _ _ _ _ _ _ _ _ _ _ _ _ _ _ _ _ _ _ _ _ _ _ _ _ _
___________________________________________________________
A
www.staidenshomeschool.com (c) 2007 Donnette E Davis
65
E e e e e e ___________________________________________________________
_ _ _ _ _ _ _ _ _ _ _ _ _ _ _ _ _ _ _ _ _ _ _ _ _ _ _ _
___________________________________________________________
F f f f f f f f ___________________________________________________________
_ _ _ _ _ _ _ _ _ _ _ _ _ _ _ _ _ _ _ _ _ _ _ _ _ _ _ _
___________________________________________________________
G g g g g g ___________________________________________________________
_ _ _ _ _ _ _ _ _ _ _ _ _ _ _ _ _ _ _ _ _ _ _ _ _ _ _ _
___________________________________________________________
H h h h h h ___________________________________________________________
_ _ _ _ _ _ _ _ _ _ _ _ _ _ _ _ _ _ _ _ _ _ _ _ _ _ _ _
___________________________________________________________
A
www.staidenshomeschool.com (c) 2007 Donnette E Davis
66
i i i i i i i i ___________________________________________________________
_ _ _ _ _ _ _ _ _ _ _ _ _ _ _ _ _ _ _ _ _ _ _ _ _ _ _ _
___________________________________________________________
J j j j j j j j ___________________________________________________________
_ _ _ _ _ _ _ _ _ _ _ _ _ _ _ _ _ _ _ _ _ _ _ _ _ _ _ _
___________________________________________________________
K k k k k k k ___________________________________________________________
_ _ _ _ _ _ _ _ _ _ _ _ _ _ _ _ _ _ _ _ _ _ _ _ _ _ _ _
___________________________________________________________
L l l l l l l l ___________________________________________________________
_ _ _ _ _ _ _ _ _ _ _ _ _ _ _ _ _ _ _ _ _ _ _ _ _ _ _ _
___________________________________________________________
A
www.staidenshomeschool.com (c) 2007 Donnette E Davis
67
M m m m m ___________________________________________________________
_ _ _ _ _ _ _ _ _ _ _ _ _ _ _ _ _ _ _ _ _ _ _ _ _ _ _ _
___________________________________________________________
N n n n n n ___________________________________________________________
_ _ _ _ _ _ _ _ _ _ _ _ _ _ _ _ _ _ _ _ _ _ _ _ _ _ _ _
___________________________________________________________
O o o o o o ___________________________________________________________
_ _ _ _ _ _ _ _ _ _ _ _ _ _ _ _ _ _ _ _ _ _ _ _ _ _ _ _
___________________________________________________________
P p p p p p ___________________________________________________________
_ _ _ _ _ _ _ _ _ _ _ _ _ _ _ _ _ _ _ _ _ _ _ _ _ _ _ _
___________________________________________________________
A
www.staidenshomeschool.com (c) 2007 Donnette E Davis
68
Q q q q q q ___________________________________________________________
_ _ _ _ _ _ _ _ _ _ _ _ _ _ _ _ _ _ _ _ _ _ _ _ _ _ _ _
___________________________________________________________
R r r r r r ___________________________________________________________
_ _ _ _ _ _ _ _ _ _ _ _ _ _ _ _ _ _ _ _ _ _ _ _ _ _ _ _
___________________________________________________________
S s s s s s ___________________________________________________________
_ _ _ _ _ _ _ _ _ _ _ _ _ _ _ _ _ _ _ _ _ _ _ _ _ _ _ _
___________________________________________________________
T t t t t t t t ___________________________________________________________
_ _ _ _ _ _ _ _ _ _ _ _ _ _ _ _ _ _ _ _ _ _ _ _ _ _ _ _
___________________________________________________________
A
www.staidenshomeschool.com (c) 2007 Donnette E Davis
69
U u u u u u ___________________________________________________________
_ _ _ _ _ _ _ _ _ _ _ _ _ _ _ _ _ _ _ _ _ _ _ _ _ _ _ _
___________________________________________________________
V v v v v v ___________________________________________________________
_ _ _ _ _ _ _ _ _ _ _ _ _ _ _ _ _ _ _ _ _ _ _ _ _ _ _ _
___________________________________________________________
W w w w w ___________________________________________________________
_ _ _ _ _ _ _ _ _ _ _ _ _ _ _ _ _ _ _ _ _ _ _ _ _ _ _ _
___________________________________________________________
X x x x x x x ___________________________________________________________
_ _ _ _ _ _ _ _ _ _ _ _ _ _ _ _ _ _ _ _ _ _ _ _ _ _ _ _
___________________________________________________________
A
www.staidenshomeschool.com (c) 2007 Donnette E Davis
70
Y y y y y y ___________________________________________________________
_ _ _ _ _ _ _ _ _ _ _ _ _ _ _ _ _ _ _ _ _ _ _ _ _ _ _ _
___________________________________________________________
Z z z z z z z ___________________________________________________________
_ _ _ _ _ _ _ _ _ _ _ _ _ _ _ _ _ _ _ _ _ _ _ _ _ _ _ _
___________________________________________________________
___________________________________________________________
_ _ _ _ _ _ _ _ _ _ _ _ _ _ _ _ _ _ _ _ _ _ _ _ _ _ _ _
___________________________________________________________
___________________________________________________________
_ _ _ _ _ _ _ _ _ _ _ _ _ _ _ _ _ _ _ _ _ _ _ _ _ _ _ _
___________________________________________________________
___________________________________________________________
_ _ _ _ _ _ _ _ _ _ _ _ _ _ _ _ _ _ _ _ _ _ _ _ _ _ _ _
___________________________________________________________
___________________________________________________________
_ _ _ _ _ _ _ _ _ _ _ _ _ _ _ _ _ _ _ _ _ _ _ _ _ _ _ _
___________________________________________________________
___________________________________________________________
_ _ _ _ _ _ _ _ _ _ _ _ _ _ _ _ _ _ _ _ _ _ _ _ _ _ _ _
___________________________________________________________
A
www.staidenshomeschool.com (c) 2007 Donnette E Davis
71
1 2 3 4 ___________________________________________________________
_ _ _ _ _ _ _ _ _ _ _ _ _ _ _ _ _ _ _ _ _ _ _ _ _ _ _ _
___________________________________________________________
___________________________________________________________
_ _ _ _ _ _ _ _ _ _ _ _ _ _ _ _ _ _ _ _ _ _ _ _ _ _ _ _
___________________________________________________________
5 6 7 8 ___________________________________________________________
_ _ _ _ _ _ _ _ _ _ _ _ _ _ _ _ _ _ _ _ _ _ _ _ _ _ _ _
___________________________________________________________
___________________________________________________________
_ _ _ _ _ _ _ _ _ _ _ _ _ _ _ _ _ _ _ _ _ _ _ _ _ _ _ _
___________________________________________________________
www.staidenshomeschool.com (c) 2007 Donnette E Davis
72
Trace over the numbers
one
two
three
four
five
six
seven
eight
nine
ten
www.staidenshomeschool.com (c) 2007 Donnette E Davis
73
Letter Tracing Activities. Let your child trace over the letter, and then try and copy it by writing on the lines next to the letter. ___________________________________________________________
_ _ _ _ _ _ _ _ _ _ _ _ _ _ _ _ _ _ _ _ _ _ _ _ _ _ _ _
___________________________________________________________
___________________________________________________________
_ _ _ _ _ _ _ _ _ _ _ _ _ _ _ _ _ _ _ _ _ _ _ _ _ _ _ _
___________________________________________________________
___________________________________________________________
_ _ _ _ _ _ _ _ _ _ _ _ _ _ _ _ _ _ _ _ _ _ _ _ _ _ _ _
___________________________________________________________
___________________________________________________________
_ _ _ _ _ _ _ _ _ _ _ _ _ _ _ _ _ _ _ _ _ _ _ _ _ _ _ _
___________________________________________________________
___________________________________________________________
_ _ _ _ _ _ _ _ _ _ _ _ _ _ _ _ _ _ _ _ _ _ _ _ _ _ _ _
___________________________________________________________
___________________________________________________________
_ _ _ _ _ _ _ _ _ _ _ _ _ _ _ _ _ _ _ _ _ _ _ _ _ _ _ _
___________________________________________________________
___________________________________________________________
_ _ _ _ _ _ _ _ _ _ _ _ _ _ _ _ _ _ _ _ _ _ _ _ _ _ _ _
___________________________________________________________
___________________________________________________________
_ _ _ _ _ _ _ _ _ _ _ _ _ _ _ _ _ _ _ _ _ _ _ _ _ _ _ _
___________________________________________________________
b
a
c
f
d
e
g
h
www.staidenshomeschool.com (c) 2007 Donnette E Davis
74
Letter Tracing Activities. Let your child trace over the letter, and then try and copy it by writing on the lines next to the letter. ___________________________________________________________
_ _ _ _ _ _ _ _ _ _ _ _ _ _ _ _ _ _ _ _ _ _ _ _ _ _ _ _
___________________________________________________________
___________________________________________________________
_ _ _ _ _ _ _ _ _ _ _ _ _ _ _ _ _ _ _ _ _ _ _ _ _ _ _ _
___________________________________________________________
___________________________________________________________
_ _ _ _ _ _ _ _ _ _ _ _ _ _ _ _ _ _ _ _ _ _ _ _ _ _ _ _
___________________________________________________________
___________________________________________________________
_ _ _ _ _ _ _ _ _ _ _ _ _ _ _ _ _ _ _ _ _ _ _ _ _ _ _ _
___________________________________________________________
___________________________________________________________
_ _ _ _ _ _ _ _ _ _ _ _ _ _ _ _ _ _ _ _ _ _ _ _ _ _ _ _
___________________________________________________________
___________________________________________________________
_ _ _ _ _ _ _ _ _ _ _ _ _ _ _ _ _ _ _ _ _ _ _ _ _ _ _ _
___________________________________________________________
___________________________________________________________
_ _ _ _ _ _ _ _ _ _ _ _ _ _ _ _ _ _ _ _ _ _ _ _ _ _ _ _
___________________________________________________________
___________________________________________________________
_ _ _ _ _ _ _ _ _ _ _ _ _ _ _ _ _ _ _ _ _ _ _ _ _ _ _ _
___________________________________________________________
j
i
k
n
l
m
o
p
www.staidenshomeschool.com (c) 2007 Donnette E Davis
75
Letter Tracing Activities. Let your child trace over the letter, and then try and copy it by writing on the lines next to the letter. ___________________________________________________________
_ _ _ _ _ _ _ _ _ _ _ _ _ _ _ _ _ _ _ _ _ _ _ _ _ _ _ _
___________________________________________________________
___________________________________________________________
_ _ _ _ _ _ _ _ _ _ _ _ _ _ _ _ _ _ _ _ _ _ _ _ _ _ _ _
___________________________________________________________
___________________________________________________________
_ _ _ _ _ _ _ _ _ _ _ _ _ _ _ _ _ _ _ _ _ _ _ _ _ _ _ _
___________________________________________________________
___________________________________________________________
_ _ _ _ _ _ _ _ _ _ _ _ _ _ _ _ _ _ _ _ _ _ _ _ _ _ _ _
___________________________________________________________
___________________________________________________________
_ _ _ _ _ _ _ _ _ _ _ _ _ _ _ _ _ _ _ _ _ _ _ _ _ _ _ _
___________________________________________________________
___________________________________________________________
_ _ _ _ _ _ _ _ _ _ _ _ _ _ _ _ _ _ _ _ _ _ _ _ _ _ _ _
___________________________________________________________
___________________________________________________________
_ _ _ _ _ _ _ _ _ _ _ _ _ _ _ _ _ _ _ _ _ _ _ _ _ _ _ _
___________________________________________________________
___________________________________________________________
_ _ _ _ _ _ _ _ _ _ _ _ _ _ _ _ _ _ _ _ _ _ _ _ _ _ _ _
___________________________________________________________
r
q
s
v
t
u
w
x
www.staidenshomeschool.com (c) 2007 Donnette E Davis
76
Letter Tracing Activities. Let your child trace over the letter, and then try and copy it by writing on the lines next to the letter. ___________________________________________________________
_ _ _ _ _ _ _ _ _ _ _ _ _ _ _ _ _ _ _ _ _ _ _ _ _ _ _ _
___________________________________________________________
___________________________________________________________
_ _ _ _ _ _ _ _ _ _ _ _ _ _ _ _ _ _ _ _ _ _ _ _ _ _ _ _
___________________________________________________________
___________________________________________________________
_ _ _ _ _ _ _ _ _ _ _ _ _ _ _ _ _ _ _ _ _ _ _ _ _ _ _ _
___________________________________________________________
___________________________________________________________
_ _ _ _ _ _ _ _ _ _ _ _ _ _ _ _ _ _ _ _ _ _ _ _ _ _ _ _
___________________________________________________________
___________________________________________________________
_ _ _ _ _ _ _ _ _ _ _ _ _ _ _ _ _ _ _ _ _ _ _ _ _ _ _ _
___________________________________________________________
___________________________________________________________
_ _ _ _ _ _ _ _ _ _ _ _ _ _ _ _ _ _ _ _ _ _ _ _ _ _ _ _
___________________________________________________________
___________________________________________________________
_ _ _ _ _ _ _ _ _ _ _ _ _ _ _ _ _ _ _ _ _ _ _ _ _ _ _ _
___________________________________________________________
___________________________________________________________
_ _ _ _ _ _ _ _ _ _ _ _ _ _ _ _ _ _ _ _ _ _ _ _ _ _ _ _
___________________________________________________________
z
y
a
o
e
i
u
www.staidenshomeschool.com (c) 2007 Donnette E Davis
77
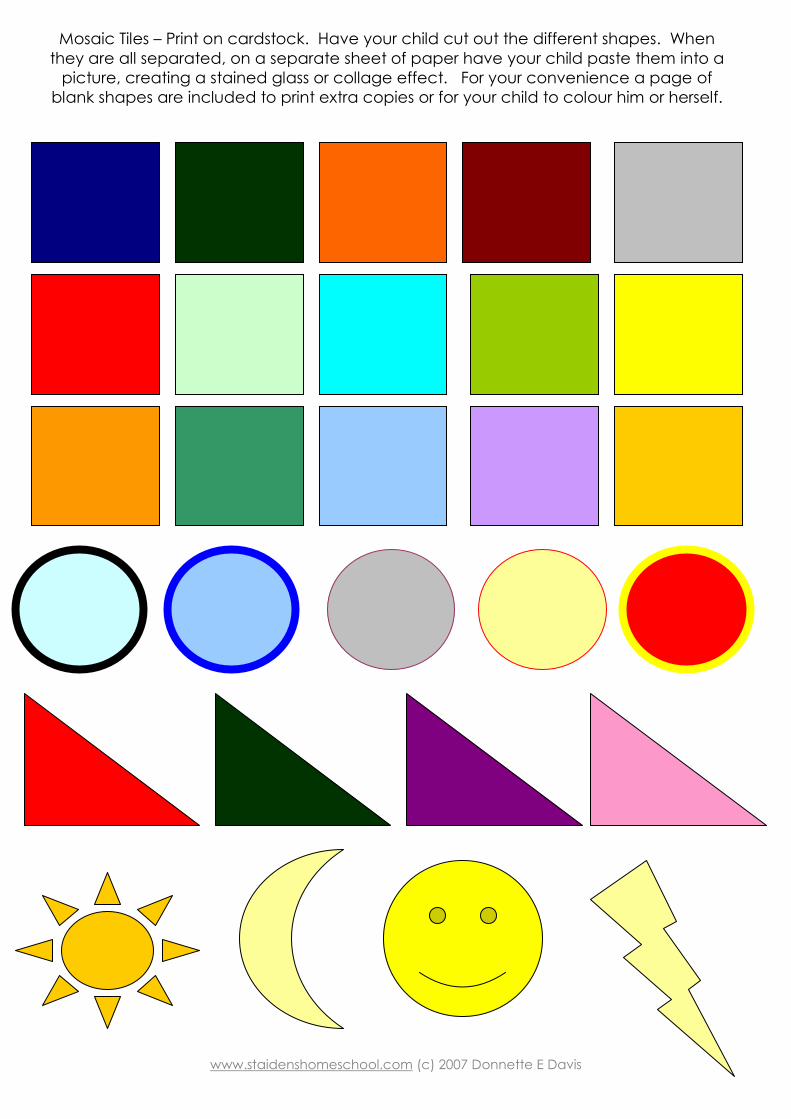
Mosaic Tiles – Print on cardstock. Have your child cut out the different shapes. When they are all separated, on a separate sheet of paper have your child paste them into a picture, creating a stained glass or collage effect. For your convenience a page of blank shapes are included to print extra copies or for your child to colour him or herself.
www.staidenshomeschool.com (c) 2007 Donnette E Davis
78
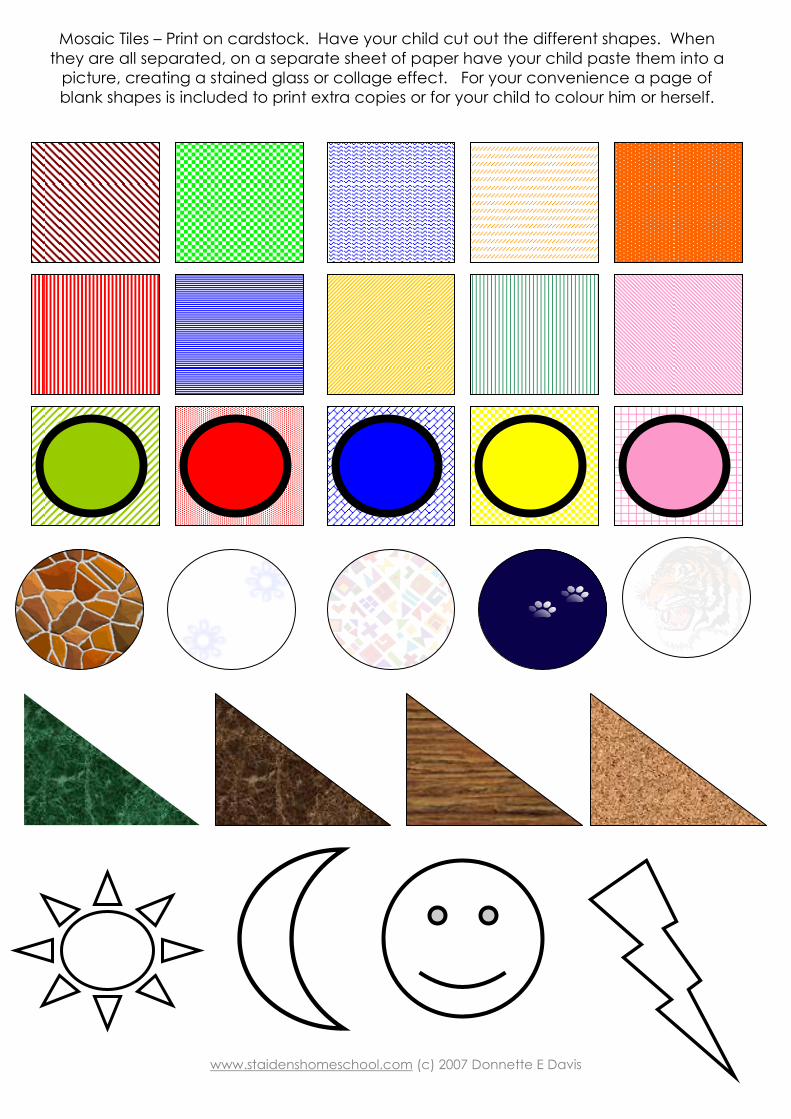
Mosaic Tiles – Print on cardstock. Have your child cut out the different shapes. When they are all separated, on a separate sheet of paper have your child paste them into a picture, creating a stained glass or collage effect. For your convenience a page of blank shapes is included to print extra copies or for your child to colour him or herself.
www.staidenshomeschool.com (c) 2007 Donnette E Davis
79
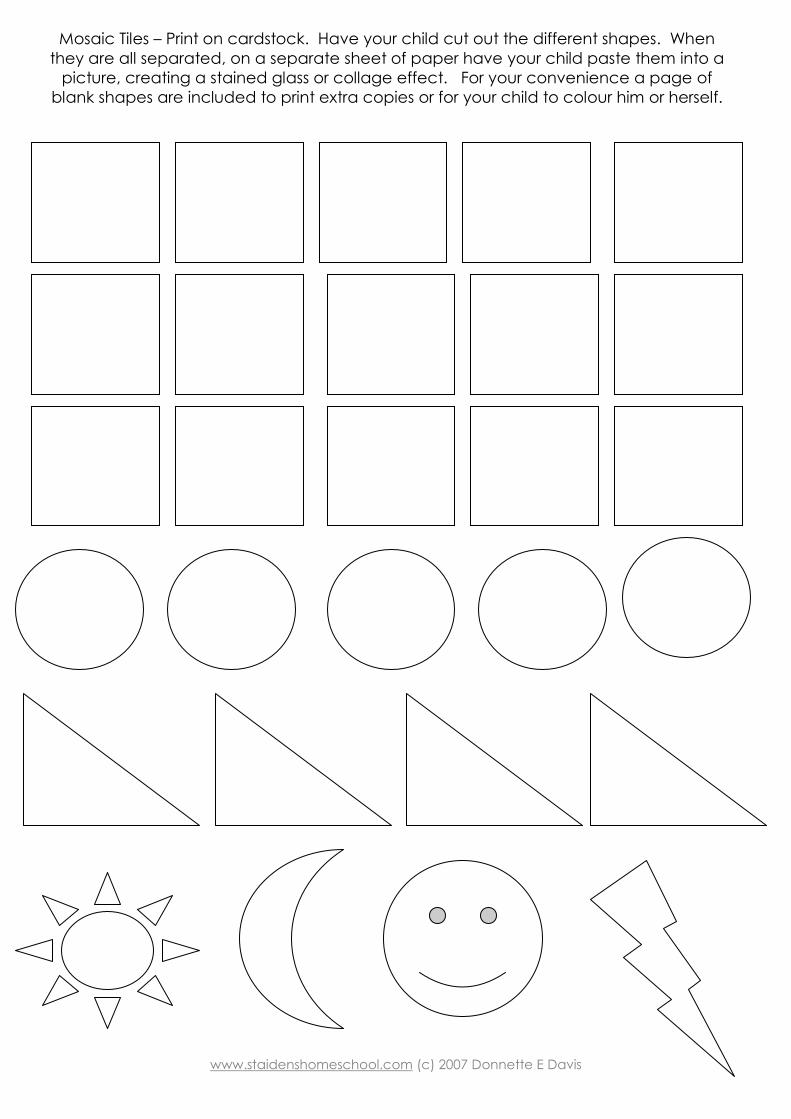
Mosaic Tiles – Print on cardstock. Have your child cut out the different shapes. When they are all separated, on a separate sheet of paper have your child paste them into a picture, creating a stained glass or collage effect. For your convenience a page of blank shapes are included to print extra copies or for your child to colour him or herself.
www.staidenshomeschool.com (c) 2007 Donnette E Davis
80
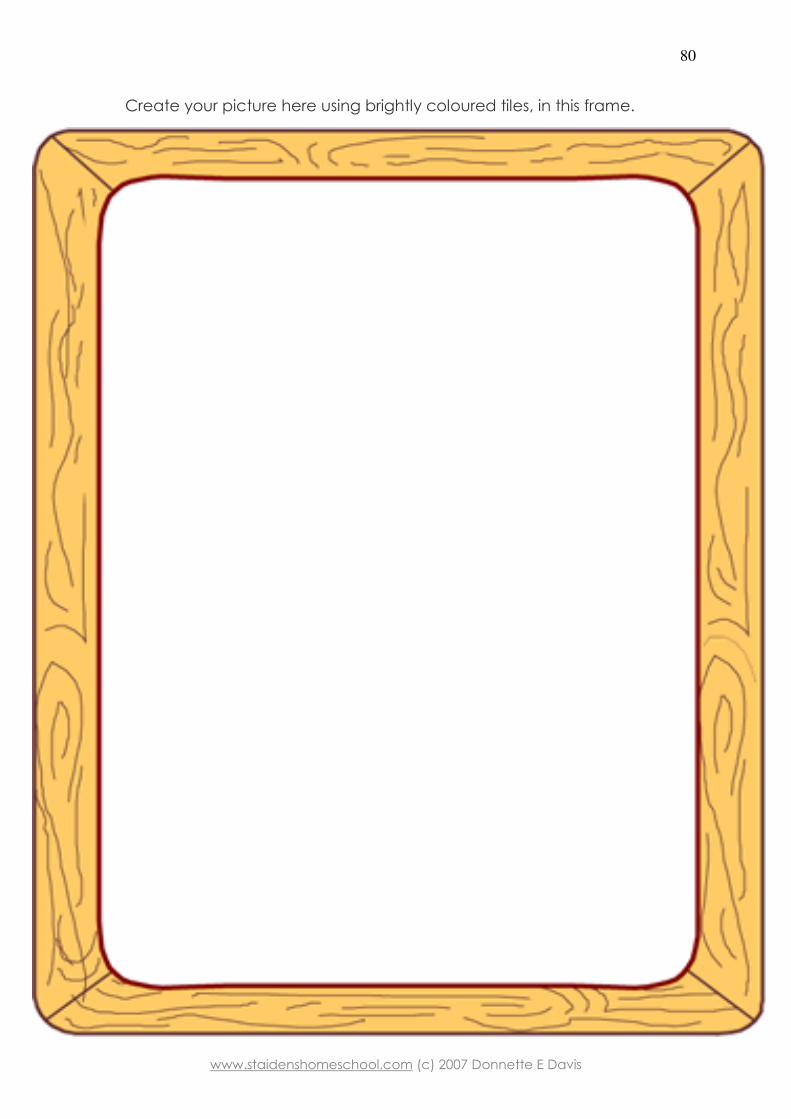
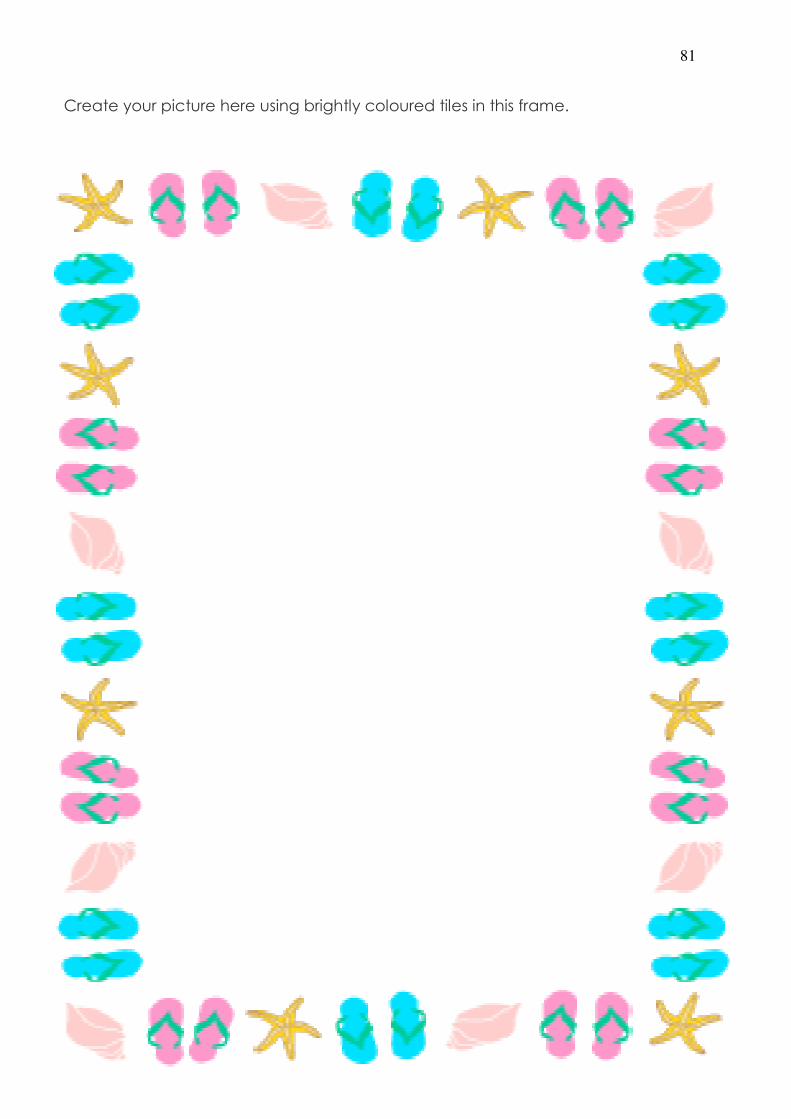
Create your picture here using brightly coloured tiles, in this frame.
www.staidenshomeschool.com (c) 2007 Donnette E Davis
81
Create your picture here using brightly coloured tiles in this frame.
www.staidenshomeschool.com (c) 2007 Donnette E Davis
82
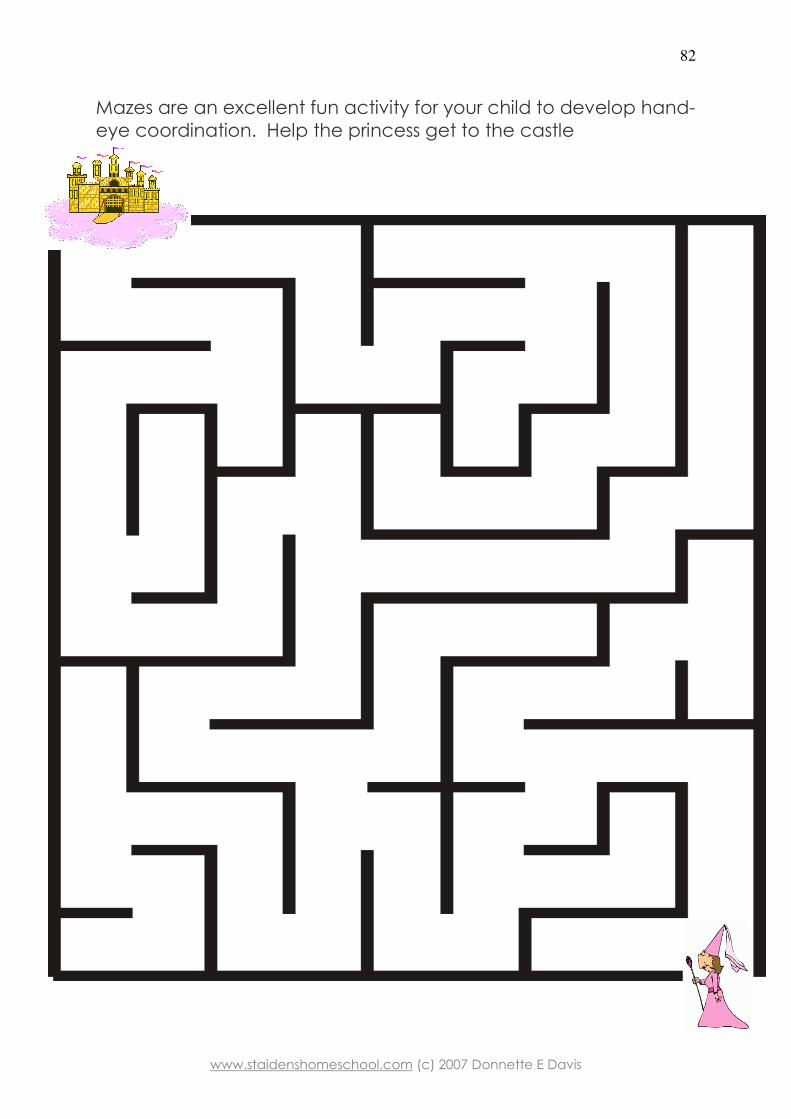
Mazes are an excellent fun activity for your child to develop hand-eye coordination. Help the princess get to the castle
www.staidenshomeschool.com (c) 2007 Donnette E Davis
83
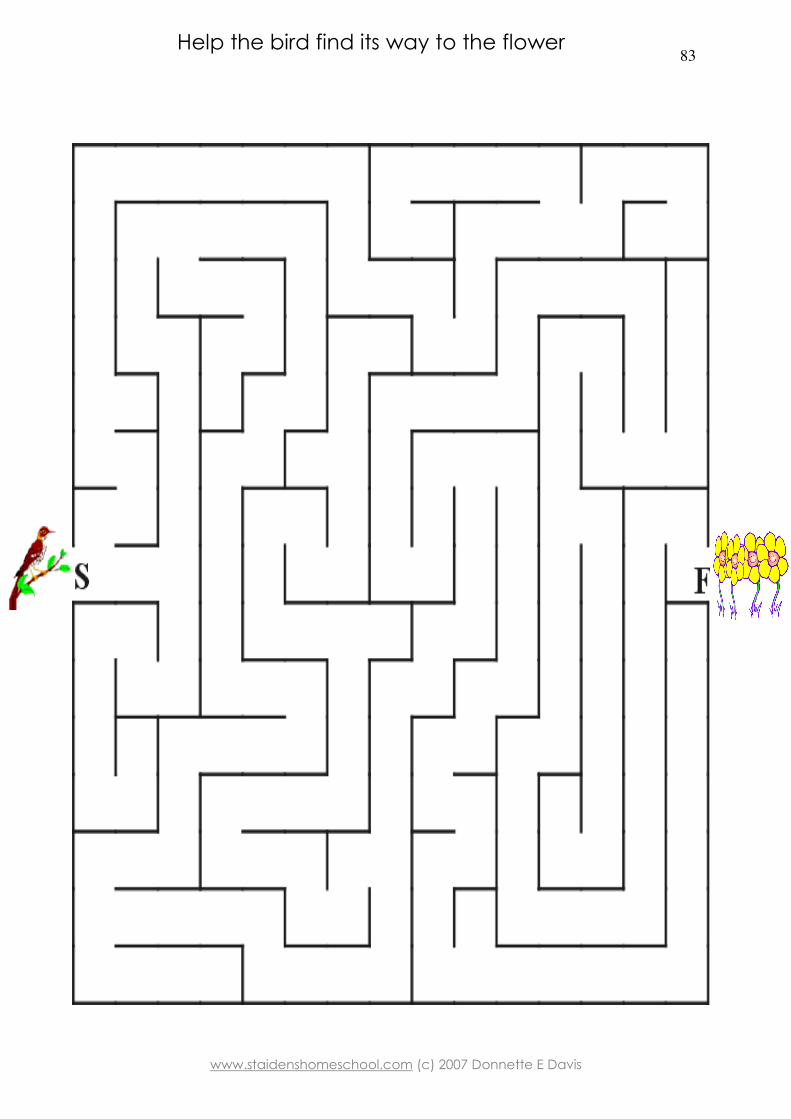
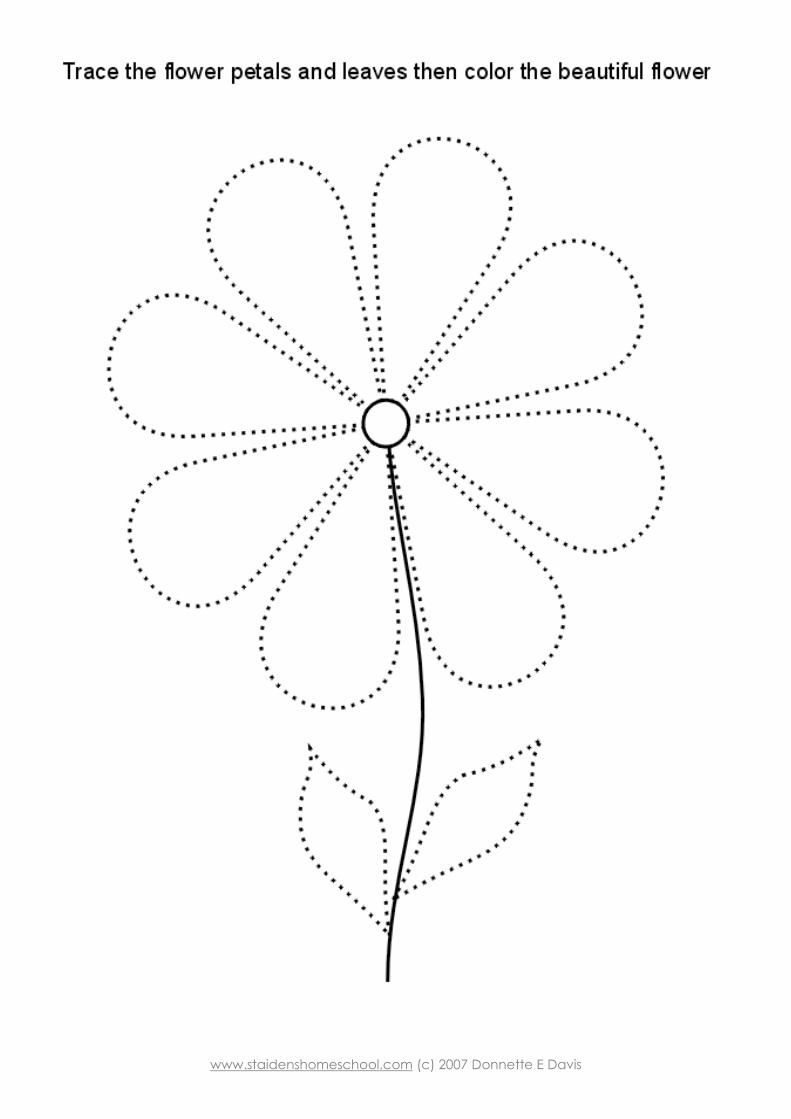
Help the bird find its way to the flower
www.staidenshomeschool.com (c) 2007 Donnette E Davis
84
www.staidenshomeschool.com (c) 2007 Donnette E Davis
85
www.staidenshomeschool.com (c) 2007 Donnette E Davis
86
FINE MOTOR ACTIVITIES & FINGERPLAYS Taco Bell Cups: If you like Taco Bell taco salads like I do, save those little plastic cups that the tomato sauce comes in. They can be used for so many things. For example, children can tear tiny pieces of brown paper and glue them onto the outside of the cups to create "animal dens." They can tear green and red paper for gluing on them to create "holiday ornaments." Or, they can glue tiny squares, circles, or other shapes all over them for reasons known only to them. But what wonderful fine motor practice the activity provides. I remember being told over and over again in school that the more an activity requires children to use the fine muscles of their fingers, the better.
Self-Help Skills Board: Find a child sized pair of pants (thrift store). Cut off the legs so that only the zipper, snap/button & button hole, and belt loops remain. Place a stiff piece of cardboard into the pants to maintain the shape. Children can then practice zipping, snapping, and placing a belt through the loops.
Show children how to chain paper clips together.
Grasp objects with spring-snap clothespins.
Flour & Beans: Provide two large bowls, one empty, and one having a flour and dried beans mixture in it. Children place a sifter into the empty bowl then spoon out some of the flour/bean mixture into it. They sift out the flour, while the beans, of course, won’t go through. When done, they dump the beans back into the flour and start over again.
Silly Putty: Pour one part liquid starch into two parts glue, a little at a time, and mix. Add more starch if needed (if the mixture is sticky). Cover and refrigerate it overnight. This stuff feels great!
Tweezers Fun:
1. With tweezers, children pick up paper clips (coloured ones

www.staidenshomeschool.com (c) 2007 Donnette E Davis
87
make it more interesting) from a bowl, one at a time, and place one in each compartment of a 12-cup muffin pan. They then place the clips back into the bowl, again one at a time, using the tweezers.
2. Purchase a small bag of tiny craft items in lots of colours (tiny beads, pom-poms, buttons, etc) from a thrift shop. Place them all in a bowl with a pair of tweezers. Children use the tweezers to transport each tiny item individually to another bowl. This is such great exercise for those small finger muscles.
Pre-Math Extension: Provide enough bowls so that children can sort the items (beads in one bowl, pom-poms in another, and so on). Children can also sort the items by colour.
Quick Puzzles: Have children bring a cardboard product box from home that features a picture on the front that they like (cereal box, cat food box, cookie box, etc). Cut the front from it then cut it into pieces to form a puzzle. Children can take their puzzles home.
www.staidenshomeschool.com (c) 2007 Donnette E Davis
88
FUN RECIPES
PLAYDOH NOTES/TIPS/RECIPES
1 cup Flour 1 cup Water
1 Tablespoon Cream of Tartar 1 Tablespoon Oil 1/2 cup Salt
Food Colouring (colour of the month) Mix all ingredients and cook over med-low heat; Cool;
Knead. Store in a sealed container or bag. Playdoh Toys: Plastic or small metal knives, metal forks and spoons; craft sticks make good cutting tools, pairs of children's scissors, plastic straws, cookie cutters (of course), hand-held potato mashers, smaller tubular blocks from sets of wooden blocks make great rolling pins.
Microwave Play Dough
3 cups plain flour 1/2 cup salt
6 teaspoons cream of tartar 3 tablespoons oil 3 cups water food colouring
Mix all the ingredients in a microwave dish. Cover and microwave on high for about 7 minutes, stirring half way through. If it is still too moist, just put it back in the microwave for another minute or so. Knead when cool.
www.staidenshomeschool.com (c) 2007 Donnette E Davis
89
Salt Dough
600 grams plain flour 600 grams salt (600 grams = about 2 2/3 cups)
2 tablespoons oil approx. 450 ml water (450 ml = about 2 cups)
food colouring
Mix the flour, salt, oil, and food colouring, and add the water a little at a time. Knead thoroughly. The children can create
anything they like with this dough -- their creations can either air dry or be baked in a moderately hot oven.
www.staidenshomeschool.com (c) 2007 Donnette E Davis
90
FINGERPLAYS
OPEN, SHUT THEM
Open, shut them, open, shut them; Give your hands a clap Open, shut them, open, shut them; Lay them in your lap Creep them, crawl them, creep them, crawl them right up to your chin Open up your little mouth, but do not let them in. This is one of those fingerplays that children love just as much on the last day of school as they do the first day. It's very much a fingerplay in the greatest sense of the word as you do the motions using your hands and fingers (getting those little fingers ready for later writing). After the children learn the words, say the words in these ways while doing the motions: Say the words very slowly, say them quickly, whisper them, mouth them making no sounds, "think" the words, now think the words with your eyes closed (children love this one), now think the words quickly with your eyes closed, and the list can go on forever. Remember, go through the motions of the fingerplay with each way you say the words. It's just the greatest! Oh, and hey, try this: Do the rhyme standing up--what happened to our "lap?"
www.staidenshomeschool.com (c) 2007 Donnette E Davis
91
LETTER & NUMBER ACTIVITIES
Word Matching: Begin collecting household product boxes (two of each). Cut the labels from each box (Tide, Crest, Cat Chow, Cheerios, etc), and try to cut them as near the same size as possible (but you can't always). Mix all the labels together then have children match the two words that are the same. Because box labels usually have background colours, this is a good activity for children even younger than four as they will probably match the colours, but they are still being exposed to "words."
Child Stars:
1. Cut a huge star from posterboard and add glitter to its edges. Each time you do a new alphabet letter, post that letter in the middle of the star, then place pictures of the children whose names begin with that letter around the star. Print their names under their pictures, highlighting the first letter. 2. Make crowns for children to wear whose names begin with the letter you're learning about. Print that first letter in a different color and highlight it in some way.
Sorting Letters:
Make two sets of D'Nealian letters on small posterboard squares or index cards. Let children sort various types of letters at various times throughout the school year.
For example: 1. Sort upper-case letters that have lines in them (A, B, D, E, F, H, etc) 2. On another day, week, or month, sort lower-case letters that have lines in them (b, h, k, etc) 3. Another time, sort d's and b's, or a's and e's, or i's and j's, etc 4. Another time, sort upper-case letters "with tummies" (B, P, etc). Then, sort lower-case ones. 5. And so on!

www.staidenshomeschool.com (c) 2007 Donnette E Davis
92
Teaching Letters:
1. Provide a sign-up sheet for parents to bring a snack beginning with the letter of the week (you might even make suggestions). 2. For Show-N-Tell, have children bring in a toy or other item beginning with the letter of the week. 3. Have children bring in magazine pictures of items beginning with "our letter." They place the pictures in shoe boxes (with lids) that have the letter printed on the outside. Once we've focused on the letter, the box is left in the Language Centre. By the time you get to "Z," you will have 26 boxes with magazine pictures in them. By way of review days and as a culminating activity, children can look at all the pictures, name them (focusing on beginning sounds), then glue them on murals. You might like to print the words under the items. (If 26 shoeboxes are hard to get, use large manilla envelopes.)
www.staidenshomeschool.com (c) 2007 Donnette E Davis
93
NUMBER & COLOUR ACTIVITIES
Stickers Matching Game: Next time you're at a thrift store, search for a set of poker chips or checkers. Buy two sets of matching stickers. Place a sticker on each chip/checker. These are so much fun to match because children can easily slide them around on a table top when finding matches or mixing them. Variation: Save the tops from various plastic milk and juice containers to use for this which are also flat and can be moved around easily.
Circles: Paper Plate & Bowl Art: Give each child a large butcher paper circle and 3-5 small white paper plates and/or bowls. After decorating their plates and bowls, children then glue them onto their butcher paper rounds.
Circles: Snack: Bananas & Cereal Faces: Give each child a brightly colored paper plate then have them create faces on the plates from banana rounds and large-holed round colored cereals. On a budget (and who isn't?), use plain white paper plates. Variation: Children create faces on toast rounds.
All Purpose Shapes: One of the most often used teaching tool I have are "My All Purpose Shapes." Cut shapes from various colours of posterboard and in several sizes then laminated them. These can be used endlessly in a preschool classroom: sorting, matching, at group time, in the math center, individually, with fingerplays, with stories, etc. Until you make yourself a set, you won't appreciate just how often you'll use them.
Squares/Rectangles: Save lots and lots of boxes -- especially tissue boxes. They can be used for so many things, but they are especially great for children to see the differences between squares and rectangles since so many boxes have both shapes on them. Activities might include allowing children to figure out ways of stacking the boxes. For example, can you stack all the boxes so that just the squares face forward? How about upward? Now, stack them with all the rectangles facing forward (or upward). Or, children can decorate all the square sides of a box one way and all the rectangle sides another way.
www.staidenshomeschool.com (c) 2007 Donnette E Davis
94
Fine Motor: Shape Lacing:
Cut shapes from thick cardboard. Punch holes all the way around the edges of the shapes. Laminate them. Children can now lace the cards (similar to sewing cards). Make sure you punch the holes in far enough from the edges so that after they have been laced a few times, the lacing holes won't begin to tear. One thing I've done that I think helps to prevent this is to place colourful reinforcements around the hole punches before laminating the shapes.
Two Games In One: Textured Shapes:
Cut out several posterboard shapes in 3-5 different sizes. Glue cotton, rope, or some other "textured" material just around the edges of them -- following the outline of the shape. Then, when children "sort" the shapes by size, they can also "feel" the shape To decrease the difficulty: Cut out shapes that are all the same size.
www.staidenshomeschool.com (c) 2007 Donnette E Davis
95
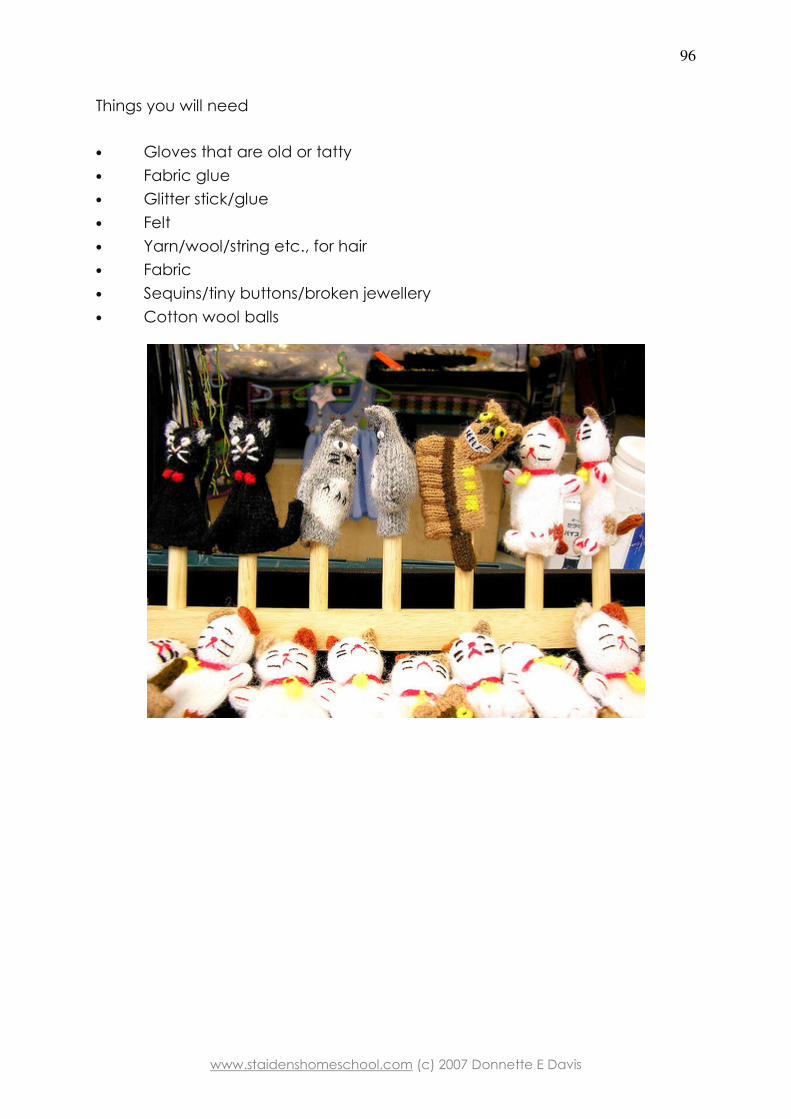
Finger Puppets
Great use for unwanted garden or household gloves *Adult supervision required
1. Assemble the materials.
2. Cut the fingers off the old gloves. Discard any fingers that have a hole in the top unless you are creating a "bald" puppet (your fingertip will be the bald patch).
3. Edge the base of the fingers to prevent unravelling. A simple hand-sewn stitch is fine. Glue works just as well if you can't or don't want to sew; just turn up the base a little and glue it.
• Decorate the puppets:
• Use felt for eyes (cut small eye shapes, or circles) or purchase stick-on eyes from a shop. Glue on a nose made from felt, sequins, tiny buttons etc.
• Create a mouth. Glitter sticks are great for this, or again cut a felt smile and glue on.
• Add the hair. Use yarn, wool, string for hair. It can be loose, tied into ponytails, braided, left long or short. Add a beard to one or two with cotton wool pieces. Glue or sew hair and beard on.
• Dress the puppets. Use fabric, glue or stitching and your imagination. Add bow ties, scarves, jewels, buttons etc.
Tips
• An easy finger puppet theatre can be made from a shoebox or a cereal box. If you stand the box on its end and cut out a small window at the top of the box, this will become the puppet's stage. Make sure that your arm can fit up into the box. Decorate the box with curtains and "lights". Lace, buttons and fabric are ideal things to glue onto your theatre.
Warning:
• Don't cut up new gloves or someone else's gloves without permission.
www.staidenshomeschool.com (c) 2007 Donnette E Davis
96
Things you will need
• Gloves that are old or tatty
• Fabric glue
• Glitter stick/glue
• Felt
• Yarn/wool/string etc., for hair
• Fabric
• Sequins/tiny buttons/broken jewellery
• Cotton wool balls
www.staidenshomeschool.com (c) 2007 Donnette E Davis
97
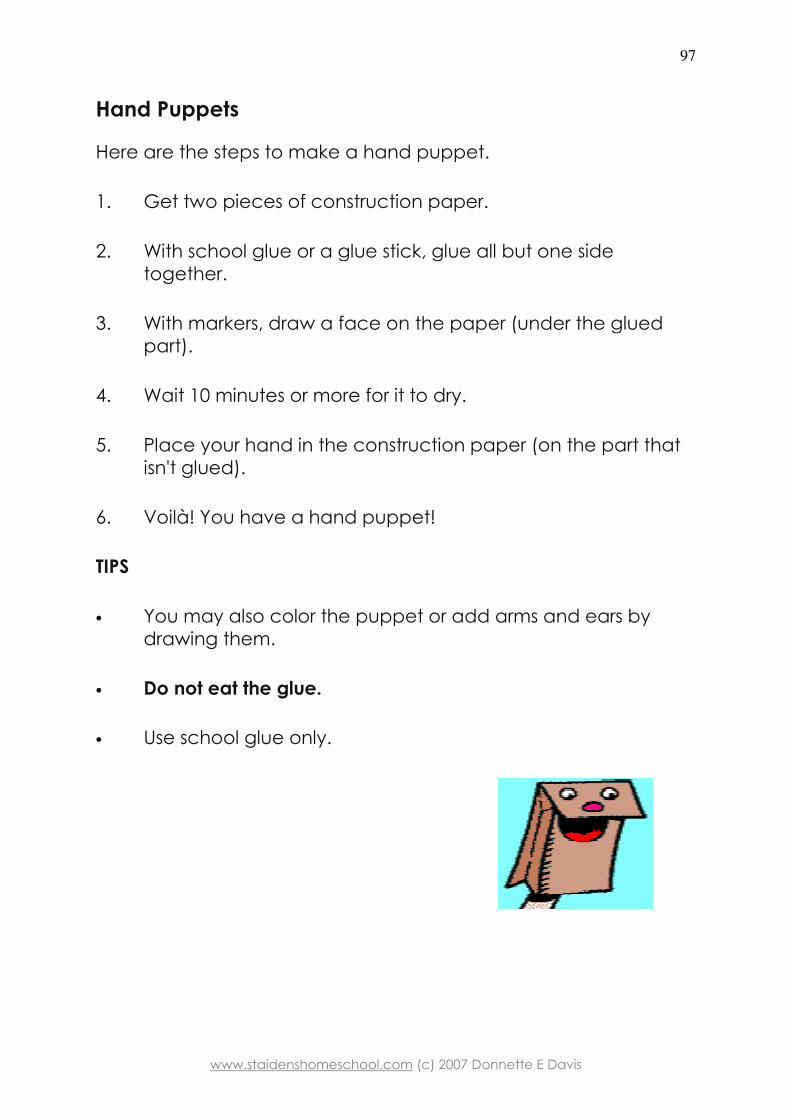
Hand Puppets
Here are the steps to make a hand puppet.
1. Get two pieces of construction paper.
2. With school glue or a glue stick, glue all but one side together.
3. With markers, draw a face on the paper (under the glued part).
4. Wait 10 minutes or more for it to dry.
5. Place your hand in the construction paper (on the part that isn't glued).
6. Voilà! You have a hand puppet!
TIPS
• You may also color the puppet or add arms and ears by drawing them.
• Do not eat the glue.
• Use school glue only.
www.staidenshomeschool.com (c) 2007 Donnette E Davis
98
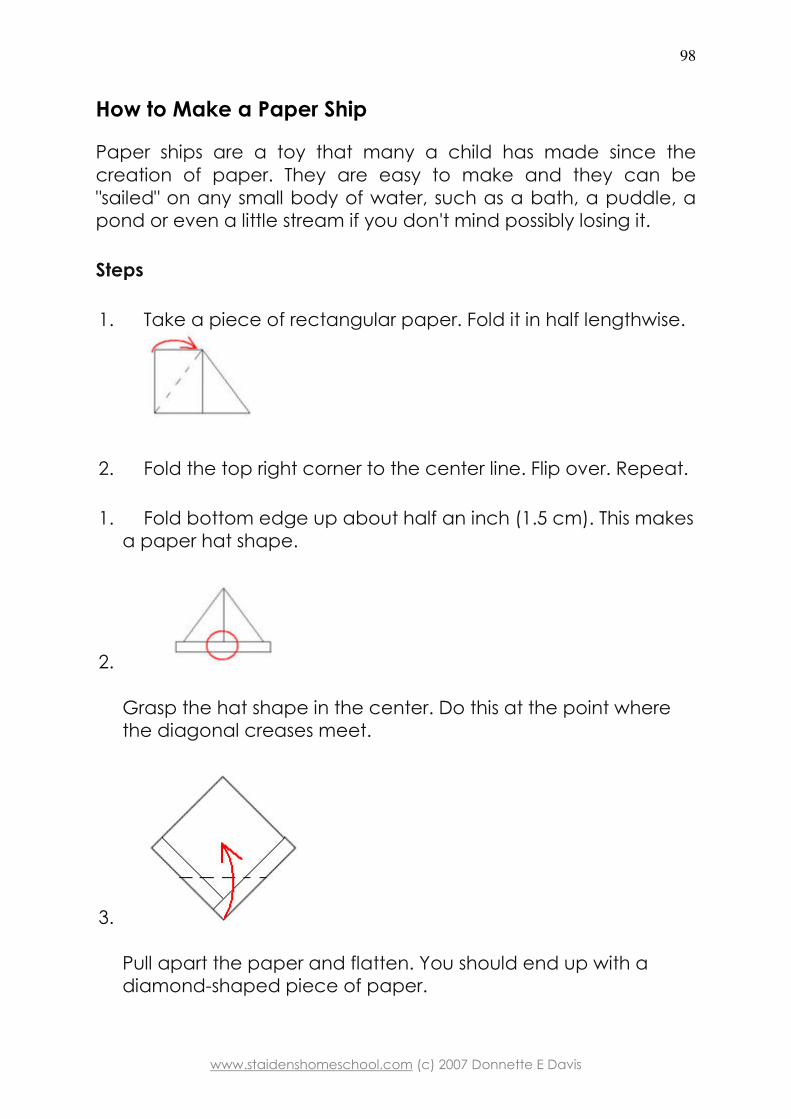
How to Make a Paper Ship
Paper ships are a toy that many a child has made since the creation of paper. They are easy to make and they can be "sailed" on any small body of water, such as a bath, a puddle, a pond or even a little stream if you don't mind possibly losing it.
Steps
1. Take a piece of rectangular paper. Fold it in half lengthwise.
2. Fold the top right corner to the center line. Flip over. Repeat.
1. Fold bottom edge up about half an inch (1.5 cm). This makes a paper hat shape.
2.
Grasp the hat shape in the center. Do this at the point where the diagonal creases meet.
3.
Pull apart the paper and flatten. You should end up with a diamond-shaped piece of paper.
www.staidenshomeschool.com (c) 2007 Donnette E Davis
99
4.
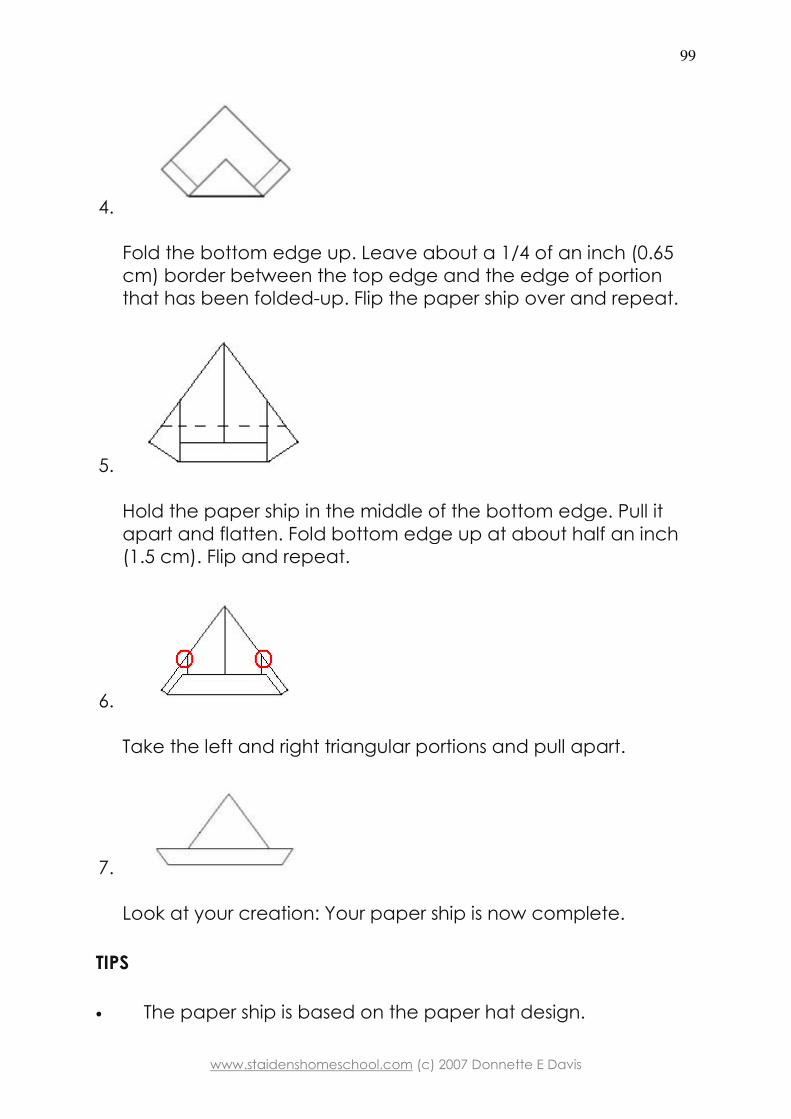
Fold the bottom edge up. Leave about a 1/4 of an inch (0.65 cm) border between the top edge and the edge of portion that has been folded-up. Flip the paper ship over and repeat.
5.
Hold the paper ship in the middle of the bottom edge. Pull it apart and flatten. Fold bottom edge up at about half an inch (1.5 cm). Flip and repeat.
6.
Take the left and right triangular portions and pull apart.
7.
Look at your creation: Your paper ship is now complete.
TIPS
• The paper ship is based on the paper hat design.
www.staidenshomeschool.com (c) 2007 Donnette E Davis
100
• It is recommended that you use a rectangular sheet of paper rather than a square one.
• Lighter paper tends to work better than heavier paper such as construction paper. Newspaper is excellent.
• If you use looseleaf paper (paper used for essays etc. at school), make sure the binder holes do not end up somewhere where water will get in. If that is the case, tape the holes up.
WARNINGS
• Do not litter. If you play with paper ships in running outdoor water, collect your ship back after playing with them.
• Be careful when playing near water. Do not play with your ships in deep water, fast-running water or dirty water.
THINGS YOU’LL NEED
• Piece of newspaper or other piece of scrap paper. Notebook size is excellent.
www.staidenshomeschool.com (c) 2007 Donnette E Davis
101
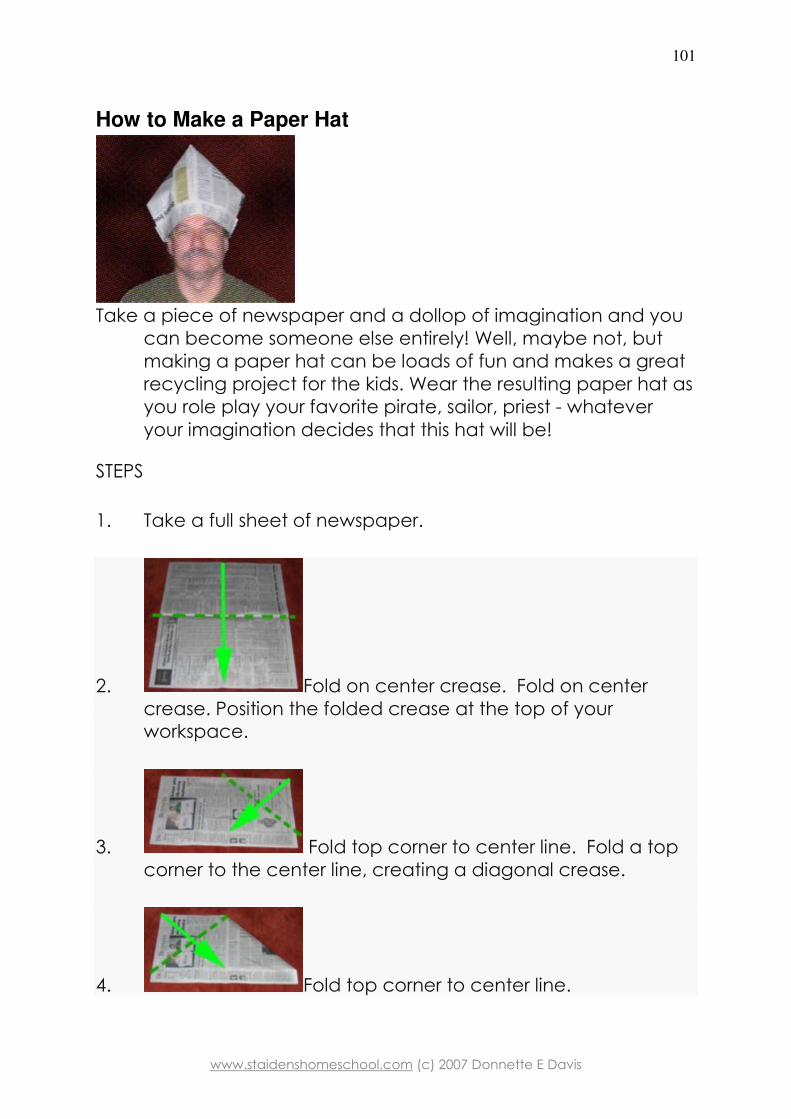
How to Make a Paper Hat
Take a piece of newspaper and a dollop of imagination and you can become someone else entirely! Well, maybe not, but making a paper hat can be loads of fun and makes a great recycling project for the kids. Wear the resulting paper hat as you role play your favorite pirate, sailor, priest - whatever your imagination decides that this hat will be!
STEPS
1. Take a full sheet of newspaper.
2. Fold on center crease. Fold on center crease. Position the folded crease at the top of your workspace.
3. Fold top corner to center line. Fold a top corner to the center line, creating a diagonal crease.
4. Fold top corner to center line.
www.staidenshomeschool.com (c) 2007 Donnette E Davis
102
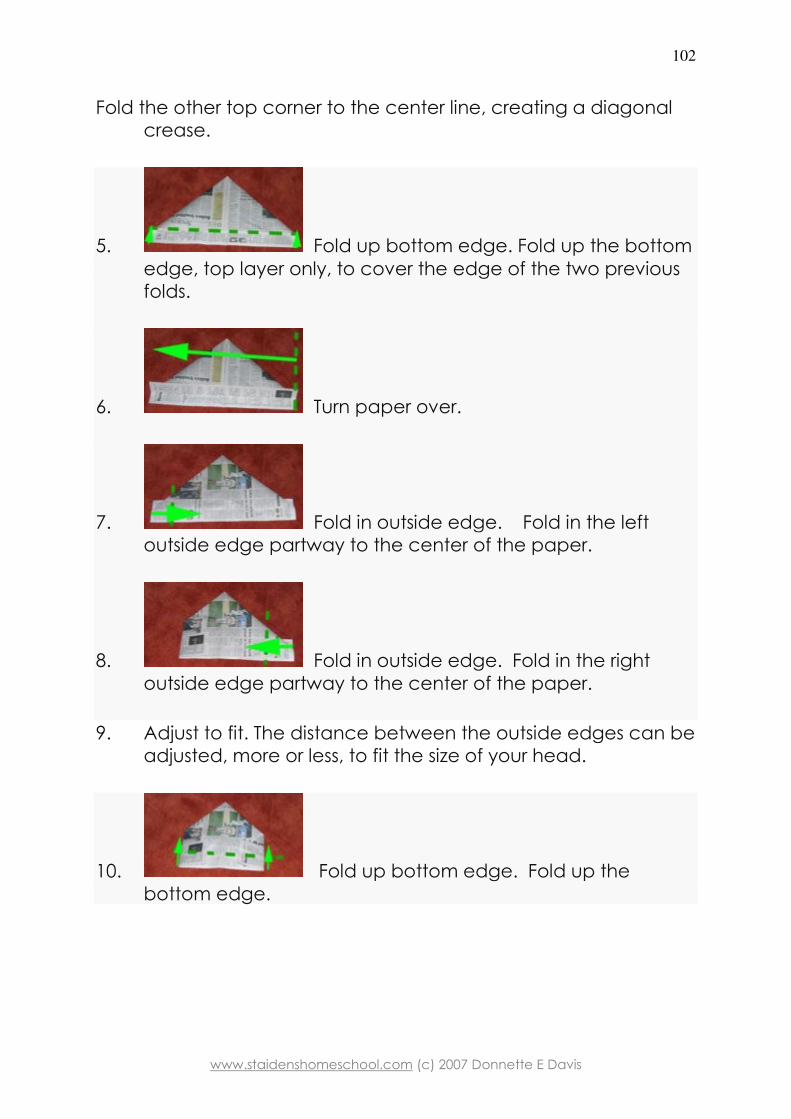
Fold the other top corner to the center line, creating a diagonal crease.
5. Fold up bottom edge. Fold up the bottom edge, top layer only, to cover the edge of the two previous folds.
6. Turn paper over.
7. Fold in outside edge. Fold in the left outside edge partway to the center of the paper.
8. Fold in outside edge. Fold in the right outside edge partway to the center of the paper.
9. Adjust to fit. The distance between the outside edges can be adjusted, more or less, to fit the size of your head.
10. Fold up bottom edge. Fold up the bottom edge.
www.staidenshomeschool.com (c) 2007 Donnette E Davis
103
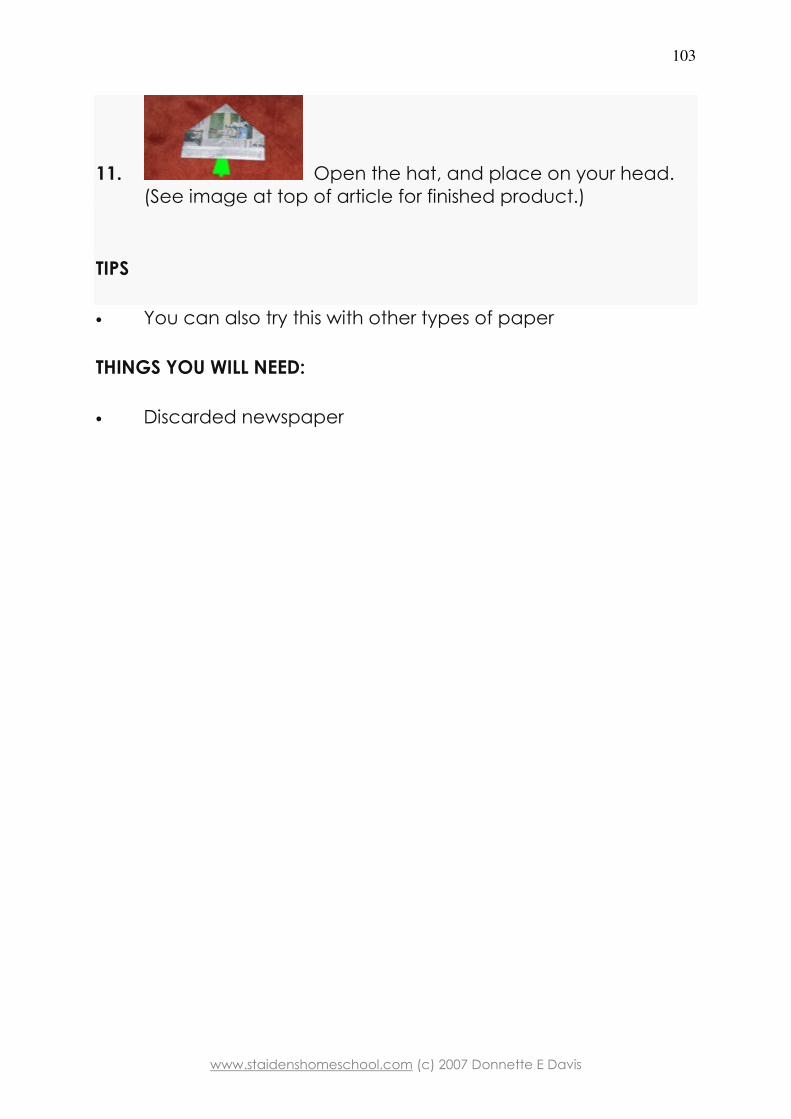
11. Open the hat, and place on your head. (See image at top of article for finished product.)
TIPS
• You can also try this with other types of paper
THINGS YOU WILL NEED:
• Discarded newspaper
www.staidenshomeschool.com (c) 2007 Donnette E Davis
104
How to Make a Paper Snake
Try making a decorative paper snake to hang in your room. This easy craft uses simple items - a paper plate, coloring tools and any other crafty bits you might have lying about. Make as many paper snakes as you want - a group of decorated and colourful snakes looks great hanging together in a classroom or your child’s bedroom.
THINGS YOU WILL NEED
• Paper plates
• Colouring materials
o Crayons
o Markers
o Paint
o Coloured Pencils
o Glitter, etc.
• Something to punch a hole, like scissors, a hole puncher, a pencil, etc.
• Long pieces of string
• Thumb tacks
• Scissors
STEPS
1. Cut off the raised edge of a paper plate.
2. Draw a spiral on the plate. Make the spiral about 3/4 of an inch thick.
3. Decorate with the markers, crayons, colored pencils, etc. Decorate both sides of the spiral.
www.staidenshomeschool.com (c) 2007 Donnette E Davis
105
4. Draw eyes, nose, and mouth in the very centre tip of the spiral.
5. Carefully cut out the spiral shape.
6. Punch a hole right through the eyes.
7. Tie a long string through the holes and hang using a thumb tack, from the ceiling anywhere in the house.
TIPS
• Make the string long enough to see without straining but short enough so that nobody's tempted to try and pull it down.
WARNINGS
• Be careful with the scissors. A responsible person should cut out the snake spiral for very young children to decorate.
www.staidenshomeschool.com (c) 2007 Donnette E Davis
106
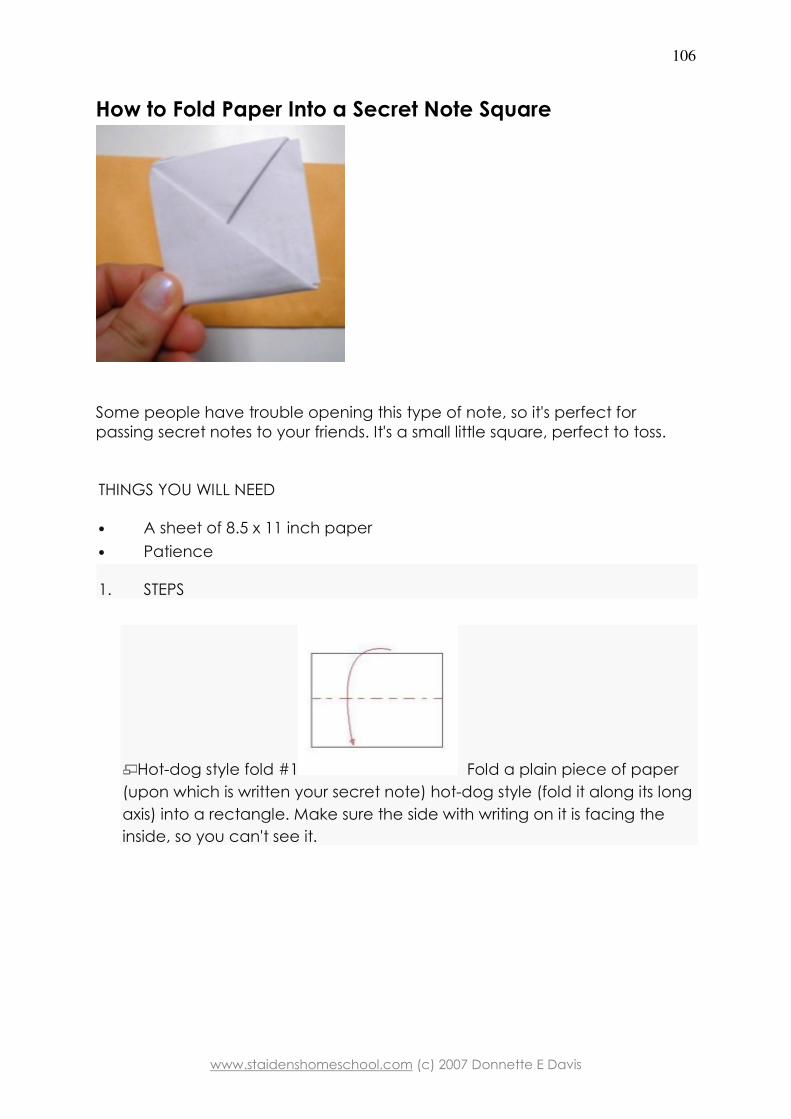
How to Fold Paper Into a Secret Note Square
Some people have trouble opening this type of note, so it's perfect for passing secret notes to your friends. It's a small little square, perfect to toss.
THINGS YOU WILL NEED
• A sheet of 8.5 x 11 inch paper
• Patience
1. STEPS
Hot-dog style fold #1 Fold a plain piece of paper
(upon which is written your secret note) hot-dog style (fold it along its long
axis) into a rectangle. Make sure the side with writing on it is facing the
inside, so you can't see it.
www.staidenshomeschool.com (c) 2007 Donnette E Davis
107
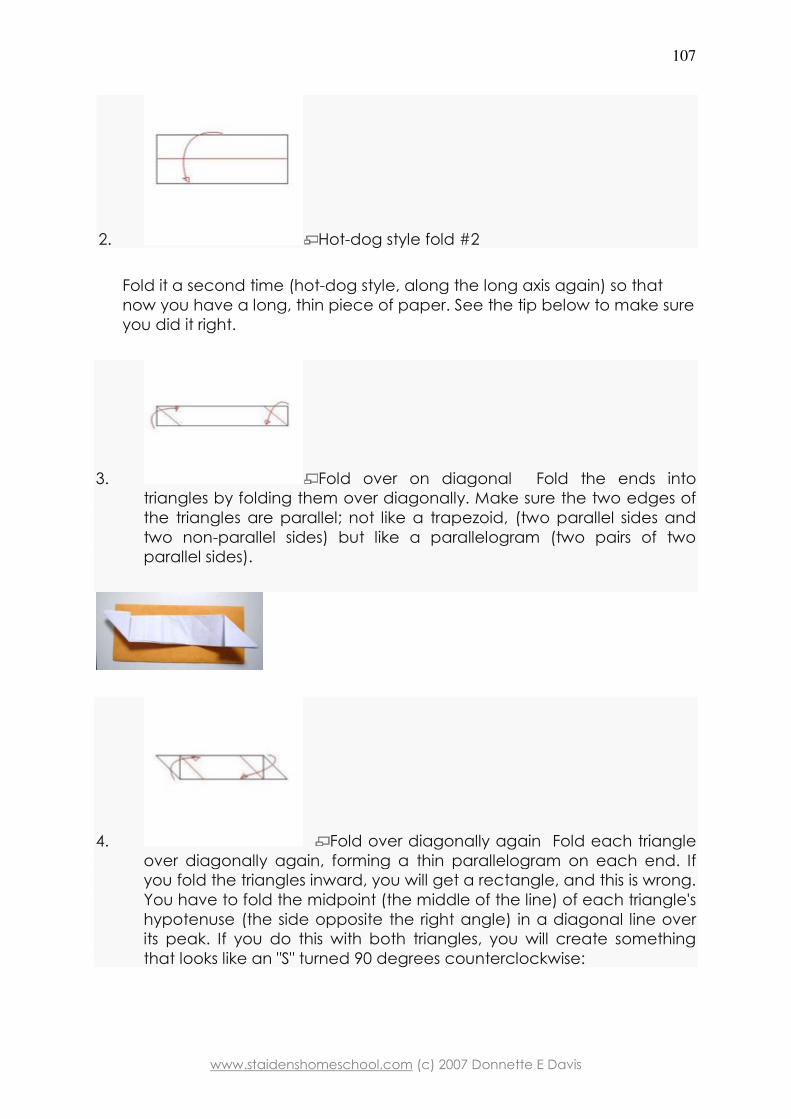
2. Hot-dog style fold #2
Fold it a second time (hot-dog style, along the long axis again) so that now you have a long, thin piece of paper. See the tip below to make sure you did it right.
3. Fold over on diagonal Fold the ends into triangles by folding them over diagonally. Make sure the two edges of the triangles are parallel; not like a trapezoid, (two parallel sides and two non-parallel sides) but like a parallelogram (two pairs of two parallel sides).
4. Fold over diagonally again Fold each triangle over diagonally again, forming a thin parallelogram on each end. If you fold the triangles inward, you will get a rectangle, and this is wrong. You have to fold the midpoint (the middle of the line) of each triangle's hypotenuse (the side opposite the right angle) in a diagonal line over its peak. If you do this with both triangles, you will create something that looks like an "S" turned 90 degrees counterclockwise:
www.staidenshomeschool.com (c) 2007 Donnette E Davis
108
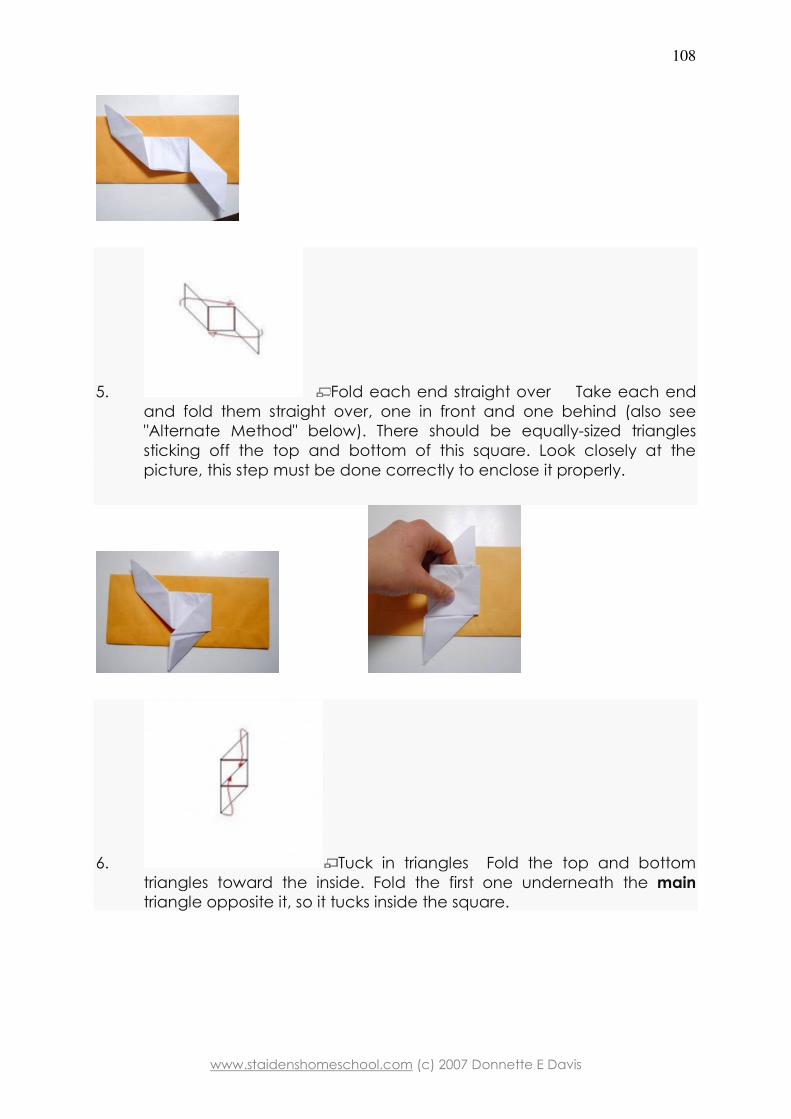
5. Fold each end straight over Take each end and fold them straight over, one in front and one behind (also see "Alternate Method" below). There should be equally-sized triangles sticking off the top and bottom of this square. Look closely at the picture, this step must be done correctly to enclose it properly.
6. Tuck in triangles Fold the top and bottom triangles toward the inside. Fold the first one underneath the main triangle opposite it, so it tucks inside the square.
www.staidenshomeschool.com (c) 2007 Donnette E Davis
109
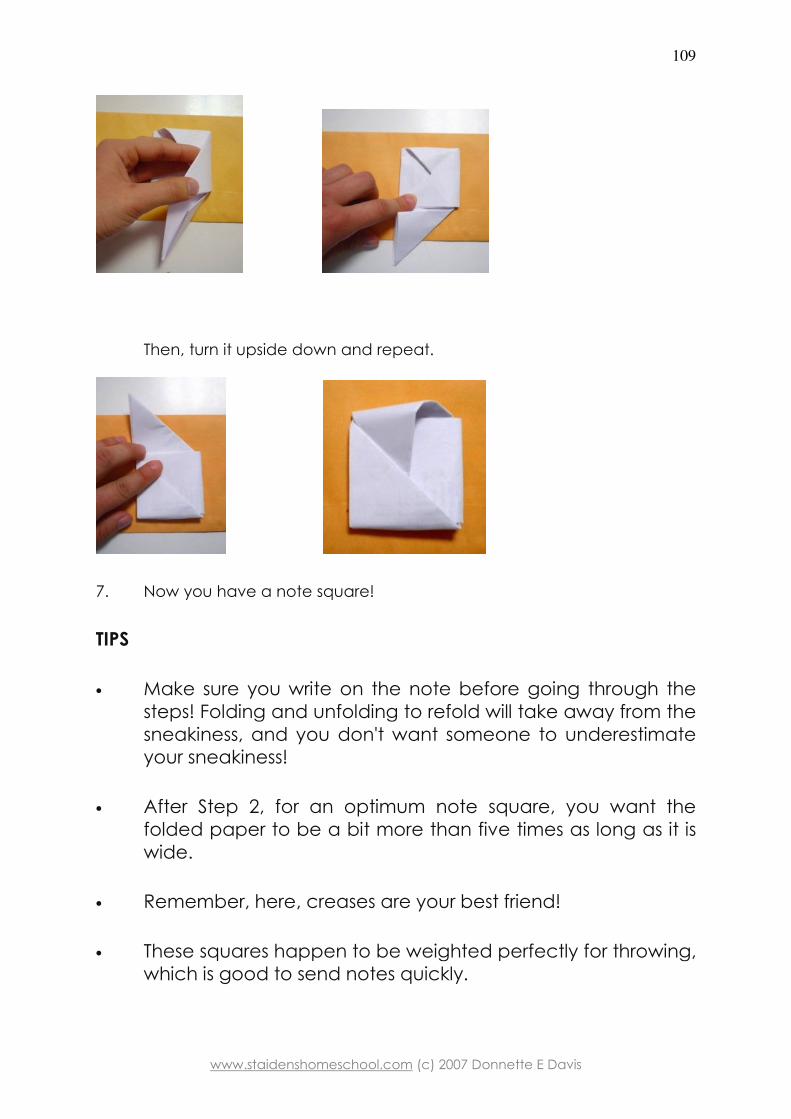
Then, turn it upside down and repeat.
7. Now you have a note square!
TIPS
• Make sure you write on the note before going through the steps! Folding and unfolding to refold will take away from the sneakiness, and you don't want someone to underestimate your sneakiness!
• After Step 2, for an optimum note square, you want the folded paper to be a bit more than five times as long as it is wide.
• Remember, here, creases are your best friend!
• These squares happen to be weighted perfectly for throwing, which is good to send notes quickly.
www.staidenshomeschool.com (c) 2007 Donnette E Davis
110
• Alternate method: after step 5, fold over triangles to same side and tuck into same side. This will yield a pinwheel design and have a flat face on the back for the name of the recipient, etc. Also, under this flat face is a slot allowing you put a string or belt through the note.
• When working with a custom sized piece of paper, it is easier to fold one end to the centre before folding the other end. In this way you can adjust how you fold the other side easily so that you end up with a square.
• To send a harder to decipher message, fold a square without a message in it. Then write the message across the flaps of the final square. Finally, unfold the square and refold it in the other direction. Be warned, this will only stop the most cursory of inspections.
• when you do the alternate method, on the back (side without pinwheel)on the end without the fold there is a little spot to put something small in if you hold out the second opening (maybe to put in another smaller note!!!)
WARNINGS
• These instructions were designed for 8.5 x 11 inch paper commonly used in North America. To make it work with the A4 paper which is used in Southern Africa, you should trim the paper 3 centimetres. If you don't cut the A4 sheet, after step 5 you will have a rectangle instead of a square. Fold a little concertina in the middle of this to form a square.
• Be careful when passing notes in a classroom, some teachers get really upset about it and you might get in trouble!
www.staidenshomeschool.com (c) 2007 Donnette E Davis
111
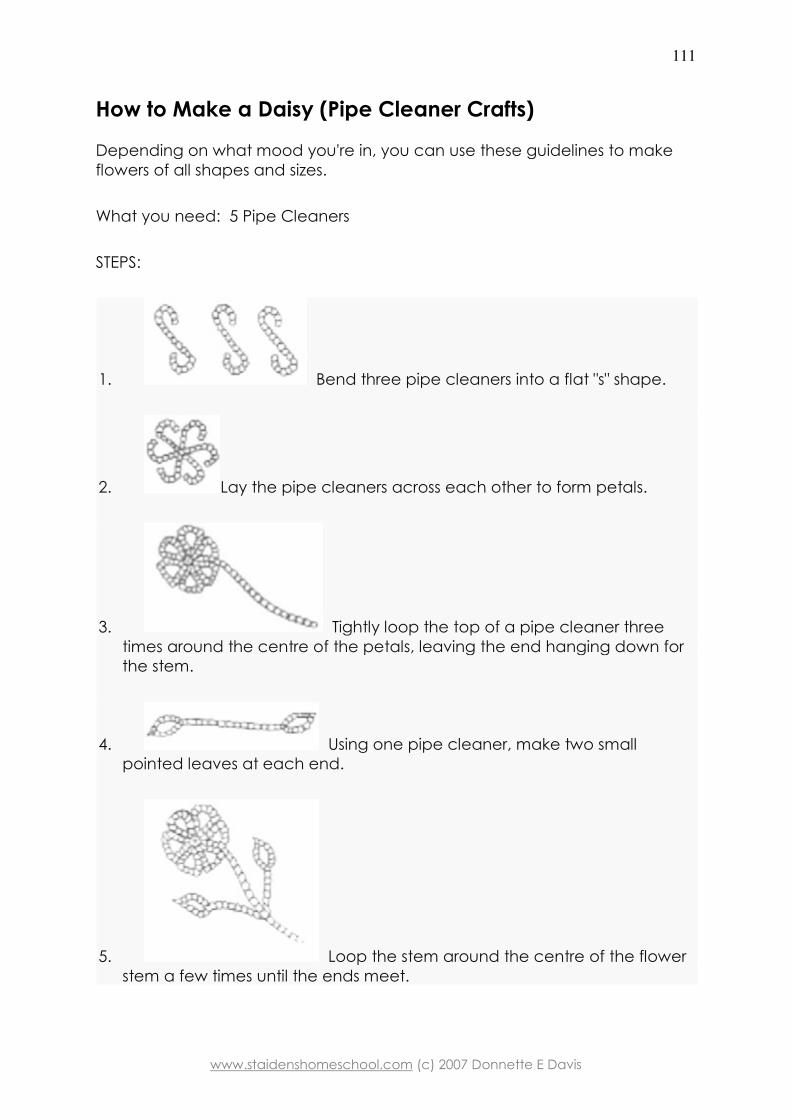
How to Make a Daisy (Pipe Cleaner Crafts)
Depending on what mood you're in, you can use these guidelines to make flowers of all shapes and sizes.
What you need: 5 Pipe Cleaners
STEPS:
1. Bend three pipe cleaners into a flat "s" shape.
2. Lay the pipe cleaners across each other to form petals.
3. Tightly loop the top of a pipe cleaner three times around the centre of the petals, leaving the end hanging down for the stem.
4. Using one pipe cleaner, make two small pointed leaves at each end.
5. Loop the stem around the centre of the flower stem a few times until the ends meet.
www.staidenshomeschool.com (c) 2007 Donnette E Davis
112
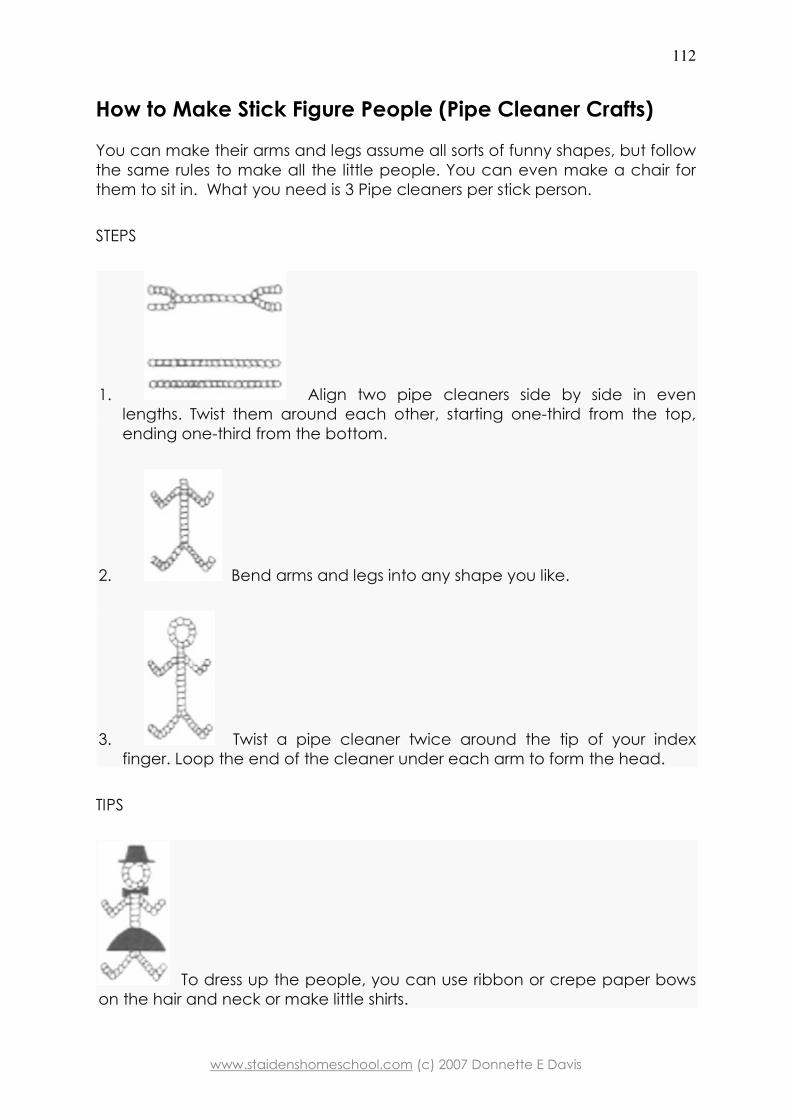
How to Make Stick Figure People (Pipe Cleaner Crafts)
You can make their arms and legs assume all sorts of funny shapes, but follow the same rules to make all the little people. You can even make a chair for them to sit in. What you need is 3 Pipe cleaners per stick person.
STEPS
1. Align two pipe cleaners side by side in even lengths. Twist them around each other, starting one-third from the top, ending one-third from the bottom.
2. Bend arms and legs into any shape you like.
3. Twist a pipe cleaner twice around the tip of your index finger. Loop the end of the cleaner under each arm to form the head.
TIPS
To dress up the people, you can use ribbon or crepe paper bows on the hair and neck or make little shirts.
www.staidenshomeschool.com (c) 2007 Donnette E Davis
113
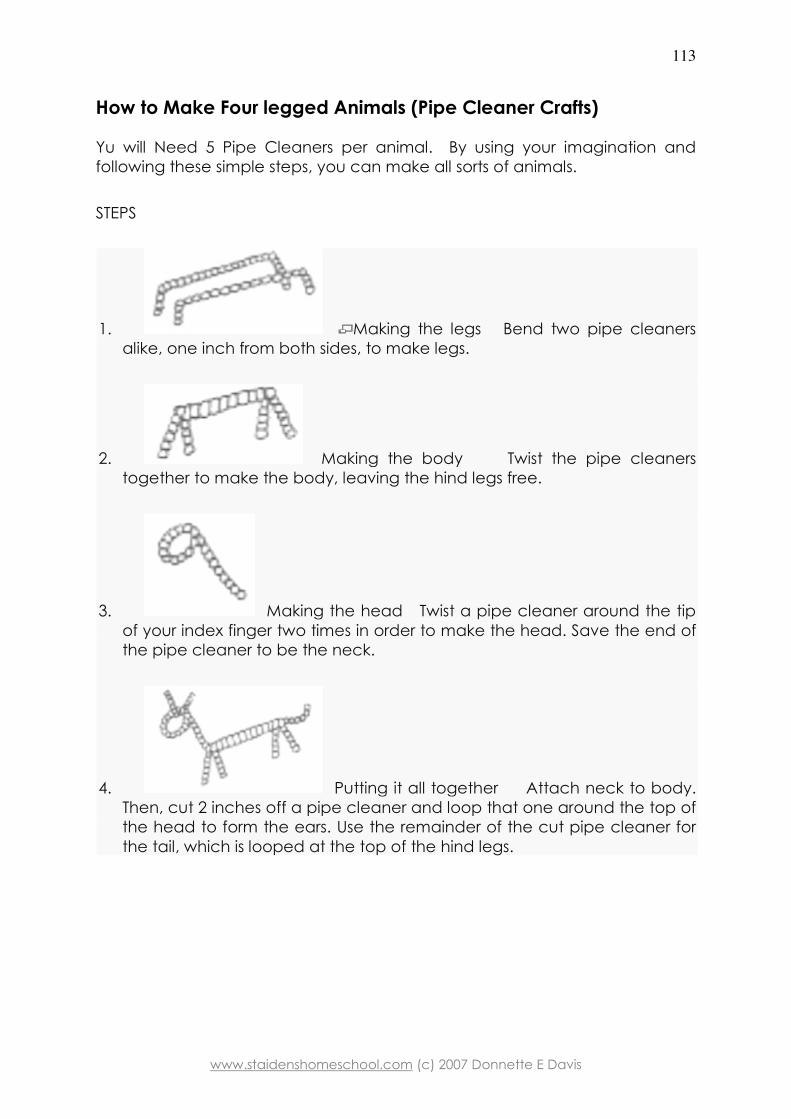
How to Make Four legged Animals (Pipe Cleaner Crafts)
Yu will Need 5 Pipe Cleaners per animal. By using your imagination and following these simple steps, you can make all sorts of animals.
STEPS
1. Making the legs Bend two pipe cleaners alike, one inch from both sides, to make legs.
2. Making the body Twist the pipe cleaners together to make the body, leaving the hind legs free.
3. Making the head Twist a pipe cleaner around the tip of your index finger two times in order to make the head. Save the end of the pipe cleaner to be the neck.
4. Putting it all together Attach neck to body. Then, cut 2 inches off a pipe cleaner and loop that one around the top of the head to form the ears. Use the remainder of the cut pipe cleaner for the tail, which is looped at the top of the hind legs.
www.staidenshomeschool.com (c) 2007 Donnette E Davis
114
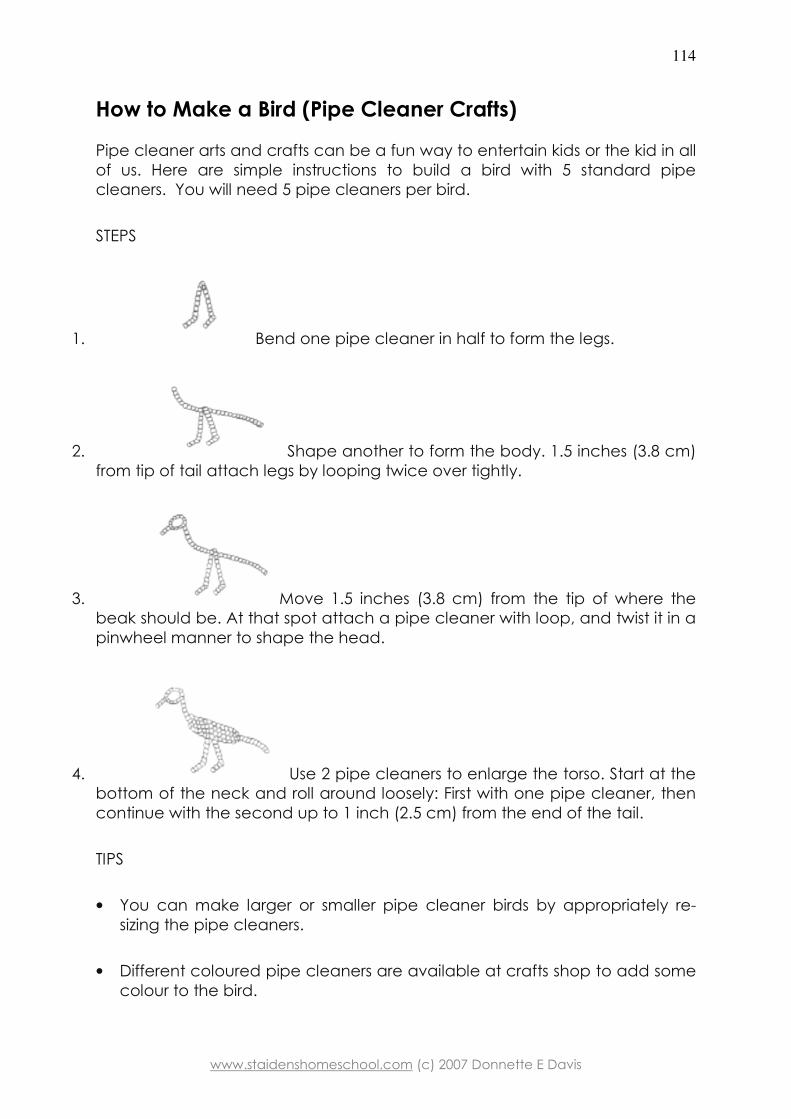
How to Make a Bird (Pipe Cleaner Crafts)
Pipe cleaner arts and crafts can be a fun way to entertain kids or the kid in all of us. Here are simple instructions to build a bird with 5 standard pipe cleaners. You will need 5 pipe cleaners per bird.
STEPS
1. Bend one pipe cleaner in half to form the legs.
2. Shape another to form the body. 1.5 inches (3.8 cm) from tip of tail attach legs by looping twice over tightly.
3. Move 1.5 inches (3.8 cm) from the tip of where the beak should be. At that spot attach a pipe cleaner with loop, and twist it in a pinwheel manner to shape the head.
4. Use 2 pipe cleaners to enlarge the torso. Start at the bottom of the neck and roll around loosely: First with one pipe cleaner, then continue with the second up to 1 inch (2.5 cm) from the end of the tail.
TIPS
• You can make larger or smaller pipe cleaner birds by appropriately re-sizing the pipe cleaners.
• Different coloured pipe cleaners are available at crafts shop to add some colour to the bird.

www.staidenshomeschool.com (c) 2007 Donnette E Davis
115
www.staidenshomeschool.com (c) 2007 Donnette E Davis
116
Terms of Use St Aiden’s Homeschool © 2007 This activity book is the property of D E Davis and/or www.staidenshomeschool.com and may not be altered or amended in any manner. Please feel free to use this document in your classrooms, at home or you may upload it to your own website in its entirety*. This document may be freely distributed* but may not be sold for profit by any person/s or organisations. Thank you for respecting International Copyright Laws. *this document may be freely distributed and utilised without alteration, amendment or addition i.e. in this original format. You are granted permission to upload and use this document in your webpage in the original format. A link-back is not necessary but would be appreciated. © Donnette E Davis, St Aiden’s Homeschool Republic of South Africa Date of Publication: 15 September 2007 http://www.staidenshomeschool.com