corel draw work space. poster dimensions the regular poster size requested is a0 use these...
Post on 21-Dec-2015
220 views
TRANSCRIPT

Corel Draw Work Space
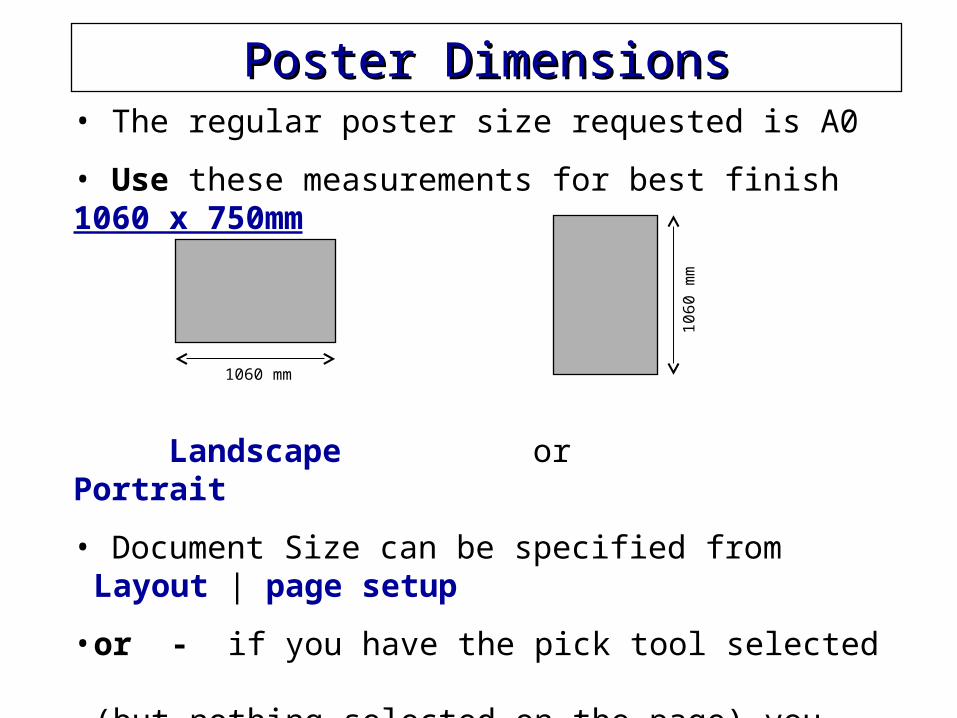
Poster DimensionsPoster Dimensions• The regular poster size requested is A0
• Use these measurements for best finish 1060 x 750mm
Landscape or Portrait
• Document Size can be specified from Layout | page setup
• or - if you have the pick tool selected (but nothing selected on the page) you can add new
measurements in the Dimensions windows (see workspace diagrams)
1060 mm
10
60
mm
ColourColour• The colour you see on the screen is generally not the
same as the colour that is printed.
• Each printer can print a poster with variation of colour.
• A Printer Swatch for the CorelDRAW Palette is on the A004 noticeboard, showing how screen colours are
printed from the HP DesignJet Poster printer.
• Corel Draw has a selection of colours for different jobs. Use the Default CMYK Palette (should be default). This can be selected when you have the document open, from:
drop down menu Window | Color Palettes - select CMYK Palette

ColourColour
• Background Colour can be applied to your poster by
• Select Layout | Page Setup, a dialogue box will open. expand the tree on the left hand side
(click on + symbols), select Background, then Solid and pick a colour from the drop down swatch.
ColourColour• Additional Colour can be applied to your poster:
• to create columns of colour, or add colour boxes behind text. Use the Rectangle tool to draw boxes and place them behind text.
• When using shapes and text, you may need to alter the stacking order, so that the object of your choice is visible in front of another.
• Using the drop down menu Arrange | Order and from the list of available choices (‘To Front’ etc) you can alter the stacking order of objects on the page.

ColourColour• Advanced colour application
• A colour in a shape is called a Fill
• Gradient Fills and Textured Fills are available from the Fill Tool (Bucket icon)……However
• Using complex Fills adds greatly to your overall file size and adds complexity and unreliability to the print process itself.
• Where possible keep the poster as simple as possible so that the print process will be straight forward and you do not detract from the readability of the poster.

TextText• Posters should not contain too much text.
• Break the content into a clear title and sub-sections.Type the text in Word for ease, but formatting can be done in Corel Draw. (colour, Bold, Italics etc.)
• Choose a clear, readable font. (Arial etc.) If you use a special font it may not be available on
the computer printing the poster, causing delays.
• Add any scientific symbols in Corel Draw as they can alter when imported.
• Font sizes e.g.: Titles 36 - 48pt Sub Titles 30 - 36pt
Text 20 - 24pt

TextText• Posters with a Dark Background and Light Text are more difficult to read than Dark Text and Light Background.
• Text can be coloured by selecting the text with the ‘A’ tool, see left Tool Box. Then choose a colour of your choice from the colour palette.
Poster text Poster text Poster text Poster text
Poster text Poster text Poster text Poster text

TextText• Importing text from Word (or other source)
• There are many ways to add text from an external document to your poster.
A) The Import option
• If you have prepared text from another source,you can use the File | Import option to add it to your poster.
The Import dialogue box allows you to set a sort type (Text) and file type (DOC - MS Word for Windows). Then your locate the file you need and click the import button.
The text is converted and placed into a Corel Draw Text Box

TextText• Importing text from Word (or other source)
B) Copy and Paste
• Select your text in Word etc. use the copy function.This can now be pasted into your poster document in two different formats.
• Artistic Text
• Paragraph Text

TextText• Importing text from Word (or other source)
C) Artistic Text
If you paste the text into your Corel Draw poster without selecting the ‘A’ text tool, the text will be added as Artistic Text.
This means that the text will appear without a restrictive text box, and all its associated features. each letter is assigned a Node, which can be used to alter the position of the individual letters.
Artistic Text is most useful for single lines of text e.g. Titles
To create new Artistic Text, use the ‘A’ Text Tool, click onto your document window, a cursor will appear, type your text.

TextText• Importing text from Word (or other source)
D) Paragraph Text
Select the ‘A’ Text Tool, click onto the document area, still holding the left mouse button down, drag the tool diagonally across left to right. A Text Box will appear, this can be now be used for typing new text (click inside it with the Text Tool)or paste text into it from the clipboard.
Using the anchor nodes on the sides and corners of the text box you are able to create a column shape of your choice. Apply text alignment by selecting the text and using the usual toolbar options.
you can not apply background colours to a text box.
NOTE: You may discover ‘text flow’, linking text between text boxes. Do not use it as it creates print errors.

TextText• Using Text Symbols cont…
• Occasionally cutting and pasting symbols into Corel Draw can prove unreliable. The alternative is:
Select Start | Programs | Accessories | Character Map |System Tools
•Choose a font of your choice, click on a character to view it larger, choose the character you want, click select then copy
The character is then in the clip board, and ready to paste into a Corel Draw text box or as an artistic text object.
• You may then need to set the font size and colour.
• The Character Map is useful for finding symbols and special bullets.
Importing Excel ChartsImporting Excel Charts• There is a strict method for importing Excel graphs into
any other program.
• In Excel, open your chart.
• Select the entire chart.
• Select Shift (keyboard) & Edit (drop down menu)simultaneously.
• From the drop down menu choose copy picture…
• From the copy picture dialogue box that appears selectas shown on screen and format picture.
• From here you can use the paste action in Corel Draw to insert the graph.
• Using this method allows the chart to be copied as seen, without the need for linking the data to the chart.

Importing Photos / BitmapsImporting Photos / Bitmaps• Corel Draw is a Vector drawing package, which is drawings created by mathematical equation rather than
coloured dots (pixels) which are used for bitmap images.
• To import a photo / bitmap (usual file types JPEG, BMP and TIFF)Use the Import option from the File drop down menu.
• NOTE 1: GIF files, generally found on the Internet are low resolution and are unsuitable for use in a large poster.
The size of the final print stresses the low quality of the Gif image.
• NOTE 2: Copying images from Word or PowerPoint to Corel Draw. This process is unreliable. Images that are copied from these two programs can easily become corrupted in the process.
This may not be apparent on certain printers, but can become a problem on the HP DesignJet Poster Printer.Always allow time for an A4 proof print and corrections.

ImagesImages• Some logos are available from the Photo Unit file store
(ask for use). These include good quality copies of the University logo.
• Important considerations for bitmap images are:
Resolution - the lowest resolution you should use is 150dpi to 100% of print size, the largest is 300dpi.
Colour Mode - The printer uses Cyan Magenta Yellow blacK Inks. Your photo files may be in
Red Green Blue (computer screen colours). The colour conversion within the HP DesignJet poster printer will make a reasonable swap between RGB and CMYK
colour modes - check colours by A4 proof before final print.

Drawing ImagesDrawing Images• Refer to the diagram of the Corel Draw ‘work space’.
On the left are all the tools available for drawing. If the tool has a black arrow head pointing bottom right, this means that if you click and hold the mouse button for a few seconds, further tools in that series will become
visible. This is called a ‘Flyout’.
• Use these tools to draw basic shapes and lines. There are two types of drawn shapes / lines: A ‘Curve’ or an ‘Object’.

Drawing ImagesDrawing Images• CURVES
NOTE: Line thickness should not be below 1ptHairlines will be ignored by the HP DesignJet Poster Printer
• When using Drawn objects, you may need to alter the stacking order, so that the object of your choice is visible in front of
another.
• Using the drop down menu Arrange | Order and from the list of available choices (‘To Front’ etc) you can alter the stacking order of objects on the page.

Drawing ImagesDrawing Images• Objects
• Right click on the object for a list of options. Select Propertiesfrom the dialogue box that opens you can alter line thickness etc.
• NOTE: Line thickness should not be below 1ptHairlines will be ignored by the HP DesignJet Poster Printer
• Use the Outline Tool to add or remove outlines from an object or curve.
• To colour an object or curve, select it with the Pick Tool, and then select a colour from the colour swatch.
• Drawn objects are useful for background shapes (columns etc.) as well as diagrams.
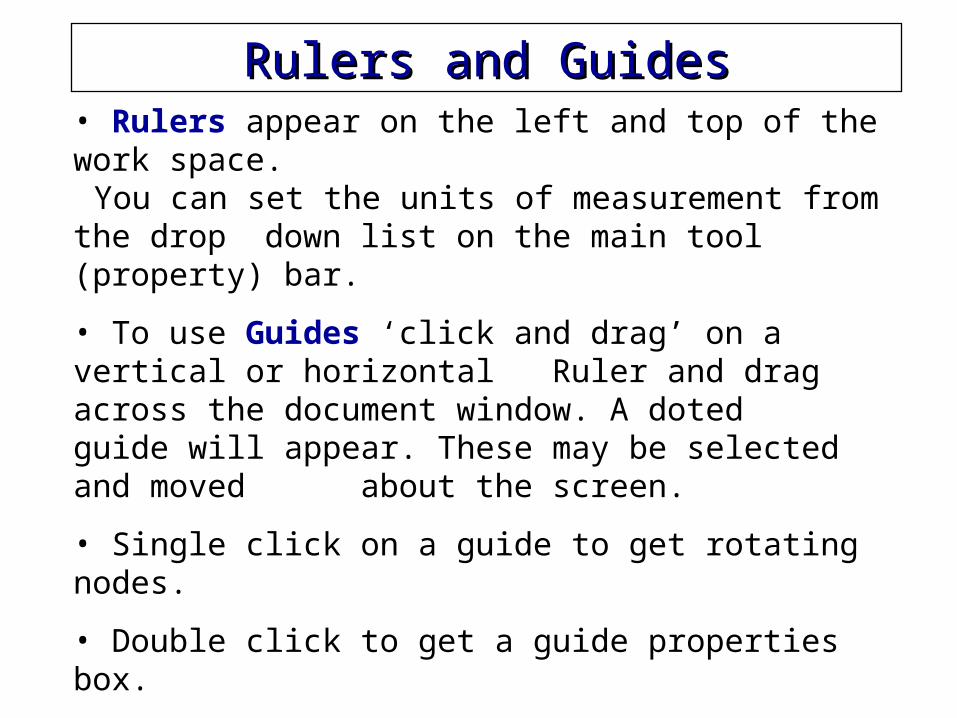
Rulers and GuidesRulers and Guides• Rulers appear on the left and top of the work space.
You can set the units of measurement from the drop down list on the main tool (property) bar.
• To use Guides ‘click and drag’ on a vertical or horizontal Ruler and drag across the document window. A doted guide will appear. These may be selected and moved about the screen.
• Single click on a guide to get rotating nodes.
• Double click to get a guide properties box.
• When using Text Boxes, tab guides etc. appear within the rulers.
• Use the View drop down menu to hide guides and grids.

LayersLayers• Layers are visible in the Object Manager
• Layers are useful for separating Backgrounds, Diagrams, Labelsand Text. This can simplify selecting objects on a complex
poster.
• Create a new layer using the icons in the top of the Object Manager window.
• You can also Lock individual layers to prevent accidental alterations.
• Click on the Eye icon to hide other obscuring layers while working on a specific layer.
• NOTE: If you ‘Group’ objects which are on different layers, they will all be moved and grouped on to the top most layer.
• You can still use the normal stacking order options on individual layers.

Screen ViewsScreen Views• Setting the screen view (drop menu) allows you to find hidden objects, it also allows you to work easily in a lower
resolution.
• Wire frame
• This option will show traced outlines of all objects on the page. This helps you to find an object obscured by something above it in the stacking order.
• Draft / Normal / Enhanced
• These options allow you to view the page at differing resolutions.The computer uses a large amount of memory to render
gradients and complex fills on screen, which slows down the processing speed and can lead to computer crashes.
use the Normal or Draft option to alleviate this problem.Only use Enhanced to preview complex renders.

Avoid if Possible !!Avoid if Possible !!• For trouble free last minute printing avoid:
• Multiple Gradients
• Drop Shadow Tool
• Complex Fills / Textures / Tiles
• Images as Large Backgrounds
• Images with Transparency
• Drawn Objects with Transparency

Help !!Help !!
• Additional Assistance can be found at:
• http://www.york.ac.uk/depts/biol/itsupport/
• http://www.york.ac.uk/depts/biol/graphics/training.htm