comptroller level one training workbook -...
TRANSCRIPT
Comptroller Level One Training Workbook 4.7.6
| Accounting | 2013-08-26 | Page 1
Comptroller Level One TRAINING WORKBOOK
Daily and Weekly Processing .................................................................................................................... 2 Issuing a Quick Cheque ................................................................................................................................ 2 Writing Off an Invoice or Amount & Paying a Supplier ................................................................................. 4 Adjusting Vehicle Costs ................................................................................................................................ 6 Creating and Posting a Vehicle Sales Journal .............................................................................................. 7 Creating a Recurring Journal Entry ............................................................................................................... 8 Reviewing and Posting to the GL for the Previous Day .............................................................................. 10 Reconciling Contra Accounts ...................................................................................................................... 11 Reconciling Scheduled Accounts ................................................................................................................ 12 Clearing Zero Balances on AR Accounts Using Cash Transactions .......................................................... 13 Account Balance Report ............................................................................................................................. 14 Reconciling Bank Accounts......................................................................................................................... 15 Overriding Credit Limits ............................................................................................................................... 16 Security ...................................................................................................................................................... 17 Setting Up User Security Profiles ................................................................................................................ 17 Adding Window Objects to Employee/Shared Templates .......................................................................... 18 Adding User Access to Windows and/or Objects ....................................................................................... 19 Maintaining Journal Type, Cash Transaction and Reconciliation Access .................................................. 20 Exercise Completion ................................................................................................................................. 22 Notes ........................................................................................................................................................... 23
Comptroller Level One Training Workbook 4.7.6
| Accounting | 2013-08-26 | Page 2
Daily and Weekly Processing
Issuing a Quick Cheque XSELLERATOR™ allows you to generate a quick cheque for an Associate who requires immediate
payment on items that have not already been processed through Accounts Payable. By using quick
cheques you can bypass the additional steps required to process the cheque through Accounts Payable.
D a i l y a n d W e e k l y P r o c e s s i n g - I s s u in g a Q u i c k C h e qu e
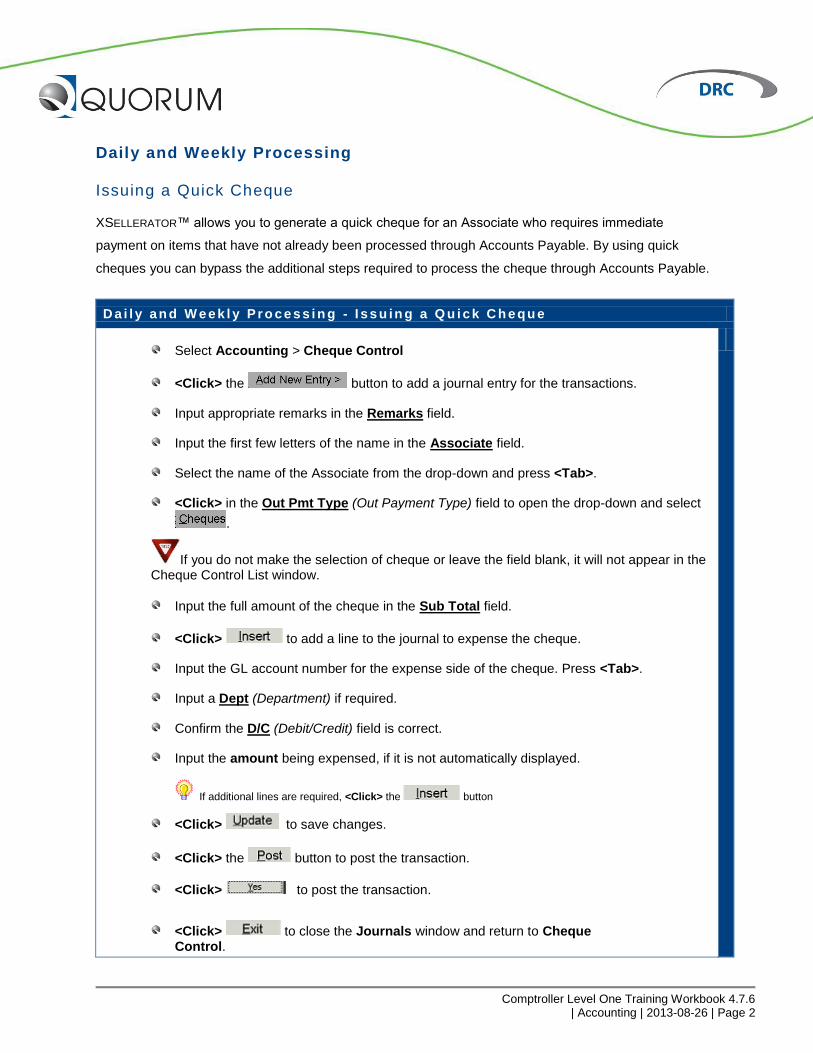
Select Accounting > Cheque Control
<Click> the button to add a journal entry for the transactions.
Input appropriate remarks in the Remarks field.
Input the first few letters of the name in the Associate field.
Select the name of the Associate from the drop-down and press <Tab>.
<Click> in the Out Pmt Type (Out Payment Type) field to open the drop-down and select
.
If you do not make the selection of cheque or leave the field blank, it will not appear in the Cheque Control List window.
Input the full amount of the cheque in the Sub Total field.
<Click> to add a line to the journal to expense the cheque.
Input the GL account number for the expense side of the cheque. Press <Tab>.
Input a Dept (Department) if required.
Confirm the D/C (Debit/Credit) field is correct.
Input the amount being expensed, if it is not automatically displayed.
<Click> to save changes.
<Click> the button to post the transaction.
<Click> to post the transaction.
<Click> to close the Journals window and return to Cheque Control.
If additional lines are required, <Click> the button

Comptroller Level One Training Workbook 4.7.6
| Accounting | 2013-08-26 | Page 3
D a i l y a n d W e e k l y P r o c e s s i n g - I s s u in g a Q u i c k C h e qu e
<Click> the button to refresh the information.
In the Cheque Type column, select the Auto radio button(s) for the cheques to be issued.
<Click> the button to assign the next available cheque number. The system automatically assigns the cheques numbers.
Note - the Print Options window will open. You will not be printing in this training
exercise. <Click> the button to close this window.
In a “live” environment, this window will display your default printer and will state the amount of copies to be printed. At anytime you may change the printer and/or the number of copies (if required). The procedures below show how to proceed once you are “live”.
<Click> the button to produce the cheques.
<Click> to continue after verifying the cheques in the printer.
<Click> the button select the appropriate printer if different, and <Click>
Review the Cheques.
<Click> to confirm that the cheques are printed properly.
OR
<Click> to re-print the cheques.
The cheques are not considered processed until you select .
<Click> the button once satisfied that the cheques are printed correctly.
<Click> to acknowledge that the cheque run is now closed.
<Click> to close this window. Continue to <Click> until you exit all windows.
Confirm there are cheques in the printer and the proper cheque is waiting if pre-numbered.
Comptroller Level One Training Workbook 4.7.6
| Accounting | 2013-08-26 | Page 4
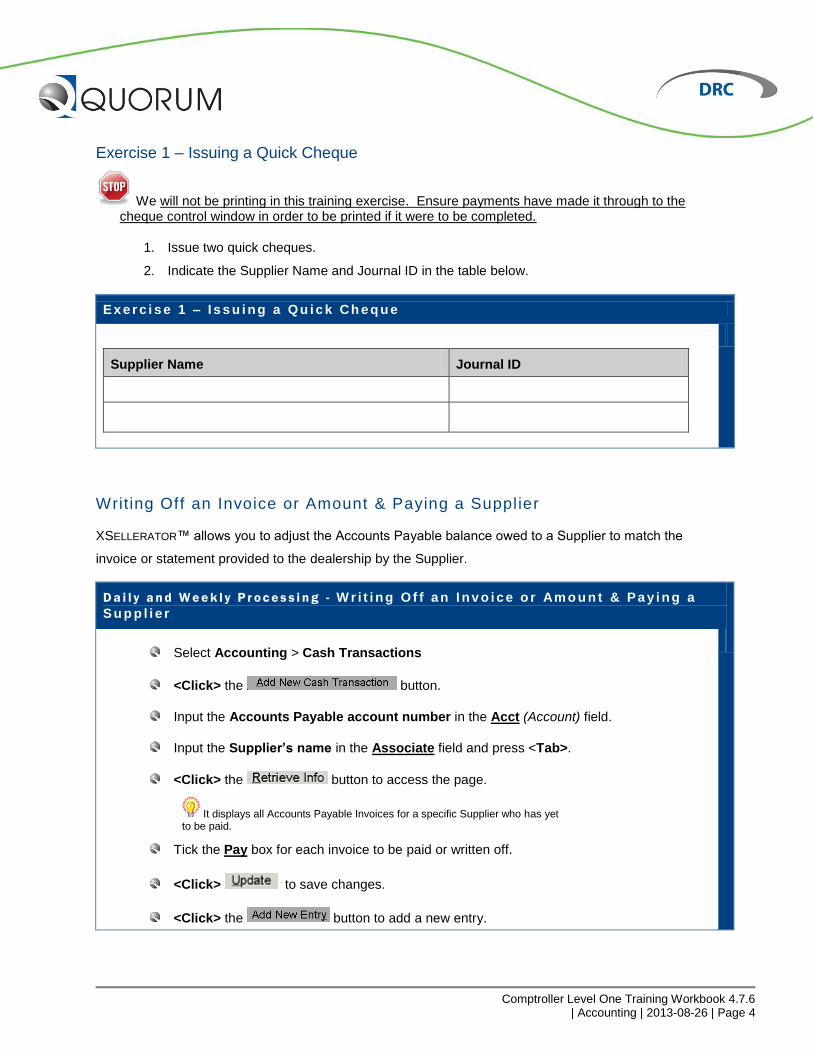
Exercise 1 – Issuing a Quick Cheque
We will not be printing in this training exercise. Ensure payments have made it through to the cheque control window in order to be printed if it were to be completed.
1. Issue two quick cheques.
2. Indicate the Supplier Name and Journal ID in the table below.
Ex e r c i s e 1 – I s s u i ng a Qu i c k Ch e q u e
Supplier Name Journal ID
Writing Off an Invoice or Amount & Paying a Supplier XSELLERATOR™ allows you to adjust the Accounts Payable balance owed to a Supplier to match the
invoice or statement provided to the dealership by the Supplier.
D a i l y a n d W e e k l y P r o c e s s i n g - W r i t i ng Of f a n I nv o i c e o r Am o u n t & Pa y i n g a
Su p p l i e r
Select Accounting > Cash Transactions
<Click> the button.
Input the Accounts Payable account number in the Acct (Account) field.
Input the Supplier’s name in the Associate field and press <Tab>.
<Click> the button to access the page.
Tick the Pay box for each invoice to be paid or written off.
<Click> to save changes.
<Click> the button to add a new entry.
It displays all Accounts Payable Invoices for a specific Supplier who has yet to be paid.
Comptroller Level One Training Workbook 4.7.6
| Accounting | 2013-08-26 | Page 5
D a i l y a n d W e e k l y P r o c e s s i n g - W r i t i ng Of f a n I nv o i c e o r Am o u n t & Pa y i n g a
Su p p l i e r
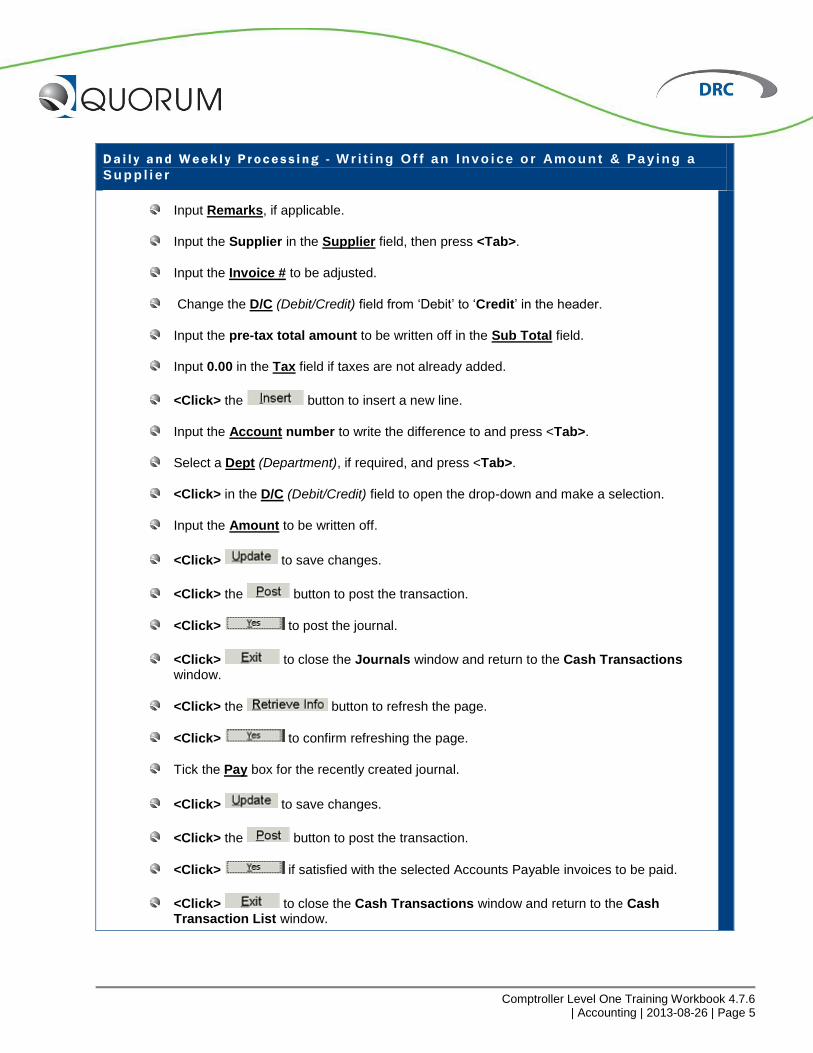
Input Remarks, if applicable.
Input the Supplier in the Supplier field, then press <Tab>.
Input the Invoice # to be adjusted.
Change the D/C (Debit/Credit) field from ‘Debit’ to ‘Credit’ in the header.
Input the pre-tax total amount to be written off in the Sub Total field.
Input 0.00 in the Tax field if taxes are not already added.
<Click> the button to insert a new line.
Input the Account number to write the difference to and press <Tab>.
Select a Dept (Department), if required, and press <Tab>.
<Click> in the D/C (Debit/Credit) field to open the drop-down and make a selection.
Input the Amount to be written off.
<Click> to save changes.
<Click> the button to post the transaction.
<Click> to post the journal.
<Click> to close the Journals window and return to the Cash Transactions window.
<Click> the button to refresh the page.
<Click> to confirm refreshing the page.
Tick the Pay box for the recently created journal.
<Click> to save changes.
<Click> the button to post the transaction.
<Click> if satisfied with the selected Accounts Payable invoices to be paid.
<Click> to close the Cash Transactions window and return to the Cash Transaction List window.
Comptroller Level One Training Workbook 4.7.6
| Accounting | 2013-08-26 | Page 6
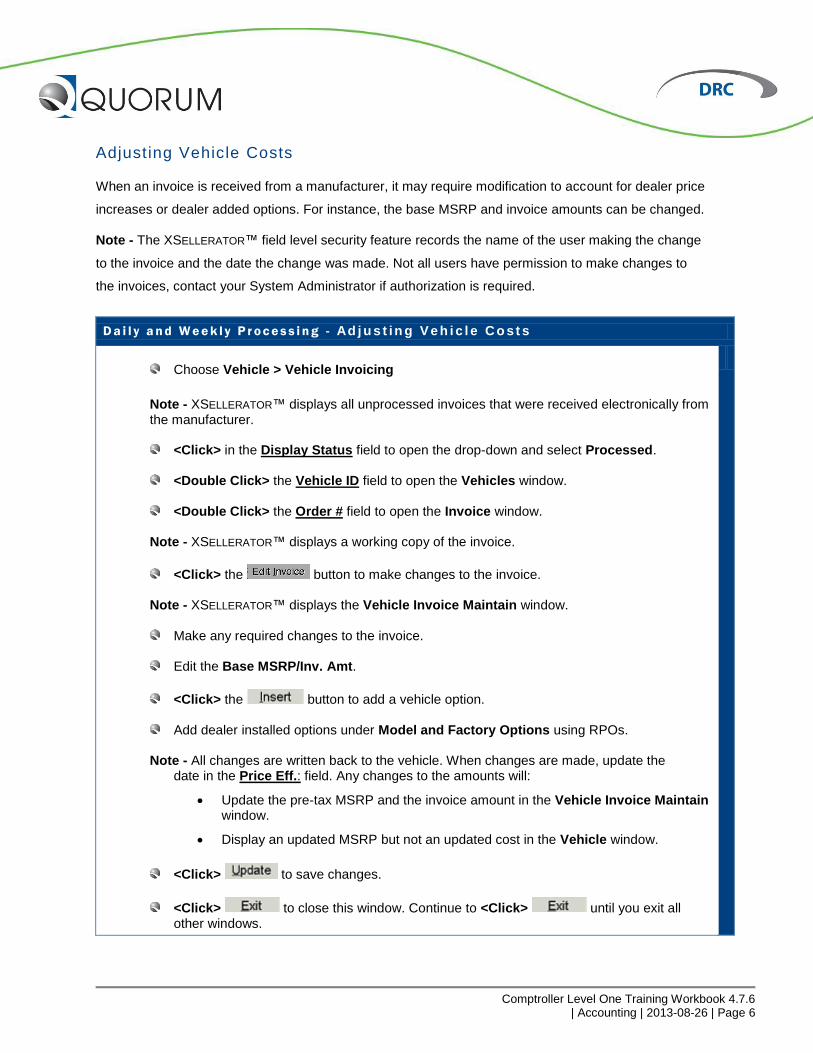
Adjusting Vehicle Costs When an invoice is received from a manufacturer, it may require modification to account for dealer price
increases or dealer added options. For instance, the base MSRP and invoice amounts can be changed.
Note - The XSELLERATOR™ field level security feature records the name of the user making the change
to the invoice and the date the change was made. Not all users have permission to make changes to
the invoices, contact your System Administrator if authorization is required.
D a i l y a n d W e e k l y P r o c e s s i n g - Ad j u s t in g Ve h i c l e C o st s
Choose Vehicle > Vehicle Invoicing
Note - XSELLERATOR™ displays all unprocessed invoices that were received electronically from the manufacturer.
<Click> in the Display Status field to open the drop-down and select Processed.
<Double Click> the Vehicle ID field to open the Vehicles window.
<Double Click> the Order # field to open the Invoice window.
Note - XSELLERATOR™ displays a working copy of the invoice.
<Click> the button to make changes to the invoice.
Note - XSELLERATOR™ displays the Vehicle Invoice Maintain window.
Make any required changes to the invoice.
Edit the Base MSRP/Inv. Amt.
<Click> the button to add a vehicle option.
Add dealer installed options under Model and Factory Options using RPOs. Note - All changes are written back to the vehicle. When changes are made, update the
date in the Price Eff.: field. Any changes to the amounts will:
Update the pre-tax MSRP and the invoice amount in the Vehicle Invoice Maintain window.
Display an updated MSRP but not an updated cost in the Vehicle window.
<Click> to save changes.
<Click> to close this window. Continue to <Click> until you exit all other windows.
Comptroller Level One Training Workbook 4.7.6
| Accounting | 2013-08-26 | Page 7
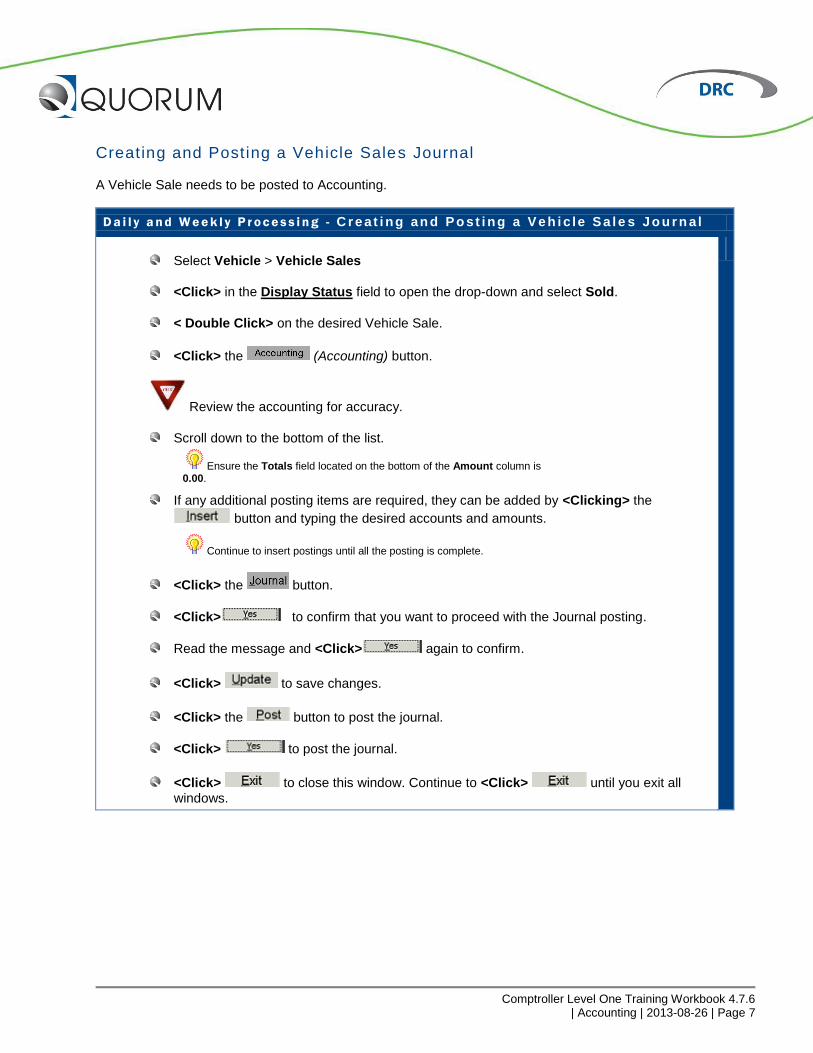
Creating and Posting a Vehicle Sales Journal A Vehicle Sale needs to be posted to Accounting.
D a i l y a n d W e e k l y P r o c e s s i n g - C r e at i ng an d Po st i ng a Ve h i c le Sa l e s J o u r n a l
Select Vehicle > Vehicle Sales
<Click> in the Display Status field to open the drop-down and select Sold.
< Double Click> on the desired Vehicle Sale.
<Click> the (Accounting) button.
Review the accounting for accuracy.
Scroll down to the bottom of the list.
If any additional posting items are required, they can be added by <Clicking> the
button and typing the desired accounts and amounts.
<Click> the button.
<Click> to confirm that you want to proceed with the Journal posting.
Read the message and <Click> again to confirm.
<Click> to save changes.
<Click> the button to post the journal.
<Click> to post the journal.
<Click> to close this window. Continue to <Click> until you exit all windows.
Ensure the Totals field located on the bottom of the Amount column is 0.00.
Continue to insert postings until all the posting is complete.
Comptroller Level One Training Workbook 4.7.6
| Accounting | 2013-08-26 | Page 8
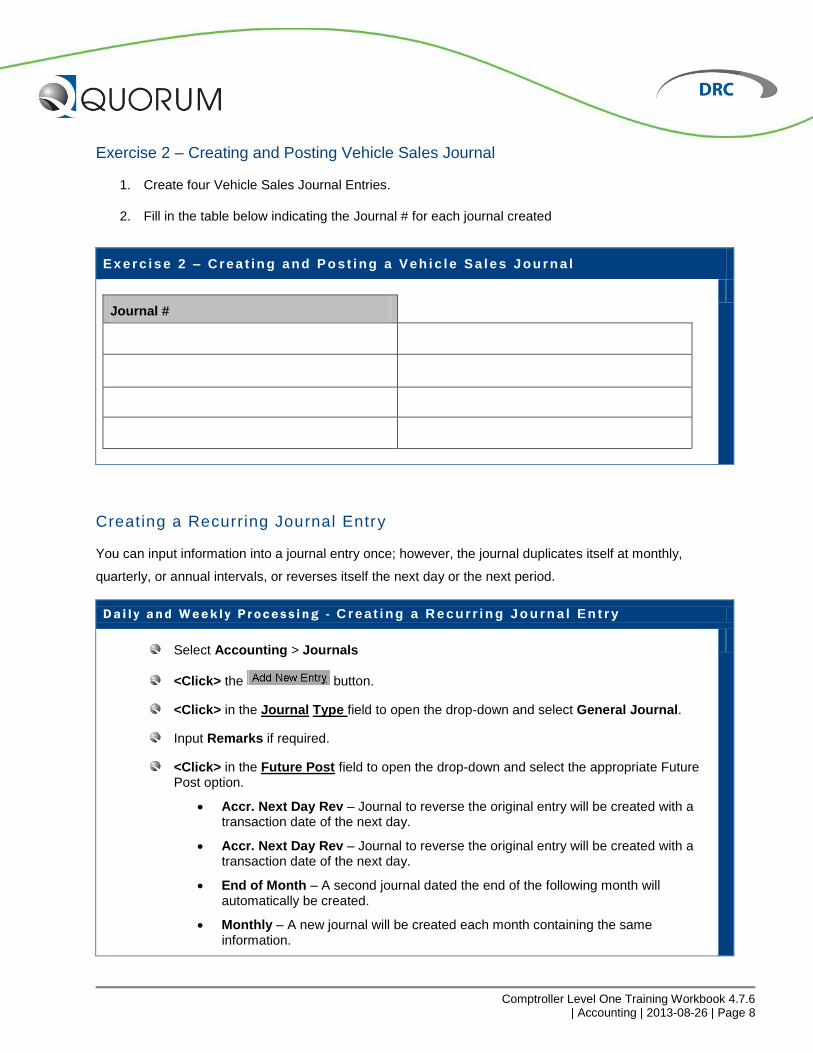
Exercise 2 – Creating and Posting Vehicle Sales Journal
1. Create four Vehicle Sales Journal Entries.
2. Fill in the table below indicating the Journal # for each journal created
Ex e r c i s e 2 – C r e a t in g a nd Po st i ng a Veh i c l e Sa l e s J ou r n a l
Journal #
Creating a Recurring Journal Entry You can input information into a journal entry once; however, the journal duplicates itself at monthly,
quarterly, or annual intervals, or reverses itself the next day or the next period.
D a i l y a n d W e e k l y P r o c e s s i n g - C r e at i ng a R e c u r r i n g J o u rn a l En t r y
Select Accounting > Journals
<Click> the button.
<Click> in the Journal Type field to open the drop-down and select General Journal.
Input Remarks if required.
<Click> in the Future Post field to open the drop-down and select the appropriate Future Post option.
Accr. Next Day Rev – Journal to reverse the original entry will be created with a transaction date of the next day.
Accr. Next Day Rev – Journal to reverse the original entry will be created with a transaction date of the next day.
End of Month – A second journal dated the end of the following month will automatically be created.
Monthly – A new journal will be created each month containing the same information.
Comptroller Level One Training Workbook 4.7.6
| Accounting | 2013-08-26 | Page 9
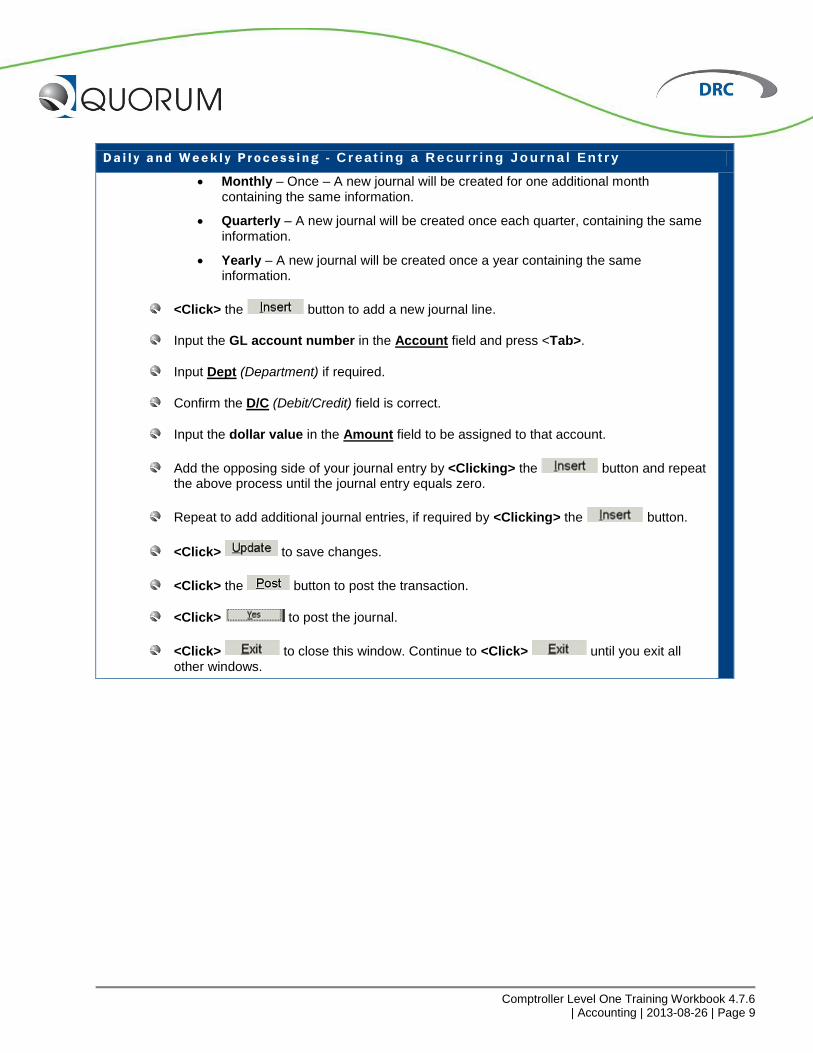
D a i l y a n d W e e k l y P r o c e s s i n g - C r e at i ng a R e c u r r i n g J o u rn a l En t r y
Monthly – Once – A new journal will be created for one additional month containing the same information.
Quarterly – A new journal will be created once each quarter, containing the same information.
Yearly – A new journal will be created once a year containing the same information.
<Click> the button to add a new journal line.
Input the GL account number in the Account field and press <Tab>.
Input Dept (Department) if required.
Confirm the D/C (Debit/Credit) field is correct.
Input the dollar value in the Amount field to be assigned to that account.
Add the opposing side of your journal entry by <Clicking> the button and repeat the above process until the journal entry equals zero.
Repeat to add additional journal entries, if required by <Clicking> the button.
<Click> to save changes.
<Click> the button to post the transaction.
<Click> to post the journal.
<Click> to close this window. Continue to <Click> until you exit all other windows.
Comptroller Level One Training Workbook 4.7.6
| Accounting | 2013-08-26 | Page 10
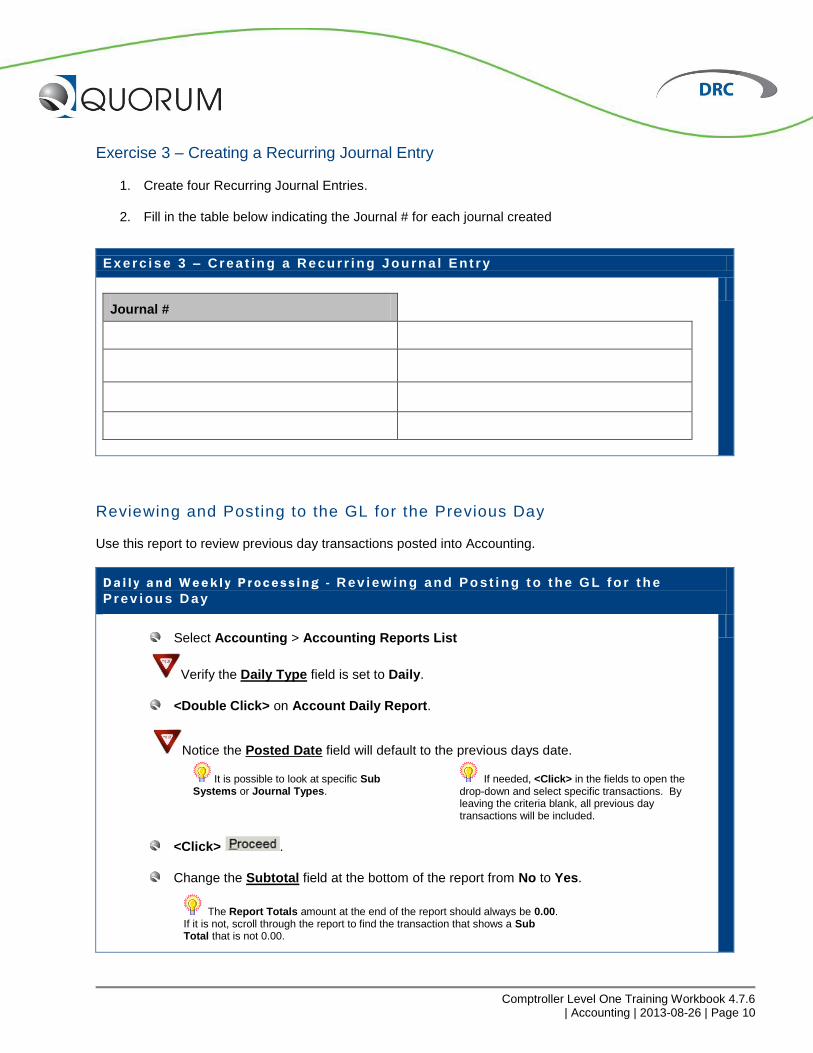
Exercise 3 – Creating a Recurring Journal Entry
1. Create four Recurring Journal Entries.
2. Fill in the table below indicating the Journal # for each journal created
Ex e r c i s e 3 – C r e a t in g a R e cu r r i ng J ou r n a l En t r y
Journal #
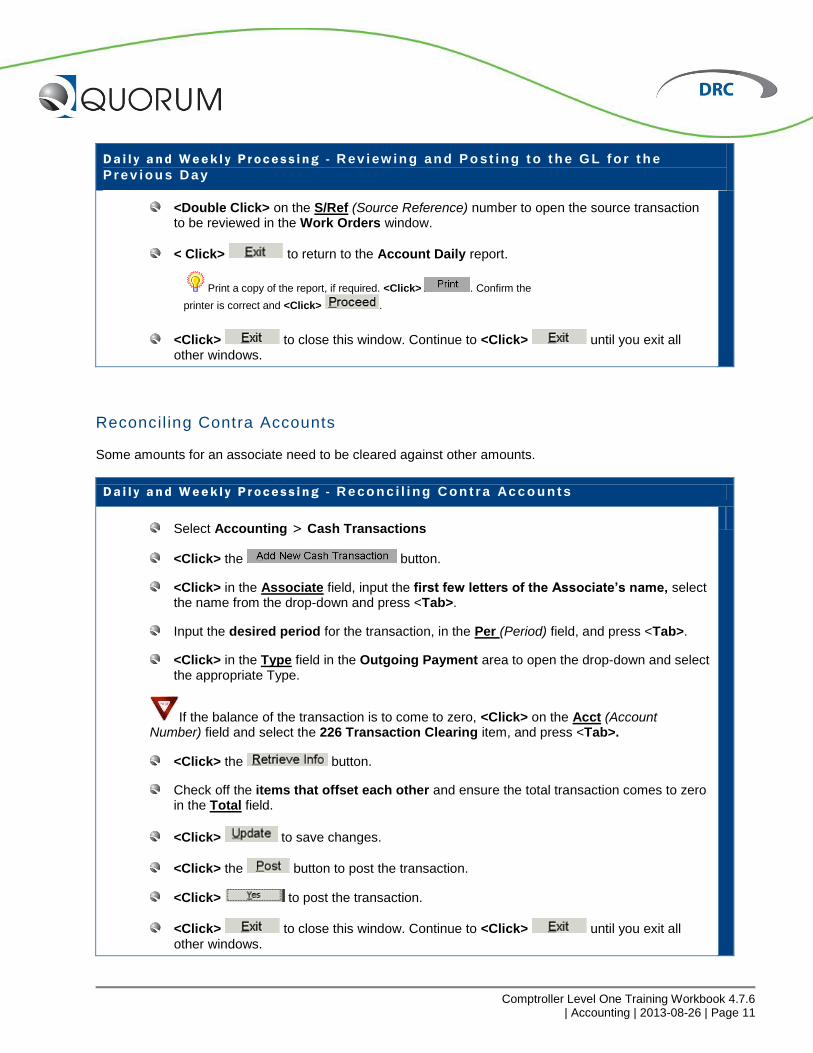
Reviewing and Posting to the GL for the Previous Day Use this report to review previous day transactions posted into Accounting.
D a i l y a n d W e e k l y P r o c e s s i n g - R ev i ew in g a n d Po st i ng t o t h e G L f o r t h e
P r e v i ou s D a y
Select Accounting > Accounting Reports List
Verify the Daily Type field is set to Daily.
<Double Click> on Account Daily Report.
Notice the Posted Date field will default to the previous days date.
<Click> .
Change the Subtotal field at the bottom of the report from No to Yes.
It is possible to look at specific Sub Systems or Journal Types.
If needed, <Click> in the fields to open the drop-down and select specific transactions. By leaving the criteria blank, all previous day transactions will be included.
The Report Totals amount at the end of the report should always be 0.00. If it is not, scroll through the report to find the transaction that shows a Sub Total that is not 0.00.
Comptroller Level One Training Workbook 4.7.6
| Accounting | 2013-08-26 | Page 11
D a i l y a n d W e e k l y P r o c e s s i n g - R ev i ew in g a n d Po st i ng t o t h e G L f o r t h e
P r e v i ou s D a y
<Double Click> on the S/Ref (Source Reference) number to open the source transaction to be reviewed in the Work Orders window.
< Click> to return to the Account Daily report.
<Click> to close this window. Continue to <Click> until you exit all other windows.
Reconcil ing Contra Accounts
Some amounts for an associate need to be cleared against other amounts.
D a i l y a n d W e e k l y P r o c e s s i n g - R e co n c i l i ng C on t r a Ac c o u n t s
Select Accounting > Cash Transactions
<Click> the button.
<Click> in the Associate field, input the first few letters of the Associate’s name, select the name from the drop-down and press <Tab>.
Input the desired period for the transaction, in the Per (Period) field, and press <Tab>.
<Click> in the Type field in the Outgoing Payment area to open the drop-down and select the appropriate Type.
If the balance of the transaction is to come to zero, <Click> on the Acct (Account Number) field and select the 226 Transaction Clearing item, and press <Tab>.
<Click> the button.
Check off the items that offset each other and ensure the total transaction comes to zero in the Total field.
<Click> to save changes.
<Click> the button to post the transaction.
<Click> to post the transaction.
<Click> to close this window. Continue to <Click> until you exit all other windows.
Print a copy of the report, if required. <Click> . Confirm the
printer is correct and <Click> .
Comptroller Level One Training Workbook 4.7.6
| Accounting | 2013-08-26 | Page 12
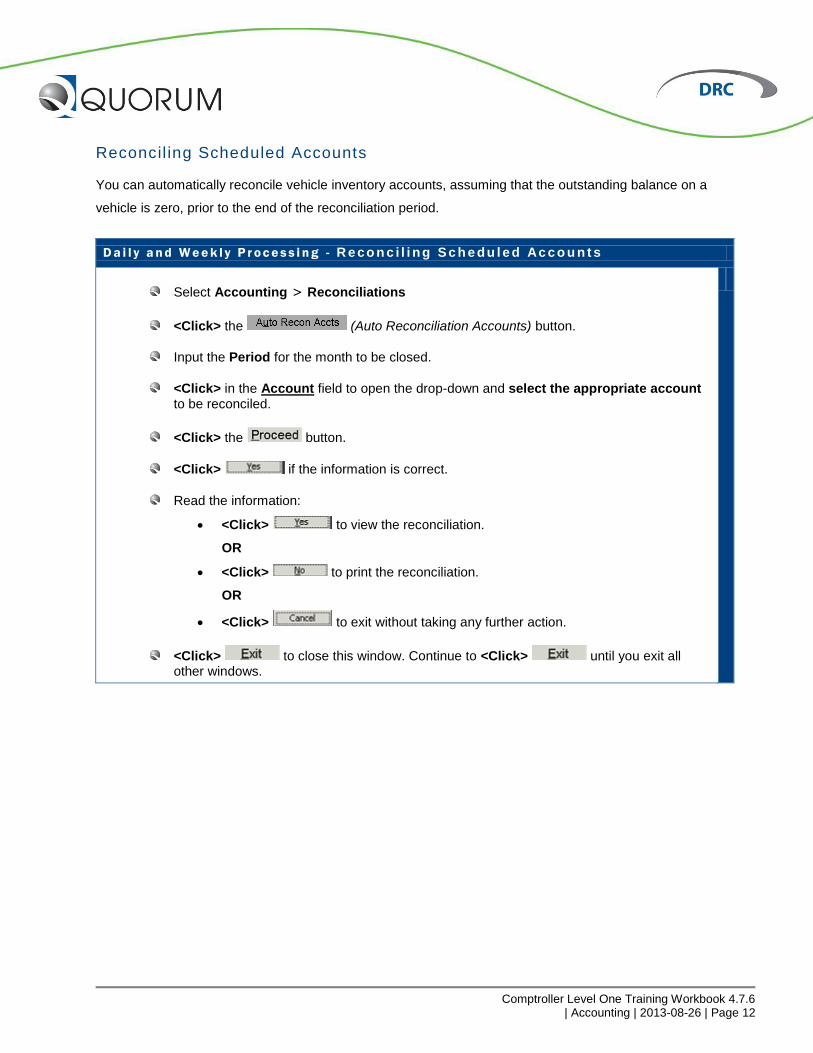
Reconcil ing Scheduled Accounts You can automatically reconcile vehicle inventory accounts, assuming that the outstanding balance on a
vehicle is zero, prior to the end of the reconciliation period.
D a i l y a n d W e e k l y P r o c e s s i n g - R e co n c i l i ng Sc h e du l e d Ac c o u n t s
Select Accounting > Reconciliations
<Click> the (Auto Reconciliation Accounts) button.
Input the Period for the month to be closed.
<Click> in the Account field to open the drop-down and select the appropriate account to be reconciled.
<Click> the button.
<Click> if the information is correct.
Read the information:
<Click> to view the reconciliation.
OR
<Click> to print the reconciliation.
OR
<Click> to exit without taking any further action.
<Click> to close this window. Continue to <Click> until you exit all other windows.

Comptroller Level One Training Workbook 4.7.6
| Accounting | 2013-08-26 | Page 13
Clearing Zero Balances on AR Accounts Using Cash Transactions Receivable accounts must be cleaned up on a regular basis. This is required when payments have been
posted to an individual’s account without being applied to a specific invoice.
For example a vehicle deposit received prior to deal posting will show as a credit on the customer’s
account until the deal is posted AND someone goes in and allocates the deposit to that specific deal. This
clean up is done through the Cash Transactions windows.
D a i l y a n d W e e k l y P r o c e s s i n g - Cl e a r i n g Ze r o B a l a n c e s f o r AR Ac c o u n t s U s i n g
C a s h T r a n s a ct io n s
Select Accounting > Cash Transactions
<Click> the button.
Select the Acct (Account) from the drop-down and press <Tab>.
If a receivables account has been selected, <Click> into the Type field (in the Incoming Payment section), and select a payment type as it is required to post the Cash Transaction. If a payables account has been selected, the Outgoing Payment Type will automatically be selected.
<Click> in the Cash Acct (Cash Account) field to open the drop-down and select 226 Transaction Clearing.
<Click> the button to refresh the information.
Check off the items in the Pay check box for each associate’s offsetting entry that balances to $0.00, by Associate, that should be cleared.
<Click> to save changes.
<Click> to post the transaction.
<Click> to confirm it is OK to post the Cash Transactions.
<Click> to close this window. Continue to <Click> until you exit all other windows.
A Payment Type of Transaction Clearing should be available in the list which will automatically populate 226 Transaction Clearing as the cash account, if this is not available, please call Quorum Accounting Support for assistance.
<Click> the (Full Screen) button to view the Cash Transaction in full screen mode.
<Click> the (Split Screen) button to return to split view.
Comptroller Level One Training Workbook 4.7.6
| Accounting | 2013-08-26 | Page 14
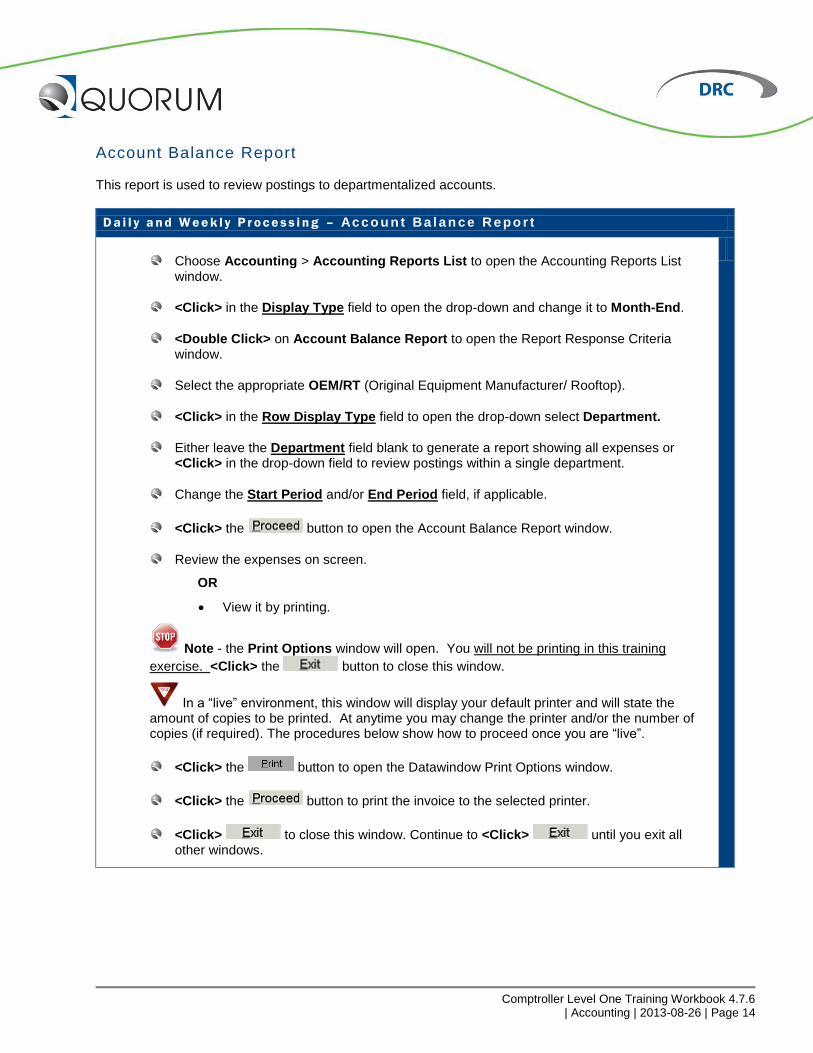
Account Balance Report This report is used to review postings to departmentalized accounts.
D a i l y a n d W e e k l y P r o c e s s i n g – Ac c o u n t Ba l a n c e R e po r t
Choose Accounting > Accounting Reports List to open the Accounting Reports List window.
<Click> in the Display Type field to open the drop-down and change it to Month-End.
<Double Click> on Account Balance Report to open the Report Response Criteria window.
Select the appropriate OEM/RT (Original Equipment Manufacturer/ Rooftop).
<Click> in the Row Display Type field to open the drop-down select Department.
Either leave the Department field blank to generate a report showing all expenses or <Click> in the drop-down field to review postings within a single department.
Change the Start Period and/or End Period field, if applicable.
<Click> the button to open the Account Balance Report window.
Review the expenses on screen.
OR
View it by printing.
Note - the Print Options window will open. You will not be printing in this training
exercise. <Click> the button to close this window.
In a “live” environment, this window will display your default printer and will state the amount of copies to be printed. At anytime you may change the printer and/or the number of copies (if required). The procedures below show how to proceed once you are “live”.
<Click> the button to open the Datawindow Print Options window.
<Click> the button to print the invoice to the selected printer.
<Click> to close this window. Continue to <Click> until you exit all other windows.
Comptroller Level One Training Workbook 4.7.6
| Accounting | 2013-08-26 | Page 15
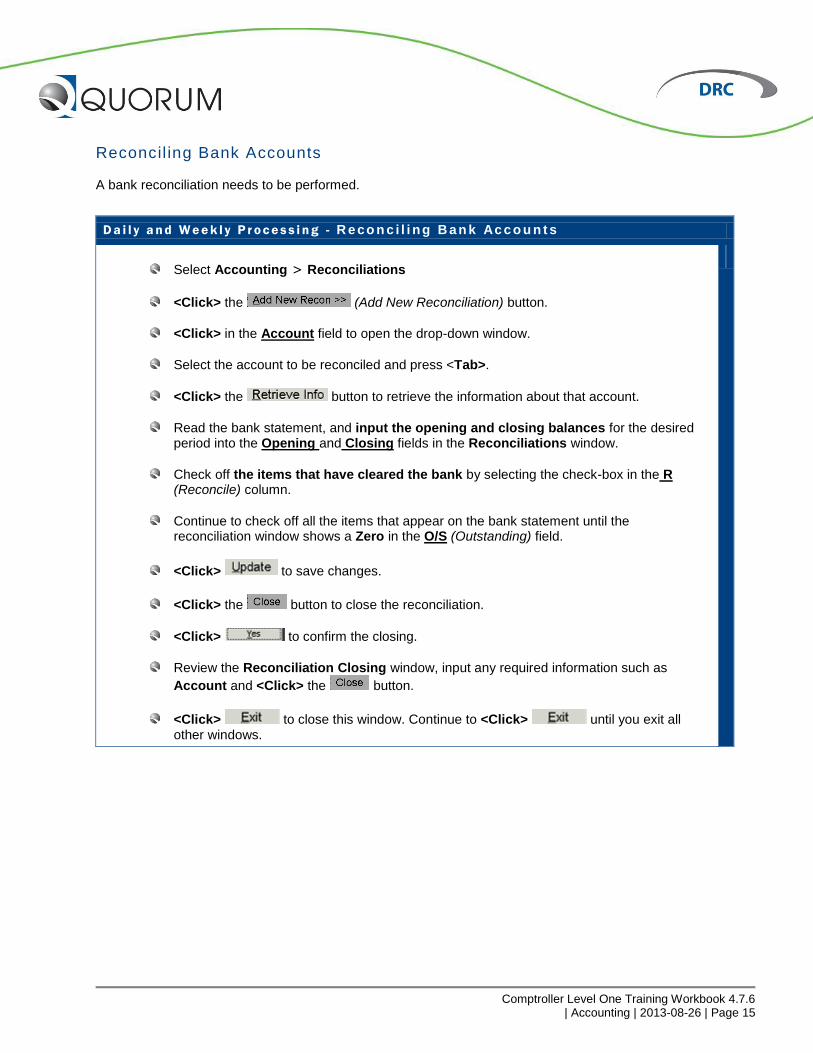
Reconcil ing Bank Accounts A bank reconciliation needs to be performed.
D a i l y a n d W e e k l y P r o c e s s i n g - R e co n c i l i ng B a n k Ac c o u n t s
Select Accounting > Reconciliations
<Click> the (Add New Reconciliation) button.
<Click> in the Account field to open the drop-down window.
Select the account to be reconciled and press <Tab>.
<Click> the button to retrieve the information about that account.
Read the bank statement, and input the opening and closing balances for the desired period into the Opening and Closing fields in the Reconciliations window.
Check off the items that have cleared the bank by selecting the check-box in the R (Reconcile) column.
Continue to check off all the items that appear on the bank statement until the reconciliation window shows a Zero in the O/S (Outstanding) field.
<Click> to save changes.
<Click> the button to close the reconciliation.
<Click> to confirm the closing.
Review the Reconciliation Closing window, input any required information such as
Account and <Click> the button.
<Click> to close this window. Continue to <Click> until you exit all other windows.

Comptroller Level One Training Workbook 4.7.6
| Accounting | 2013-08-26 | Page 16
Overriding Credit Limits
You can override an existing credit limit based on each transaction without increasing the credit limit. It
also posts the transaction and resets the credit limit. The functionality is password protected for security
purposes.
D a i l y a n d W e e k l y P r o c e s s i n g - Ov e r r i d in g C r e d i t L i mi t s
Required Setup
Choose Accounting > Accounting Control Tables > System Control Table Maintenance.
<Click> not to make changes to information without consent of the System Administrator.
From the Functional area field at the top of the window, select Accounting from the drop-down.
Using the <Down arrow> on the far right, scroll until you see the Override C/L (Override Credit Limit) <Click> to highlight the line.
In the lower portion of this window, in the Override C/L (Override Credit Limit) field, change the flat to YES.
<Click> to save changes.
Scroll back up to the beginning and find C/L Password.
In the lower portion of this window, in the C/L Password field, input a unique Password.
<Click> to save changes.
<Click> to close this window.
Process
When a Part Sale or Work Order has the payment type set to “charge” and the button is <Clicked>, a pop-up will appear if the customer is over the limit asking if the credit limit needs to be overridden.
<Click> to the message.
<Click> to override the credit limit.
Input the Password that was input in the set up section.
<Click> to save changes.
Comptroller Level One Training Workbook 4.7.6
| Accounting | 2013-08-26 | Page 17
D a i l y a n d W e e k l y P r o c e s s i n g - Ov e r r i d in g C r e d i t L i mi t s
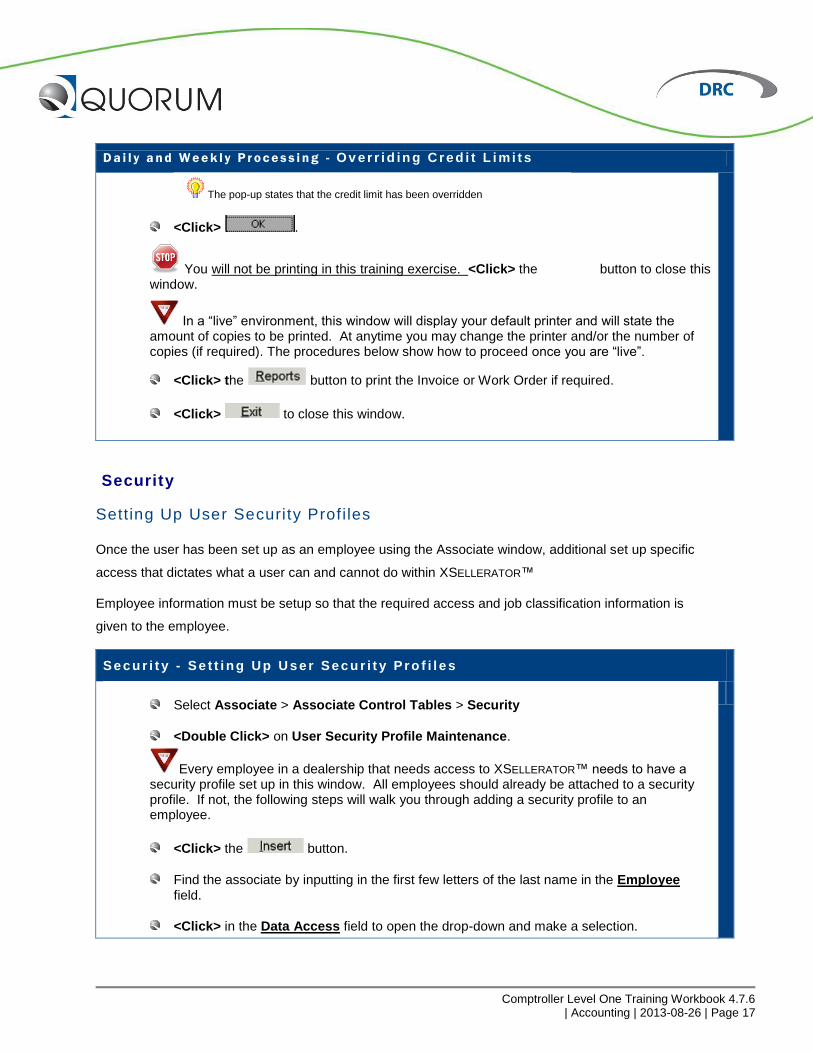
<Click> .
You will not be printing in this training exercise. <Click> the button to close this window.
In a “live” environment, this window will display your default printer and will state the amount of copies to be printed. At anytime you may change the printer and/or the number of copies (if required). The procedures below show how to proceed once you are “live”.
<Click> the button to print the Invoice or Work Order if required.
<Click> to close this window.
Security
Setting Up User Security Prof iles Once the user has been set up as an employee using the Associate window, additional set up specific
access that dictates what a user can and cannot do within XSELLERATOR™
Employee information must be setup so that the required access and job classification information is
given to the employee.
Se c u r i t y - Se t t i ng Up U s e r Se c u r i t y P r o f i l e s
Select Associate > Associate Control Tables > Security
<Double Click> on User Security Profile Maintenance.
Every employee in a dealership that needs access to XSELLERATOR™ needs to have a security profile set up in this window. All employees should already be attached to a security profile. If not, the following steps will walk you through adding a security profile to an employee.
<Click> the button.
Find the associate by inputting in the first few letters of the last name in the Employee field.
<Click> in the Data Access field to open the drop-down and make a selection.
The pop-up states that the credit limit has been overridden

Comptroller Level One Training Workbook 4.7.6
| Accounting | 2013-08-26 | Page 18
Se c u r i t y - Se t t i ng Up U s e r Se c u r i t y P r o f i l e s
<Click> in the Shared Template field to open the drop-down and make a selection that best relates to the associate’s position.
<Click> to save changes.
<Click> to close this window. Continue to <Click> until you exit all other windows.
Adding Window Objects to Employee/Shared Templates Additional security access needs to be granted to an employee or group.
Se c u r i t y - Ad d i n g Wi n d ow O b j e c t s t o Em p l o ye e / Sh a r e d T em p l a t e s
Select Associate > Associate Control Tables > Security
<Double Click> on User Security Shared/Employee Template Maintenance.
<Click> in the Display Status field to open the drop-down and select the appropriate Status. Shared Templates are generic templates for a particular position that can be shared among several employees (example. Service Advisor). Employee Templates are unique templates that were created for that specific employee only.
<Double Click> on the desired template.
<Click> the button.
<Click> item in the list shown to select the window title that needs to be added to the
Employee/Shared template and <Click> .
<Click> the button to repeat, until all desired window titles have been added.
<Click> to save changes.
<Click> to close this window. Continue to <Click> until you exit all other windows.
To select multiple window titles, hold down the <Ctrl> key as you <Click> each title.
Comptroller Level One Training Workbook 4.7.6
| Accounting | 2013-08-26 | Page 19
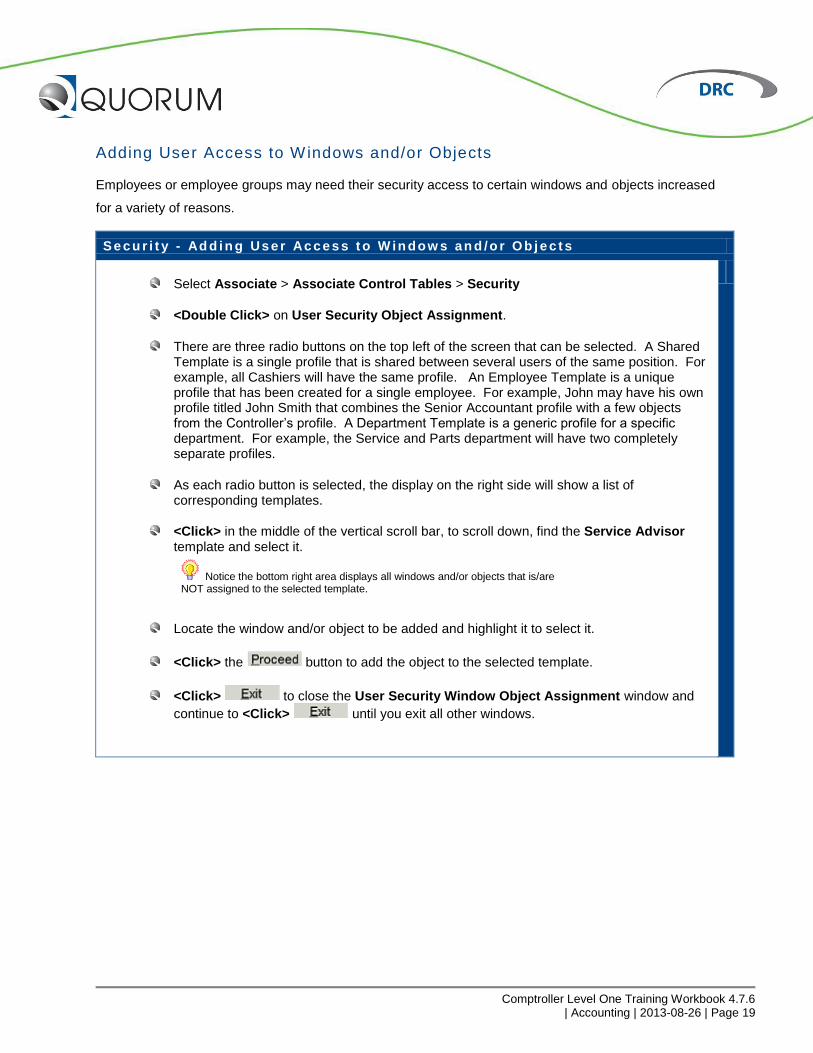
Adding User Access to Windows and/or Objects Employees or employee groups may need their security access to certain windows and objects increased
for a variety of reasons.
Se c u r i t y - Ad d i n g Us e r Ac c e s s t o W in dow s an d /o r Ob j e c t s
Select Associate > Associate Control Tables > Security
<Double Click> on User Security Object Assignment.
There are three radio buttons on the top left of the screen that can be selected. A Shared Template is a single profile that is shared between several users of the same position. For example, all Cashiers will have the same profile. An Employee Template is a unique profile that has been created for a single employee. For example, John may have his own profile titled John Smith that combines the Senior Accountant profile with a few objects from the Controller’s profile. A Department Template is a generic profile for a specific department. For example, the Service and Parts department will have two completely separate profiles.
As each radio button is selected, the display on the right side will show a list of corresponding templates.
<Click> in the middle of the vertical scroll bar, to scroll down, find the Service Advisor template and select it.
Locate the window and/or object to be added and highlight it to select it.
<Click> the button to add the object to the selected template.
<Click> to close the User Security Window Object Assignment window and
continue to <Click> until you exit all other windows.
Notice the bottom right area displays all windows and/or objects that is/are NOT assigned to the selected template.
Comptroller Level One Training Workbook 4.7.6
| Accounting | 2013-08-26 | Page 20
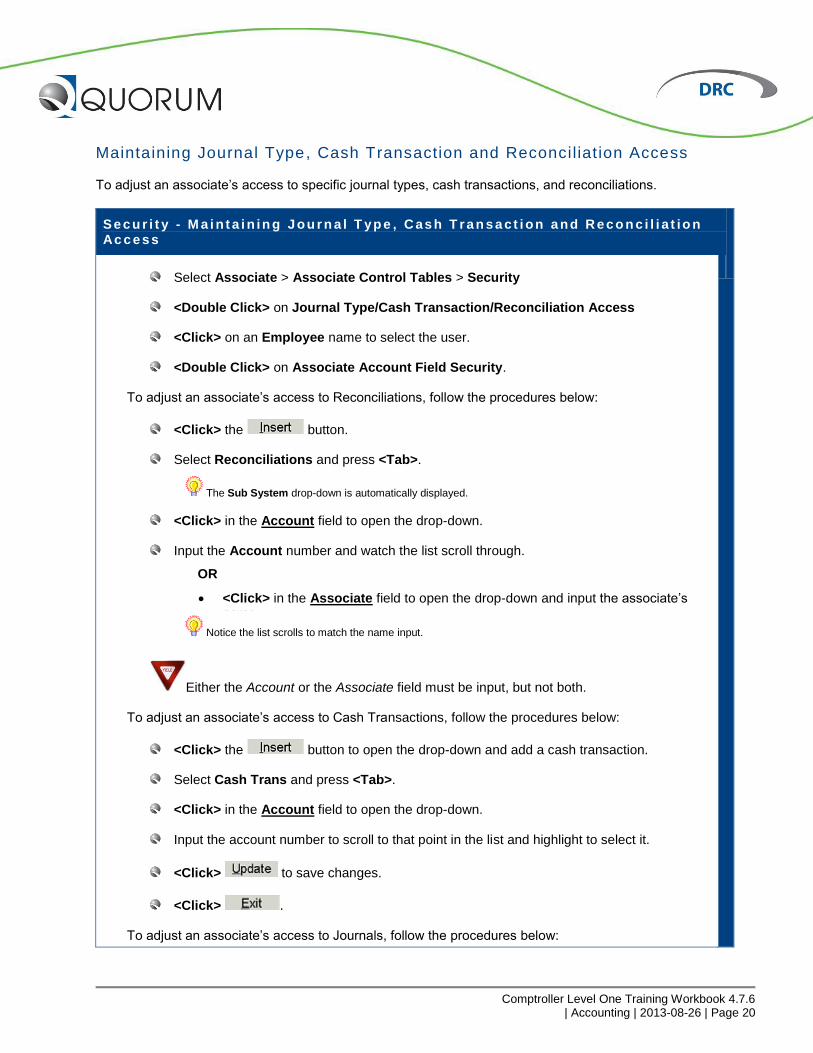
Maintaining Journal Type, Cash Transaction and Reconciliat ion Access
To adjust an associate’s access to specific journal types, cash transactions, and reconciliations.
Se c u r i t y - M a i n t a i n in g J ou r n a l T yp e , C as h T r a n s a ct i on a nd R e c o n c i l i a t io n Ac c e s s
Select Associate > Associate Control Tables > Security
<Double Click> on Journal Type/Cash Transaction/Reconciliation Access
<Click> on an Employee name to select the user.
<Double Click> on Associate Account Field Security.
To adjust an associate’s access to Reconciliations, follow the procedures below:
<Click> the button.
Select Reconciliations and press <Tab>.
<Click> in the Account field to open the drop-down.
Input the Account number and watch the list scroll through.
OR
<Click> in the Associate field to open the drop-down and input the associate’s name.
Either the Account or the Associate field must be input, but not both.
To adjust an associate’s access to Cash Transactions, follow the procedures below:
<Click> the button to open the drop-down and add a cash transaction.
Select Cash Trans and press <Tab>.
<Click> in the Account field to open the drop-down.
Input the account number to scroll to that point in the list and highlight to select it.
<Click> to save changes.
<Click> .
To adjust an associate’s access to Journals, follow the procedures below:
The Sub System drop-down is automatically displayed.
Notice the list scrolls to match the name input.
Comptroller Level One Training Workbook 4.7.6
| Accounting | 2013-08-26 | Page 21
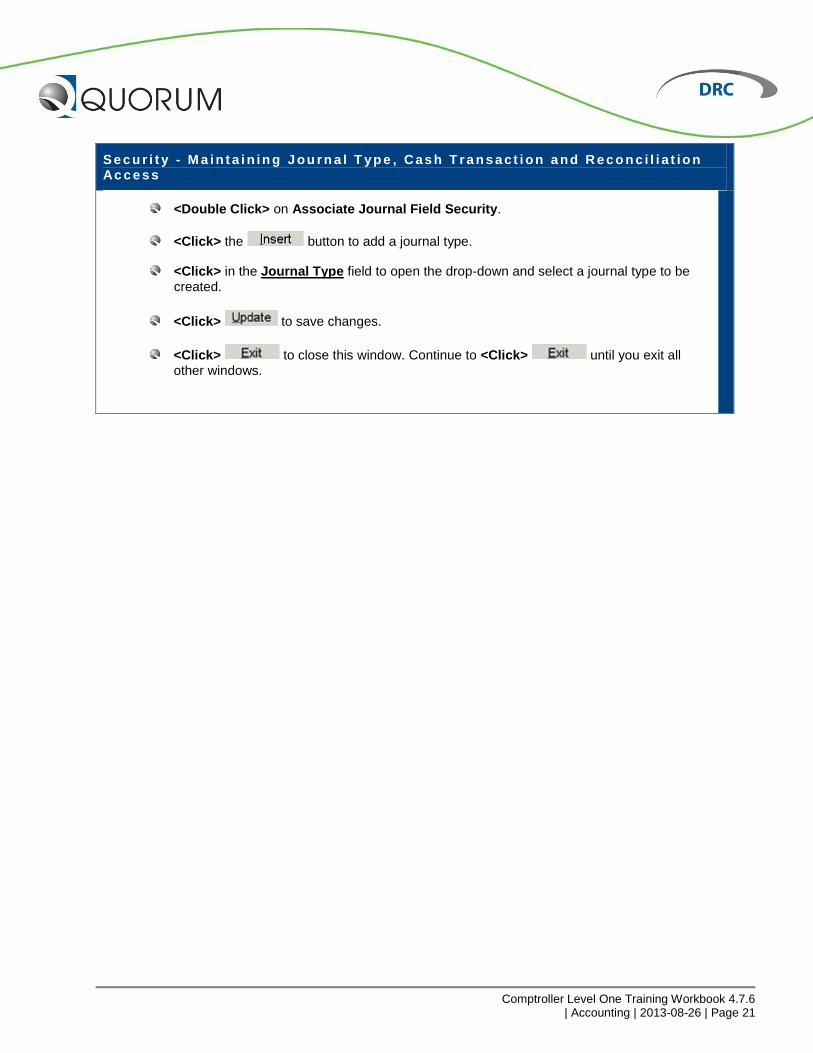
Se c u r i t y - M a i n t a i n in g J ou r n a l T yp e , C as h T r a n s a ct i on a nd R e c o n c i l i a t io n Ac c e s s
<Double Click> on Associate Journal Field Security.
<Click> the button to add a journal type.
<Click> in the Journal Type field to open the drop-down and select a journal type to be created.
<Click> to save changes.
<Click> to close this window. Continue to <Click> until you exit all other windows.

Comptroller Level One Training Workbook 4.7.6
| Accounting | 2013-08-26 | Page 22
Exercise Completion Please fill out the exercise tables and submit the confirmation to your manager.
Ex e r c i s e C o m p l e t ion
Exercise 1 – Issuing a Quick Cheque
Supplier Name Journal ID
Exercise 2 – Creating and Posting Vehicle Sales Journal
Journal #
Exercise 3 – Creating a Recurring Journal Entry
Journal #
EMPLOYEE NAME

Comptroller Level One Training Workbook 4.7.6
| Accounting | 2013-08-26 | Page 23
Notes