basic top down classic sock on one 12 ... -...
TRANSCRIPT
BASIC TOP DOWN CLASSIC SOCK ON ONE 12" CIRCULAR NEEDLE
Materials:
*100 gr (400yds +) fingering weight sock yarn
*One 12" metal tipped circular needle size 2.5 mm(US1)
( either Addi, ChiaoGoo, or HiyaHiya)
*Five Double Point needles, size 2.5 mm
*Three colored stitch markers
*Row Counter (Clover click,Phone or Ipad app,calculator...something that shows the number of
the row being worked.)
*Tapestry needle to work in ends
Cast On
The cast on is the most important element of this method. The cast on MUST be loose enough to
span the needle and slide around. Do not worry if this looks too wide and stretchy...the ribbed
cuff will pull into shape later, but the looseness is required to accommodate the span of the
needle and the later inserted foot!
Using a 33" tail, LOOSELY cast on 60 sts, long tail method.(If this is a problem for you, cast the
sts onto a needle two sizes larger and transfer them to the 12" circ needle.)
Place a marker to denote the beginning on the right hand needle, and join into a ring, being
careful that the sts are not twisted, and by knitting the first stitch with BOTH the tail yarn and the
working yarn. Before knitting the second stitch, tug the tail yarn to really close the ring and then
pass it over the working yarn and drop it. Proceed with just the working yarn.. Purl 2, Knit 2
around. The cast on was Row 1, so this first row of ribbing counts as Row 2.
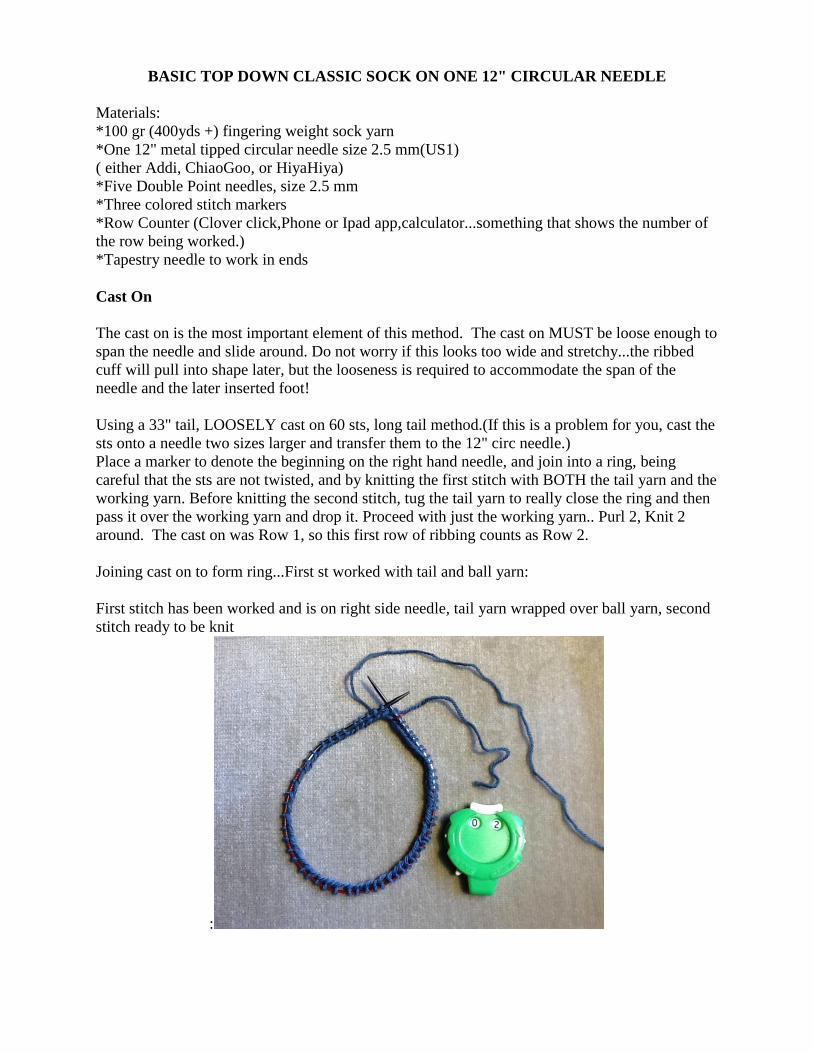
Joining cast on to form ring...First st worked with tail and ball yarn:
First stitch has been worked and is on right side needle, tail yarn wrapped over ball yarn, second
stitch ready to be knit
:

Always remember to hit your row counter every time you pass the marker. The counter should
always show the row that you are working on. This will help you greatly when working the
gusset and toe decreases, because just a glance at the counter tells you if you are to decrease or
not.
Work ten rows total of K2, P2 Ribbing for the "cuff" of the sock.
After the ribbing is finished, you may work in the tail yarn end to get it out of the way.
Thread the yarn through a tapestry needle and wrap it around a column of knit sts on the reverse
side:
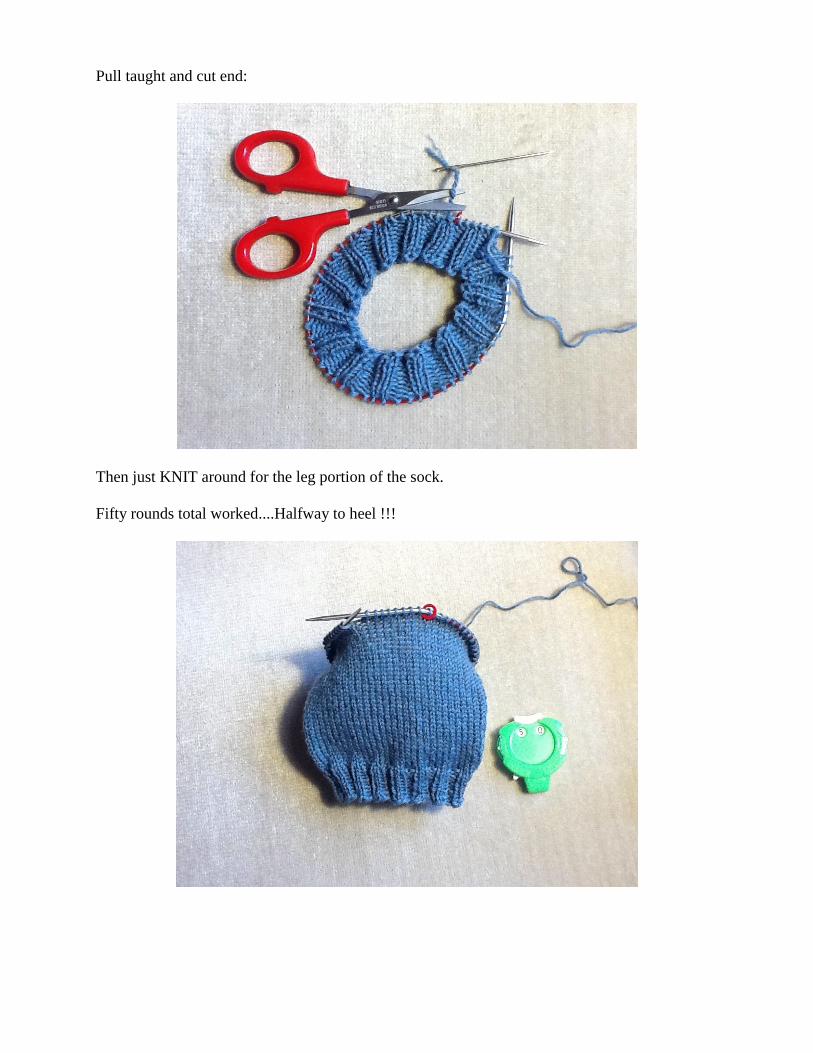
Pull taught and cut end:
Then just KNIT around for the leg portion of the sock.
Fifty rounds total worked....Halfway to heel !!!
Heel Flap
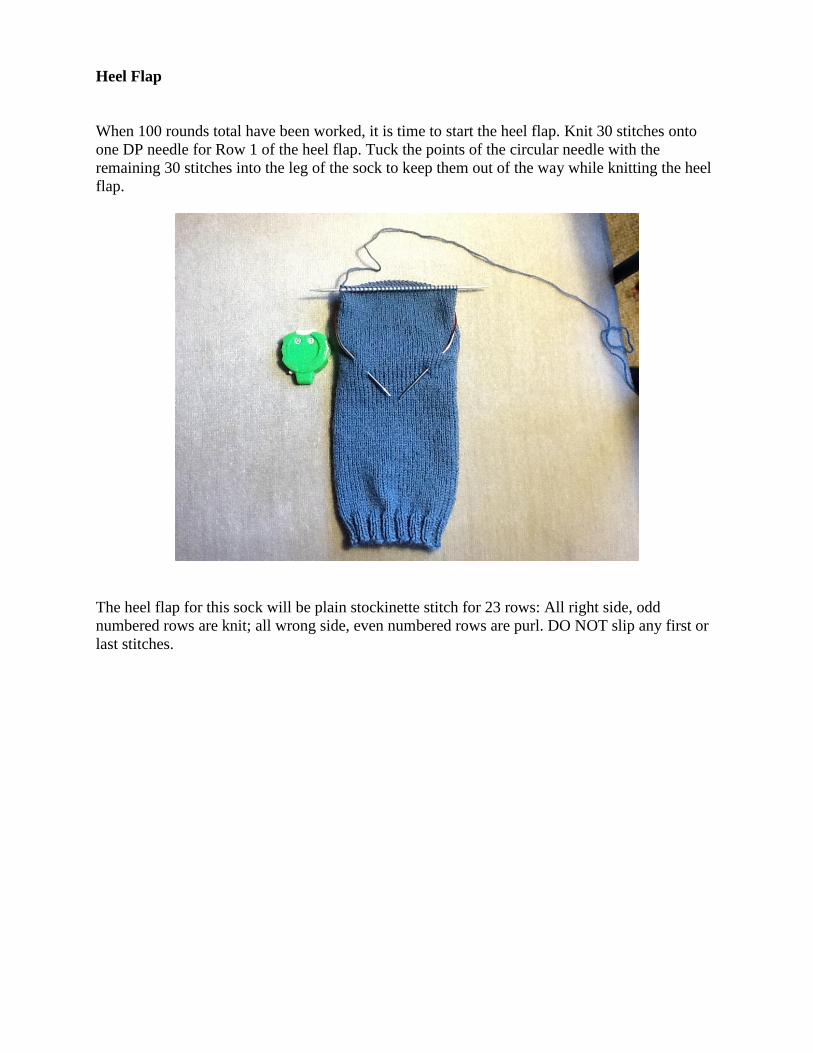
When 100 rounds total have been worked, it is time to start the heel flap. Knit 30 stitches onto
one DP needle for Row 1 of the heel flap. Tuck the points of the circular needle with the
remaining 30 stitches into the leg of the sock to keep them out of the way while knitting the heel
flap.
The heel flap for this sock will be plain stockinette stitch for 23 rows: All right side, odd
numbered rows are knit; all wrong side, even numbered rows are purl. DO NOT slip any first or
last stitches.
Heel Turn
On Row 24 (wrong side) you begin the heel turning, which is simply a series of short rows: Purl
17, P2 tog, Purl 1, turn,
Slip 1, K 5, K2 tog, K 1, turn,
Slip 1, P 6, P2 tog, P1, turn,
Slip 1, K 7, K2 tog, K1, turn,
Slip 1, P 8, P2 tog, P1, turn,
Slip 1, K9, K2tog, K1, turn,
Slip 1, P10, P2tog, P1, turn,
Slip 1, K11, K2tog, K1, turn,
Slip 1, P12, P2tog, P1, turn,
Slip 1, K13, K2tog, K1, turn,
Slip 1, P14, P2tog, P1, turn,
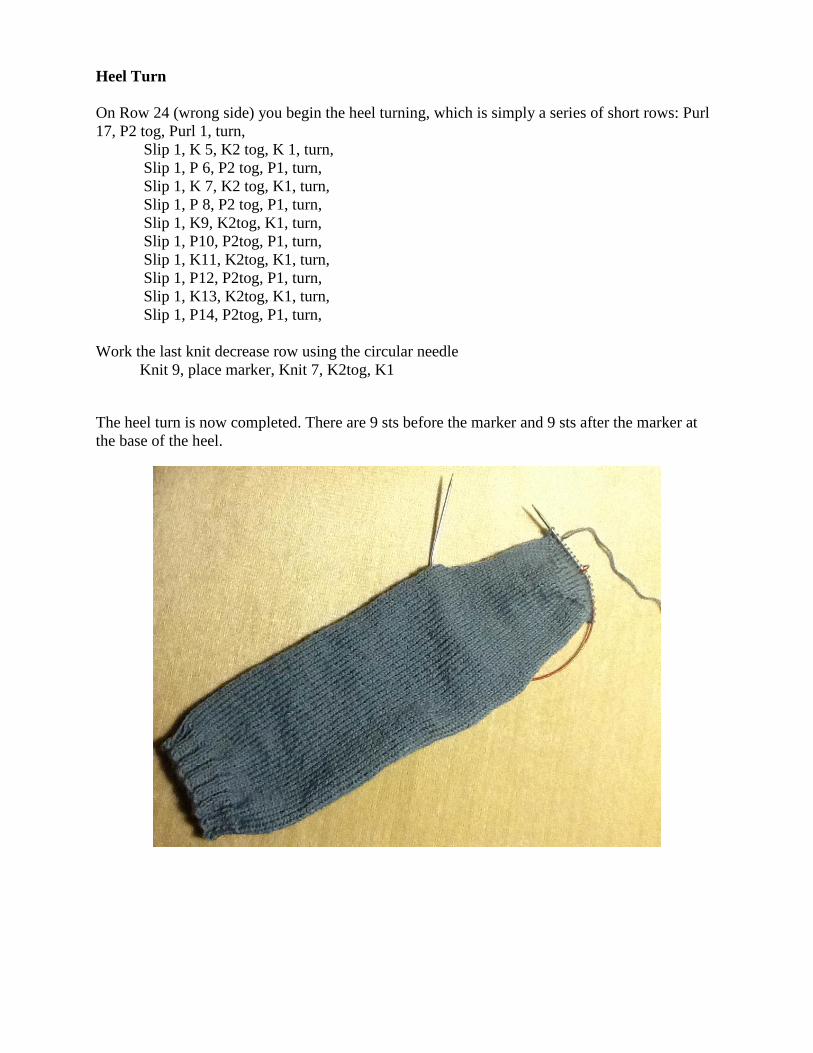
Work the last knit decrease row using the circular needle
Knit 9, place marker, Knit 7, K2tog, K1
The heel turn is now completed. There are 9 sts before the marker and 9 sts after the marker at
the base of the heel.

Picking Up Stitches for Heel Gusset
Inserting the needle BETWEEN the last and second sts along the edge of the heel flap, Pick up
15 sts along first edge. That is: (Pick up 2 sts, skip 1) in the "ditch" between the stitches.
(The end stitch is the selvedge that ends up on the inside of the sock.)
Then pick up the 16th stitch in the top of the last round of the leg sts, place an alternate color
marker on the needle
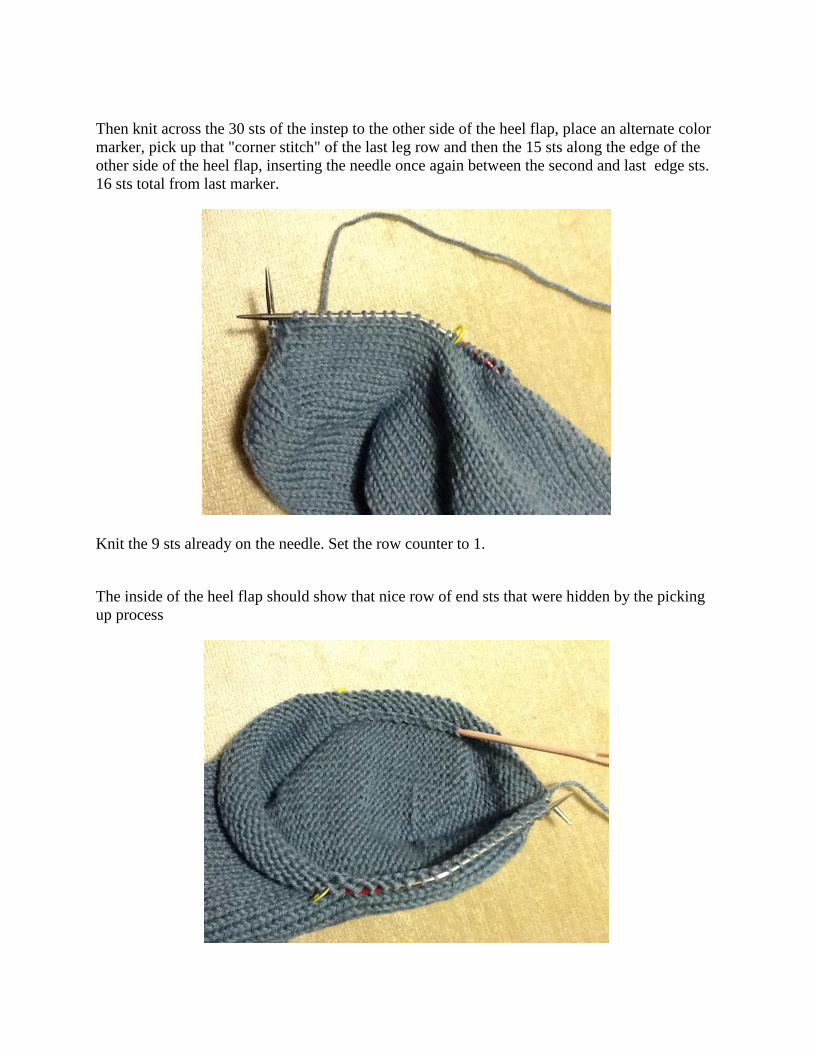
Then knit across the 30 sts of the instep to the other side of the heel flap, place an alternate color
marker, pick up that "corner stitch" of the last leg row and then the 15 sts along the edge of the
other side of the heel flap, inserting the needle once again between the second and last edge sts.
16 sts total from last marker.
Knit the 9 sts already on the needle. Set the row counter to 1.
The inside of the heel flap should show that nice row of end sts that were hidden by the picking
up process
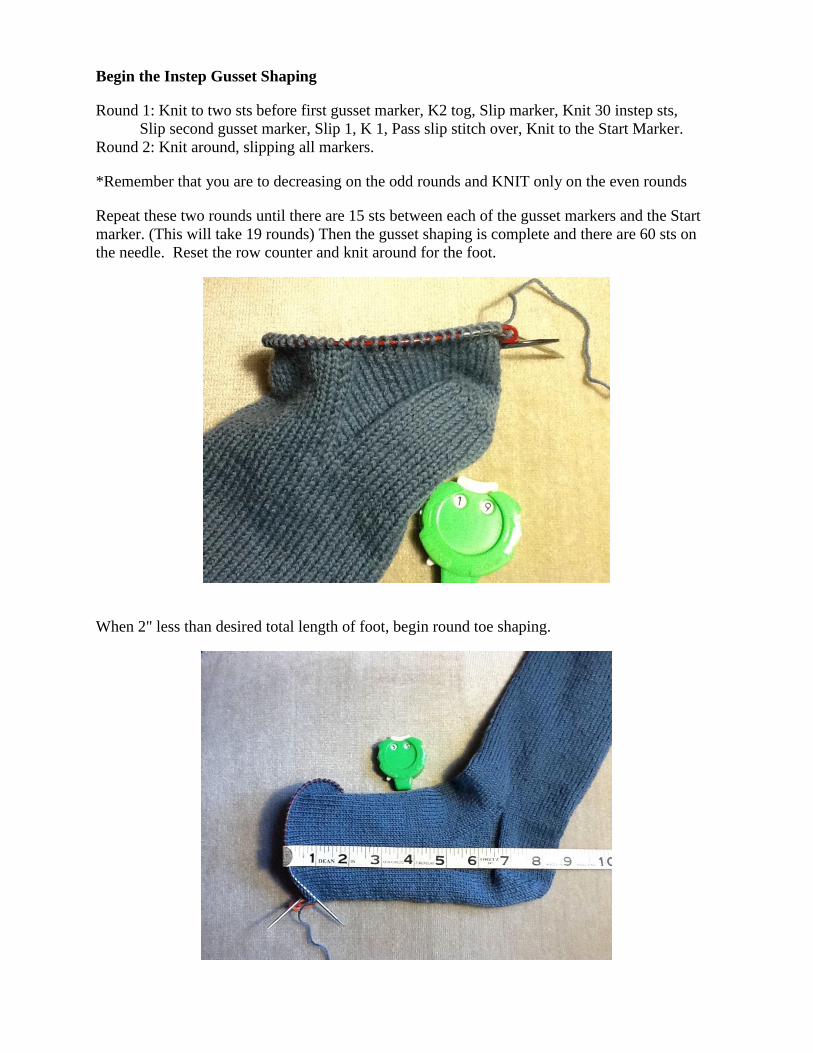
Begin the Instep Gusset Shaping
Round 1: Knit to two sts before first gusset marker, K2 tog, Slip marker, Knit 30 instep sts,
Slip second gusset marker, Slip 1, K 1, Pass slip stitch over, Knit to the Start Marker.
Round 2: Knit around, slipping all markers.
*Remember that you are to decreasing on the odd rounds and KNIT only on the even rounds
Repeat these two rounds until there are 15 sts between each of the gusset markers and the Start
marker. (This will take 19 rounds) Then the gusset shaping is complete and there are 60 sts on
the needle. Reset the row counter and knit around for the foot.
When 2" less than desired total length of foot, begin round toe shaping.

Round Toe Shaping
Set row counter to Zero and place a safety pin marker in first st to denote beginning.
Divide the stitches onto 4 DP needles, starting from the center of the sole of the sock.....15 sts
onto each needle.
Begin shaping:
Round 1: (Knit to last 2 sts on needle, K2 tog) each needle
Round 2: Knit all sts
* Remember when using your row counter that you decrease on odd numbered rounds and KNIT
only on even numbered rounds.
Repeat these two rounds 7 MORE times .
There are now 7 sts on each needle.
K2 tog at the end of each needle EVERY round until 2 sts remain on each needle.
Cut yarn, leaving a 5" tail, thread through small tapestry needle and sew around through all 8 sts,
pull taught, and push needle through center to wrong side and secure.
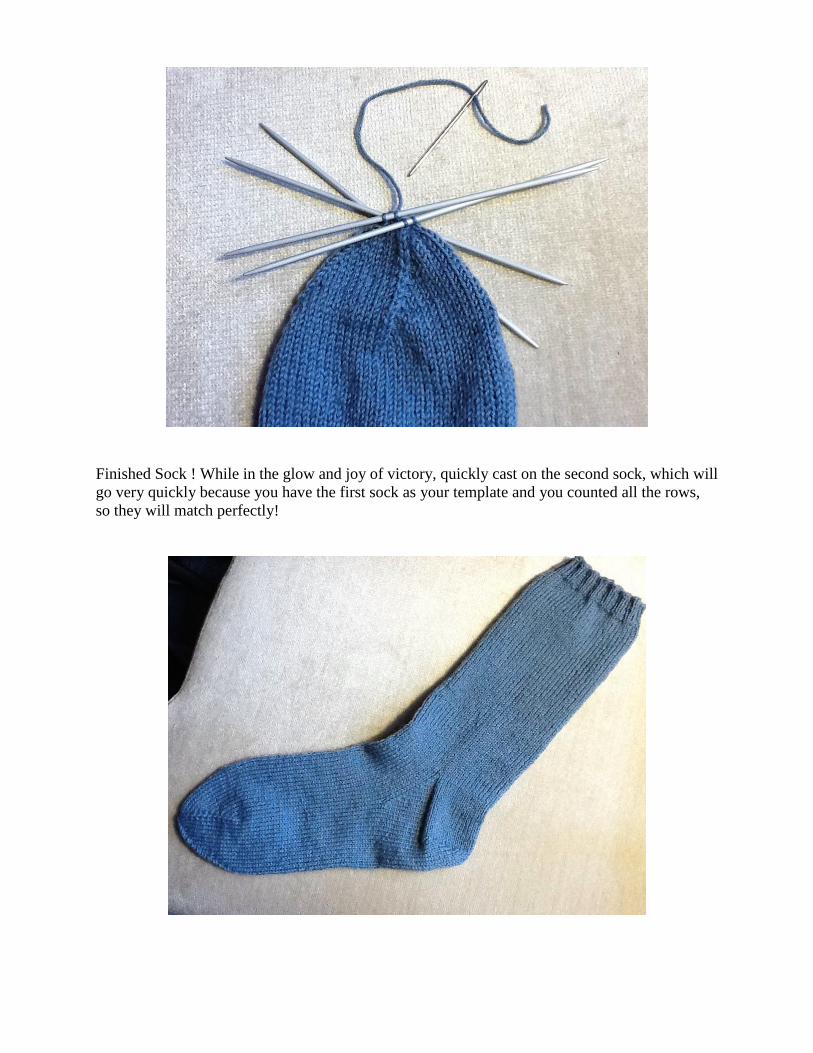
Finished Sock ! While in the glow and joy of victory, quickly cast on the second sock, which will
go very quickly because you have the first sock as your template and you counted all the rows,
so they will match perfectly!