basic navigation using map and compass - 22 (sandy ... navigation using map and compass learning...
TRANSCRIPT

Uncontrolled copy not subject to amendment
Basic Navigation Using Map and Compass

Basic Navigation Using Map and Compass
Learning Outcome 2:
Be able to use a map and lightweight walking compass for practical navigation

The Compass
There are a variety of different compass styles
This is a Silva compass
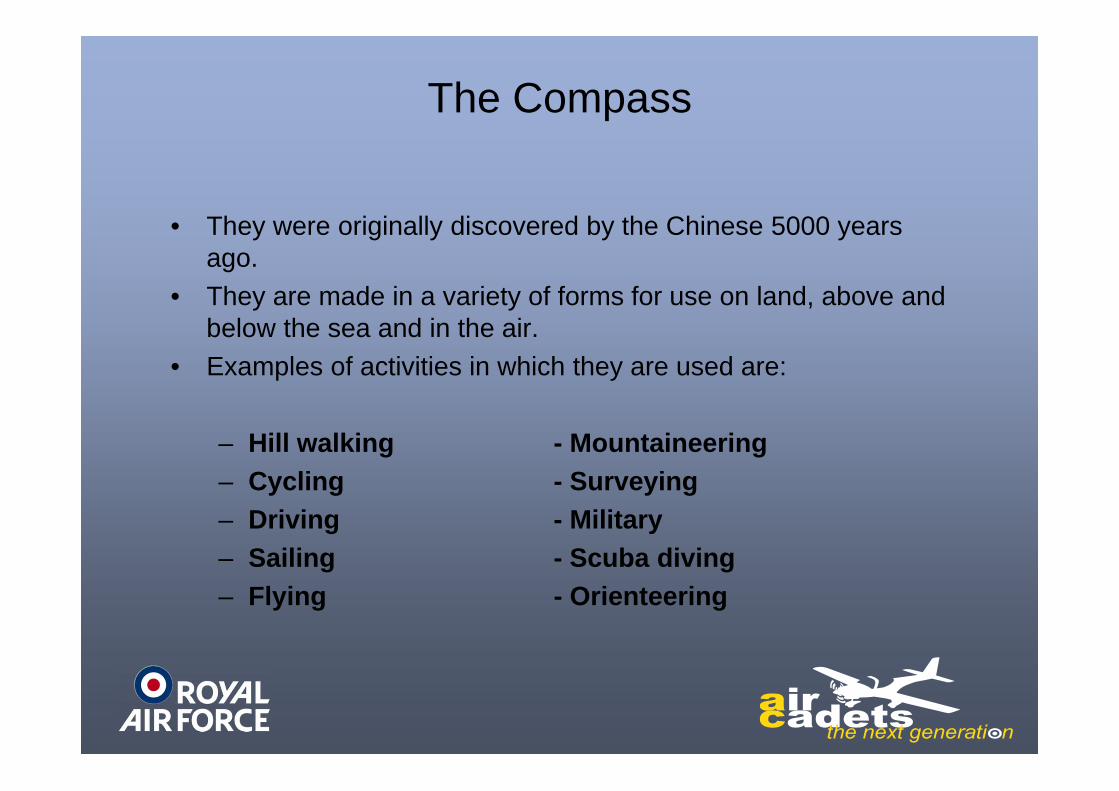
The Compass
• They were originally discovered by the Chinese 5000 years ago.
• They are made in a variety of forms for use on land, above and below the sea and in the air.
• Examples of activities in which they are used are:
– Hill walking - Mountaineering– Cycling - Surveying– Driving - Military– Sailing - Scuba diving – Flying - Orienteering

Parts of the Compass
• The compass can be broken down into various components.
• We will look at each component separately to define its use.
Silva Compass

Base Plate and Compass Housing
• The Base Plate is the mounting for the housing and displays a variety of information, e.g. scale ruler.
• The Compass Housing contains a magnetic bar, called the Needle and defines the points of the compass on a rotating bezel.
Compass Housing
Base Plate
Silva CompassSilva Compass

The Compass Needle
• The Needle is suspended in liquid which enables it to move freely, always settling with the red end pointing North.
• Some needles are luminous to help navigation in the dark.
Silva Compass
Needle
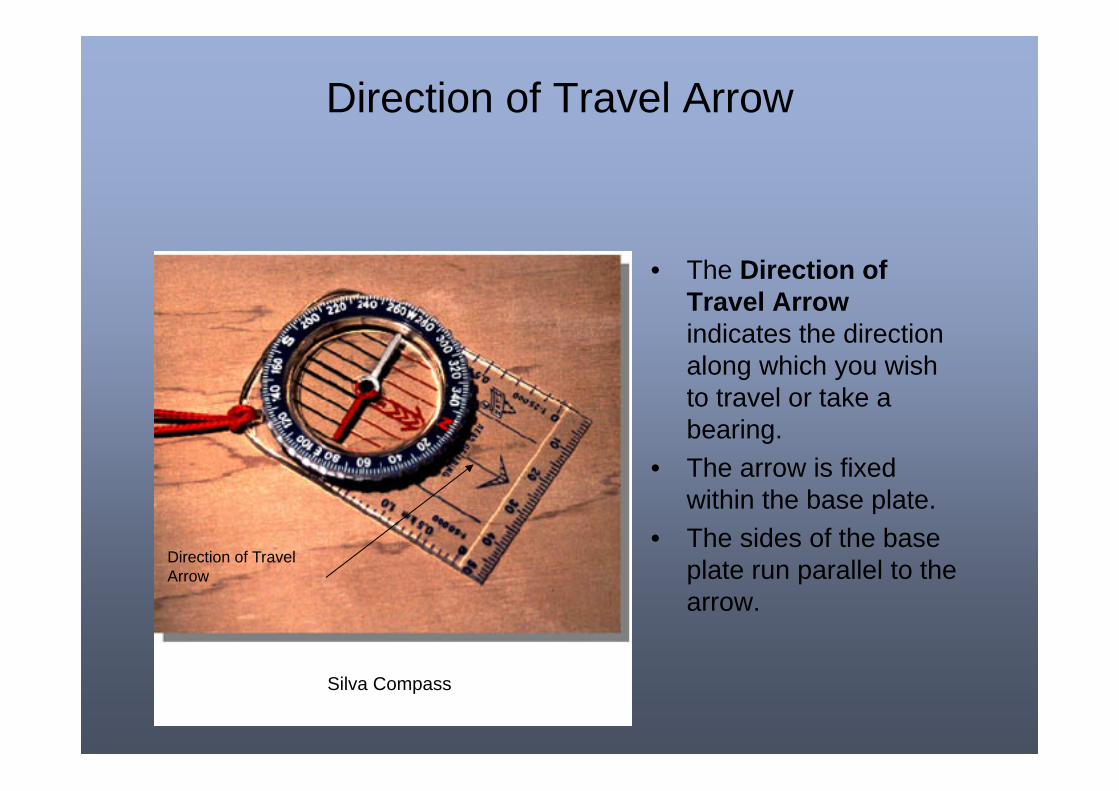
Direction of Travel Arrow
• The Direction of Travel Arrowindicates the direction along which you wish to travel or take a bearing.
• The arrow is fixed within the base plate.
• The sides of the base plate run parallel to the arrow.
Silva Compass
Direction of Travel Arrow

The Index Line
• The Index Line is a fixed line within the compass housing and is in line with the direction of travel arrow.
• The index line marks the bearing you set by rotating the bezel.
Silva Compass
Index Line

Orientating Lines
• The Orientating Lines are displayed within the rotating compass housing and are designed to be aligned parallel with the Eastings on a map.
• The orientating lines on some compass models show one half of the lines in red to depict north.
Silva Compass
Orienting Lines

Compass Scale
• Nearly all compasses have a centimetre scale along the edge of the base plate to enable you to measure distances.
• Used in conjunction with the scale at the bottom of the map, the Compass Scale enables you to calculate the distance on the ground. Silva Compass
Compass Scale

Baseplate Compass

Cardinal Points (Compass Points)
North
West East
South
North East : 45º
South West : 225º South East : 135º
North West : 315º
270º
180º
90º
0º & 360º

Bearings are taken in degrees – the cardinal points are divided up into 360º and measured clockwise
North
West East
South
North East : 45º
South West : 225º South East : 135º
North West : 315º
0º & 360º
270º
180º
90º

Grid Magnetic Angle
• The difference in degrees between Magnetic (Mag)North and Grid North is referred to as the Grid Magnetic Angle (usually 4º West in UK).
Grid North
True North
Magnetic North
Grid Magnetic Angle
(4º)

Map and Compass Work
Mag to Grid…………. GET RID
Grid to Mag………….ADD
(usually 4º West in UK)

Map and Compass Work
• When working from the map we deal with Grid Bearings.
• When following a compass on the ground we work with Magnetic Bearings.
• There is a simple system which enables us to convert Grid to Mag and Mag to Grid.
• The system refers to whether we add or subtract the Grid Magnetic Angle to convert the bearing.

Points to note
• Stand clear of metal objects when using the compass. They will cause the needle to deviate and create inaccurate bearings. Objects as small as watches can make a difference.
• Hold the compass as flat as possible to allow the needle to move freely.
• Look after your compass – try to avoid dropping or knocking it.
• Store away from other compasses and electrical equipment.
• Your compass may need replacing if a large air bubble forms in the compass housing.

Setting a compass heading

Map to Ground
Grid to Mag………….ADD

Map to Ground
• Select a start and finish point on the map.• Line up the edge of the compass with the line along
which you intend to travel.
• Keeping the base plate static – rotate the compass housing until the orienting lines are parallel with the Eastings and the red ‘N’ is pointing to North on your map.

Map to Ground
• Read the bearing shown on the housing from the index line.
• Remember – Grid to Mag……Add.• Add the Grid Magnetic Angle shown at the top of the
map (usually 4º West in UK).• You now have your magnetic bearing of the course you
have chosen. The next step is to orientate yourself.

Orientating
• Hold your compass level and steady.
• Turn your body until the red end of the needle is in line with the red ‘N’ on the housing.
• The direction of travel arrow is now pointing along the route you chose from the map and you are ready to travel.

Following the Compass Bearing
• Hold your compass level and steady.• Ensure that the red end of the needle is in line with
the red ‘N’ on the housing every time you refer to the compass bearing.
• Follow the direction of travel arrow. You will find it easier to line up the direction arrow with a physical feature on the ground (e.g. tree, pylon, tower). Use this as a reference point which you can move towards. This is easier than following the compass every inch of the way.

Map to Ground

Ground to Map
Mag to Grid…………. GET RID
Ground to Map
• Select the feature on the ground to which you wish to take a bearing.
• Hold the compass steady and level.• Point the direction of travel arrow at the feature.• Rotate the housing until the red end of the needle is
in line with the red ‘N’ on the housing.

Ground to Map
• This is your Mag bearing which you can either travel along or convert to a grid bearing.
• To plot on the map you should first locate your own position and mark it.
• Convert the Mag bearing to a Grid bearing by Mag to Grid……Get Rid. (Usually 4º West in UK.)
• Subtract the Grid Magnetic Angle.

Ground to Map
Place the compass on the map and keeping the bearing set on the housing, rotate the whole compass until the orientating lines are parallel to the Eastings on
the map. The edge of the compass should run through your position and show the bearing on the
map.
Ground to Map
By turning your body until the red end of the needle is in line with the red ‘N’ on the housing you have now
orientated yourself and the map.

Ground to Map
Take a bearing – deduct the magnetic variation – rotate the compass to get the orientating lines parallel to the grid lines – you are somewhere on
that line

Resection
Now take 2 bearings from other features
Your position is the centre of the triangle

Setting the map with a compass

Quick Orientation
You can orientate yourself and the map to the ground at any time using this easy system:
A. Lay the compass on the map.B. Line the edge of the compass and the
orientating lines up with the Eastings.C. Turn your body until the red end of
the needle is in line with the red ‘N’ on the housing.
You and your map are now facing North.

Compass and map

Back bearing

Scales and Roamer
Read the lowest number

Measuring distances on a map
Mark the position of the 2 featuresPlace the straight edge of the paper
against the scale and read off the distance

How GPS works