activity booklet for lego play box · 2019-01-08 · activity. • if needed, arrange the room or...
TRANSCRIPT
1
The LEGO Foundation
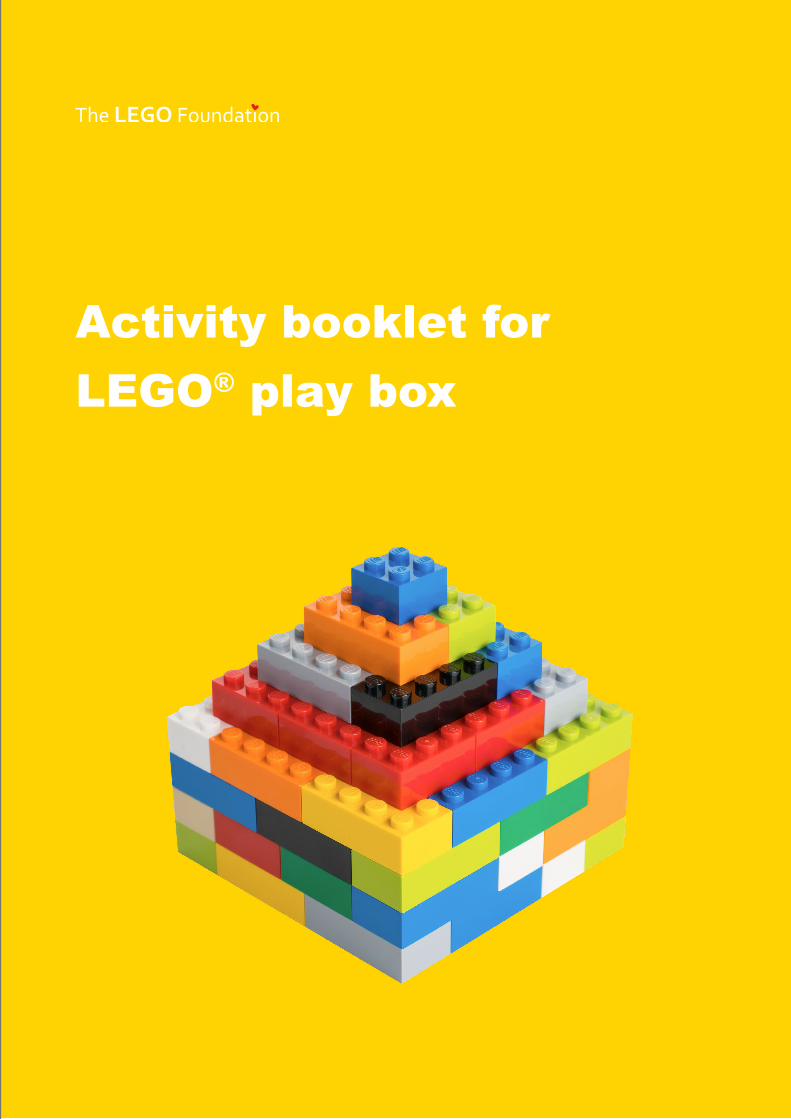
Activity booklet for LEGO® play box
32
Table of ContentsTable of Contents
Table of Contents
Introduction • 4About the LEGO Foundation • 4Learning through Play • 4Developing the whole child • 6The role of the adult • 7Tips for conducting the activities • 8LEGO® vocabulary • 9Introducing the activities • 10Getting Started • 12Colour Collect • 12Mini-tower • 13Fantasy Creature • 14Association of Colours • 15
Introduction • 4
Getting started • 12
Let’s move • 16
Brain boosters • 22
Let’s move • 16Tricky Balancing • 16Hurdle • 17Move it • 18Bowling • 19Brick Balance • 20Building Together • 21Brain boosters • 22Dice and Stack • 22Parachutes • 23Preposition Piles • 24Bigger or Smaller • 25Hanging Cube • 26Brick Graphs • 27Car Race • 28Maze Fun • 29
Imagine and create • 30Spark Imagination • 30Animate the Letter • 31Build a Story • 32Creationary • 33Co-creation • 34Deserted Island • 35 Time to reflect • 36Happy or Sad • 36Challenge Building • 37Personal strengths • 38Build your Dream • 39Gratitude • 40Road Safety • 41
Working together • 42Build a Tower • 42Team Model • 43The Imitation Game • 44Back to Back • 45Grid Communicator • 46Tips and tricks • 47Creating your own activities • 48Activity template • 49
Imagine and create • 30
Time to reflect • 36
Working together • 42
Tips and tricks • 47
LEGO and the Minifigure are trademarks of the LEGO Group. ©2016 The LEGO Group
4 5
Introduction
Learning through Play
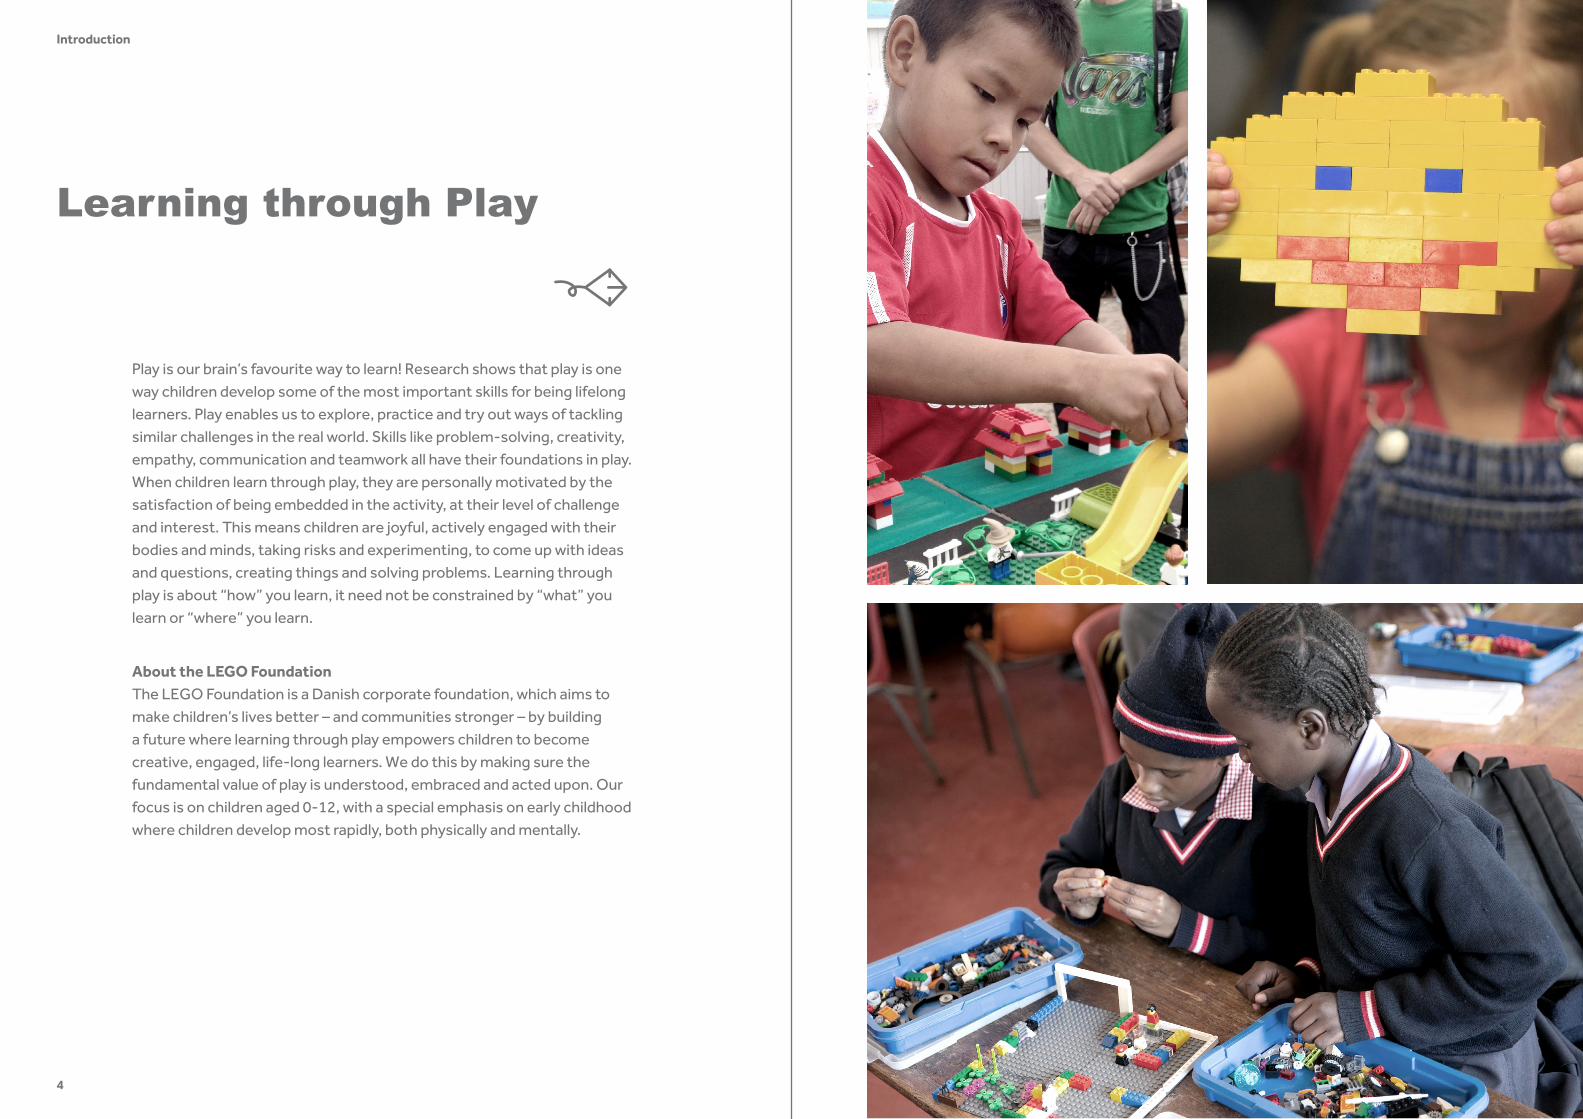
About the LEGO FoundationThe LEGO Foundation is a Danish corporate foundation, which aims to make children’s lives better – and communities stronger – by building a future where learning through play empowers children to become creative, engaged, life-long learners. We do this by making sure the fundamental value of play is understood, embraced and acted upon. Our focus is on children aged 0-12, with a special emphasis on early childhood where children develop most rapidly, both physically and mentally.
Play is our brain’s favourite way to learn! Research shows that play is one way children develop some of the most important skills for being lifelong learners. Play enables us to explore, practice and try out ways of tackling similar challenges in the real world. Skills like problem-solving, creativity, empathy, communication and teamwork all have their foundations in play.When children learn through play, they are personally motivated by the satisfaction of being embedded in the activity, at their level of challenge and interest. This means children are joyful, actively engaged with their bodies and minds, taking risks and experimenting, to come up with ideas and questions, creating things and solving problems. Learning through play is about “how” you learn, it need not be constrained by “what” you learn or “where” you learn.
6 7
Introduction
Developing the whole child
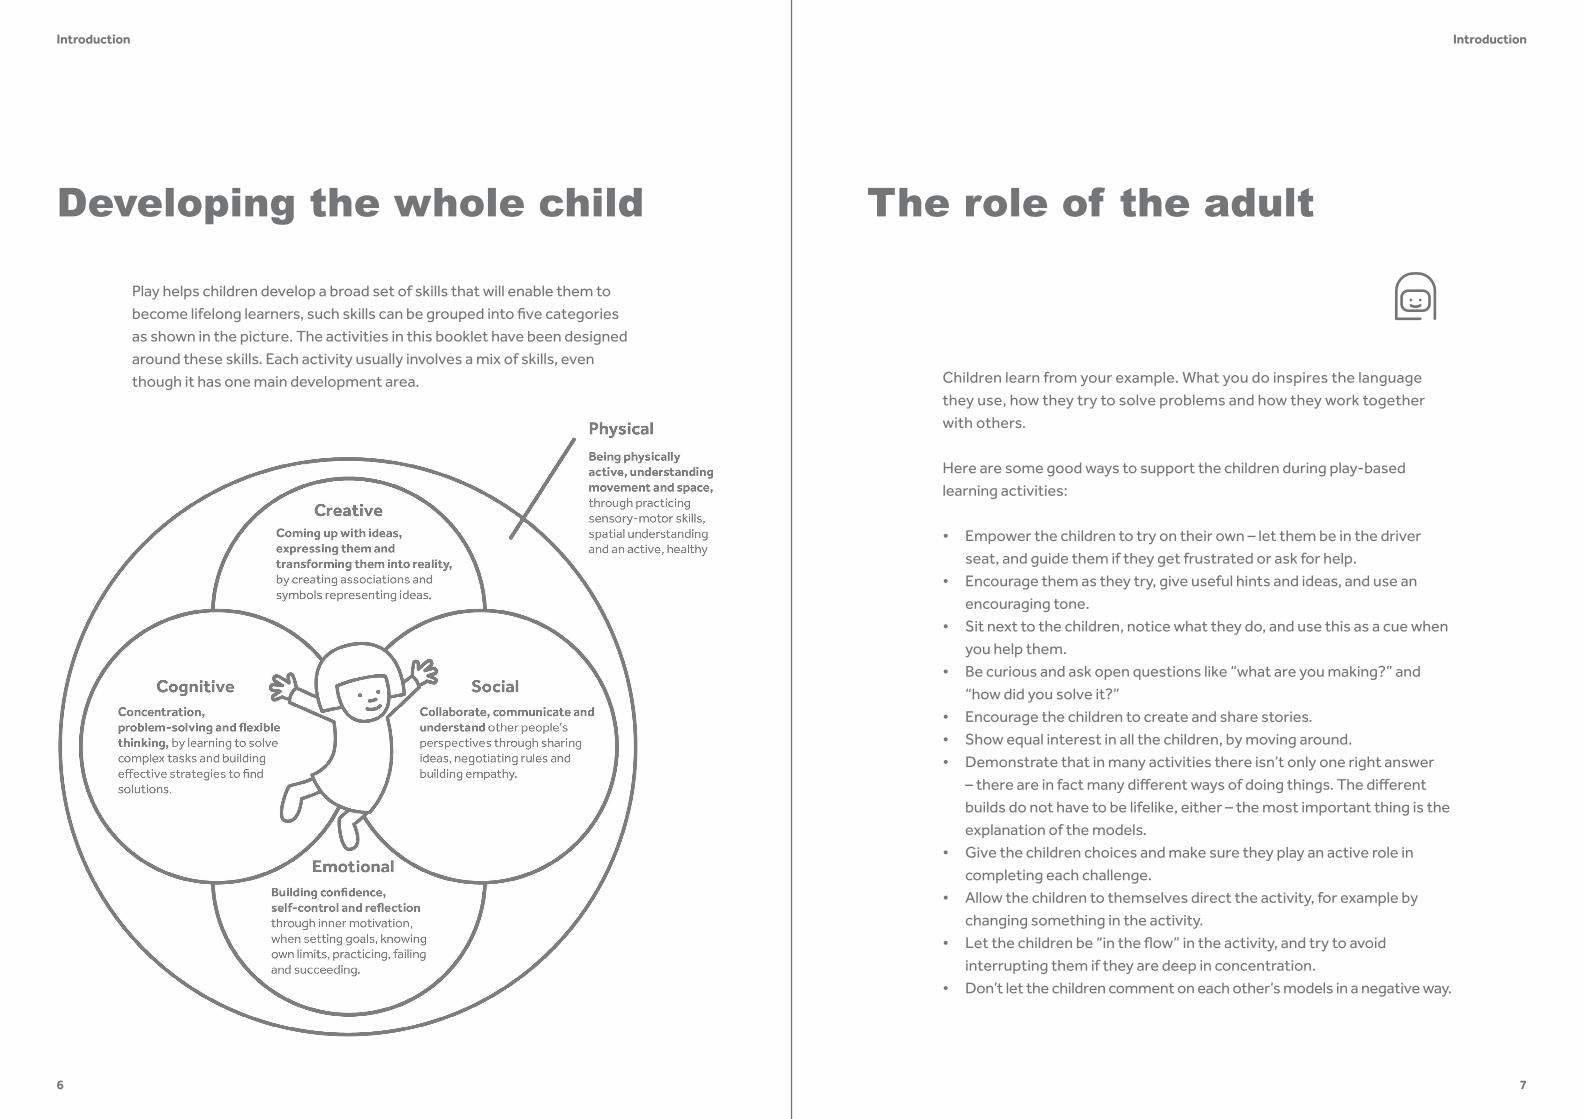
Play helps children develop a broad set of skills that will enable them to become lifelong learners, such skills can be grouped into five categories as shown in the picture. The activities in this booklet have been designed around these skills. Each activity usually involves a mix of skills, even though it has one main development area.
Introduction
The role of the adult
Children learn from your example. What you do inspires the language they use, how they try to solve problems and how they work together with others.
Here are some good ways to support the children during play-based learning activities:
• Empower the children to try on their own – let them be in the driver seat, and guide them if they get frustrated or ask for help.
• Encourage them as they try, give useful hints and ideas, and use an encouraging tone.
• Sit next to the children, notice what they do, and use this as a cue when you help them.
• Be curious and ask open questions like “what are you making?” and “how did you solve it?”
• Encourage the children to create and share stories.• Show equal interest in all the children, by moving around.• Demonstrate that in many activities there isn’t only one right answer
– there are in fact many different ways of doing things. The different builds do not have to be lifelike, either – the most important thing is the explanation of the models.
• Give the children choices and make sure they play an active role in completing each challenge.
• Allow the children to themselves direct the activity, for example by changing something in the activity.
• Let the children be “in the flow” in the activity, and try to avoid interrupting them if they are deep in concentration.
• Don’t let the children comment on each other’s models in a negative way.
8 9
Introduction
Tips for conducting activities
To do before the activity• Read through the activity description to make sure you understand
the steps involved and the purpose of the activity.• Make sure the activity is appropriate for the number of children you
have, and for their age group. Modify the activity if needed.• Think about how to scale the activity up or down in order to challenge
the children at the right level.• Check that you have the materials and bricks needed to run the
activity.• If needed, arrange the room or the space to fit the activity.
Structure of a play-based activity using LEGO® bricks1. Introduction to the topic – Start by introducing the topic of the activity
and explaining the instructions.2. Building time – Time for the children to build. If the activity is individual,
this can be done quietly.3. Sharing and reflection – Once the building activity has been
completed, it is important that each child is able to share his/her model with at least one other child, or the whole group. Here the adult facilitation role is very important, as is asking open-ended questions.
Introduction
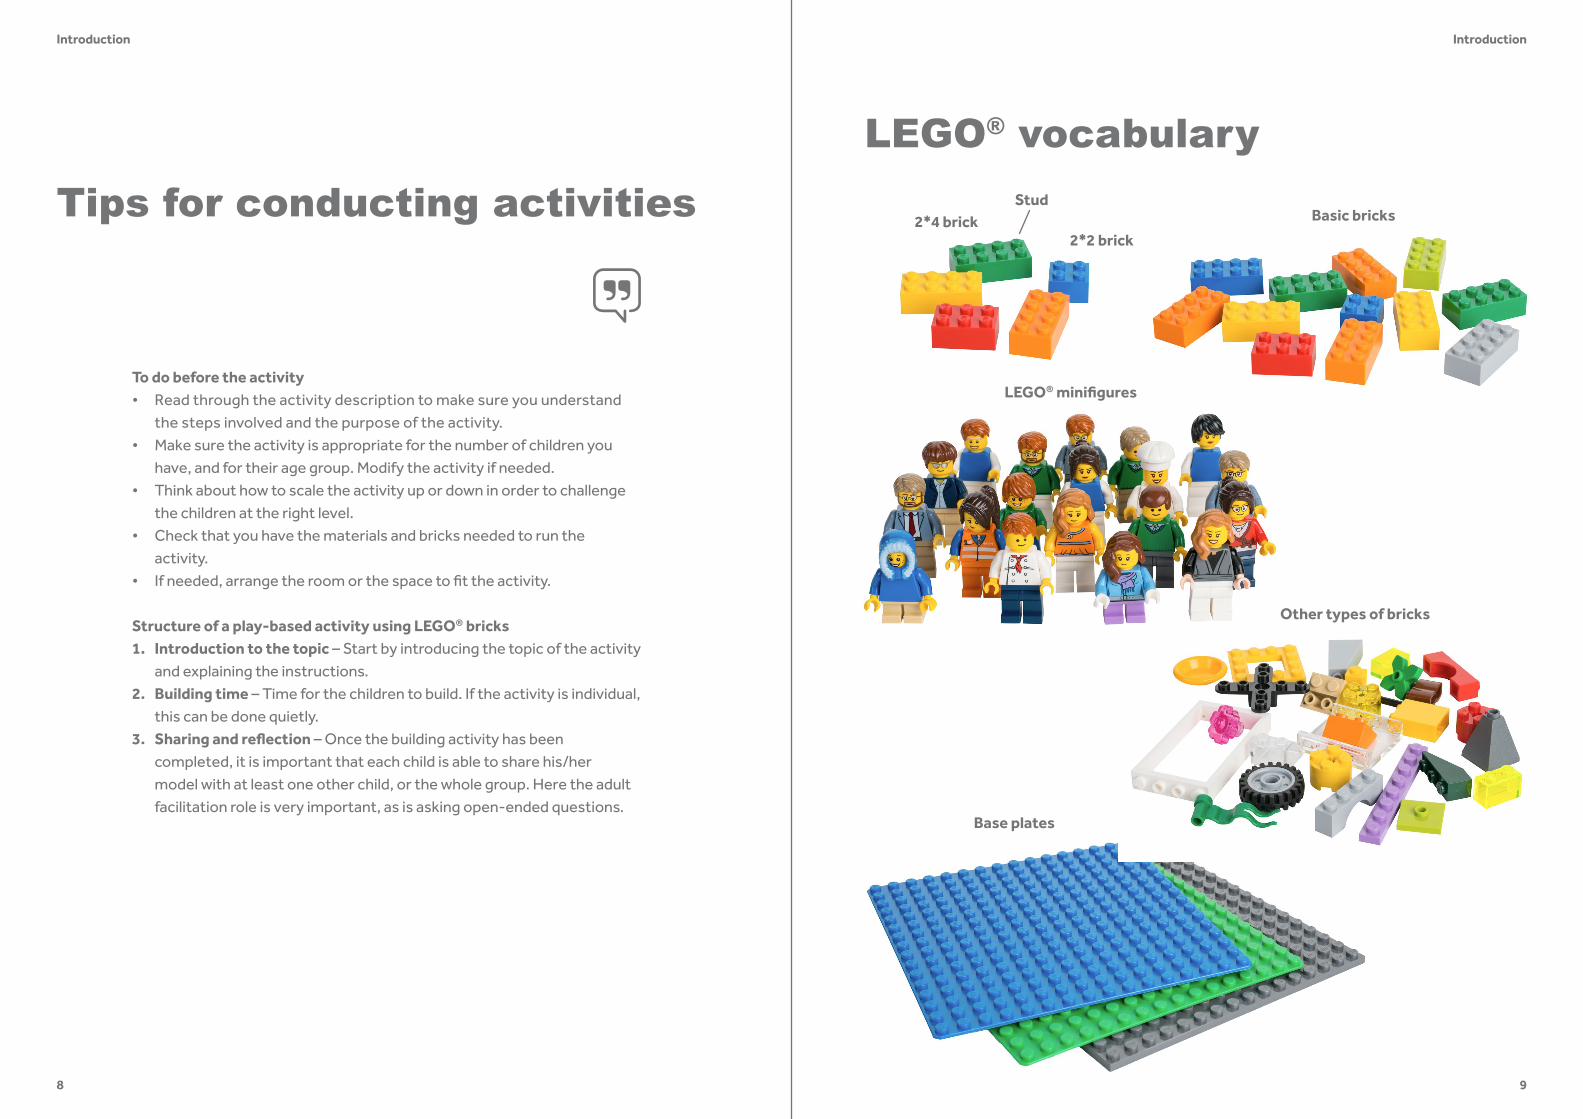
LEGO® vocabulary
2*2 brick2*4 brick
Base plates
Stud
Other types of bricks
Basic bricks
LEGO® minifigures
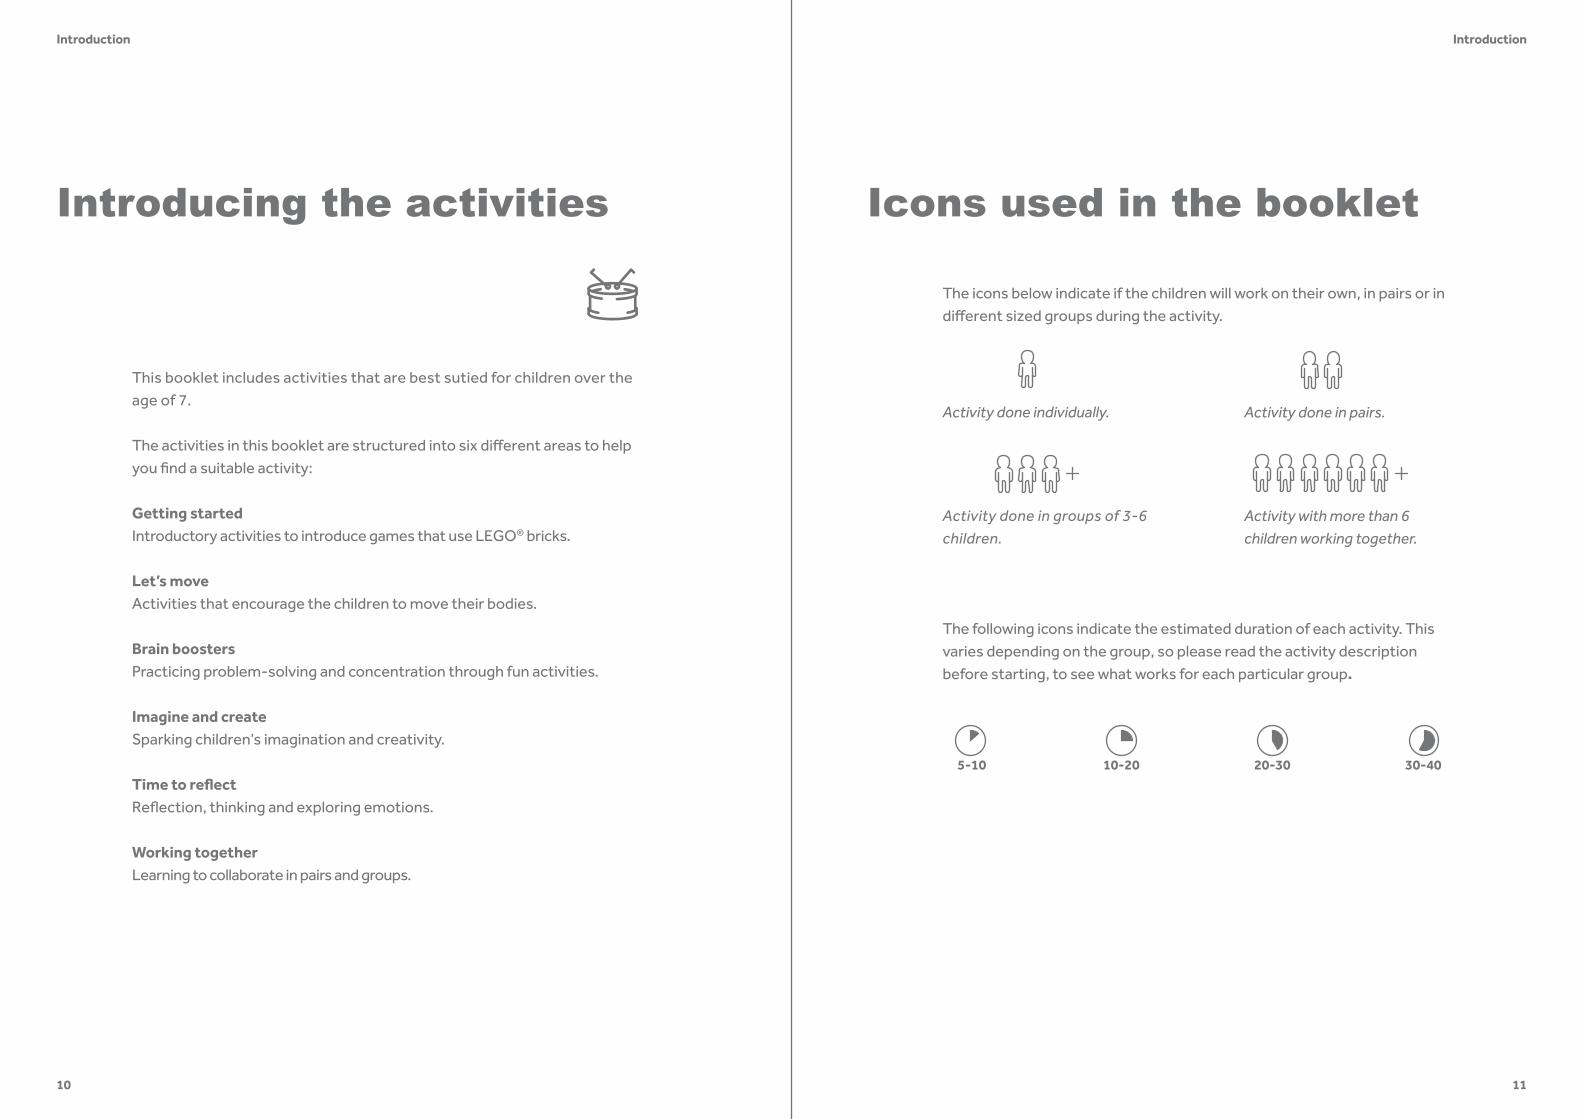
30-405-10 10-20 20-30
10 11
Introducing the activities Icons used in the booklet
The icons below indicate if the children will work on their own, in pairs or in different sized groups during the activity.
This booklet includes activities that are best sutied for children over the age of 7.
The activities in this booklet are structured into six different areas to help you find a suitable activity:
Getting startedIntroductory activities to introduce games that use LEGO® bricks.
Let’s moveActivities that encourage the children to move their bodies.
Brain boostersPracticing problem-solving and concentration through fun activities.
Imagine and createSparking children’s imagination and creativity.
Time to reflectReflection, thinking and exploring emotions.
Working togetherLearning to collaborate in pairs and groups.
Activity with more than 6 children working together.
The following icons indicate the estimated duration of each activity. This varies depending on the group, so please read the activity description before starting, to see what works for each particular group.
IntroductionIntroduction
Activity done individually. Activity done in pairs.
Activity done in groups of 3-6 children.
5-10
1312
Getting started
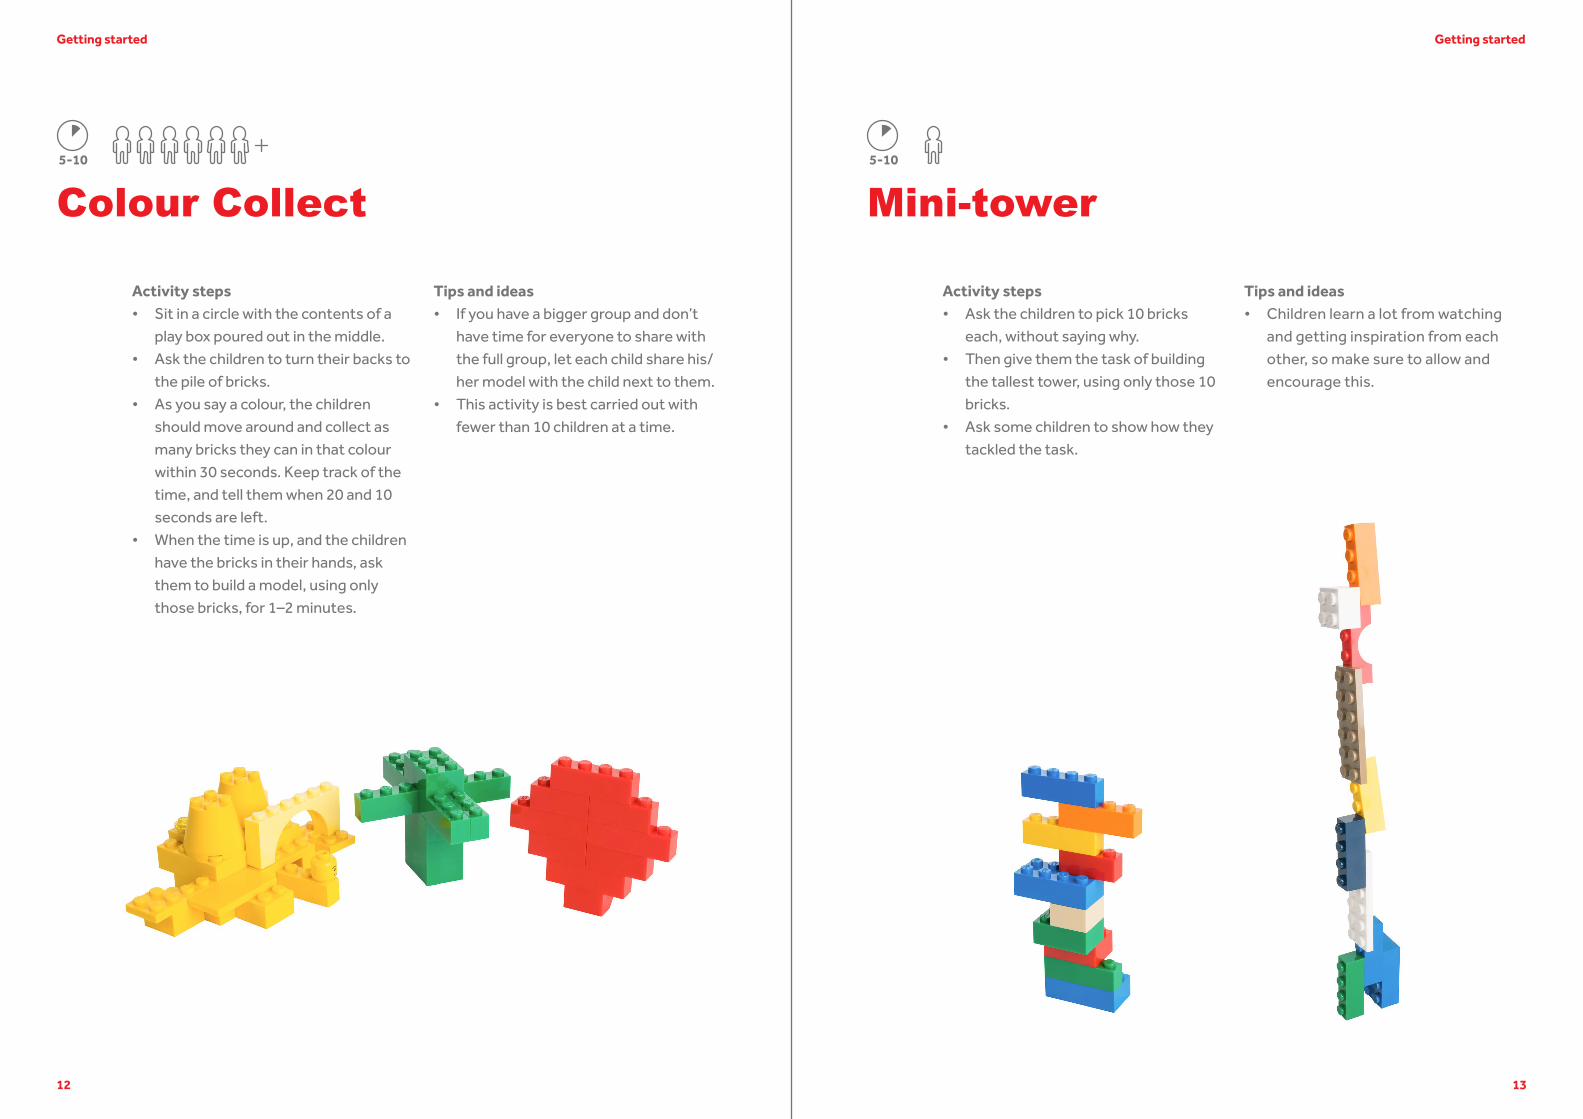
Colour Collect
Activity steps• Sit in a circle with the contents of a
play box poured out in the middle.• Ask the children to turn their backs to
the pile of bricks.• As you say a colour, the children
should move around and collect as many bricks they can in that colour within 30 seconds. Keep track of the time, and tell them when 20 and 10 seconds are left.
• When the time is up, and the children have the bricks in their hands, ask them to build a model, using only those bricks, for 1–2 minutes.
Tips and ideas• If you have a bigger group and don’t
have time for everyone to share with the full group, let each child share his/her model with the child next to them.
• This activity is best carried out with fewer than 10 children at a time.
Mini-tower5-10
Activity steps• Ask the children to pick 10 bricks
each, without saying why.• Then give them the task of building
the tallest tower, using only those 10 bricks.
• Ask some children to show how they tackled the task.
Tips and ideas• Children learn a lot from watching
and getting inspiration from each other, so make sure to allow and encourage this.
Getting started
14 15
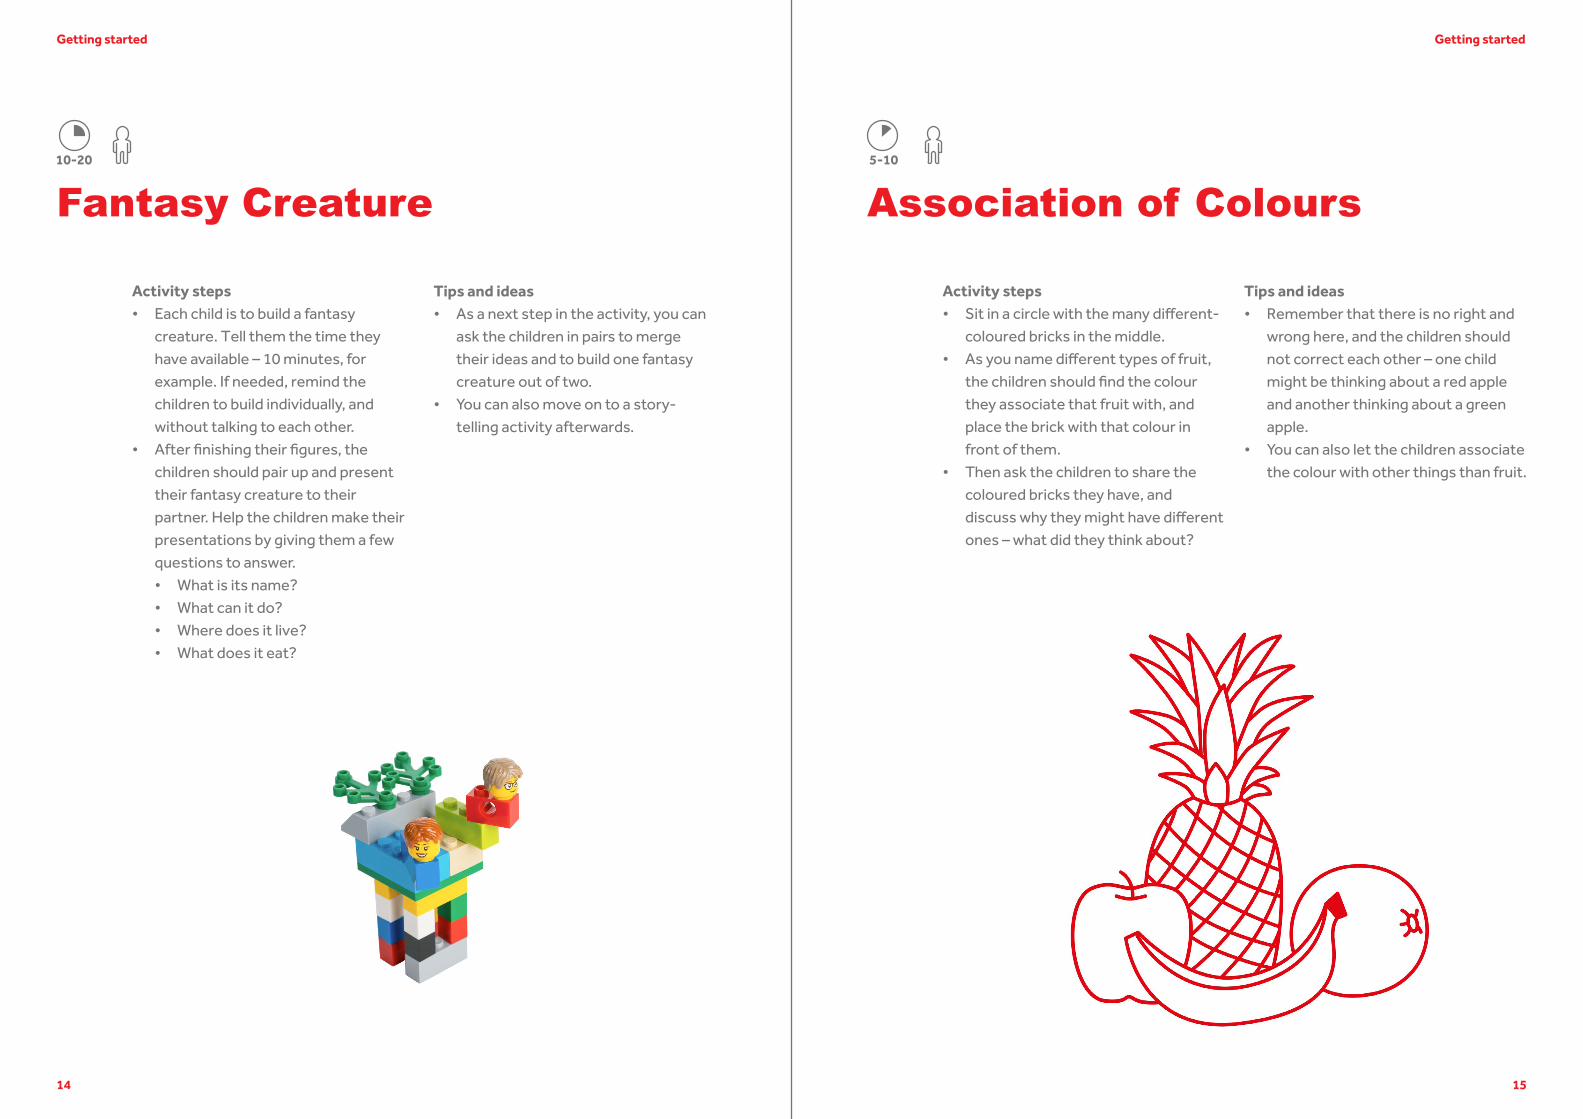
Fantasy Creature
Activity steps• Each child is to build a fantasy
creature. Tell them the time they have available – 10 minutes, for example. If needed, remind the children to build individually, and without talking to each other.
• After finishing their figures, the children should pair up and present their fantasy creature to their partner. Help the children make their presentations by giving them a few questions to answer.• What is its name?• What can it do?• Where does it live?• What does it eat?
Tips and ideas• As a next step in the activity, you can
ask the children in pairs to merge their ideas and to build one fantasy creature out of two.
• You can also move on to a story-telling activity afterwards.
Association of Colours5-10
Activity steps• Sit in a circle with the many different-
coloured bricks in the middle.• As you name different types of fruit,
the children should find the colour they associate that fruit with, and place the brick with that colour in front of them.
• Then ask the children to share the coloured bricks they have, and discuss why they might have different ones – what did they think about?
Tips and ideas• Remember that there is no right and
wrong here, and the children should not correct each other – one child might be thinking about a red apple and another thinking about a green apple.
• You can also let the children associate the colour with other things than fruit.
Getting startedGetting started
10-20

16 17
Hurdle
Activity steps• Let the children build hurdles of
different heights (in small groups, in pairs or individually).
• You can either ask them to use measuring tape or let them find another way to measure the heights.
• Put up the hurdles and let the children move around and test whether they can jump over them.
Tips and ideas• Try to see whether you can think of
more ways for the children to practice their motor skills using the bricks.
• The last part of the activity is good to do where you have more space (outdoors, for example).
Let’s moveLet’s move
Tricky Balancing
Activity steps• Ask the children, in pairs, to find
15 2*4 bricks (the colour is not important) together.
• Player A throws a brick in the air. The brick can land in 3 different positions:• Studs up = place the brick
horizontal• Studs down = place the brick
sideways• Studs to the side = throw again
• Depending how the brick lands, Player A should place the bricks accordingly.
• When player A has placed the brick, it is player B’s turn. Player B does the same and places his/her brick on top of player A’s, to make a balancing tower. The studs are not connected.
• Keep building the tower until it falls.• Take turns at starting.
Tips and ideas• You can ask the children to come up
with their own rules for the throw.• You can also do the activity as a
game. For example, if a child placed a brick and the tower falls, s/he loses the game.
10-20 10-20
18 19
Let’s move
Move it
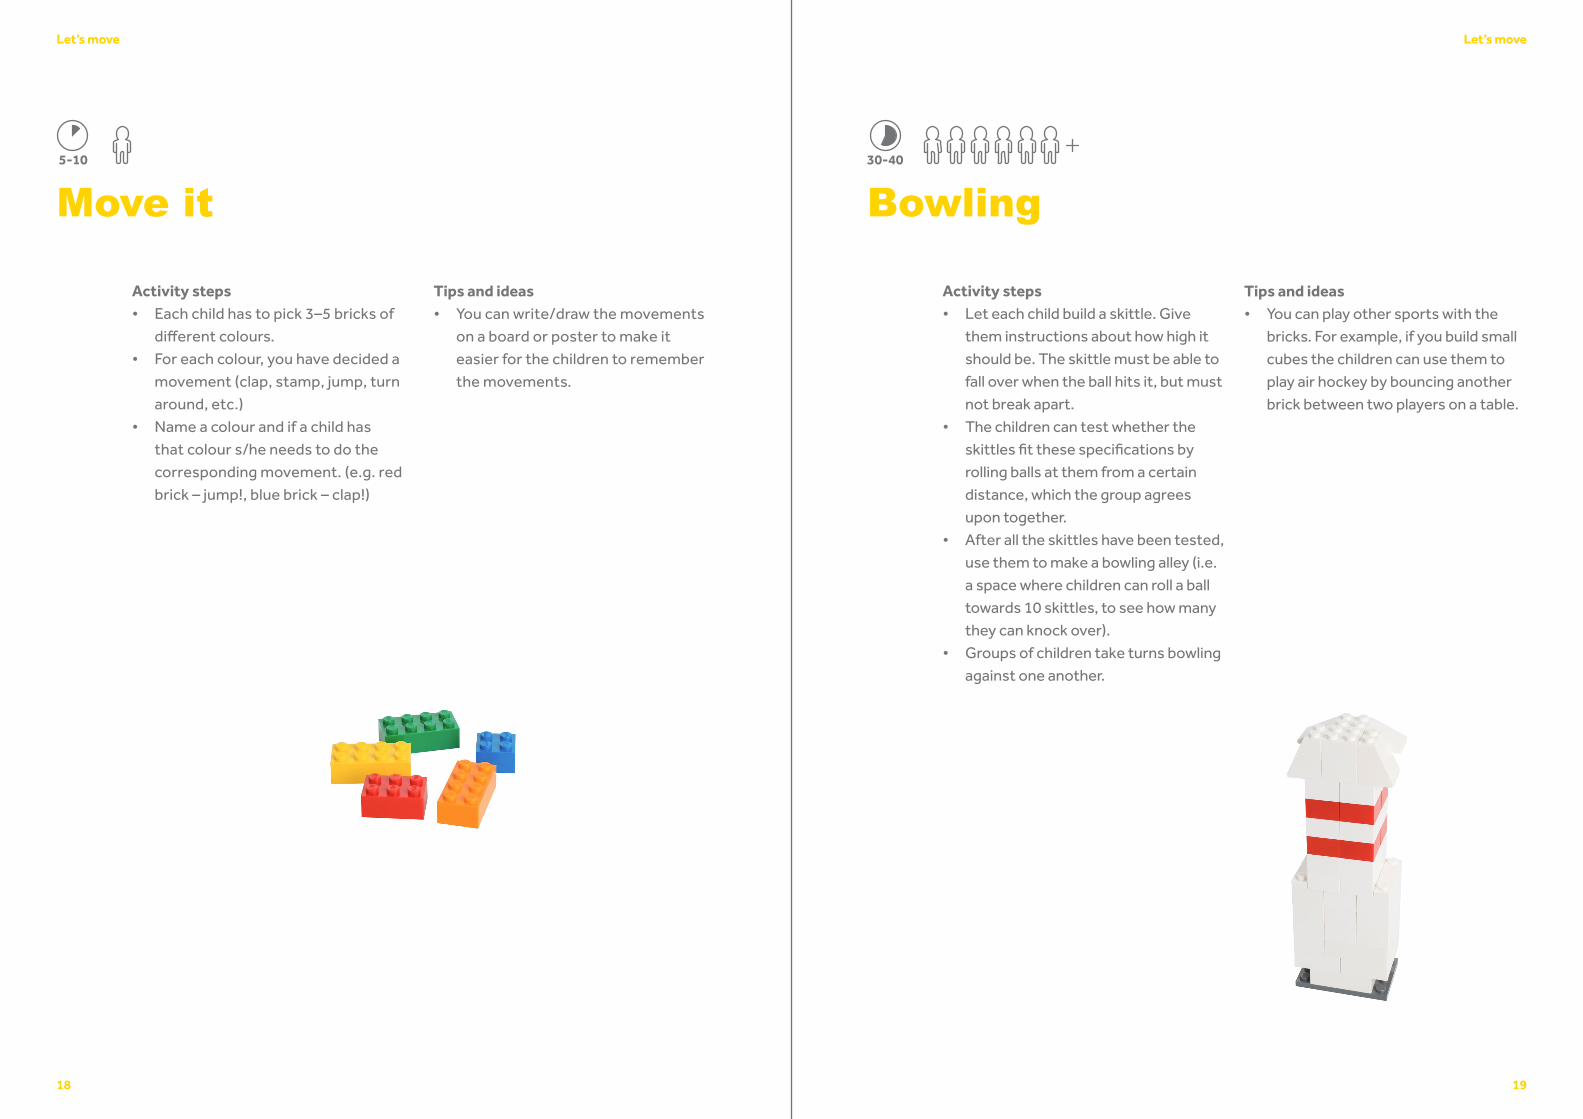
Activity steps• Each child has to pick 3–5 bricks of
different colours.• For each colour, you have decided a
movement (clap, stamp, jump, turn around, etc.)
• Name a colour and if a child has that colour s/he needs to do the corresponding movement. (e.g. red brick – jump!, blue brick – clap!)
Tips and ideas• You can write/draw the movements
on a board or poster to make it easier for the children to remember the movements.
Bowling
Activity steps• Let each child build a skittle. Give
them instructions about how high it should be. The skittle must be able to fall over when the ball hits it, but must not break apart.
• The children can test whether the skittles fit these specifications by rolling balls at them from a certain distance, which the group agrees upon together.
• After all the skittles have been tested, use them to make a bowling alley (i.e. a space where children can roll a ball towards 10 skittles, to see how many they can knock over).
• Groups of children take turns bowling against one another.
Tips and ideas• You can play other sports with the
bricks. For example, if you build small cubes the children can use them to play air hockey by bouncing another brick between two players on a table.
Let’s move
30-405-10
20 21
Building Together
Activity steps• Let the children pair up and have a pile
of bricks close to them.• Each pair now needs to decide who
can only use their right hand and who can only use their left hand.
• Then they need to work together to build a model (such as a house) by placing each brick together (using one person’s left hand and the other person’s right hand).
• Let the children switch after half the time has passed, and use their other hands.
• After the end of the build, ask the children:• What was difficult to work
together when building?• How did you overcome those
challenges?
Tips and ideas• To help the children get started, you
can give them a theme for what to build (for example buildings).
• It is a good idea to let the children know how much time they have in which to build.
Let’s moveLet’s move
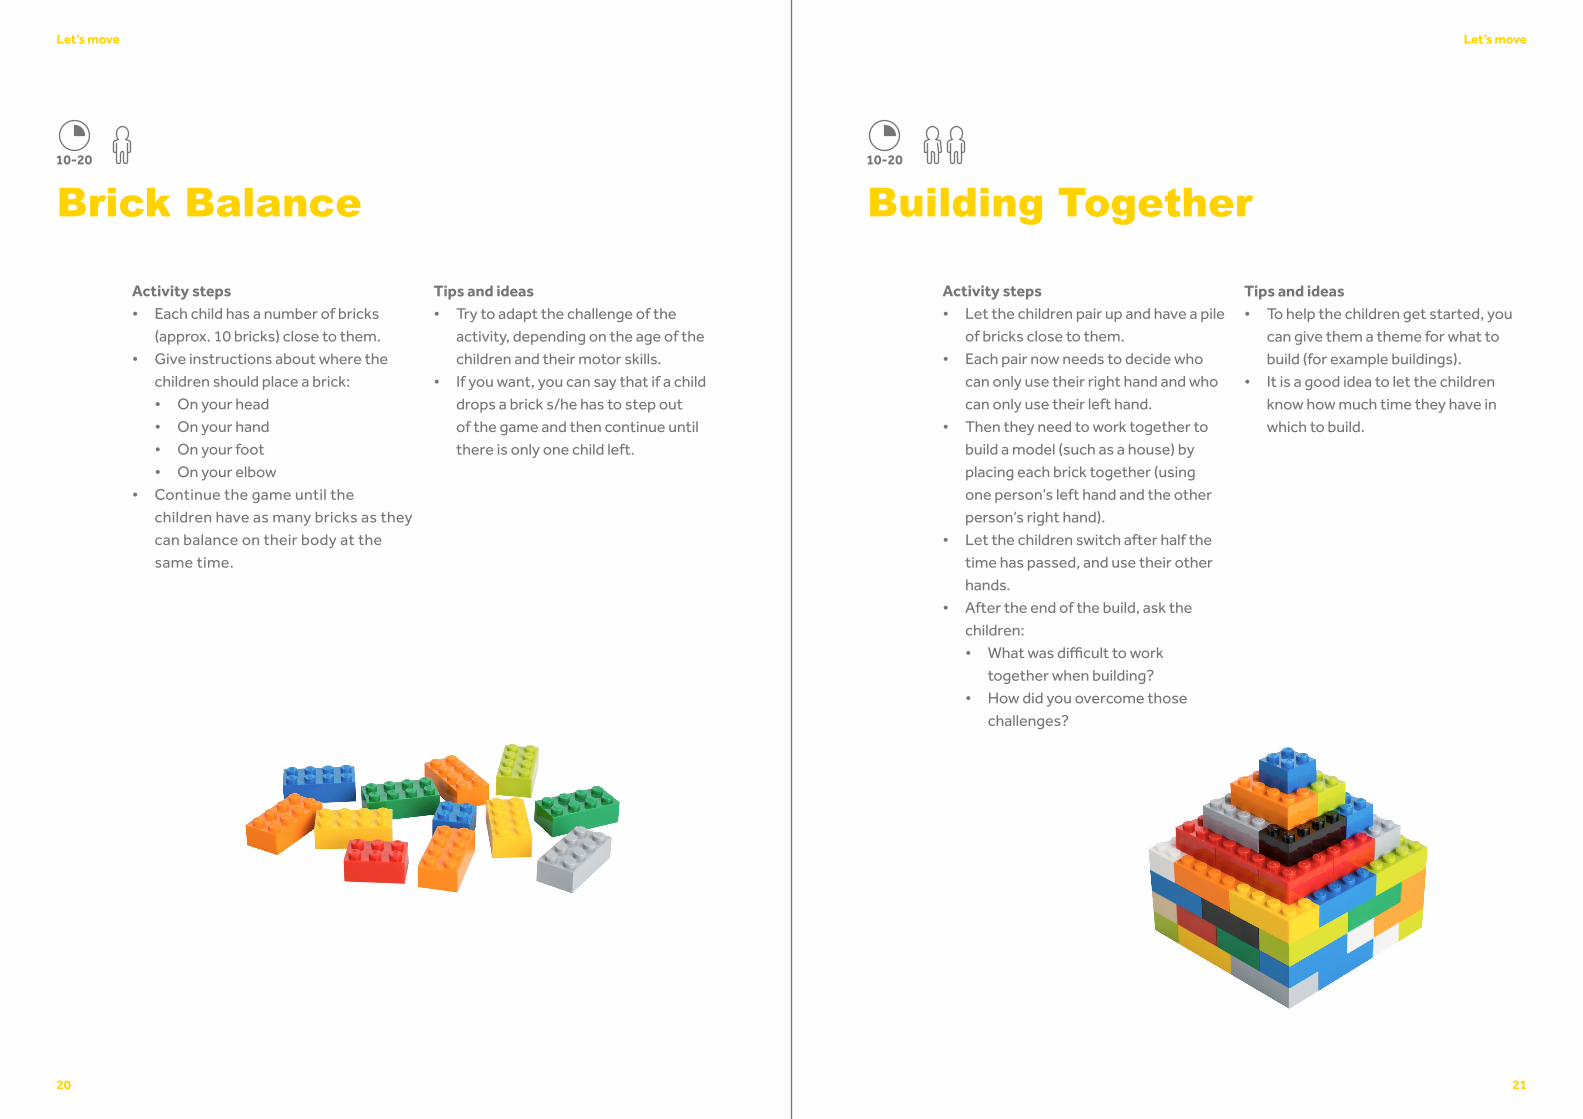
Brick Balance
Activity steps• Each child has a number of bricks
(approx. 10 bricks) close to them.• Give instructions about where the
children should place a brick:• On your head• On your hand• On your foot• On your elbow
• Continue the game until the children have as many bricks as they can balance on their body at the same time.
Tips and ideas• Try to adapt the challenge of the
activity, depending on the age of the children and their motor skills.
• If you want, you can say that if a child drops a brick s/he has to step out of the game and then continue until there is only one child left.
10-2010-20
22 23
Brain boosters
Dice and Stack
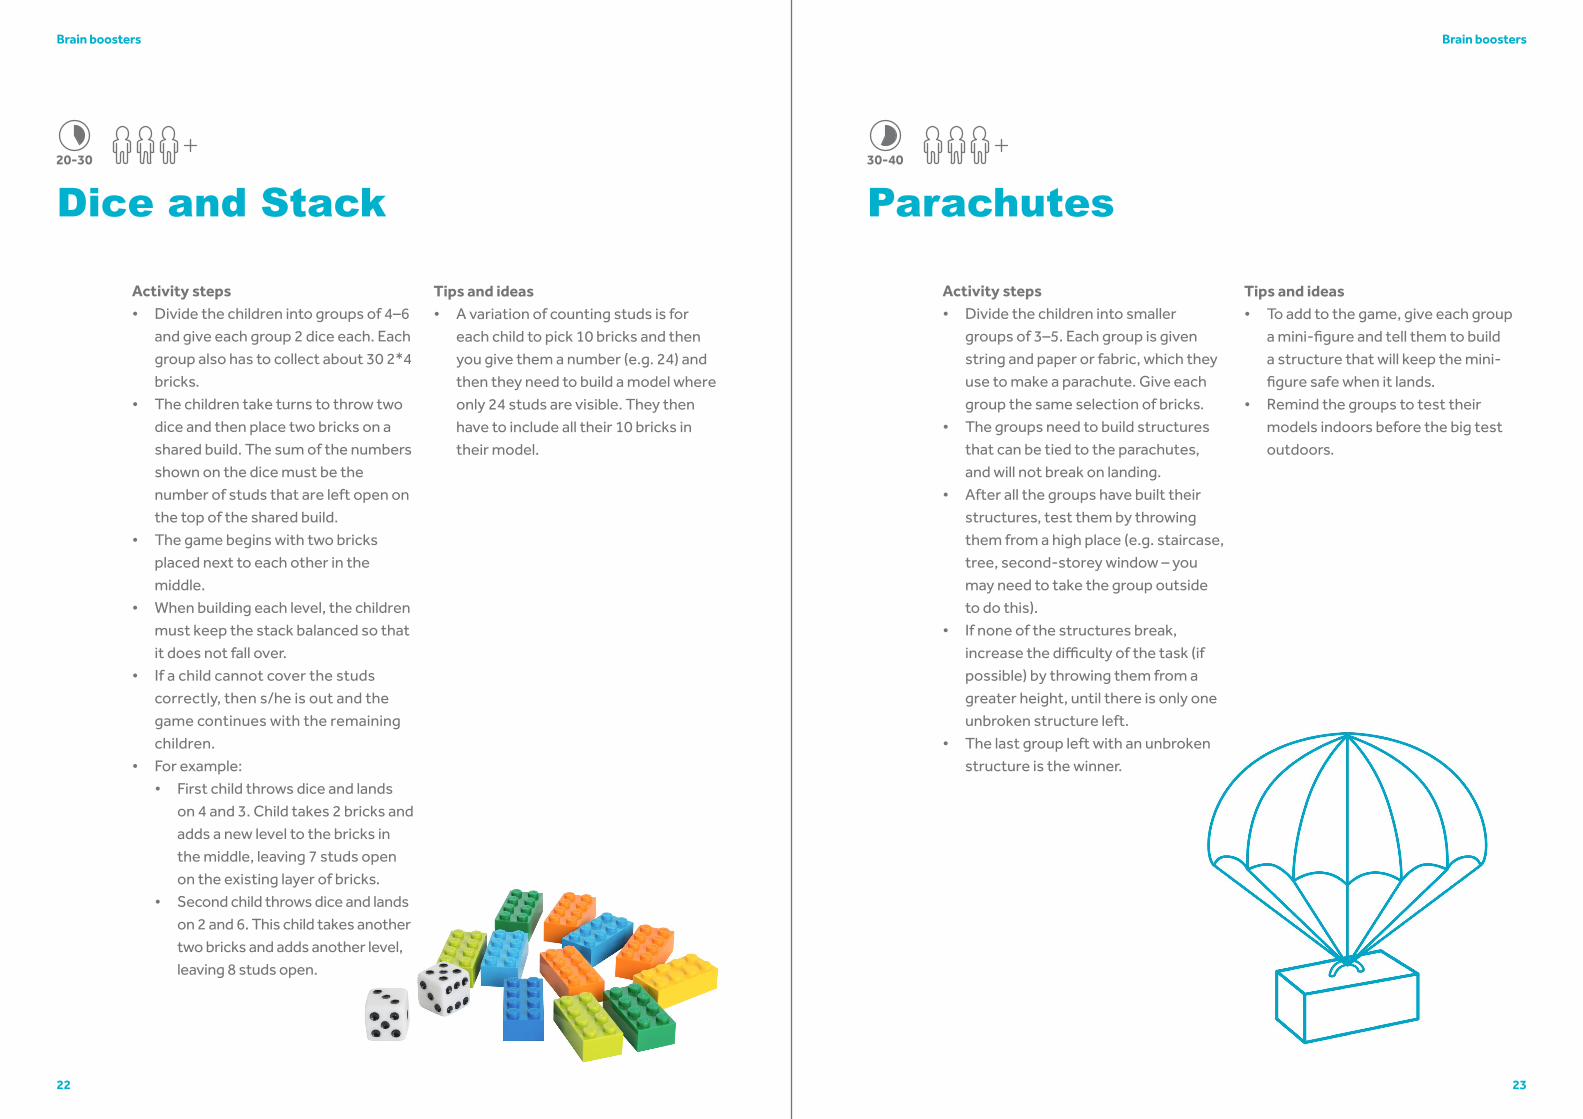
Activity steps• Divide the children into groups of 4–6
and give each group 2 dice each. Each group also has to collect about 30 2*4 bricks.
• The children take turns to throw two dice and then place two bricks on a shared build. The sum of the numbers shown on the dice must be the number of studs that are left open on the top of the shared build.
• The game begins with two bricks placed next to each other in the middle.
• When building each level, the children must keep the stack balanced so that it does not fall over.
• If a child cannot cover the studs correctly, then s/he is out and the game continues with the remaining children.
• For example:• First child throws dice and lands
on 4 and 3. Child takes 2 bricks and adds a new level to the bricks in the middle, leaving 7 studs open on the existing layer of bricks.
• Second child throws dice and lands on 2 and 6. This child takes another two bricks and adds another level, leaving 8 studs open.
Tips and ideas• A variation of counting studs is for
each child to pick 10 bricks and then you give them a number (e.g. 24) and then they need to build a model where only 24 studs are visible. They then have to include all their 10 bricks in their model.
Parachutes
Activity steps• Divide the children into smaller
groups of 3–5. Each group is given string and paper or fabric, which they use to make a parachute. Give each group the same selection of bricks.
• The groups need to build structures that can be tied to the parachutes, and will not break on landing.
• After all the groups have built their structures, test them by throwing them from a high place (e.g. staircase, tree, second-storey window – you may need to take the group outside to do this).
• If none of the structures break, increase the difficulty of the task (if possible) by throwing them from a greater height, until there is only one unbroken structure left.
• The last group left with an unbroken structure is the winner.
Tips and ideas• To add to the game, give each group
a mini-figure and tell them to build a structure that will keep the mini-figure safe when it lands.
• Remind the groups to test their models indoors before the big test outdoors.
Brain boosters
30-4020-30
24 25
Brain boosters
Preposition Piles
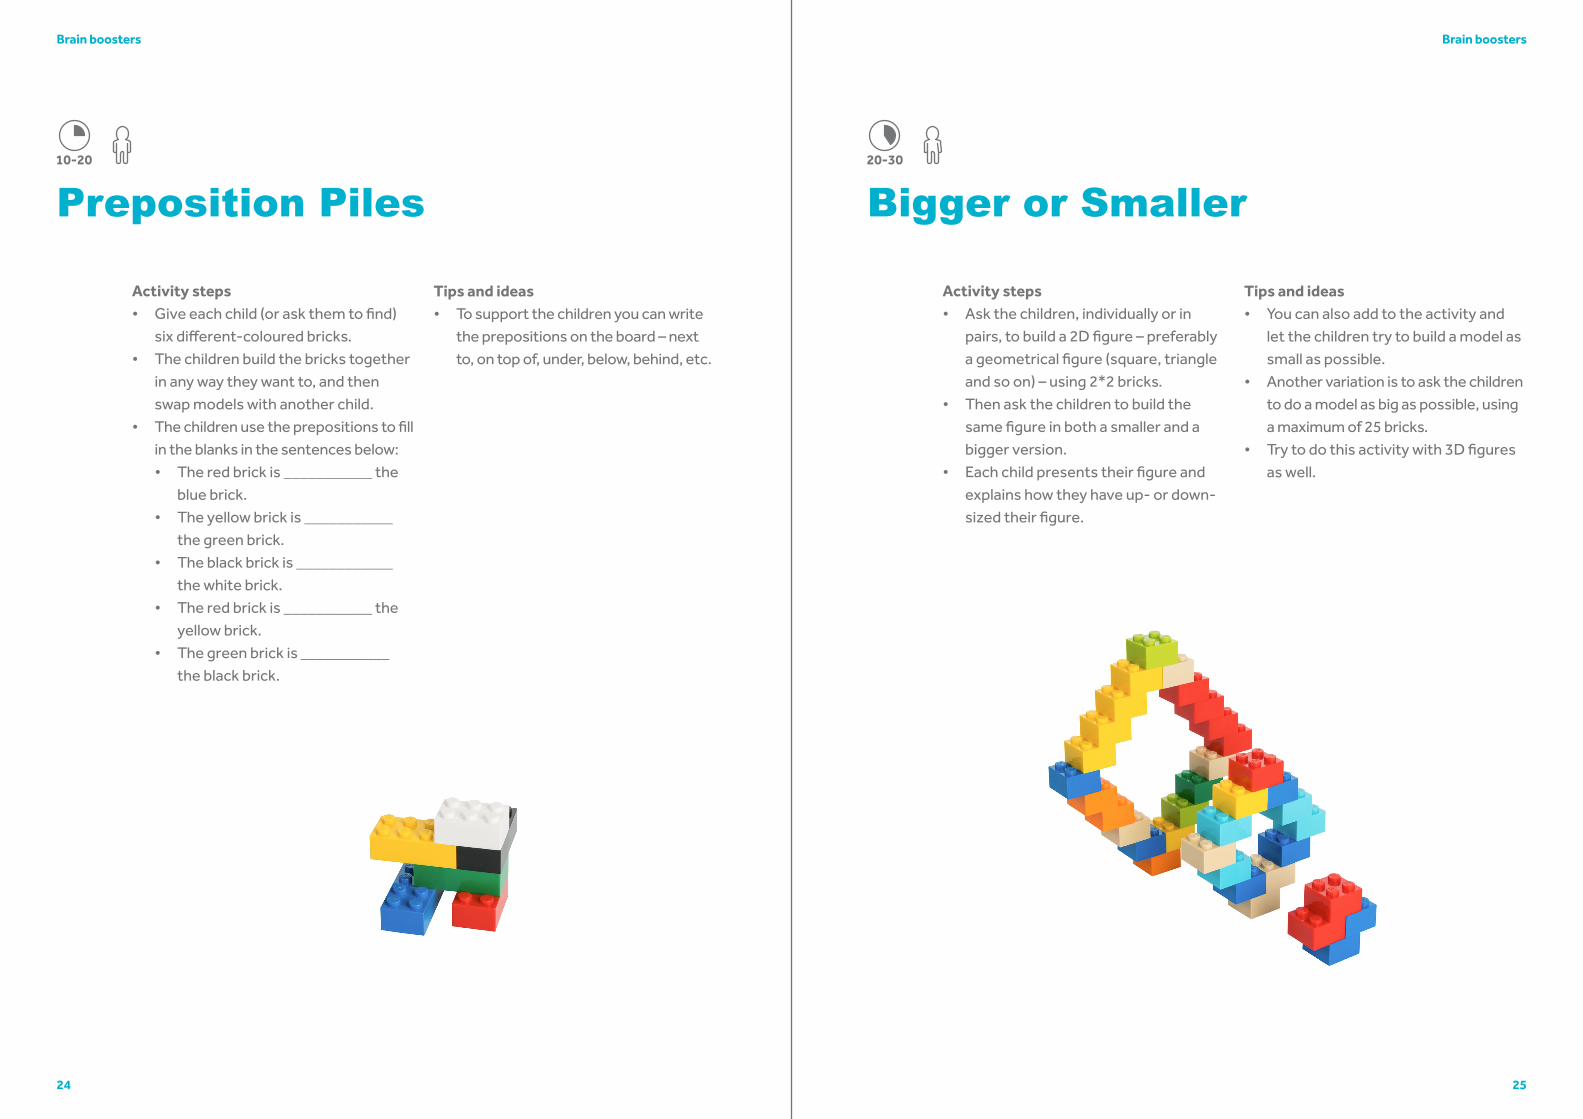
Activity steps• Give each child (or ask them to find)
six different-coloured bricks.• The children build the bricks together
in any way they want to, and then swap models with another child.
• The children use the prepositions to fill in the blanks in the sentences below:• The red brick is ___________ the
blue brick.• The yellow brick is ___________
the green brick.• The black brick is ____________
the white brick.• The red brick is ___________ the
yellow brick.• The green brick is ___________
the black brick.
Tips and ideas• To support the children you can write
the prepositions on the board – next to, on top of, under, below, behind, etc.
Bigger or Smaller
Activity steps• Ask the children, individually or in
pairs, to build a 2D figure – preferably a geometrical figure (square, triangle and so on) – using 2*2 bricks.
• Then ask the children to build the same figure in both a smaller and a bigger version.
• Each child presents their figure and explains how they have up- or down-sized their figure.
Tips and ideas• You can also add to the activity and
let the children try to build a model as small as possible.
• Another variation is to ask the children to do a model as big as possible, using a maximum of 25 bricks.
• Try to do this activity with 3D figures as well.
Brain boosters
10-20 20-30
26 27
Brain boosters
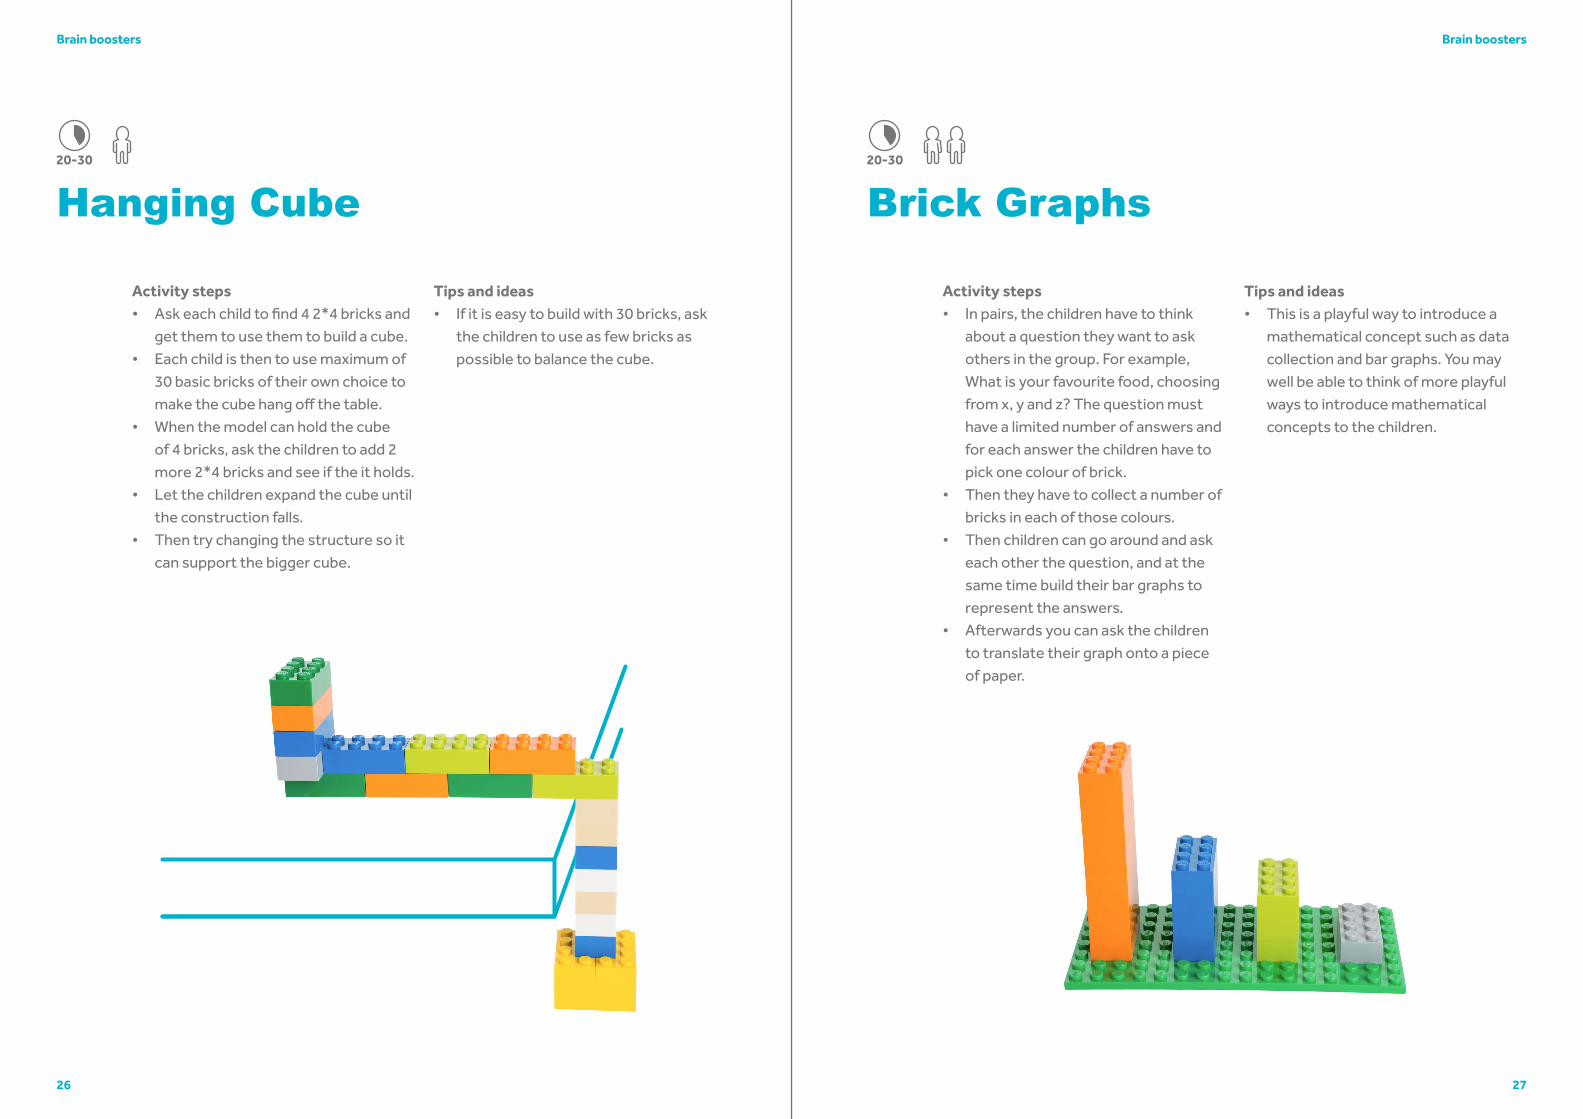
Hanging Cube
Activity steps• Ask each child to find 4 2*4 bricks and
get them to use them to build a cube.• Each child is then to use maximum of
30 basic bricks of their own choice to make the cube hang off the table.
• When the model can hold the cube of 4 bricks, ask the children to add 2 more 2*4 bricks and see if the it holds.
• Let the children expand the cube until the construction falls.
• Then try changing the structure so it can support the bigger cube.
Tips and ideas• If it is easy to build with 30 bricks, ask
the children to use as few bricks as possible to balance the cube.
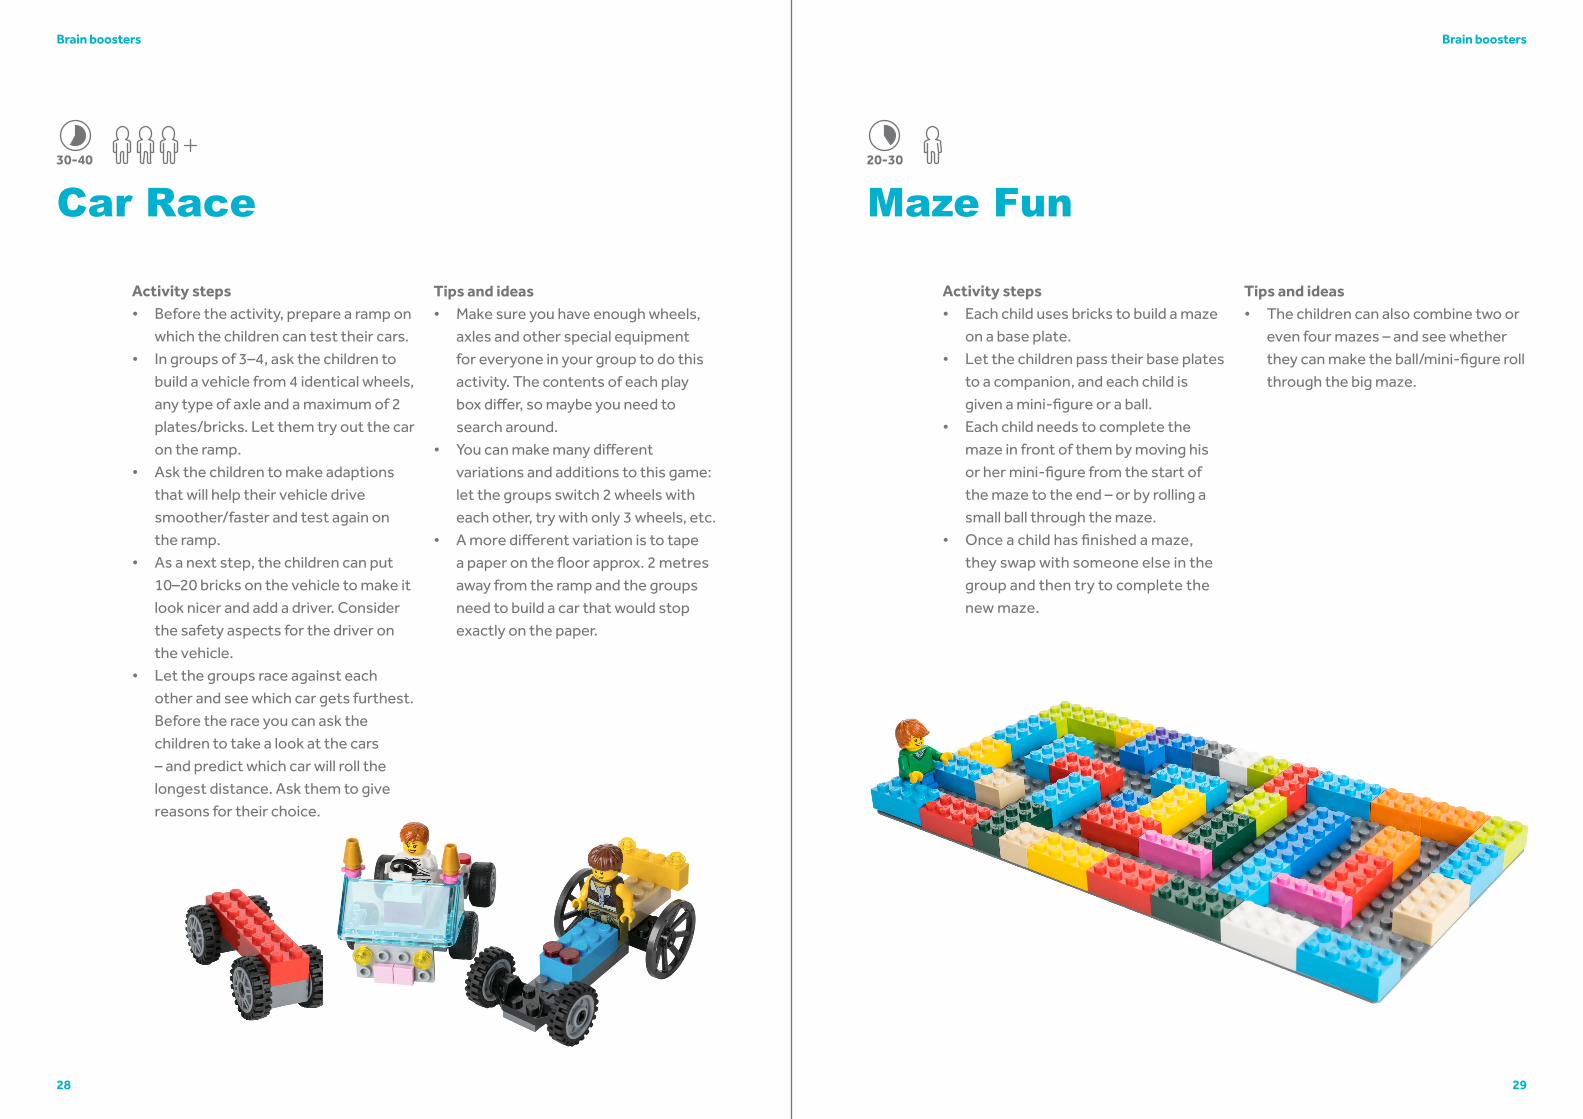
Brick Graphs
Activity steps• In pairs, the children have to think
about a question they want to ask others in the group. For example, What is your favourite food, choosing from x, y and z? The question must have a limited number of answers and for each answer the children have to pick one colour of brick.
• Then they have to collect a number of bricks in each of those colours.
• Then children can go around and ask each other the question, and at the same time build their bar graphs to represent the answers.
• Afterwards you can ask the children to translate their graph onto a piece of paper.
Tips and ideas• This is a playful way to introduce a
mathematical concept such as data collection and bar graphs. You may well be able to think of more playful ways to introduce mathematical concepts to the children.
Brain boosters
20-30 20-30
28 29
Brain boosters
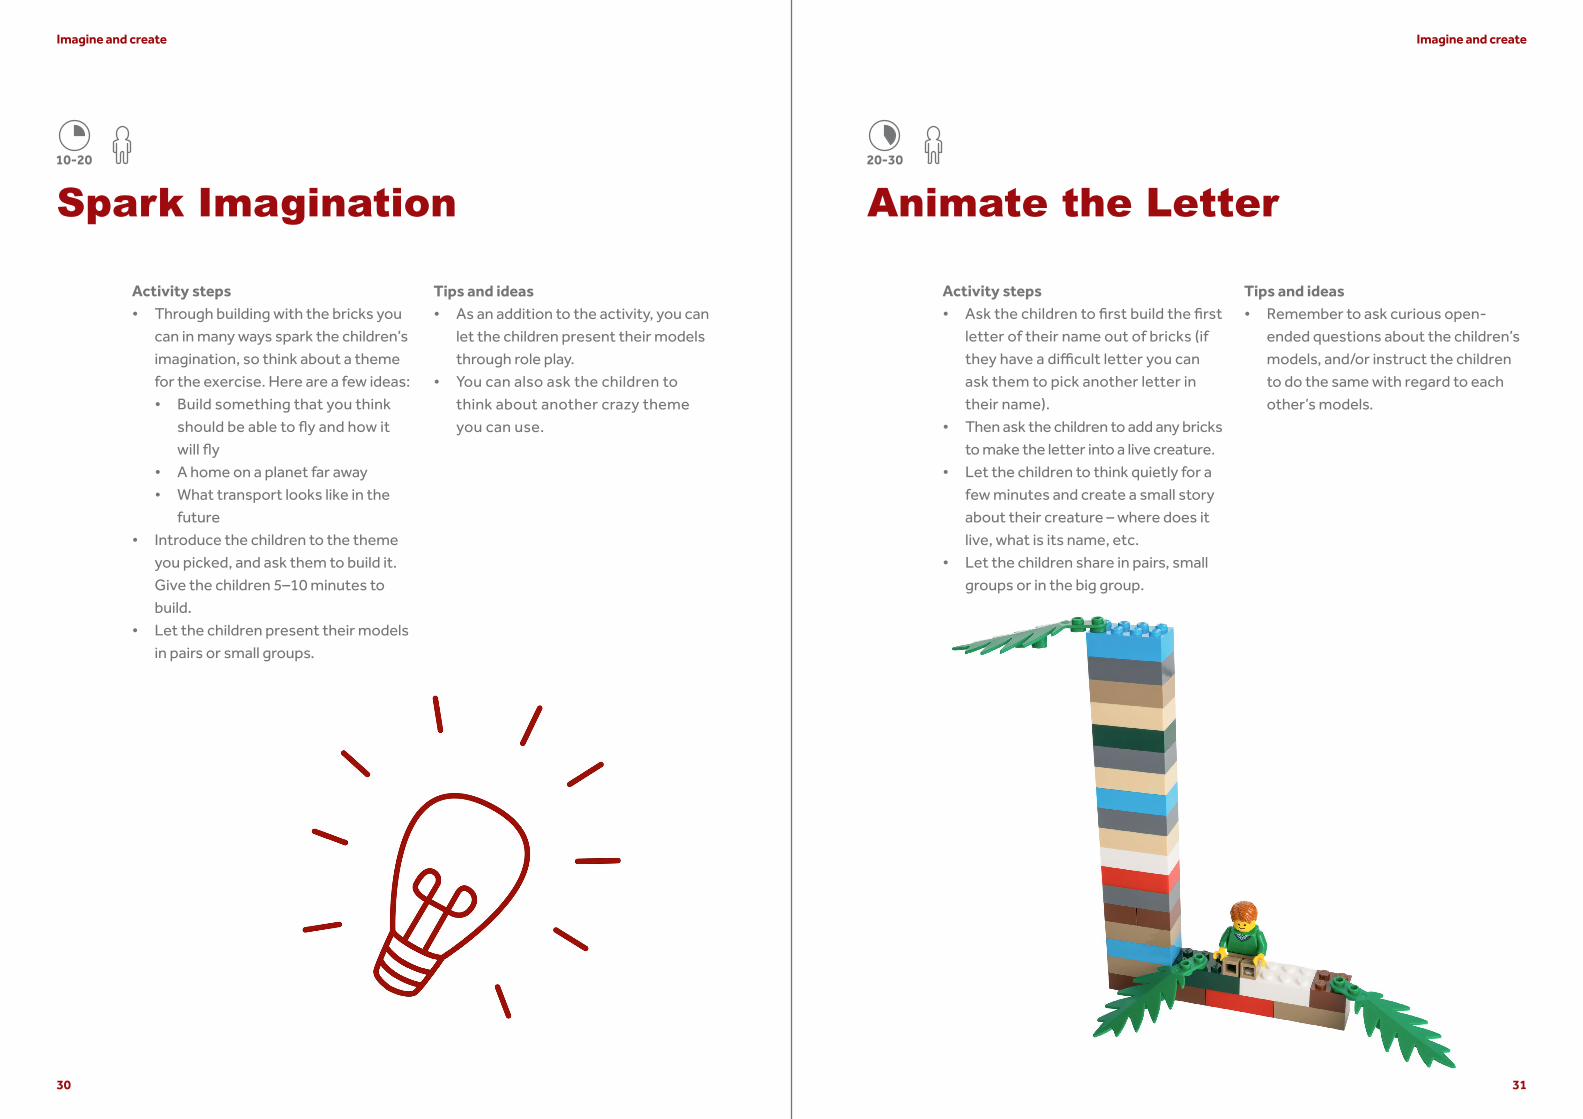
Car Race
Activity steps• Before the activity, prepare a ramp on
which the children can test their cars.• In groups of 3–4, ask the children to
build a vehicle from 4 identical wheels, any type of axle and a maximum of 2 plates/bricks. Let them try out the car on the ramp.
• Ask the children to make adaptions that will help their vehicle drive smoother/faster and test again on the ramp.
• As a next step, the children can put 10–20 bricks on the vehicle to make it look nicer and add a driver. Consider the safety aspects for the driver on the vehicle.
• Let the groups race against each other and see which car gets furthest. Before the race you can ask the children to take a look at the cars – and predict which car will roll the longest distance. Ask them to give reasons for their choice.
Tips and ideas• Make sure you have enough wheels,
axles and other special equipment for everyone in your group to do this activity. The contents of each play box differ, so maybe you need to search around.
• You can make many different variations and additions to this game: let the groups switch 2 wheels with each other, try with only 3 wheels, etc.
• A more different variation is to tape a paper on the floor approx. 2 metres away from the ramp and the groups need to build a car that would stop exactly on the paper.
Maze Fun
Activity steps• Each child uses bricks to build a maze
on a base plate.• Let the children pass their base plates
to a companion, and each child is given a mini-figure or a ball.
• Each child needs to complete the maze in front of them by moving his or her mini-figure from the start of the maze to the end – or by rolling a small ball through the maze.
• Once a child has finished a maze, they swap with someone else in the group and then try to complete the new maze.
Tips and ideas• The children can also combine two or
even four mazes – and see whether they can make the ball/mini-figure roll through the big maze.
Brain boosters
20-3030-40
30 31
Animate the Letter
Activity steps• Ask the children to first build the first
letter of their name out of bricks (if they have a difficult letter you can ask them to pick another letter in their name).
• Then ask the children to add any bricks to make the letter into a live creature.
• Let the children to think quietly for a few minutes and create a small story about their creature – where does it live, what is its name, etc.
• Let the children share in pairs, small groups or in the big group.
Tips and ideas• Remember to ask curious open-
ended questions about the children’s models, and/or instruct the children to do the same with regard to each other’s models.
Imagine and createImagine and create
Spark Imagination
Activity steps• Through building with the bricks you
can in many ways spark the children’s imagination, so think about a theme for the exercise. Here are a few ideas:• Build something that you think
should be able to fly and how it will fly
• A home on a planet far away• What transport looks like in the
future• Introduce the children to the theme
you picked, and ask them to build it. Give the children 5–10 minutes to build.
• Let the children present their models in pairs or small groups.
Tips and ideas• As an addition to the activity, you can
let the children present their models through role play.
• You can also ask the children to think about another crazy theme you can use.
10-20 20-30
3332
Creationary
Activity steps• Divide the children into smaller
groups, and let each group have a pile of bricks.
• One member of each group will get a word from the adult without the rest of the group being able to hear it. Examples of words could be “sun”, “water”, “tree”, “car”, “ball” etc.
• The child has to try to explain the word by building a model using the bricks – and the child is not allowed to say anything other than “yes” if the children in the group guess correctly.
• When the group has guessed right, a new member of the group gets a new word from the adult.
Tips and ideas• Make sure you have enough time so
everyone gets to try to build.• Instead of asking the children to come
to you for a new word to build, you can create flashcards.
• If you are doing the activity with older children, you can have more complicated words or sentences, such as “man in the moon”, “volcano” etc.
Build a Story
Activity steps• Make sure that the children have
access to a selection of creative bricks (such as mini-figure parts, mini-figure accessories, flowers, flags, trees, etc.) as well as some different-sized bricks.
• Introduce the children to the idea that a story has a beginning, middle and end.
• Let the children build their own story (on a base plate or without) in the three steps: beginning, middle and end.
• Give the children time to build and think.
• When they are done or time is up, let them present their story to another group of children.
Tips and ideas• If the children are struggling finding
something to build you can give them some tips to get them started:• Choose 15 bricks and use these to
build an animal• Build a secret place• Build something magical• Build a happy scene• Build an angry scene• Afterwards you can move this
activity into a writing exercise where the children have to write down the story they have built.
20-3030-40
Imagine and createImagine and create

34 35
Deserted Island
Activity steps• Ask each child to build three models
of things they would bring if they were deserted on an island. The models do not have to be big or complicated.
• Divide the children into small groups of 4–6, and let them present what they would bring to each other.
• Then ask each group to agree on maximum three things to bring.
Tips and ideas• In this activity, the children practice
using negotiation skills when they have to agree in the groups on what to bring to the island.
• You can start the activity by telling a story how you all ended up on the deserted island.
Co-creation
Activity steps• Divide the children into groups of
3, and make sure they have a pile of bricks in the middle.
• Give each child in the group one thing each they have to build: – a car, boat or aeroplane, for example.
• Start the clock and let the children build their model and after 5 minutes you ask them to give their model to the child to their left. It is okay if the models are not finished.
• With the new model the children need to continue to build what they were building first. For example, the child given the assignment of building a car at first has to make the new model in front of them into a car by adding new bricks to the model. They cannot remove bricks or change place of any bricks.
• Continue around until the models have completed a circle around the group.
• Let the children inspect their first build, and find out whether they can see what it now looks like.
Tips and ideas• The purpose of this activity is for the
children to practice switching focus and being creative.
10-2010-20
Imagine and createImagine and create
36 37
Time to reflectTime to reflect
Challenge Building
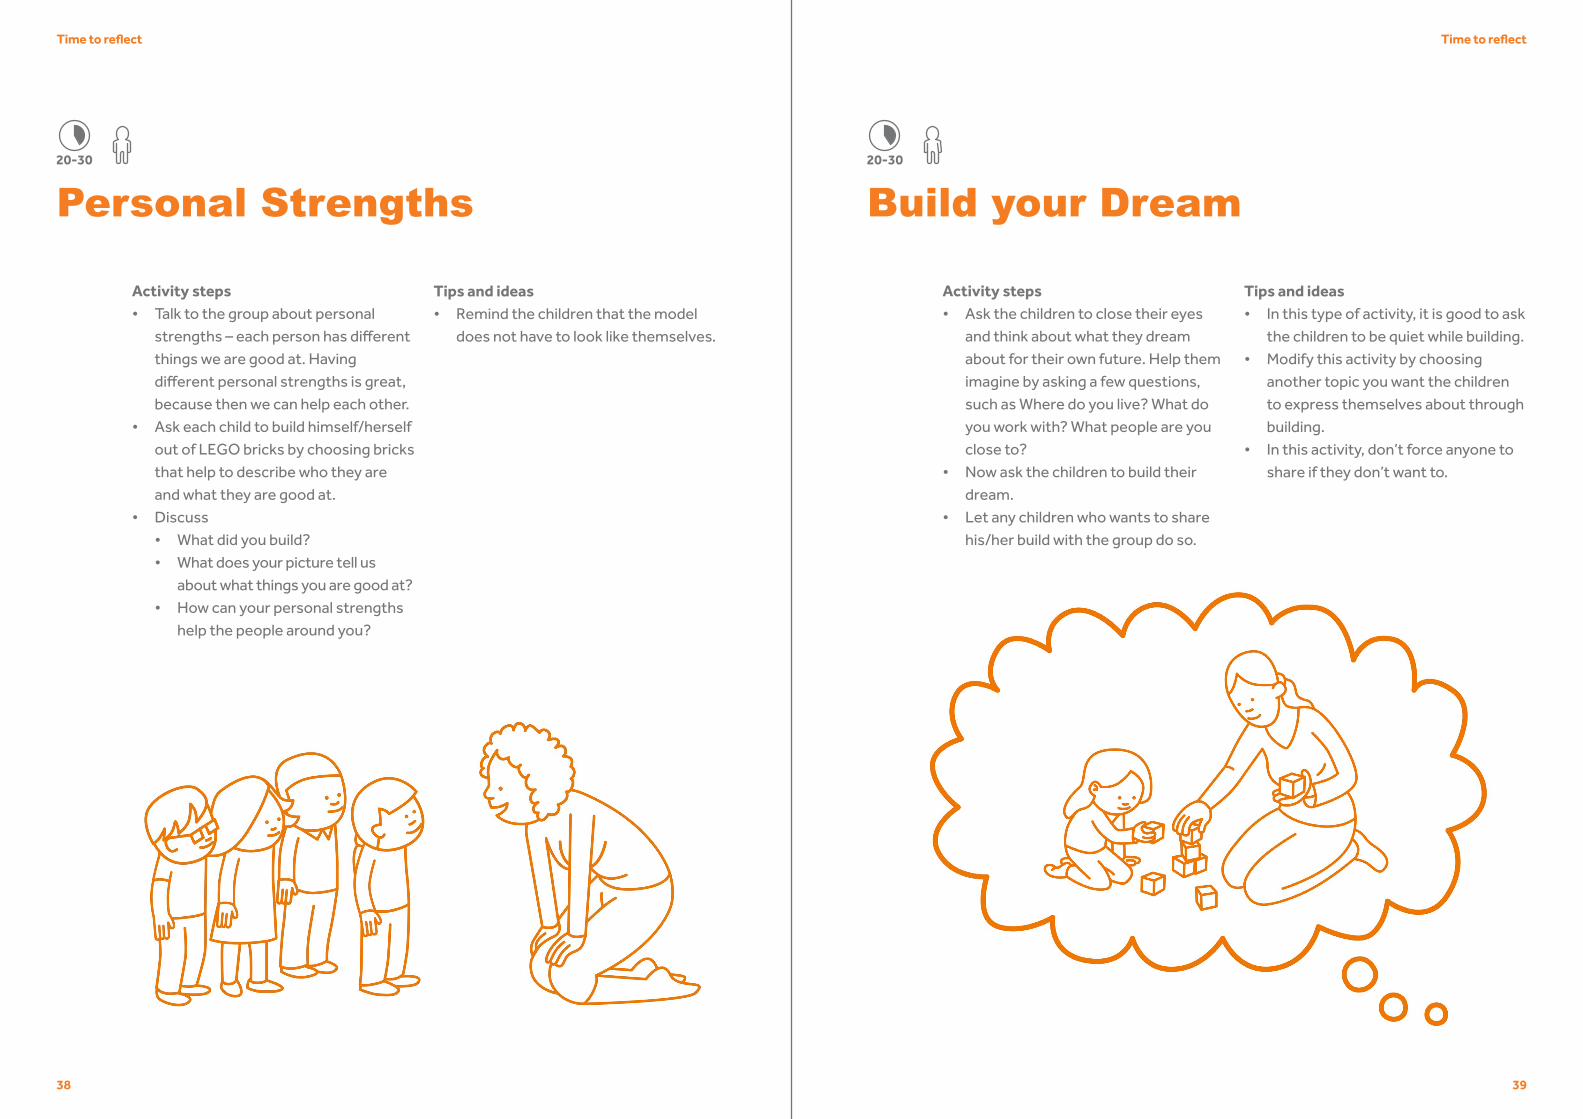
Activity steps• Divide the children into groups of five.• Each child is given a challenge:
• One has his/her hands tied behind his/her back
• One is wearing a blindfold• One is not allowed to speak• One is wearing earplugs (or covers
his/her ears with their hands)• One has his/her legs tied together
• The groups need to work together to build a copy of a simple model that you have built beforehand.
• The model can be placed on a desk in front of the group or you can hide it behind a screen, and only the child with his/her hands tied is allowed to come and see it.
• End the activity with a reflection on how it felt to have the different challenges.
Tips and ideas• If you have children in your group
with physical disabilities, be sensitive about this game and what challenges to select.
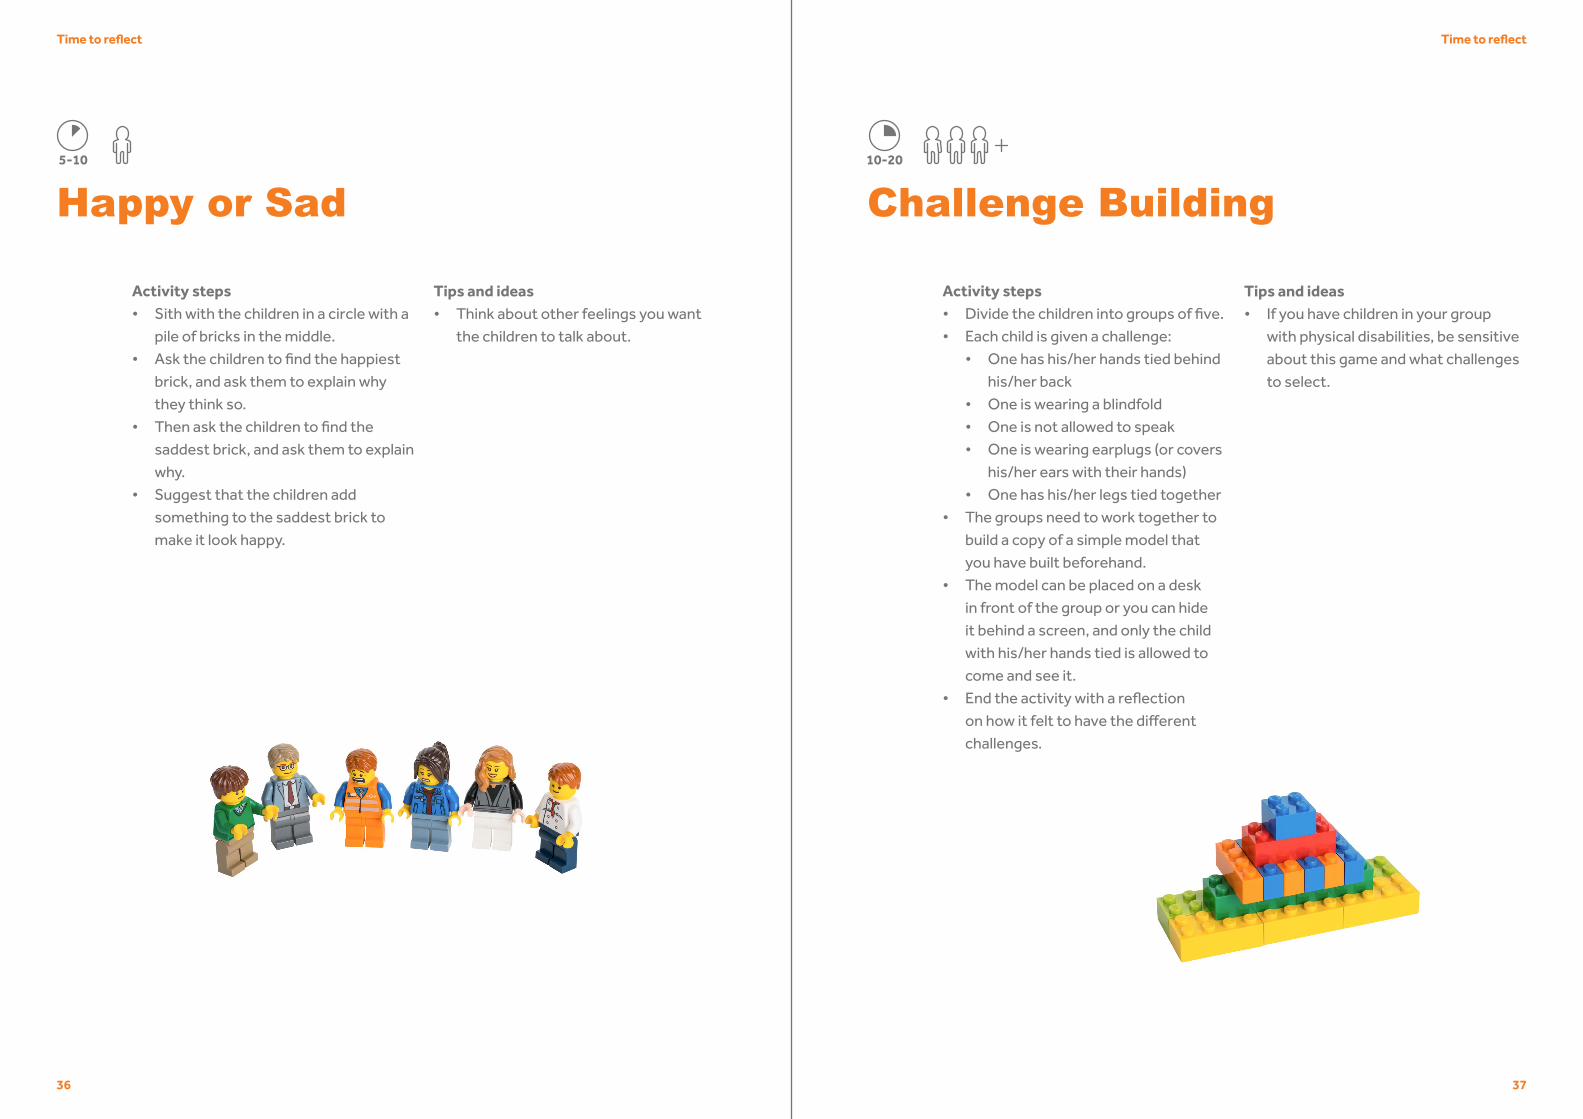
Happy or Sad
Activity steps• Sith with the children in a circle with a
pile of bricks in the middle.• Ask the children to find the happiest
brick, and ask them to explain why they think so.
• Then ask the children to find the saddest brick, and ask them to explain why.
• Suggest that the children add something to the saddest brick to make it look happy.
Tips and ideas• Think about other feelings you want
the children to talk about.
5-10 10-20
38 39
Time to reflectTime to reflect
Build your Dream
Activity steps• Ask the children to close their eyes
and think about what they dream about for their own future. Help them imagine by asking a few questions, such as Where do you live? What do you work with? What people are you close to?
• Now ask the children to build their dream.
• Let any children who wants to share his/her build with the group do so.
Tips and ideas• In this type of activity, it is good to ask
the children to be quiet while building.• Modify this activity by choosing
another topic you want the children to express themselves about through building.
• In this activity, don’t force anyone to share if they don’t want to.
Personal Strengths
Activity steps• Talk to the group about personal
strengths – each person has different things we are good at. Having different personal strengths is great, because then we can help each other.
• Ask each child to build himself/herself out of LEGO bricks by choosing bricks that help to describe who they are and what they are good at.
• Discuss• What did you build?• What does your picture tell us
about what things you are good at?• How can your personal strengths
help the people around you?
Tips and ideas• Remind the children that the model
does not have to look like themselves.
20-3020-30
40 41
Time to reflectTime to reflect
Road Safety
Activity steps• Introduce to the group to the topic of
road safety.• Divided the children into groups
of 4–6. Each group is to build an intersection or another part of a road. They have 15 minutes to do this.
• Ask the groups to discuss where it is safe and unsafe for children to be on this road, and to cross the road. Ask them to mark unsafe places with a red brick.
• Ask the groups to make changes to their setup so it becomes safe for children.
• Let the groups present their setup in to the full group and let them explain what did they change, and which impact will the change have on the lives of children?
• End by summing up and reflecting about road safety.
Tips and ideas• You can ask the children to use figures
to role play how you should cross the road safely.
• Instead of only talking about road safety, you can choose another topic, such as water (beach, pool, lake, etc.) or a home.
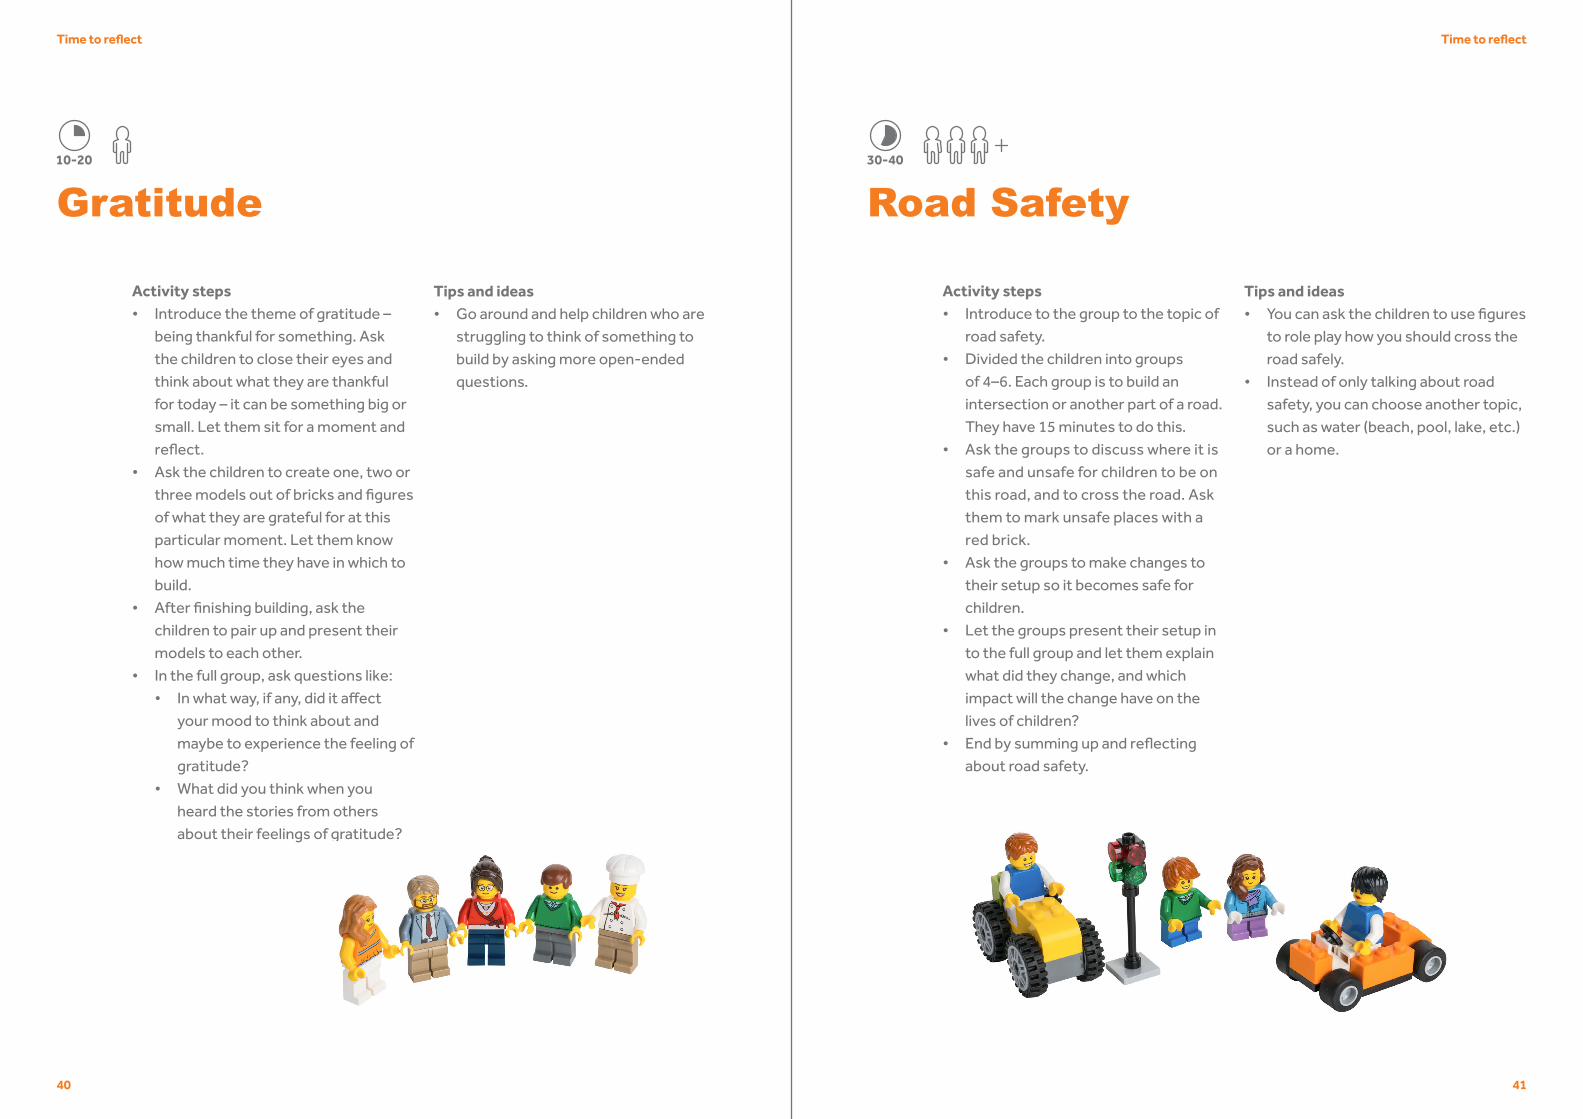
Gratitude
Activity steps• Introduce the theme of gratitude –
being thankful for something. Ask the children to close their eyes and think about what they are thankful for today – it can be something big or small. Let them sit for a moment and reflect.
• Ask the children to create one, two or three models out of bricks and figures of what they are grateful for at this particular moment. Let them know how much time they have in which to build.
• After finishing building, ask the children to pair up and present their models to each other.
• In the full group, ask questions like:• In what way, if any, did it affect
your mood to think about and maybe to experience the feeling of gratitude?
• What did you think when you heard the stories from others about their feelings of gratitude?
Tips and ideas• Go around and help children who are
struggling to think of something to build by asking more open-ended questions.
30-4010-20
20-30 20-30
42 43
Working together
Build a Tower
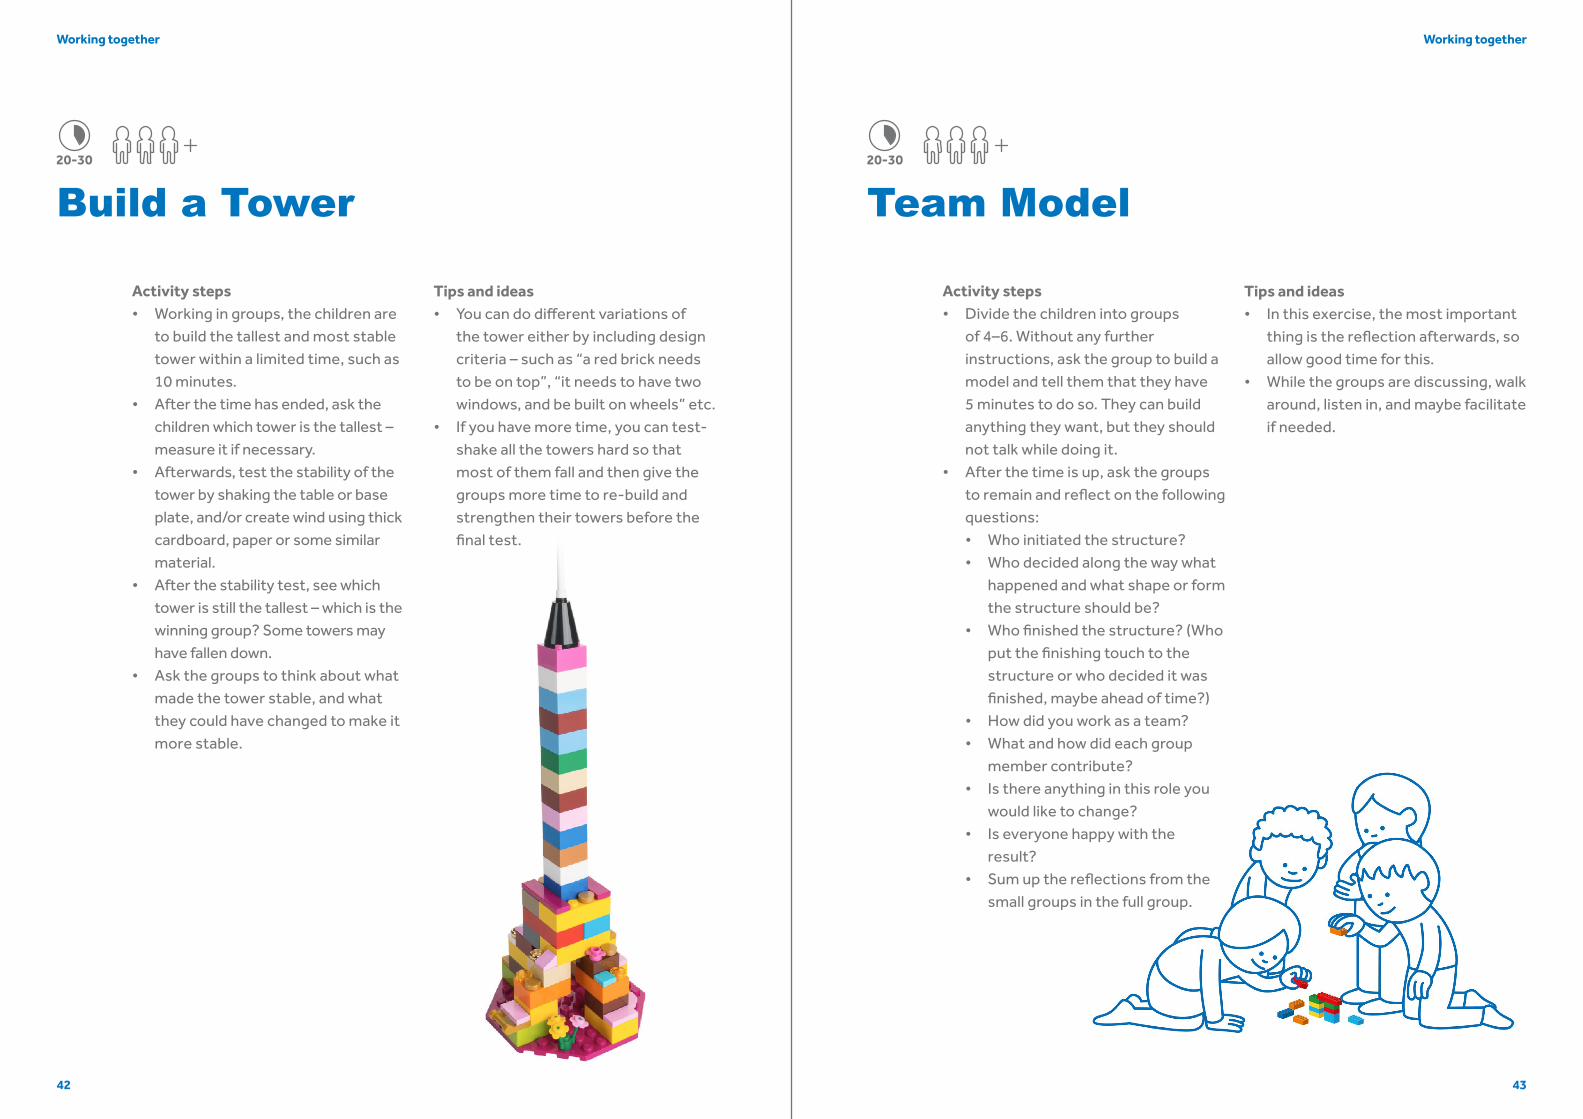
Activity steps• Working in groups, the children are
to build the tallest and most stable tower within a limited time, such as 10 minutes.
• After the time has ended, ask the children which tower is the tallest – measure it if necessary.
• Afterwards, test the stability of the tower by shaking the table or base plate, and/or create wind using thick cardboard, paper or some similar material.
• After the stability test, see which tower is still the tallest – which is the winning group? Some towers may have fallen down.
• Ask the groups to think about what made the tower stable, and what they could have changed to make it more stable.
Tips and ideas• You can do different variations of
the tower either by including design criteria – such as “a red brick needs to be on top”, “it needs to have two windows, and be built on wheels” etc.
• If you have more time, you can test-shake all the towers hard so that most of them fall and then give the groups more time to re-build and strengthen their towers before the final test.
Team Model
Activity steps• Divide the children into groups
of 4–6. Without any further instructions, ask the group to build a model and tell them that they have 5 minutes to do so. They can build anything they want, but they should not talk while doing it.
• After the time is up, ask the groups to remain and reflect on the following questions:• Who initiated the structure?• Who decided along the way what
happened and what shape or form the structure should be?
• Who finished the structure? (Who put the finishing touch to the structure or who decided it was finished, maybe ahead of time?)
• How did you work as a team?• What and how did each group
member contribute?• Is there anything in this role you
would like to change?• Is everyone happy with the
result?• Sum up the reflections from the
small groups in the full group.
Tips and ideas• In this exercise, the most important
thing is the reflection afterwards, so allow good time for this.
• While the groups are discussing, walk around, listen in, and maybe facilitate if needed.
Working together
44 45
Working together
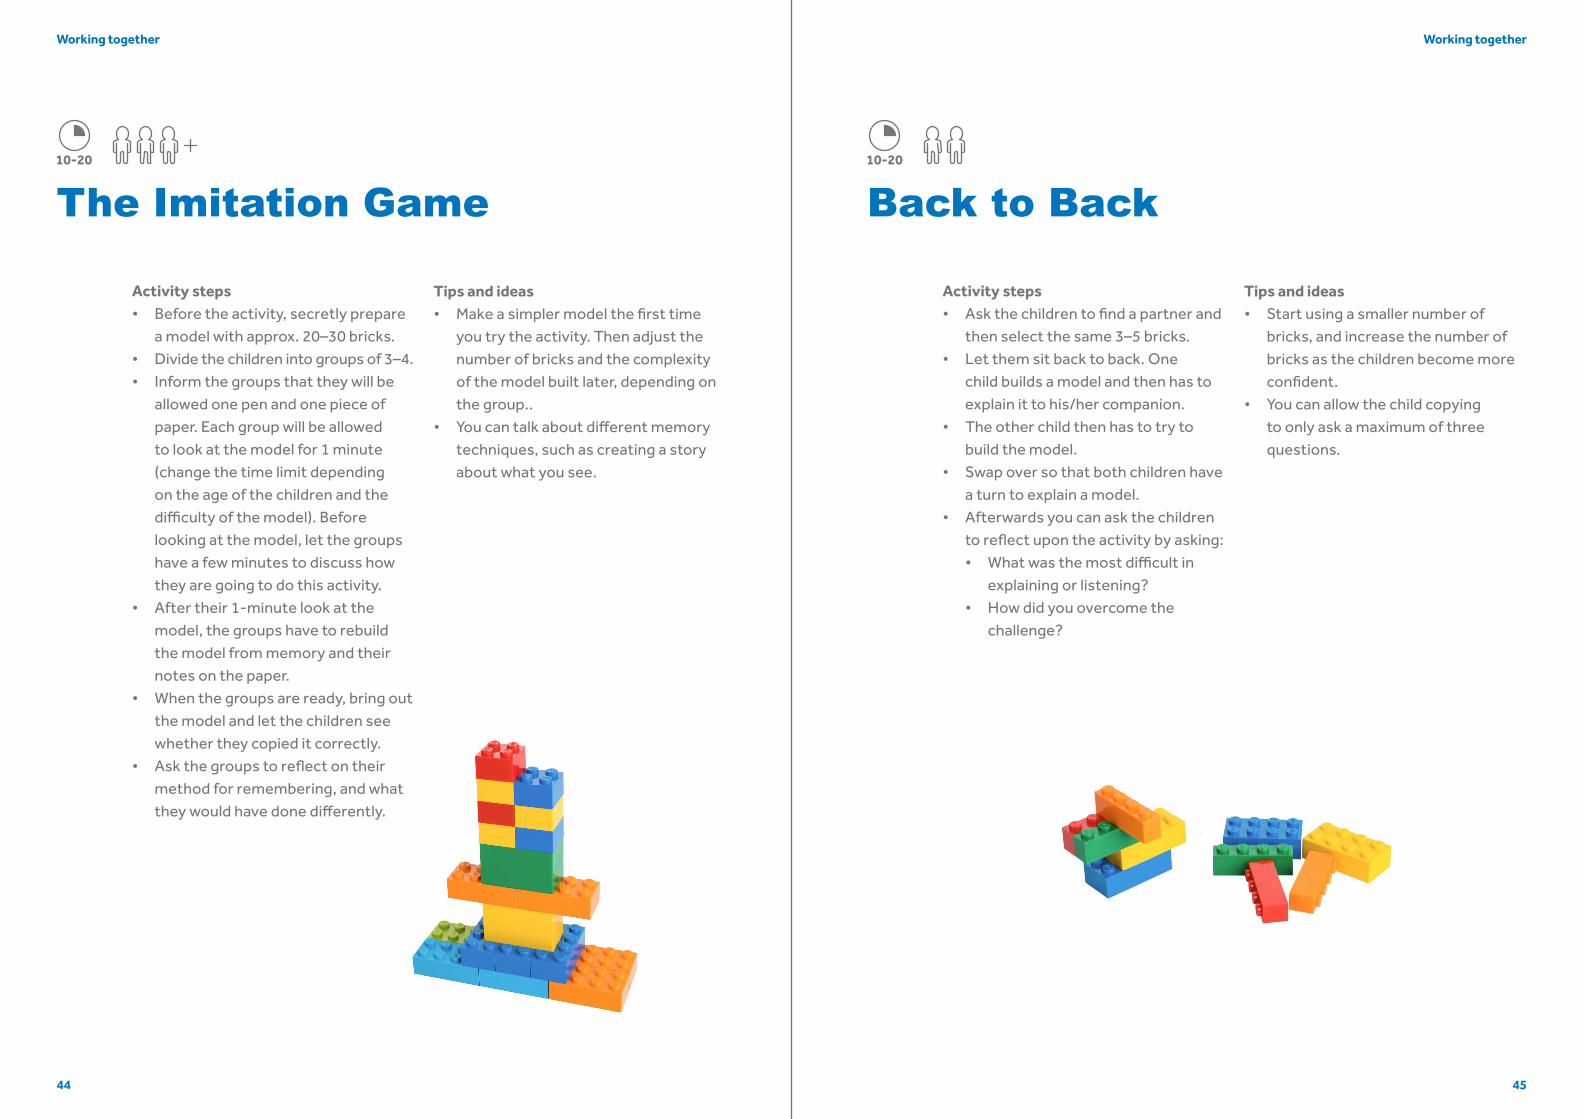
The Imitation Game
Activity steps• Before the activity, secretly prepare
a model with approx. 20–30 bricks.• Divide the children into groups of 3–4.• Inform the groups that they will be
allowed one pen and one piece of paper. Each group will be allowed to look at the model for 1 minute (change the time limit depending on the age of the children and the difficulty of the model). Before looking at the model, let the groups have a few minutes to discuss how they are going to do this activity.
• After their 1-minute look at the model, the groups have to rebuild the model from memory and their notes on the paper.
• When the groups are ready, bring out the model and let the children see whether they copied it correctly.
• Ask the groups to reflect on their method for remembering, and what they would have done differently.
Tips and ideas• Make a simpler model the first time
you try the activity. Then adjust the number of bricks and the complexity of the model built later, depending on the group..
• You can talk about different memory techniques, such as creating a story about what you see.
Back to Back
Activity steps• Ask the children to find a partner and
then select the same 3–5 bricks.• Let them sit back to back. One
child builds a model and then has to explain it to his/her companion.
• The other child then has to try to build the model.
• Swap over so that both children have a turn to explain a model.
• Afterwards you can ask the children to reflect upon the activity by asking:• What was the most difficult in
explaining or listening?• How did you overcome the
challenge?
Tips and ideas• Start using a smaller number of
bricks, and increase the number of bricks as the children become more confident.
• You can allow the child copying to only ask a maximum of three questions.
Working together
10-20 10-20

4746
Working together
Grid CommunicatorActivity steps• Arrange bricks on a grid using basic
bricks, and place it somewhere in the room where the children cannot see it.
• Divide the children into groups of 4–6, and ask them to pick one person from the group – the communicator.
• The communicator goes to see how the model is built and returns to explain it to his/her group. The group should try to build according to the instructions, and the communicator is not allowed to build and has to keep his/her hands behind his/her back.
• The communicator can go back and forth several times to check and remember details.
• Continue until the groups have finalised the model, then bring it out and compare whether it is the same.
• Ask the groups:• What was easy or difficult about
remembering the model?• Which “tricks” did you use to
remember?• What was it like trying to follow the
instructions?• How can you help each other in
the next round?
Tips and ideas• Make sure your model only has bricks
that the groups can find.• If you want to challenge the
groups further, ask them to swap communicator after half the time has passed.
10-20
Tips and tricks
Tips and tricks
Hands-on and offA good rule to learn for activities with bricks is ‘hands-off’ during instructions. Then start an activity by calling ‘hands-on’. Try to discuss how to remember the rule and make it like a game with the children.
Scooping up the bricksWhen you do group activities, try to spread out a thin blanket or bed sheet on the floor, and build on this. Once the activity is finished, you can scoop up all the bricks in one go.
Storing the bricksStore the bricks in boxes when not in use, and try to avoid leaving them in sunlight. If you wish, you can store the bricks in separate boxes for standard bricks, vehicles, base plates and other type of bricks – so they are easier to find.
Clean the LEGO® bricksYou can use mild soap or washing liquid in warm water (no hotter than 40°C) and wash the bricks using a soft cloth, sponge or soft brush. Just rinse the bricks with water, and leave out them to dry (not in direct sunlight!).
Make stable structuresIf you build by stacking bricks directly on top of each other, the tower or structure you make is less stable. Try instead to interlock the bricks, much like a mason building a house with concrete or clay bricks.
Build on hard and stable surfacesIt is much easier to build on a surface, which is hard, smooth and stable, like a table or tiled floor.
Activity booklet using LEGO® DUPLO® bricksA second booklet has been developed to target children between 2 and 7, using LEGO® DUPLO® bricks. Many of the activities in that booklet could be modified to also be used for LEGO® bricks. Please have a look if you want some more inspiration for activities!
48 49
Creating your own activities
Let the activities in this booklet be a source of inspiration, but don’t let them limit you. Continue developing and creating your own activities.
Here are a few tips to think about when developing your own activities:
• Always think about the purpose of the activity and what skills you want the children to practice during the activity.
• Think about what space and environment you are working in.• Consider the steps involved in the activity and have a look at page xx.• Make sure that you have a “low entry” to ensure that everyone
succeeds – but at the same time have a “high ceiling” in order to keep everyone challenged.
• Try to think how to integrate play-based activities in your existing schedule at your centre/school/facility – maybe an activity from this booklet can be modified and integrated to help you explain a particular subject.
• Keep your activities simple!• The next page has a template to help you when developing your own
activities.• You can also let the children come up with their own activities.
Most importantly – try out your new activities!
Tips and tricks
Activity template
Title of your activity:
Duration:
Number of children:
Activity steps:•••••
Tips and ideas:••
Photo or illustration of your activity:
Tips and tricks
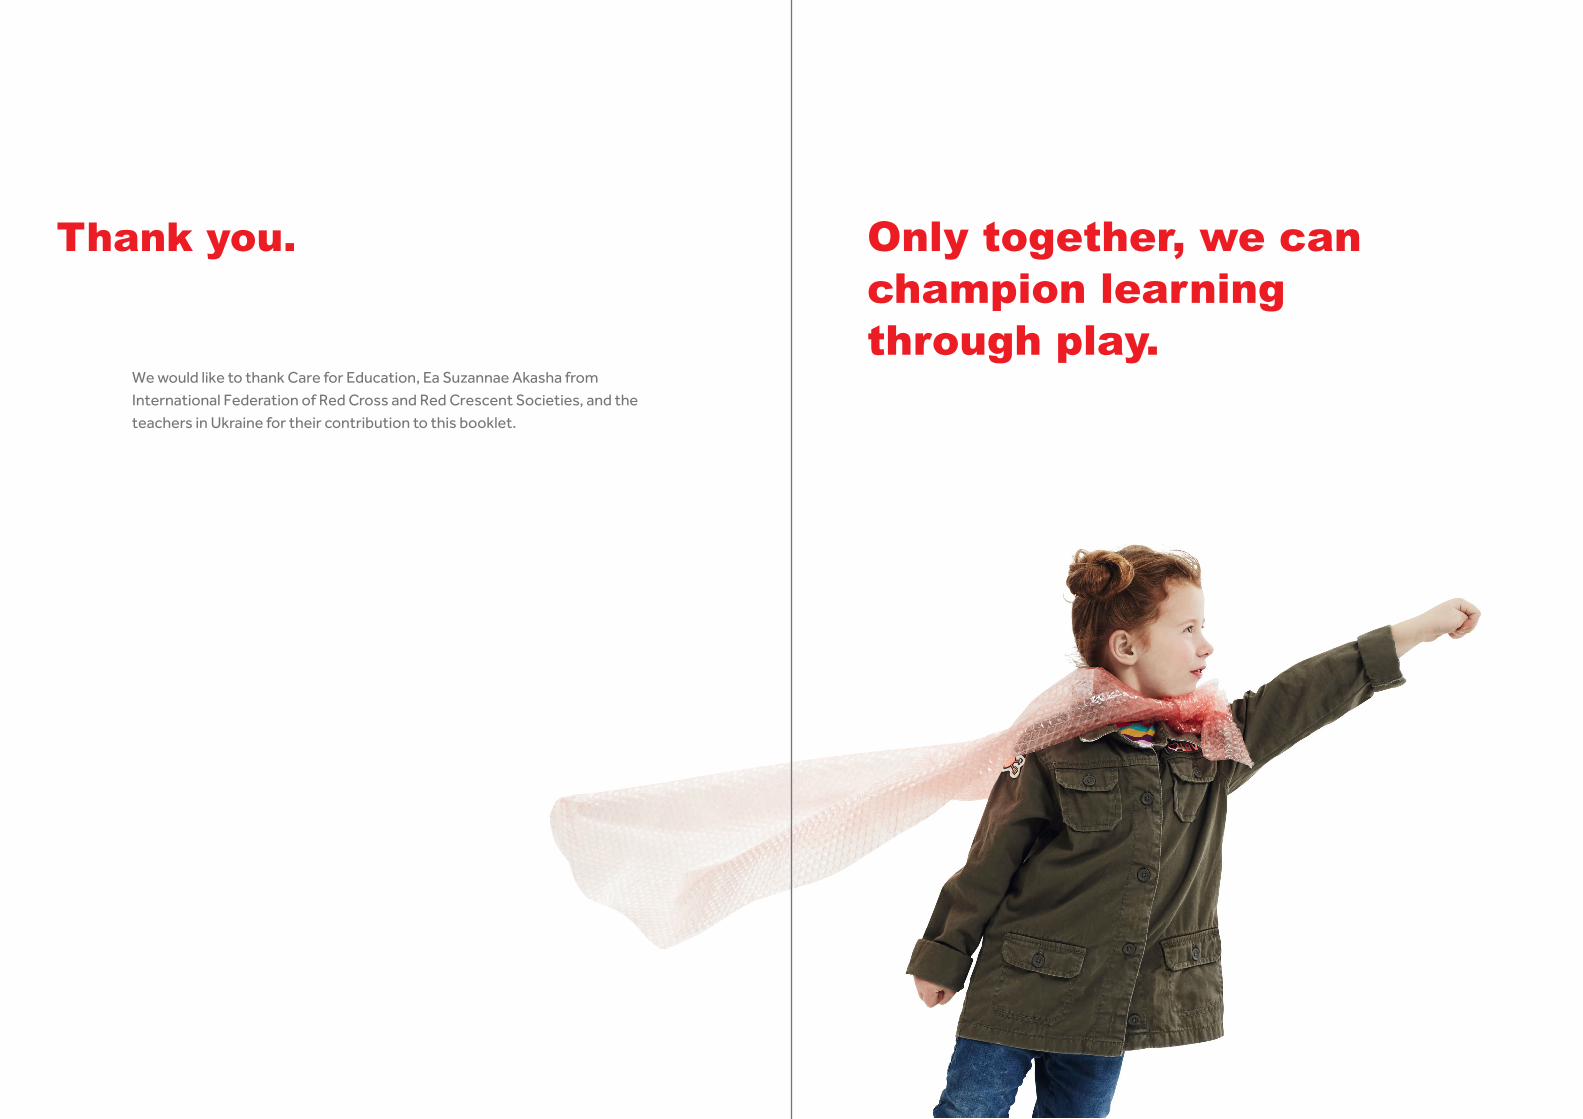
Thank you.
We would like to thank Care for Education, Ea Suzannae Akasha from International Federation of Red Cross and Red Crescent Societies, and the teachers in Ukraine for their contribution to this booklet.
Only together, we can champion learning through play.

52
The LEGO Foundation
Get to know us better at LEGOFoundation.comFollow us on Twitter @LEGOFoundation
Like us on Facebook www.facebook.com/LEGOfoundation
Email us at [email protected]
The LEGO FoundationKoldingvej 2
7190 Billund, Denmark CVR number: 12 45 83 39